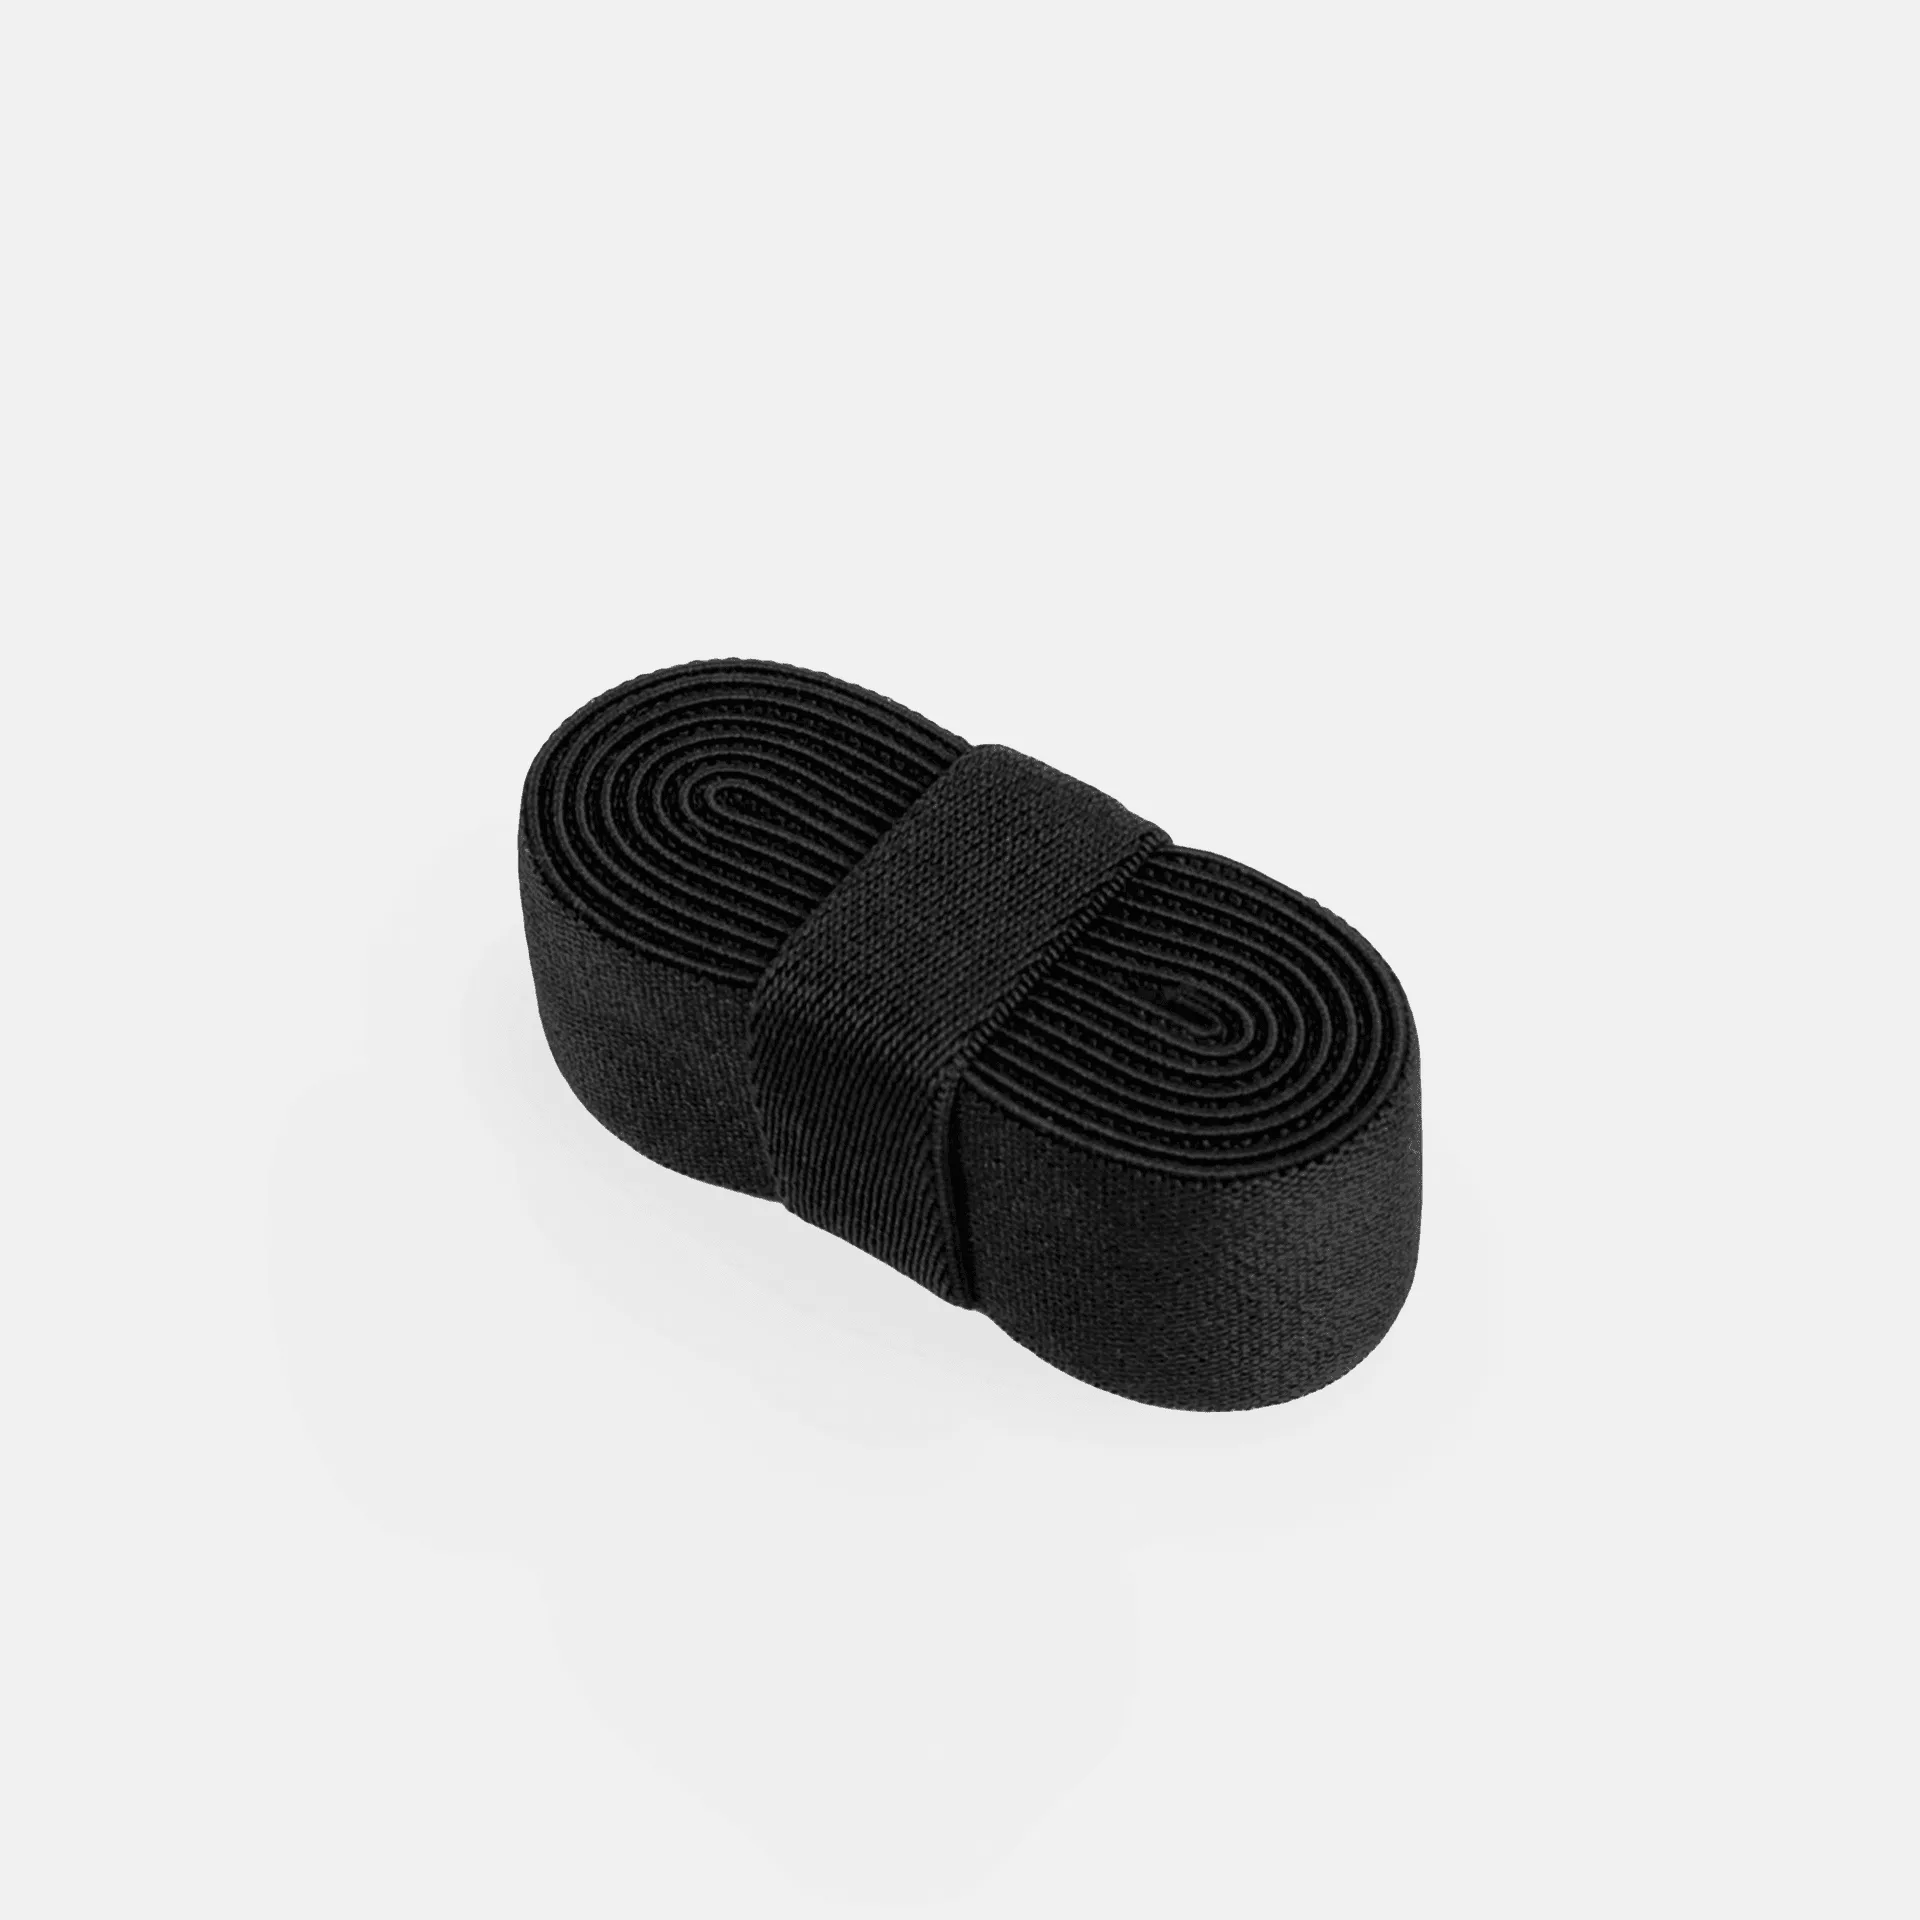
If you love spending time outdoors, you know the frustration of stopping mid-hike to retie your boots. Loose laces can ruin your rhythm, create tripping hazards, and even affect your performance on the trail. That’s why more outdoor enthusiasts are switching to no-tie laces for boots—a simple upgrade that saves time, improves comfort, and keeps your feet secure from the first step to the last.
Installing no-tie laces on boots is easier than you might think. With just a few basic tools and a little patience, you can convert your favorite pair of boots into a slip-on, stay-put system. In this guide, we’ll walk you through every step, from removing your old laces to locking in the perfect fit. Whether you’re a seasoned hiker or a weekend warrior, this upgrade will transform your outdoor footwear experience.
Why Choose No-Tie Laces for Boots?
Boots typically have more eyelets than sneakers, which means more laces to tie and retie. No-tie laces eliminate this chore by providing a secure, elastic fit that holds your foot in place without constant adjustment. This is especially beneficial for activities like hiking, trail running, or working on uneven terrain, where loose laces can be dangerous.
The elastic material used in no-tie laces also provides a bit of give, allowing your foot to swell naturally during long days on the trail. This reduces pressure points and improves blood circulation, making your boots more comfortable over time. Plus, with no knots to untie, you can slip your boots on and off in seconds—perfect for quick breaks or after a long day outdoors.
- Eliminates the need to stop and retie laces during activities.
- Reduces pressure points and accommodates foot swelling for all-day comfort.
- Quick slip-on and off design saves time and hassle.
What You’ll Need Before You Start
Before you begin the installation, gather a few simple items. You’ll need a pair of no-tie laces designed for boots—these are typically longer and more durable than standard laces. You’ll also need a pair of scissors (if the laces need trimming), a lighter or heat source to seal the cut ends, and a small flathead screwdriver or paperclip to help thread the laces through tight eyelets.
It’s also helpful to have your boots clean and dry, with the old laces removed. If your boots have a lot of dirt or debris in the eyelets, give them a quick wipe. For the best results, consider using the No-Tie Flat Laces from Xpand Laces, which are designed to fit a wide range of boot eyelets and provide a secure, no-slip hold.
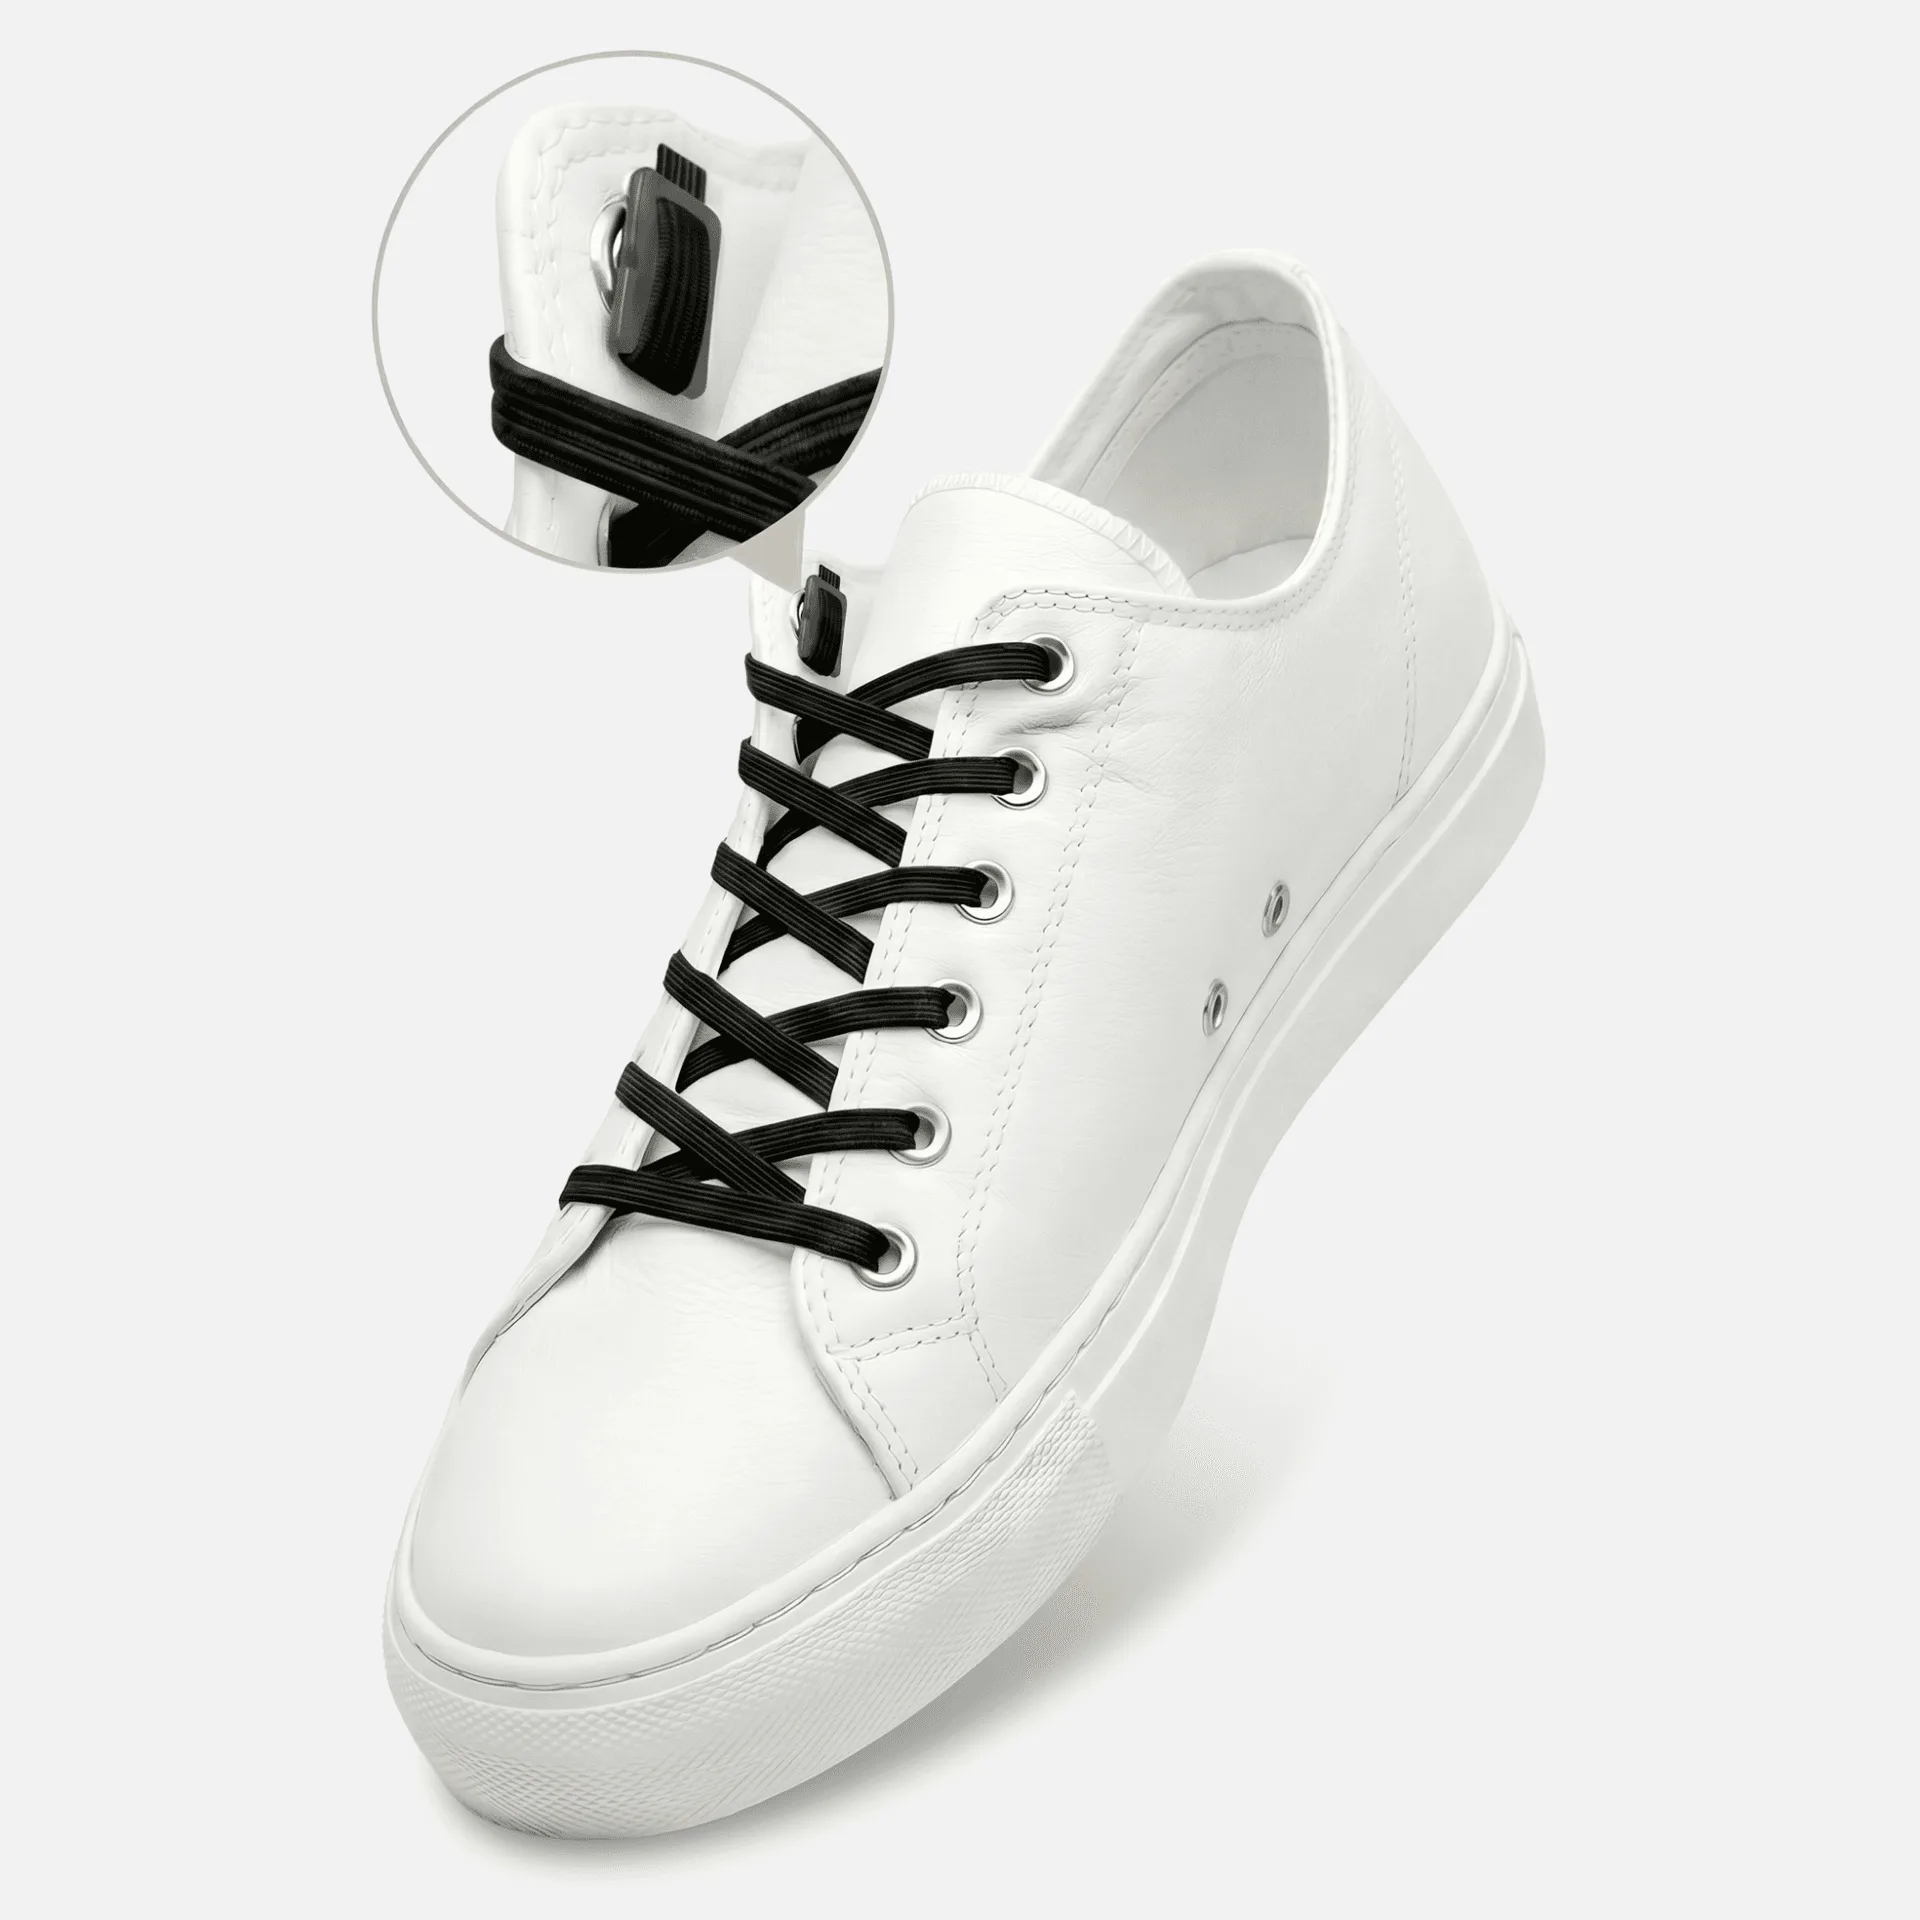
No-Tie Flat Laces
- No-tie laces (boot-length recommended).
- Scissors and a lighter or heat source for sealing.
- A small tool (like a paperclip) to help thread laces through eyelets.
Step 1: Remove the Old Laces and Prepare the Boots
Start by completely removing the existing laces from your boots. If your boots have a speed-lace system or lace hooks, take note of how the laces were routed—this will help you replicate the pattern with your new no-tie laces. Once the old laces are out, check each eyelet for any debris or damage. Clean eyelets ensure smooth threading and prevent fraying.
If your boots have a removable insole, you might want to take it out while you work. This gives you better access to the lower eyelets and makes threading easier. Also, consider loosening the tongue of the boot so you can see the full path of the lacing system. A clear view will save time and reduce frustration.
Step 2: Thread the No-Tie Laces Through the Bottom Eyelets
Take your new no-tie laces and insert one end through the bottom left eyelet from the outside in, leaving a small tail on the outside. Then, do the same for the bottom right eyelet. The laces should now be running from the outside of the boot into the inside. This orientation ensures the locking mechanism (if included) sits properly on the outside of the boot.
If your laces come with lace anchors or clips, now is the time to attach them. For the No-Tie Flat Laces, simply slide the anchor over the lace end before threading it through the eyelet. This will hold the lace in place and prevent it from slipping back out. Make sure both sides are even before moving to the next step.
- Thread laces from outside to inside at the bottom eyelets.
- Attach any included anchors or clips before threading.
- Keep both sides even to ensure balanced tension.
Step 3: Crisscross and Lock as You Go Up
Now, crisscross the laces as you move up the boot, just like traditional lacing. For each pair of eyelets, thread the left lace into the right eyelet and vice versa. Pull the laces snug but not too tight—you want a comfortable fit that allows your foot to move naturally. If your boots have lace hooks, use them in the same crisscross pattern.
If your no-tie laces have a locking mechanism (like a small plastic clip), engage it at every other eyelet for extra security. This prevents the laces from loosening during high-impact activities. Continue lacing all the way to the top eyelet, maintaining even tension throughout. For boots with extra eyelets, you can stop lacing at the point where you feel the best fit.
- Crisscross laces from eyelet to eyelet, maintaining even tension.
- Engage locking mechanisms at every other eyelet for added security.
- Stop lacing at the height that provides the best fit for your foot.
Step 4: Secure the Ends and Test the Fit
Once you reach the top, you’ll have two lace ends. Most no-tie laces come with a small clip or stopper that you can slide onto the ends to prevent them from slipping back through the eyelet. If not, you can tie a simple knot at the end of each lace. Trim any excess lace with scissors, leaving about an inch of length.
After securing the ends, put on your boots and walk around to test the fit. The laces should feel snug but not restrictive. If they’re too loose, you may need to re-lace with a bit more tension. If they’re too tight, loosen the laces slightly. The beauty of no-tie laces is that you can adjust the tension easily without having to untie and retie knots.
- Use clips or stoppers to secure lace ends and prevent slipping.
- Trim excess lace to about an inch for a clean look.
- Test the fit by walking—adjust tension if needed.
Step 5: Final Adjustments and Maintenance Tips
Once you’re happy with the fit, take a moment to check that all locking mechanisms are engaged and that the laces are lying flat against the boot. If you notice any bunching or twisting, gently adjust the laces so they sit smoothly. This will prevent irritation and ensure even pressure across your foot.
To keep your no-tie laces in top condition, clean them occasionally with a damp cloth and mild soap. Avoid soaking them, as excess moisture can affect the elasticity. If you use your boots in muddy or wet conditions, rinse the laces with fresh water after each use. With proper care, your no-tie laces will last for many adventures to come.
- Smooth out any twists or bunching for even pressure.
- Clean laces with a damp cloth and mild soap as needed.
- Rinse after use in muddy or wet conditions to maintain elasticity.
Installing no-tie laces on your boots is a quick and rewarding upgrade that will save you time and frustration on every outdoor adventure. Whether you’re hiking steep trails or working on your feet all day, this simple modification makes your boots more convenient and comfortable. To get started, check out the No-Tie Flat Laces at Xpand Laces—they’re built to handle rugged use and come in a variety of lengths to fit boots of all sizes. Make the switch today and enjoy the freedom of never having to stop and tie your boots again.