Layered drinks are the ultimate visual treat for your feed and your taste buds. Whether you're crafting a sunrise-hued mocktail for brunch or a gradient iced coffee for your afternoon pick-me-up, the key to those perfect stripes lies in understanding liquid density and using the right vessel. An insulated tumbler isn't just for keeping your drink cold — it's your canvas for creating stunning, shareable beverages.
In this guide, you'll learn the science behind drink layering, practical tips for avoiding muddy colors, and how to use tumblers like the Kelso Tumbler, 15 oz. (2 Pack) or the https://zak-us.com/products/sutton-insulated-tumbler-40-oz-78847https://zak-us.com/products/sutton-insulated-tumbler-40-oz-78848https://zak-us.com/products/sutton-insulated-tumbler-40-oz-78858https://zak-us.com/products/sutton-insulated-tumbler-40-oz-78862Sutton Insulated Tumbler, 40 oz. to build beautiful layers that last. Get ready to turn your hydration into art.
The Science of Layering: Why Some Drinks Float and Others Sink
Layering works because liquids have different densities — typically determined by sugar content, alcohol by volume, or temperature. Heavier liquids (like syrups or thick juices) sink to the bottom, while lighter ones (like soda water or skim milk) float on top. To create distinct layers, you need to carefully pour each ingredient in order of decreasing density, and pour slowly over the back of a spoon to avoid mixing.
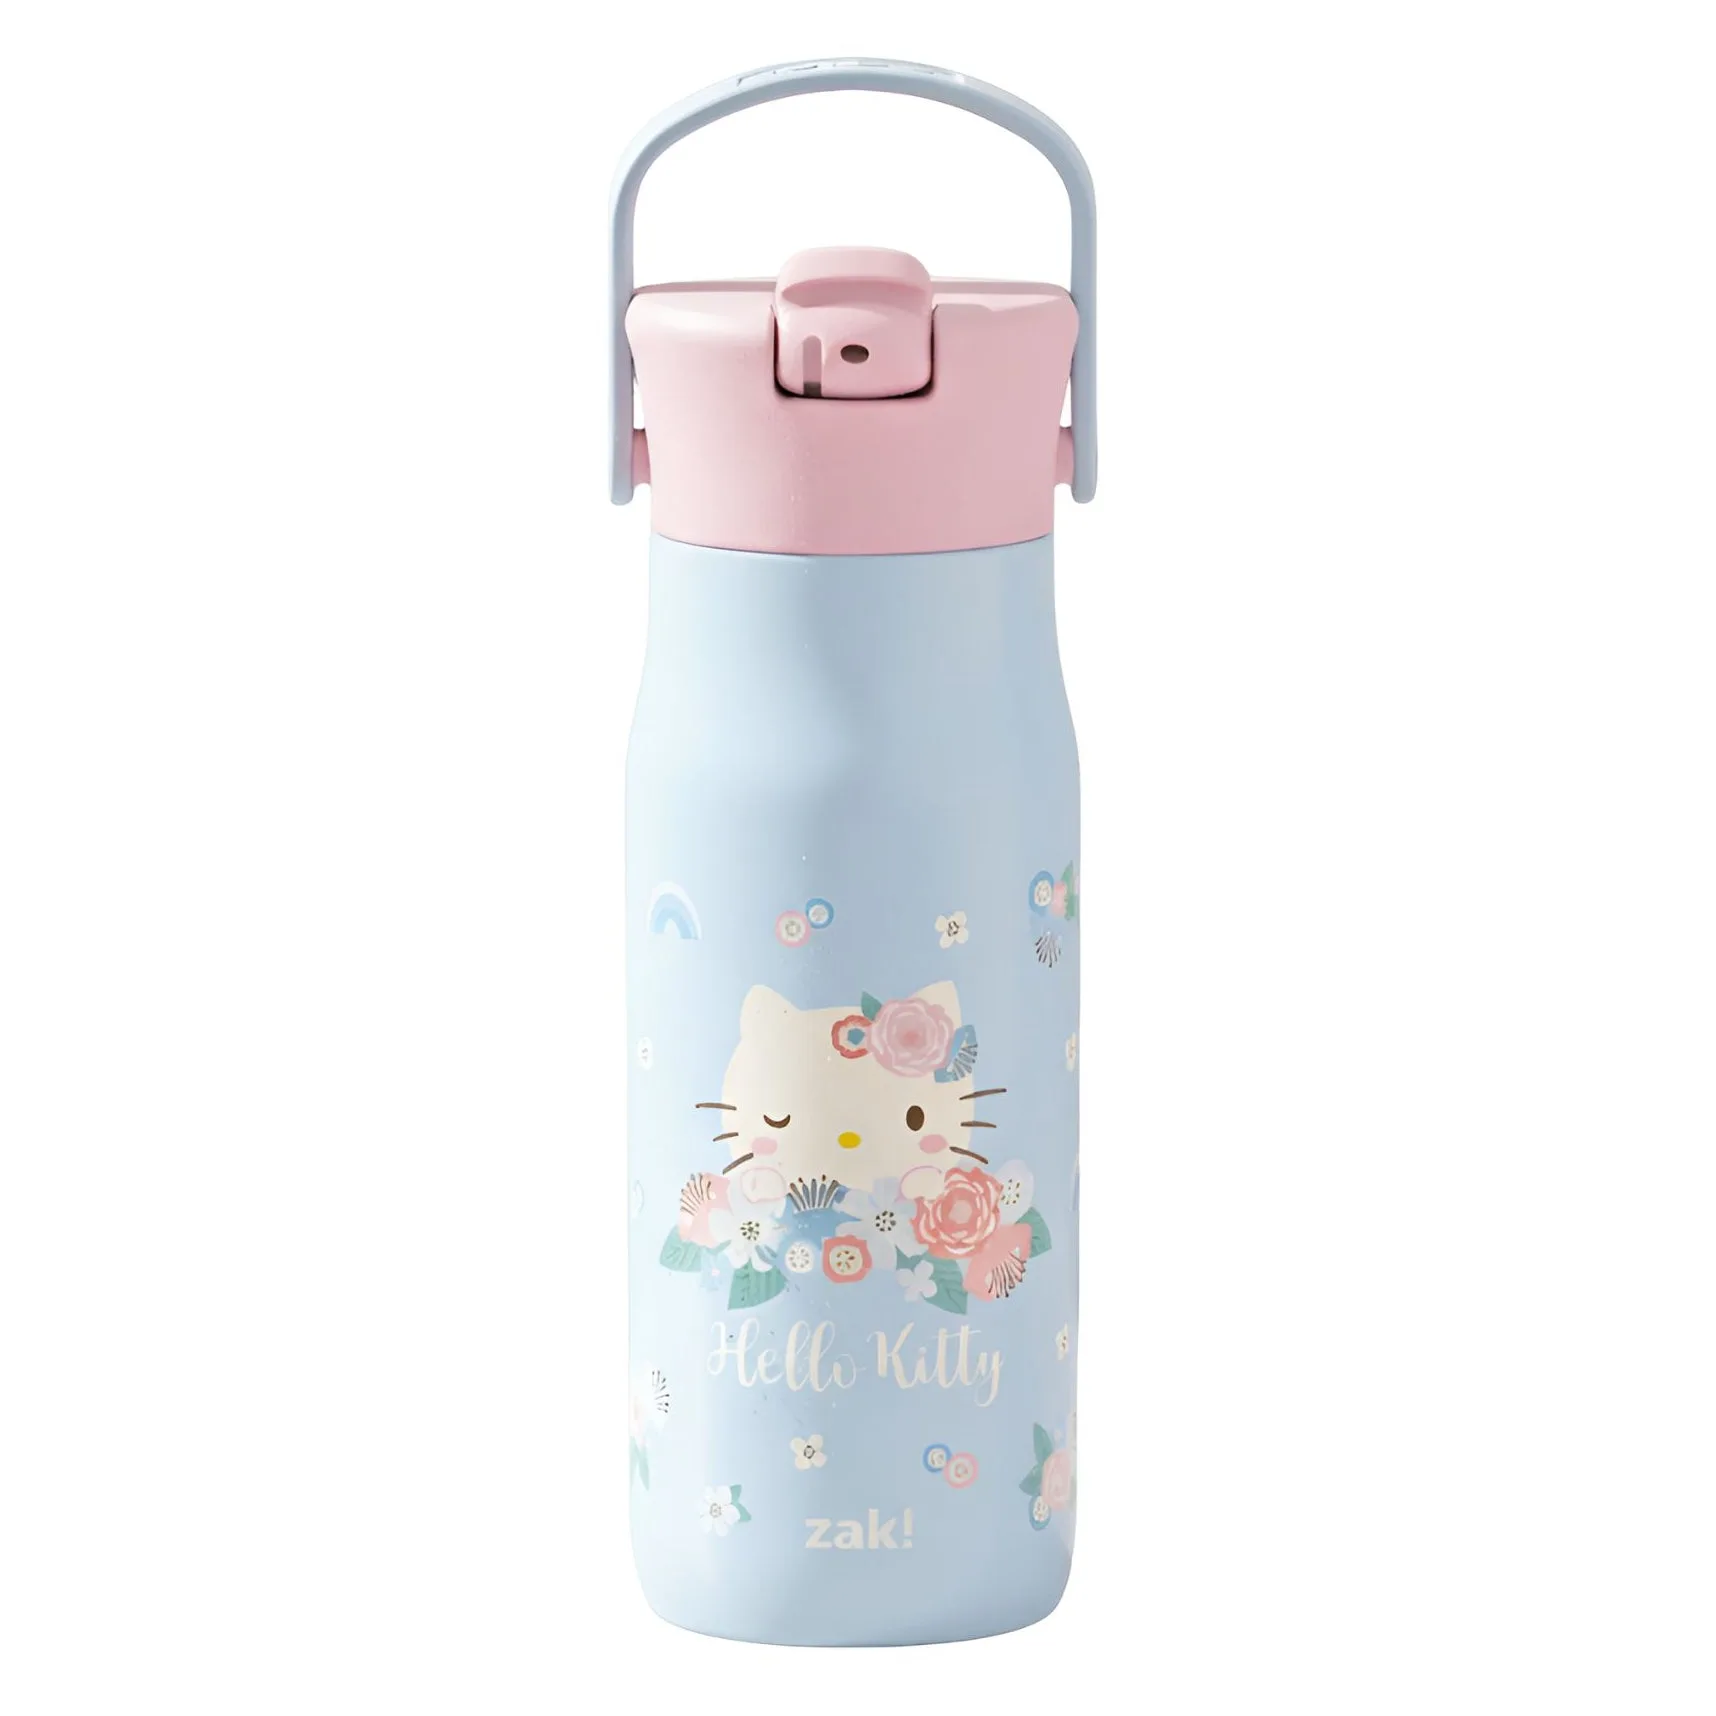
For non-alcoholic layered drinks, common ingredients include grenadine (heaviest), orange juice (medium), and sparkling water (lightest). Temperature also plays a role: cold liquids are slightly denser than warm ones, so chilling your tumbler and ingredients beforehand helps maintain separation. An insulated tumbler like the Harmony Insulated Bottle, 14 oz. is ideal because its double-wall construction keeps your drink cold without condensation, preserving the clarity of each layer.
- Always pour the heaviest liquid first, then add lighter liquids in order.
- Use a bar spoon or the back of a regular spoon to slow the pour and prevent mixing.
- Chill all ingredients and the tumbler for at least 15 minutes before layering.
Choosing the Right Tumbler for Layered Drinks
Not all tumblers are created equal when it comes to layering. You want a straight-sided or slightly tapered vessel with a wide enough opening to fit a spoon, and clear glass or transparent plastic so the layers are visible. However, insulated stainless steel tumblers can still work if you pour carefully and use a clear lid or straw to admire your work from above.
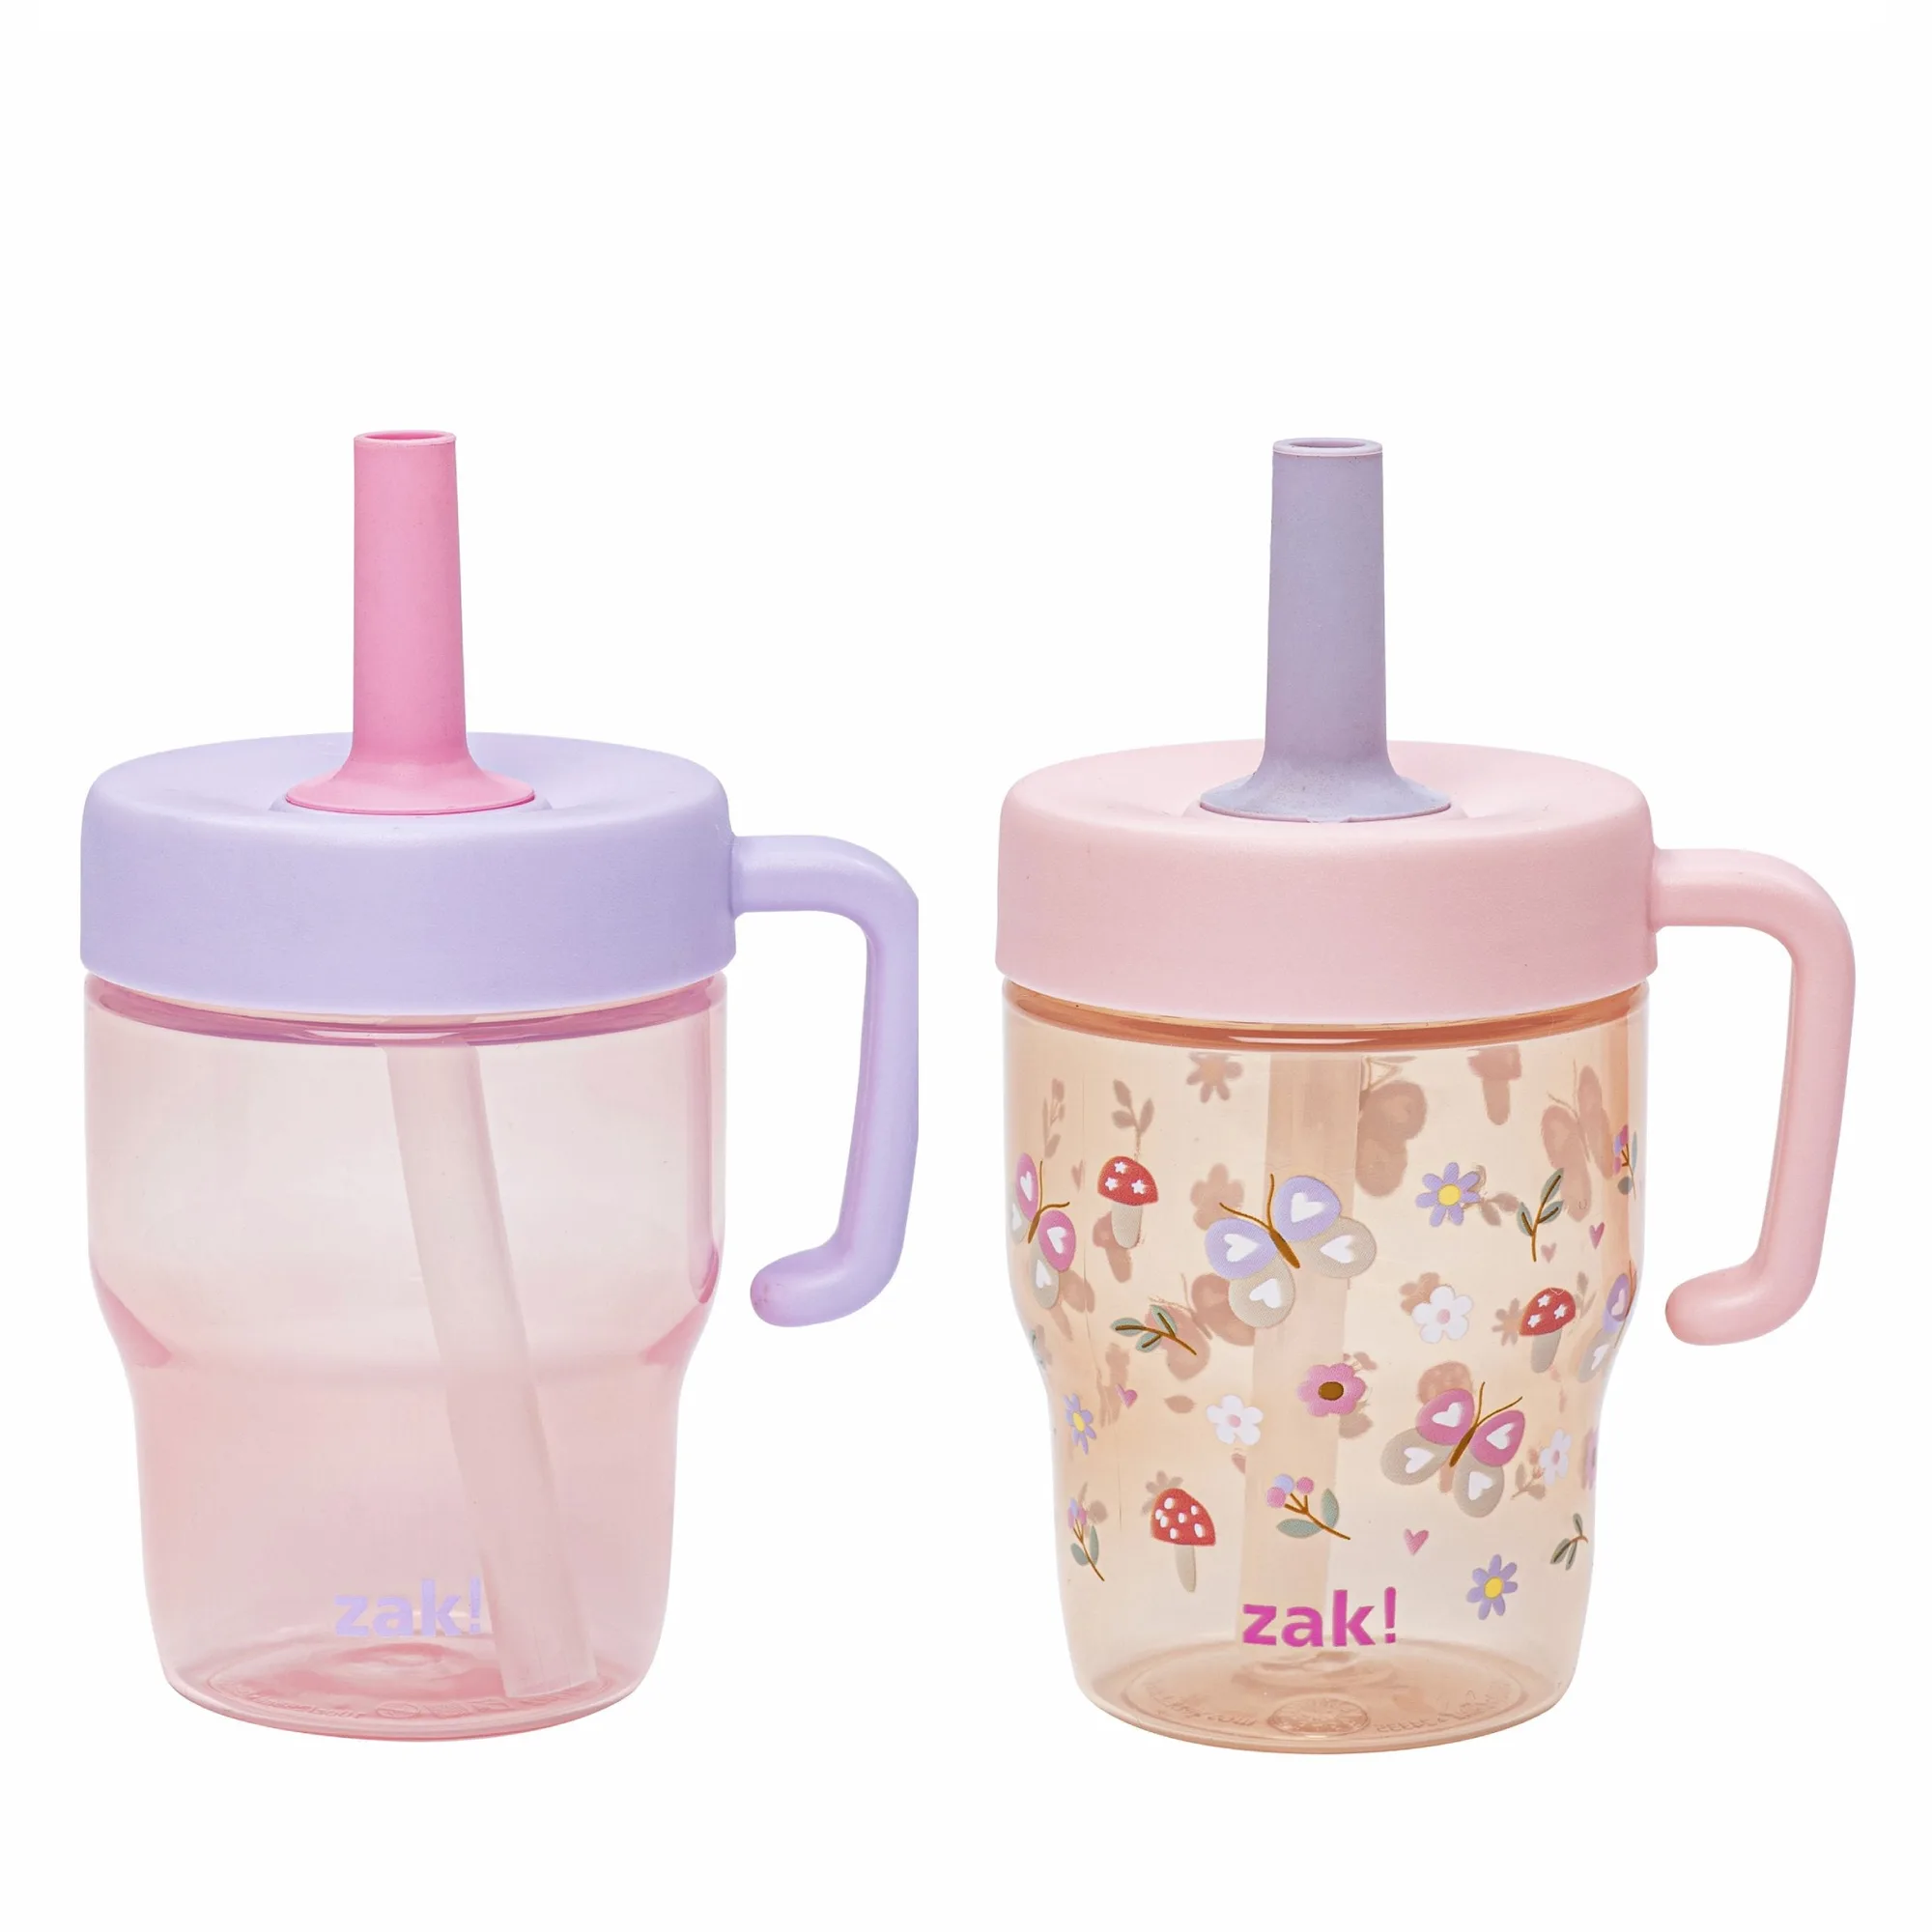
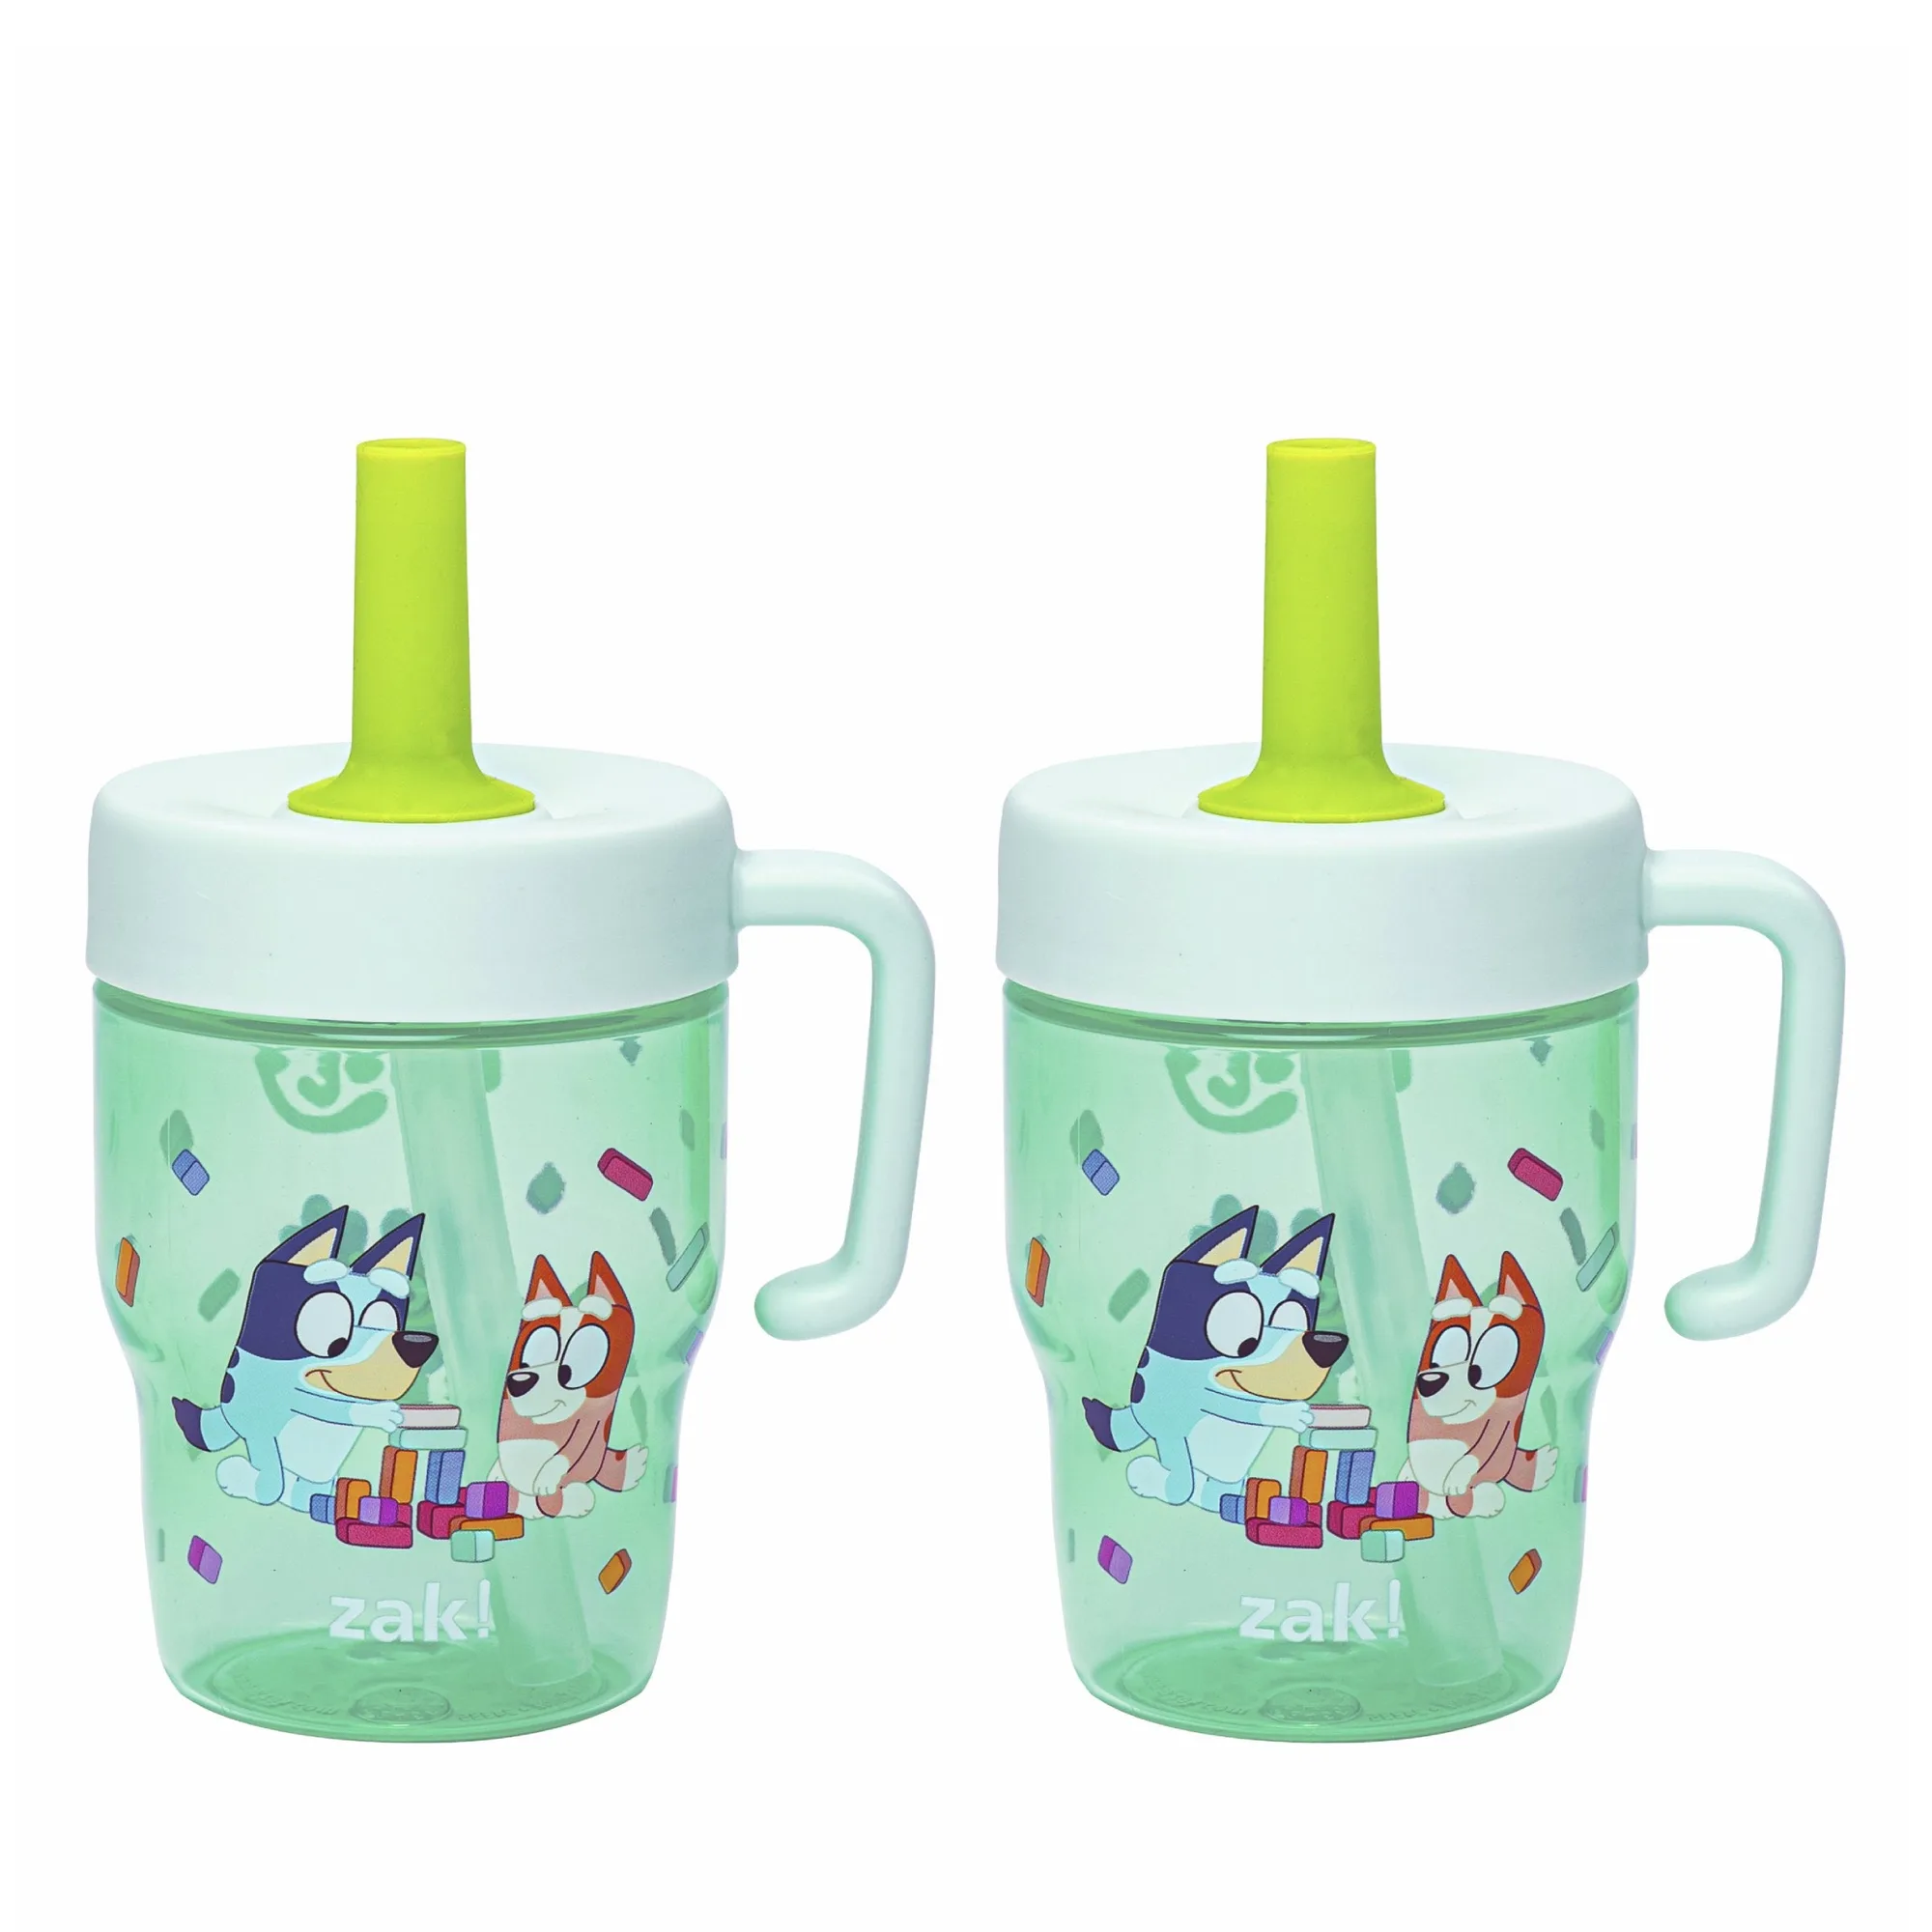
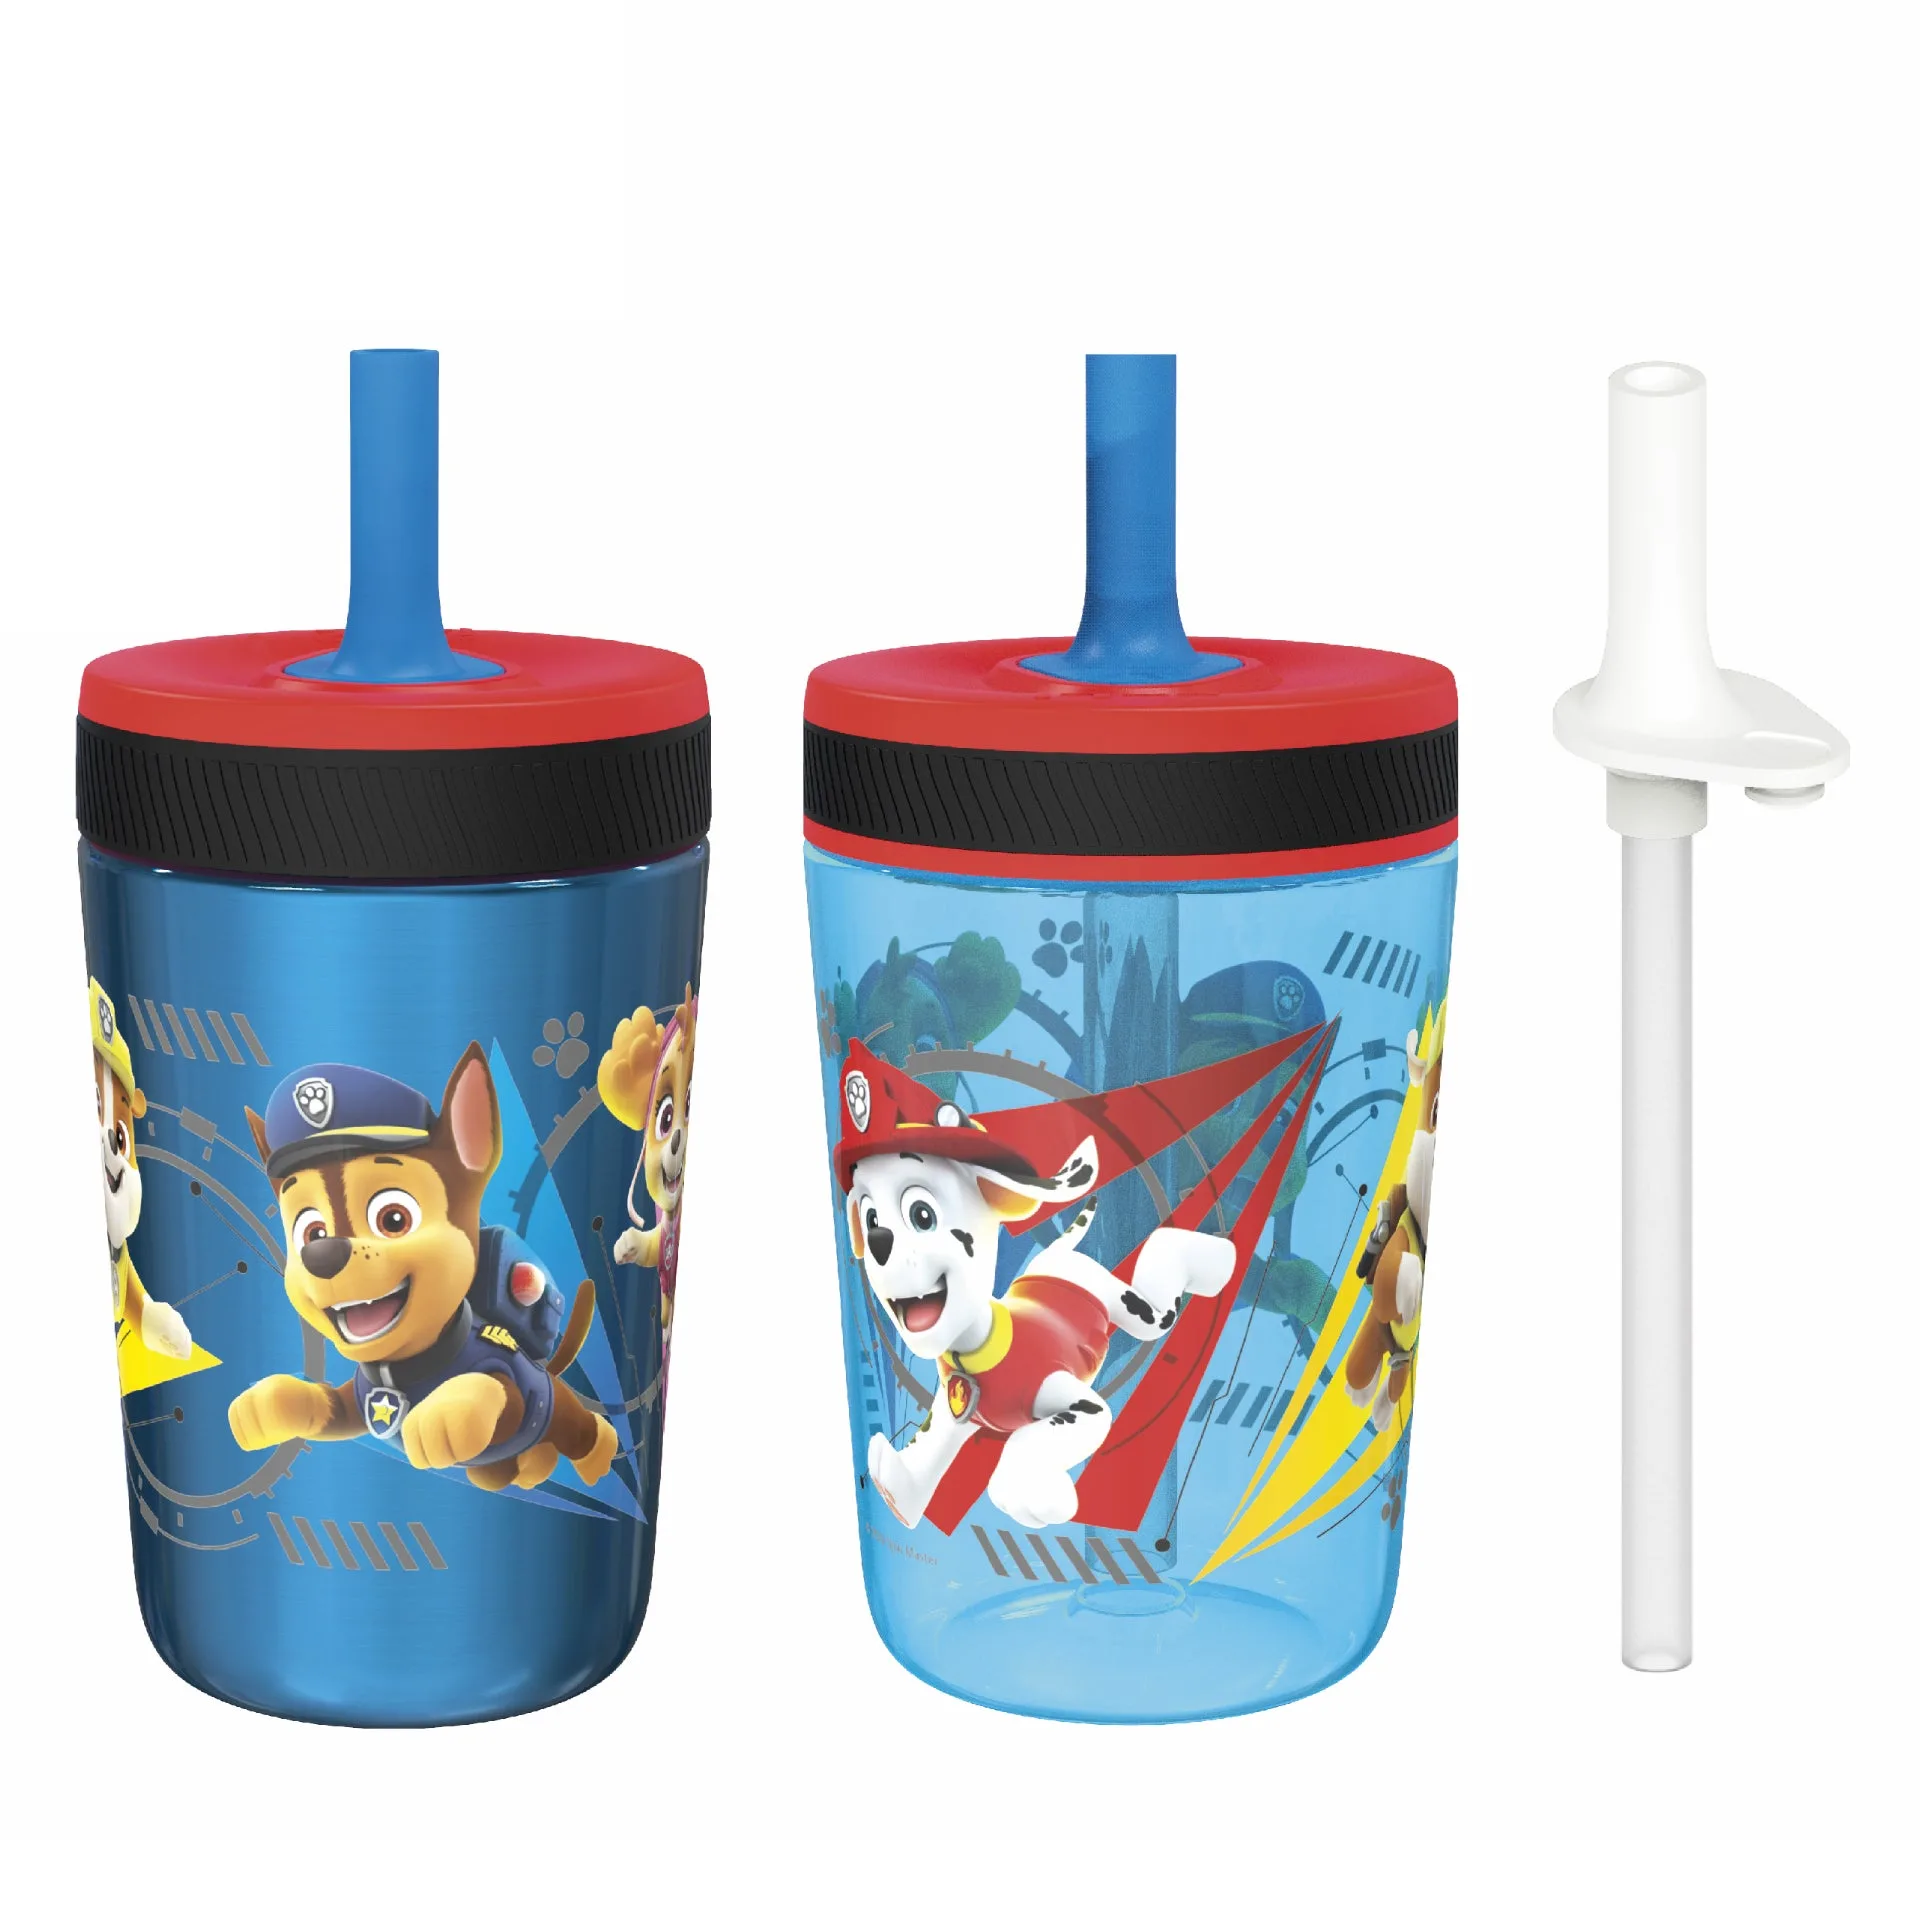
The Sutton Insulated Tumbler, 40 oz. is perfect for large layered creations like party punch or layered iced tea. Its generous capacity lets you build multiple layers without worrying about overflow. For single servings, the Kelso Tumbler, 15 oz. (2 Pack) offers a compact, stackable option that fits in most cup holders. Both are vacuum-insulated, so your drink stays cold and your layers stay crisp for hours.
- For best visibility, use a clear tumbler or drink from a glass straw.
- Avoid tumblers with narrow mouths — they make spoon-pouring difficult.
- Insulated tumblers keep layers from warming unevenly, which helps maintain separation.
Step-by-Step: How to Layer a Sunrise Mocktail in Your Tumbler
Ready to create a showstopper? Here's a simple recipe for a non-alcoholic sunrise mocktail that works beautifully in any insulated tumbler. You'll need grenadine syrup, orange juice, and sparkling water (or lemon-lime soda). Start by filling your tumbler with ice — this helps chill the glass and slows the pour. Pour 1-2 tablespoons of grenadine directly over the ice. Let it settle for 10 seconds.
Next, slowly pour orange juice over the back of a spoon held just above the grenadine layer. Pour in a steady, thin stream — rushing will mix the layers. Finally, top with sparkling water, again using the spoon technique. The result: a vibrant gradient from red to orange to clear. Garnish with a cherry or orange slice, snap your photo, and enjoy. For a larger batch, use the Sutton Insulated Tumbler, 40 oz. and double the ingredients.
- Grenadine is the heaviest common mocktail ingredient — always use it first.
- If layers still mix, try using less ice or chilling your liquids longer.
- Experiment with different juices: cranberry (heavy), pineapple (medium), and club soda (light).
Pro Tips for Instagram-Worthy Layers Every Time
Lighting and background matter almost as much as the drink itself. Natural window light or a softbox will make the colors pop without harsh shadows. Use a simple backdrop — a wooden table, marble counter, or solid-color napkin — to keep the focus on your tumbler. Shoot from a 45-degree angle to capture the full height of the layers, and try a slow-motion video of the pour for engagement.
For extra visual flair, add edible glitter, fresh herbs, or fruit slices to the rim of your tumbler. You can also use colored ice cubes made from juice or coconut water to add subtle layers as they melt. The Kelso 3 Piece Tumbler Set is a great investment if you want to practice with multiple sizes and colors — each piece is designed for easy stacking and consistent insulation.
- Use a macro lens or portrait mode to blur the background and highlight the layers.
- Tag your tumbler brand and recipe hashtags to reach a wider audience.
- Wipe condensation off the tumbler exterior before shooting for a clean look.
Common Mistakes and How to Fix Them
Even experienced home bartenders end up with a muddy mess sometimes. The most common mistake is pouring too fast — if you dump the liquid in, it will mix immediately. Always use a spoon and pour slowly. Another issue is using ingredients at different temperatures: room-temperature juice on top of cold syrup will create convection currents that blend the layers. Keep everything chilled.
If your layers still blur together, try adding a thin layer of crushed ice between each pour. The ice acts as a physical barrier that slows mixing. Also, avoid shaking or stirring your tumbler after layering — that defeats the whole purpose. If you're using a straw, insert it gently and sip from the bottom up to experience each flavor separately. The Sage Bottle, 16 oz. is a good option for single-serving layered drinks on the go, though its narrow mouth requires extra care when pouring.
- If layers mix, pour in a new batch with more ice between each layer.
- Use a straw to taste each layer individually — it's part of the fun.
- Practice with simple two-layer drinks before attempting three or more layers.
Layering drinks in an insulated tumbler is a fun, creative way to elevate your hydration game and impress your followers. With a little science and a steady hand, you can turn any beverage into a colorful masterpiece. Ready to start creating? The Kelso Tumbler, 15 oz. (2 Pack) is the perfect starter set for practicing your layering skills — grab yours today and share your creations with #ZakLayeredDrinks.