A belt is more than just a functional accessory—it holds your outfit together, both literally and figuratively. But over time, even the best belts can develop issues: a loose buckle, worn-out prongs, or a strap that no longer fits comfortably. Knowing how to secure your belt buckle, adjust it for the perfect fit, and replace it when necessary can save you money and keep your wardrobe looking sharp. In this belt care guide, we'll walk you through everything you need to know, from basic adjustments to full buckle replacements, complete with step-by-step instructions and expert tips.
Why Belt Buckle Adjustment Matters
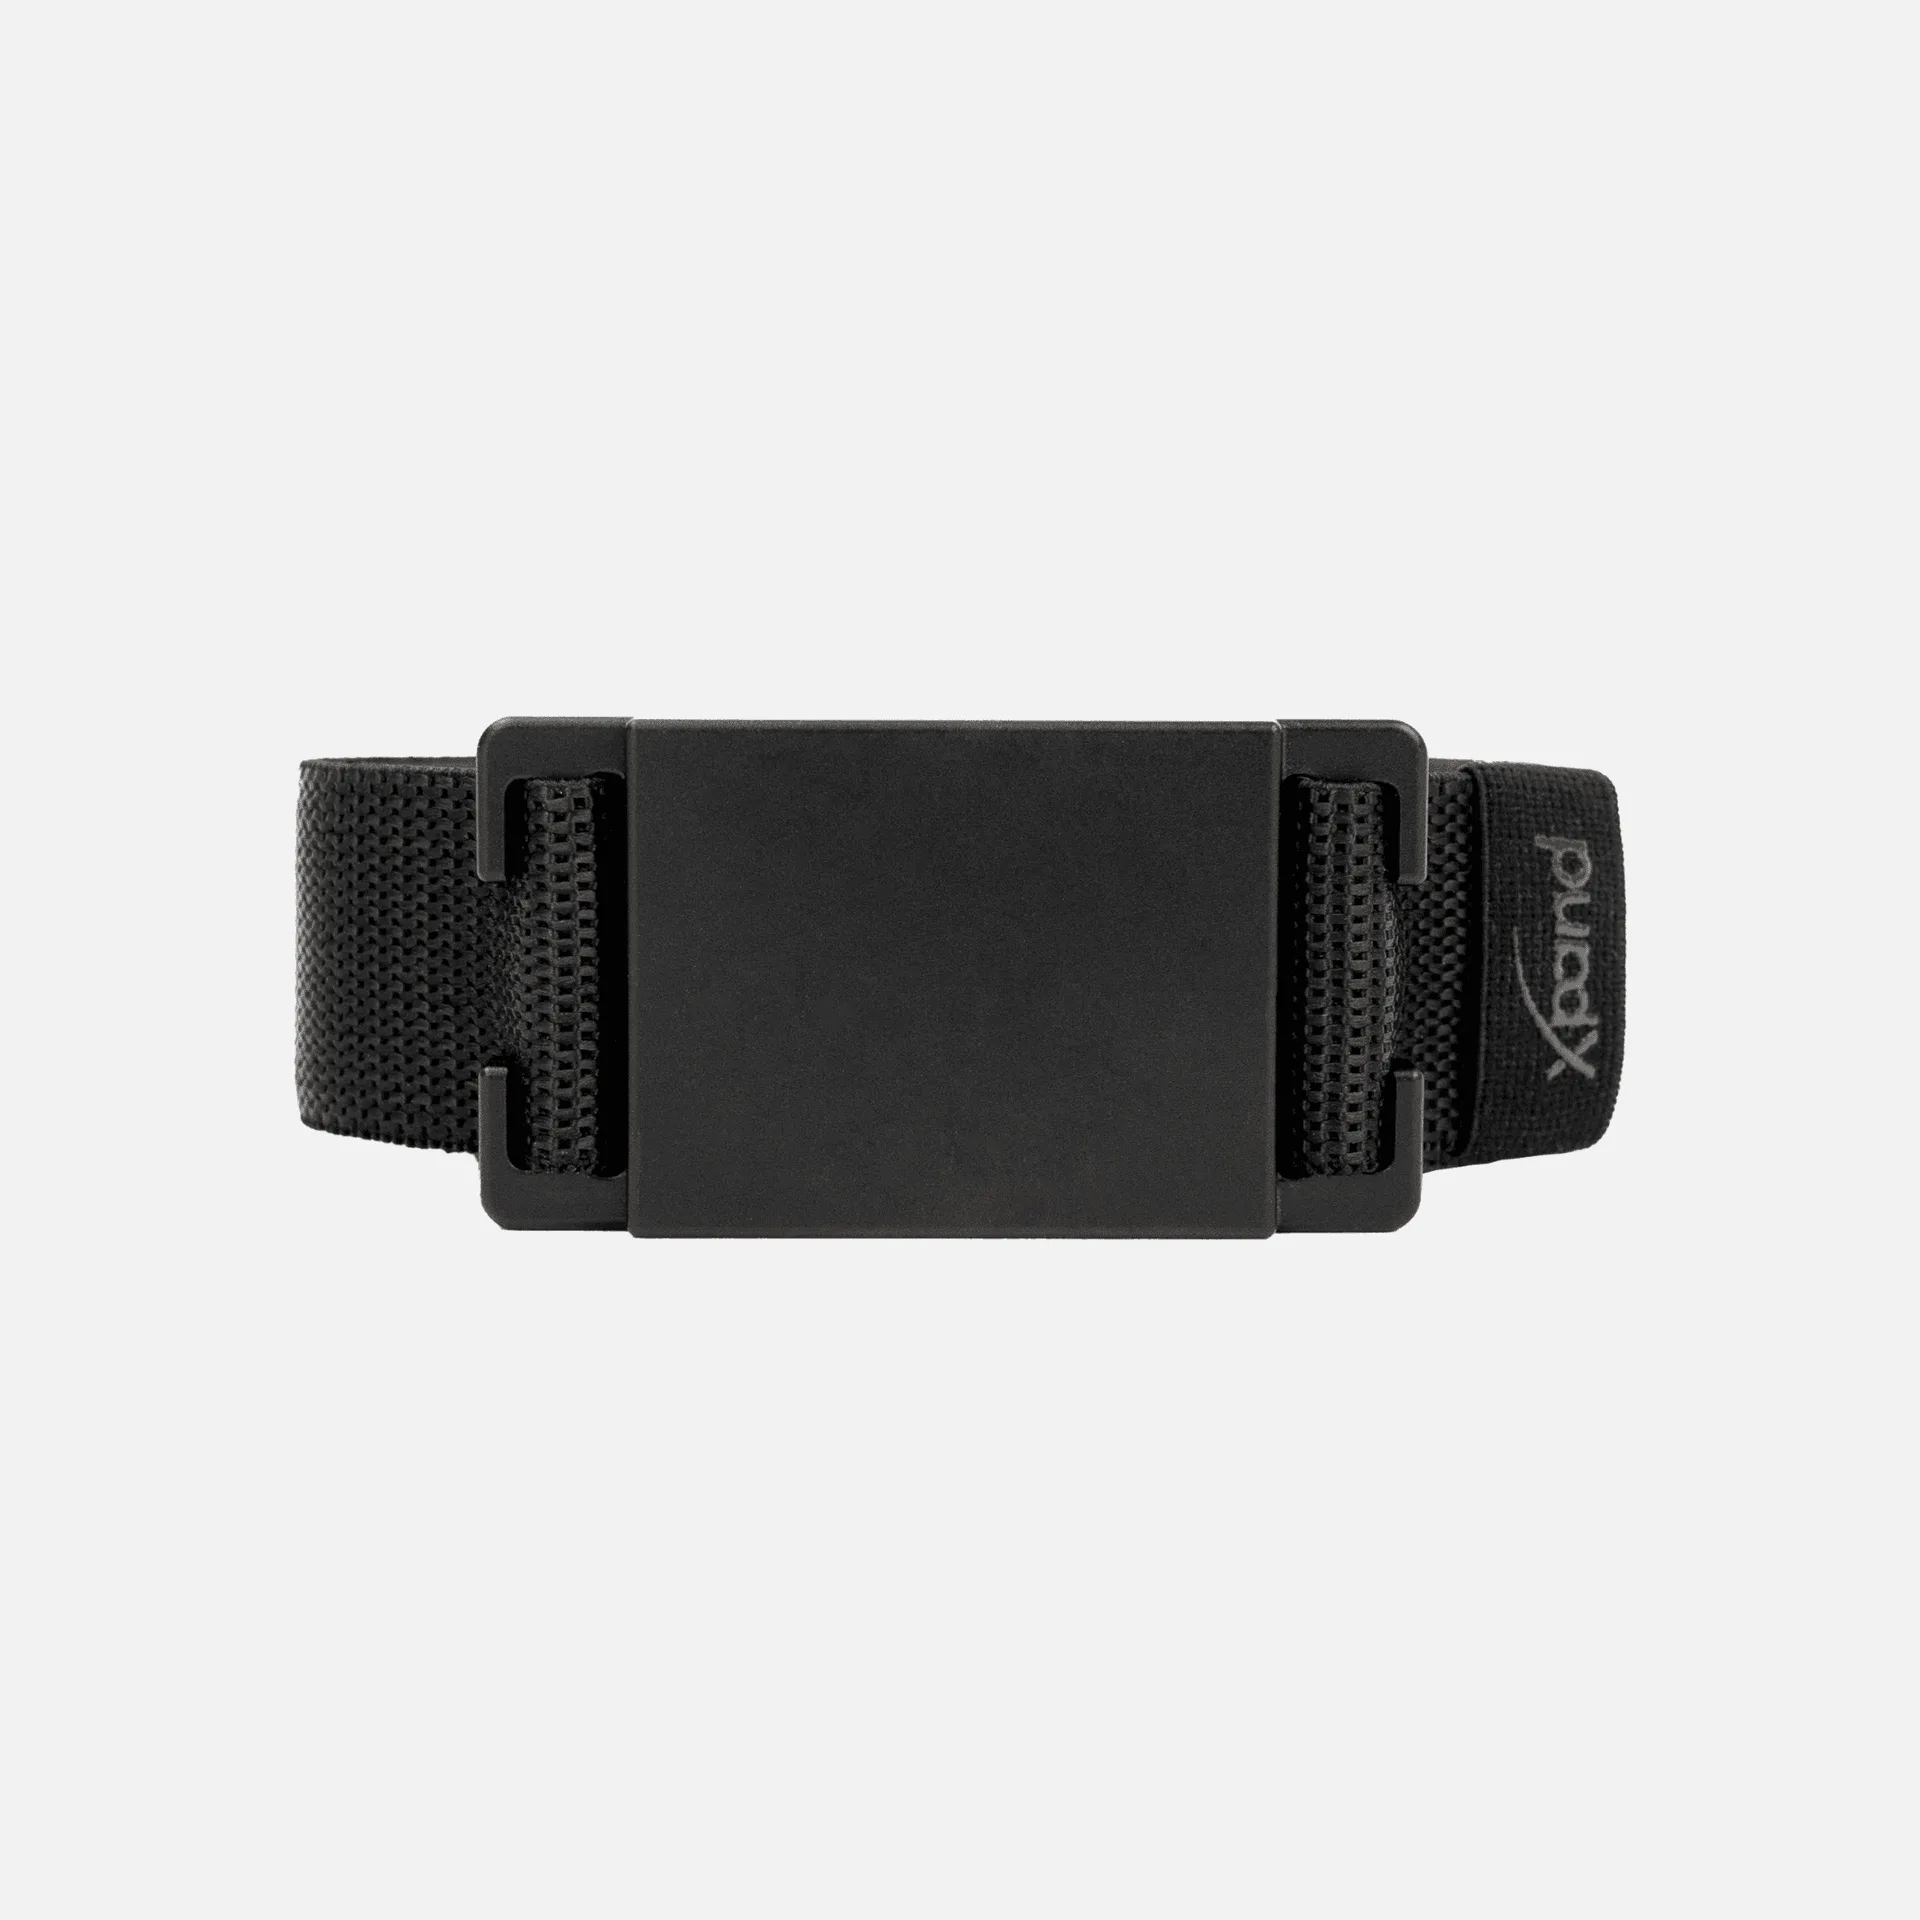
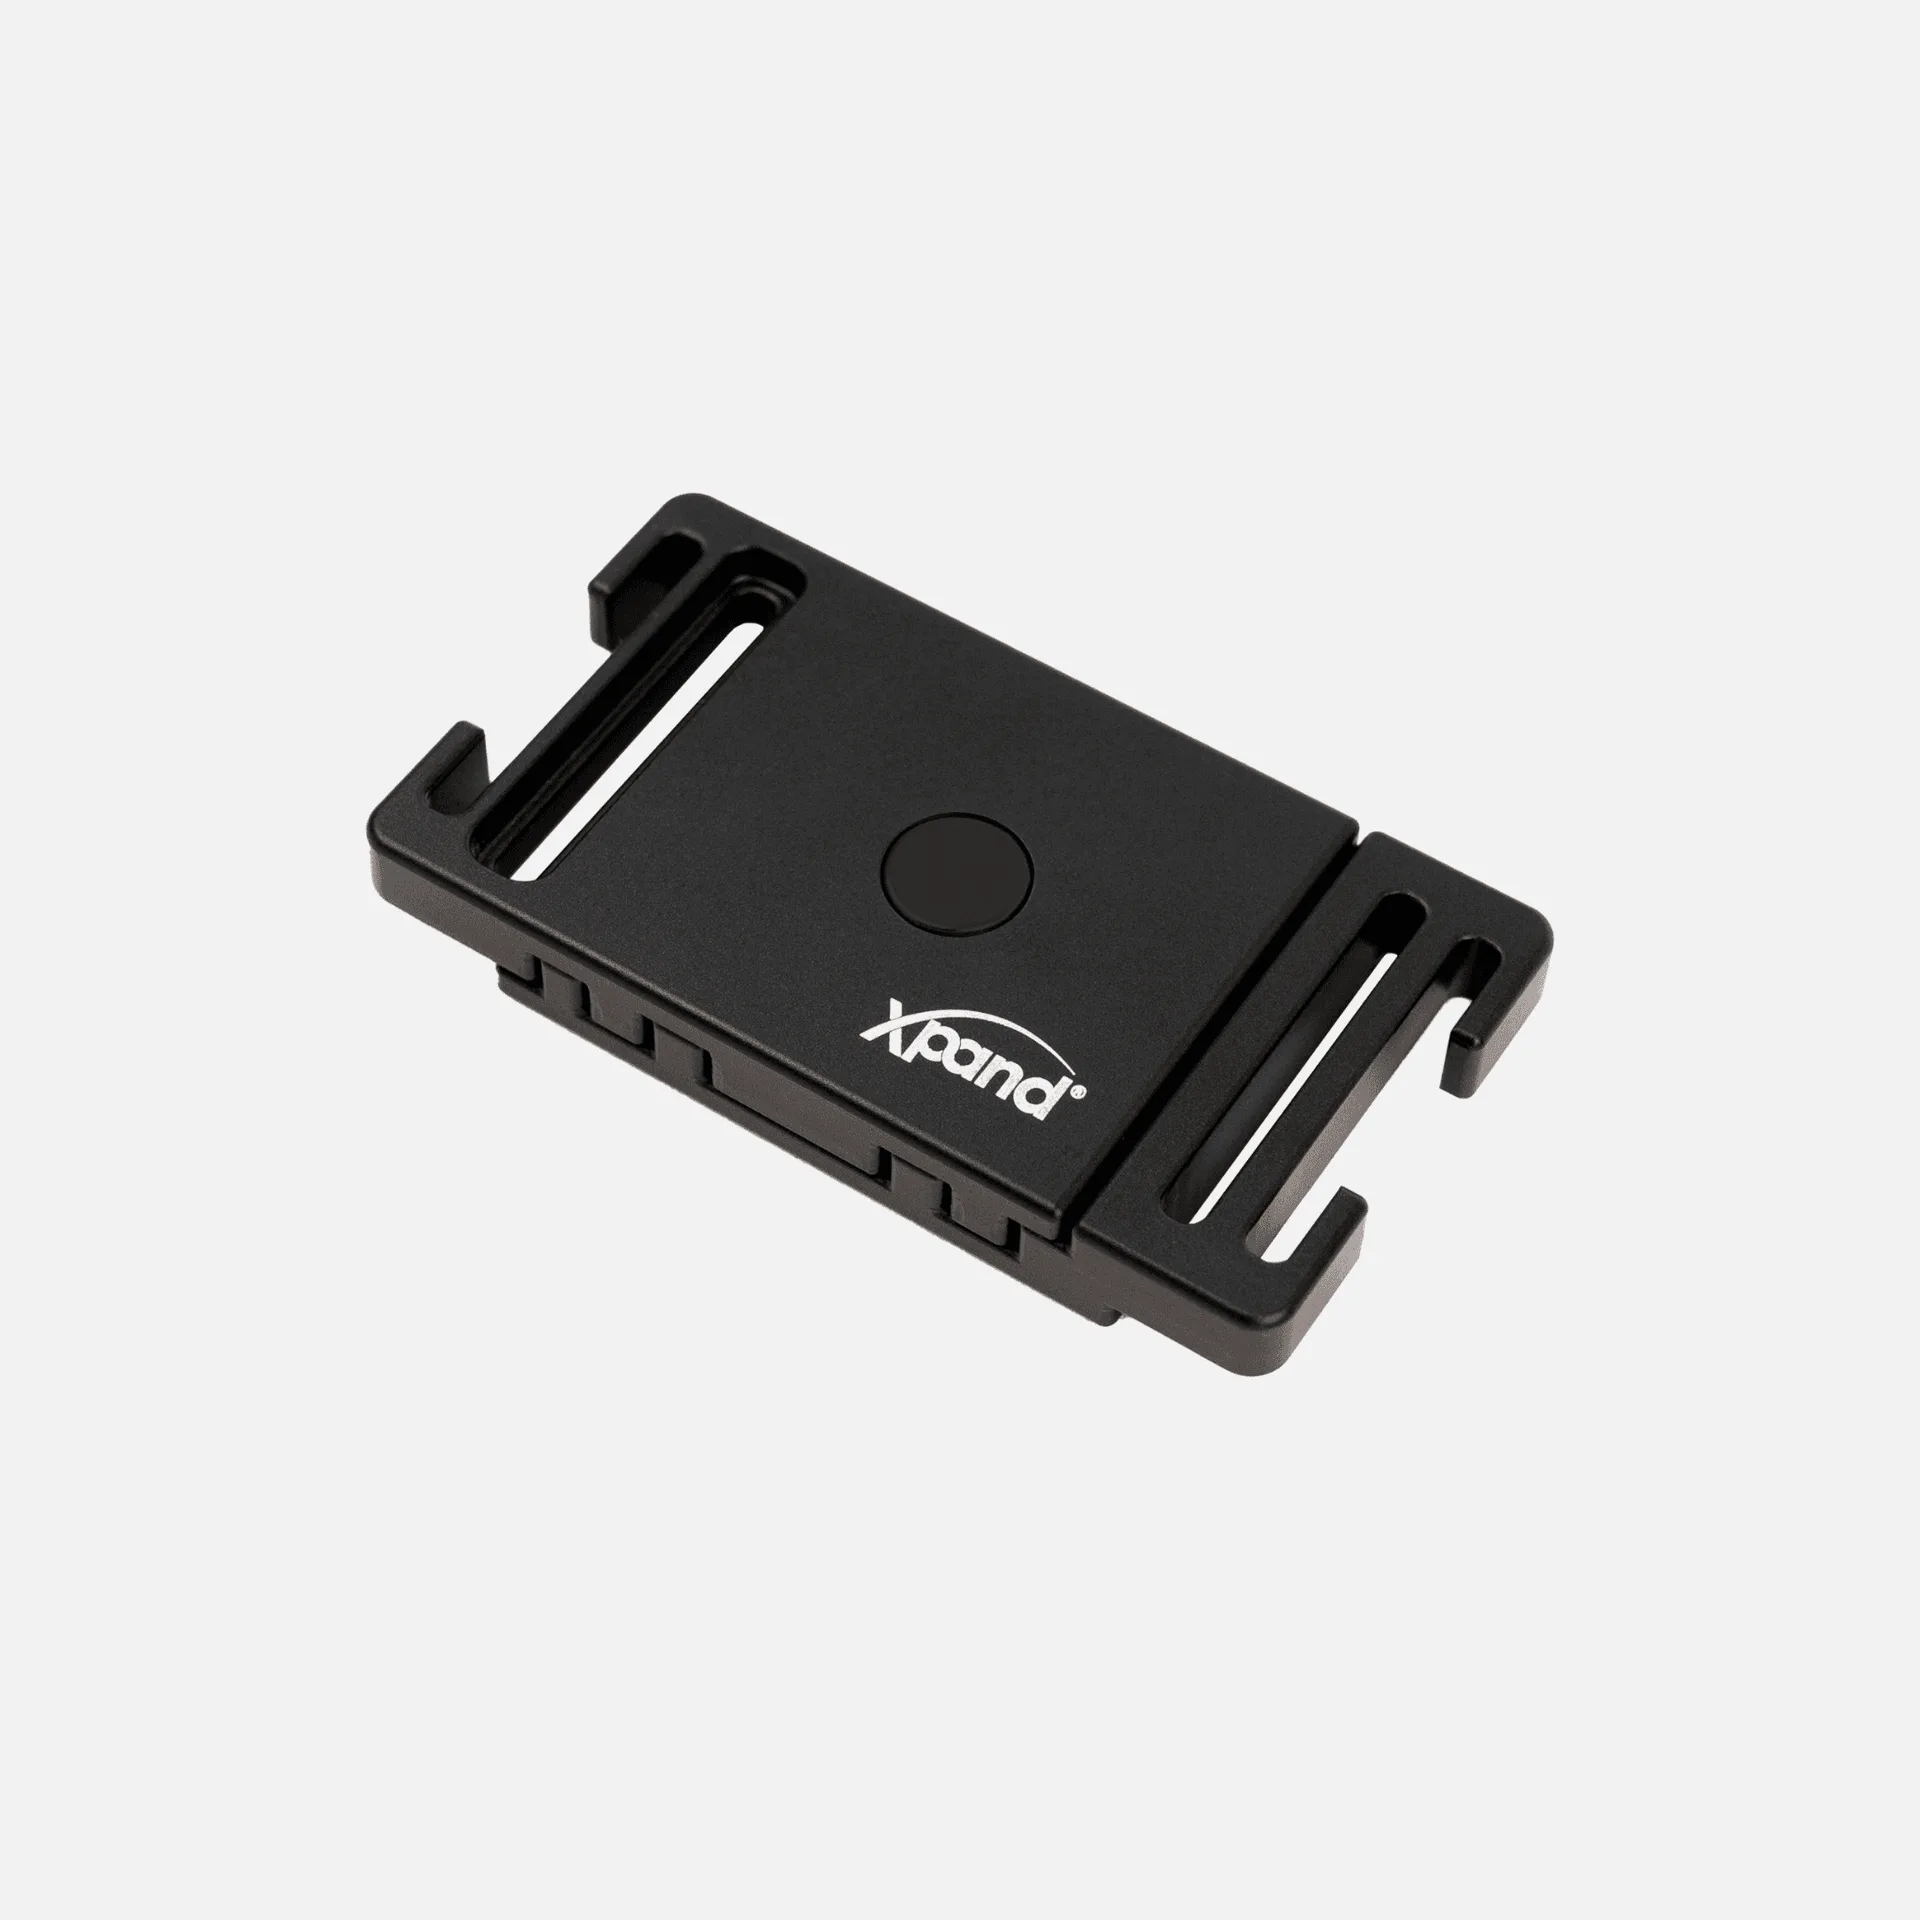
An improperly secured belt buckle can ruin your silhouette, cause discomfort, or even lead to wardrobe malfunctions. Whether you're dressing for a formal event or a casual day out, a well-adjusted belt ensures your pants stay put and your style stays polished. Regular adjustments also prevent unnecessary wear on the belt strap and prong holes, extending the life of your favorite accessory. If you're using a belt with a removable buckle, such as those from Xpand Laces' belt accessories line, you have even more flexibility to customize the fit.
Common Signs Your Belt Buckle Needs Adjustment
- The buckle slips or slides out of place during wear.
- The prong doesn't align properly with the holes.
- The belt feels too tight or too loose after initial adjustment.
- Visible fraying or damage around the buckle attachment area.
If any of these sound familiar, it's time to take action. The good news is that most adjustments are simple and can be done at home with minimal tools.
Step-by-Step Guide to Adjusting Your Belt Buckle
Follow these steps to securely adjust your belt buckle for a comfortable, long-lasting fit.
Step 1: Identify Your Belt and Buckle Type
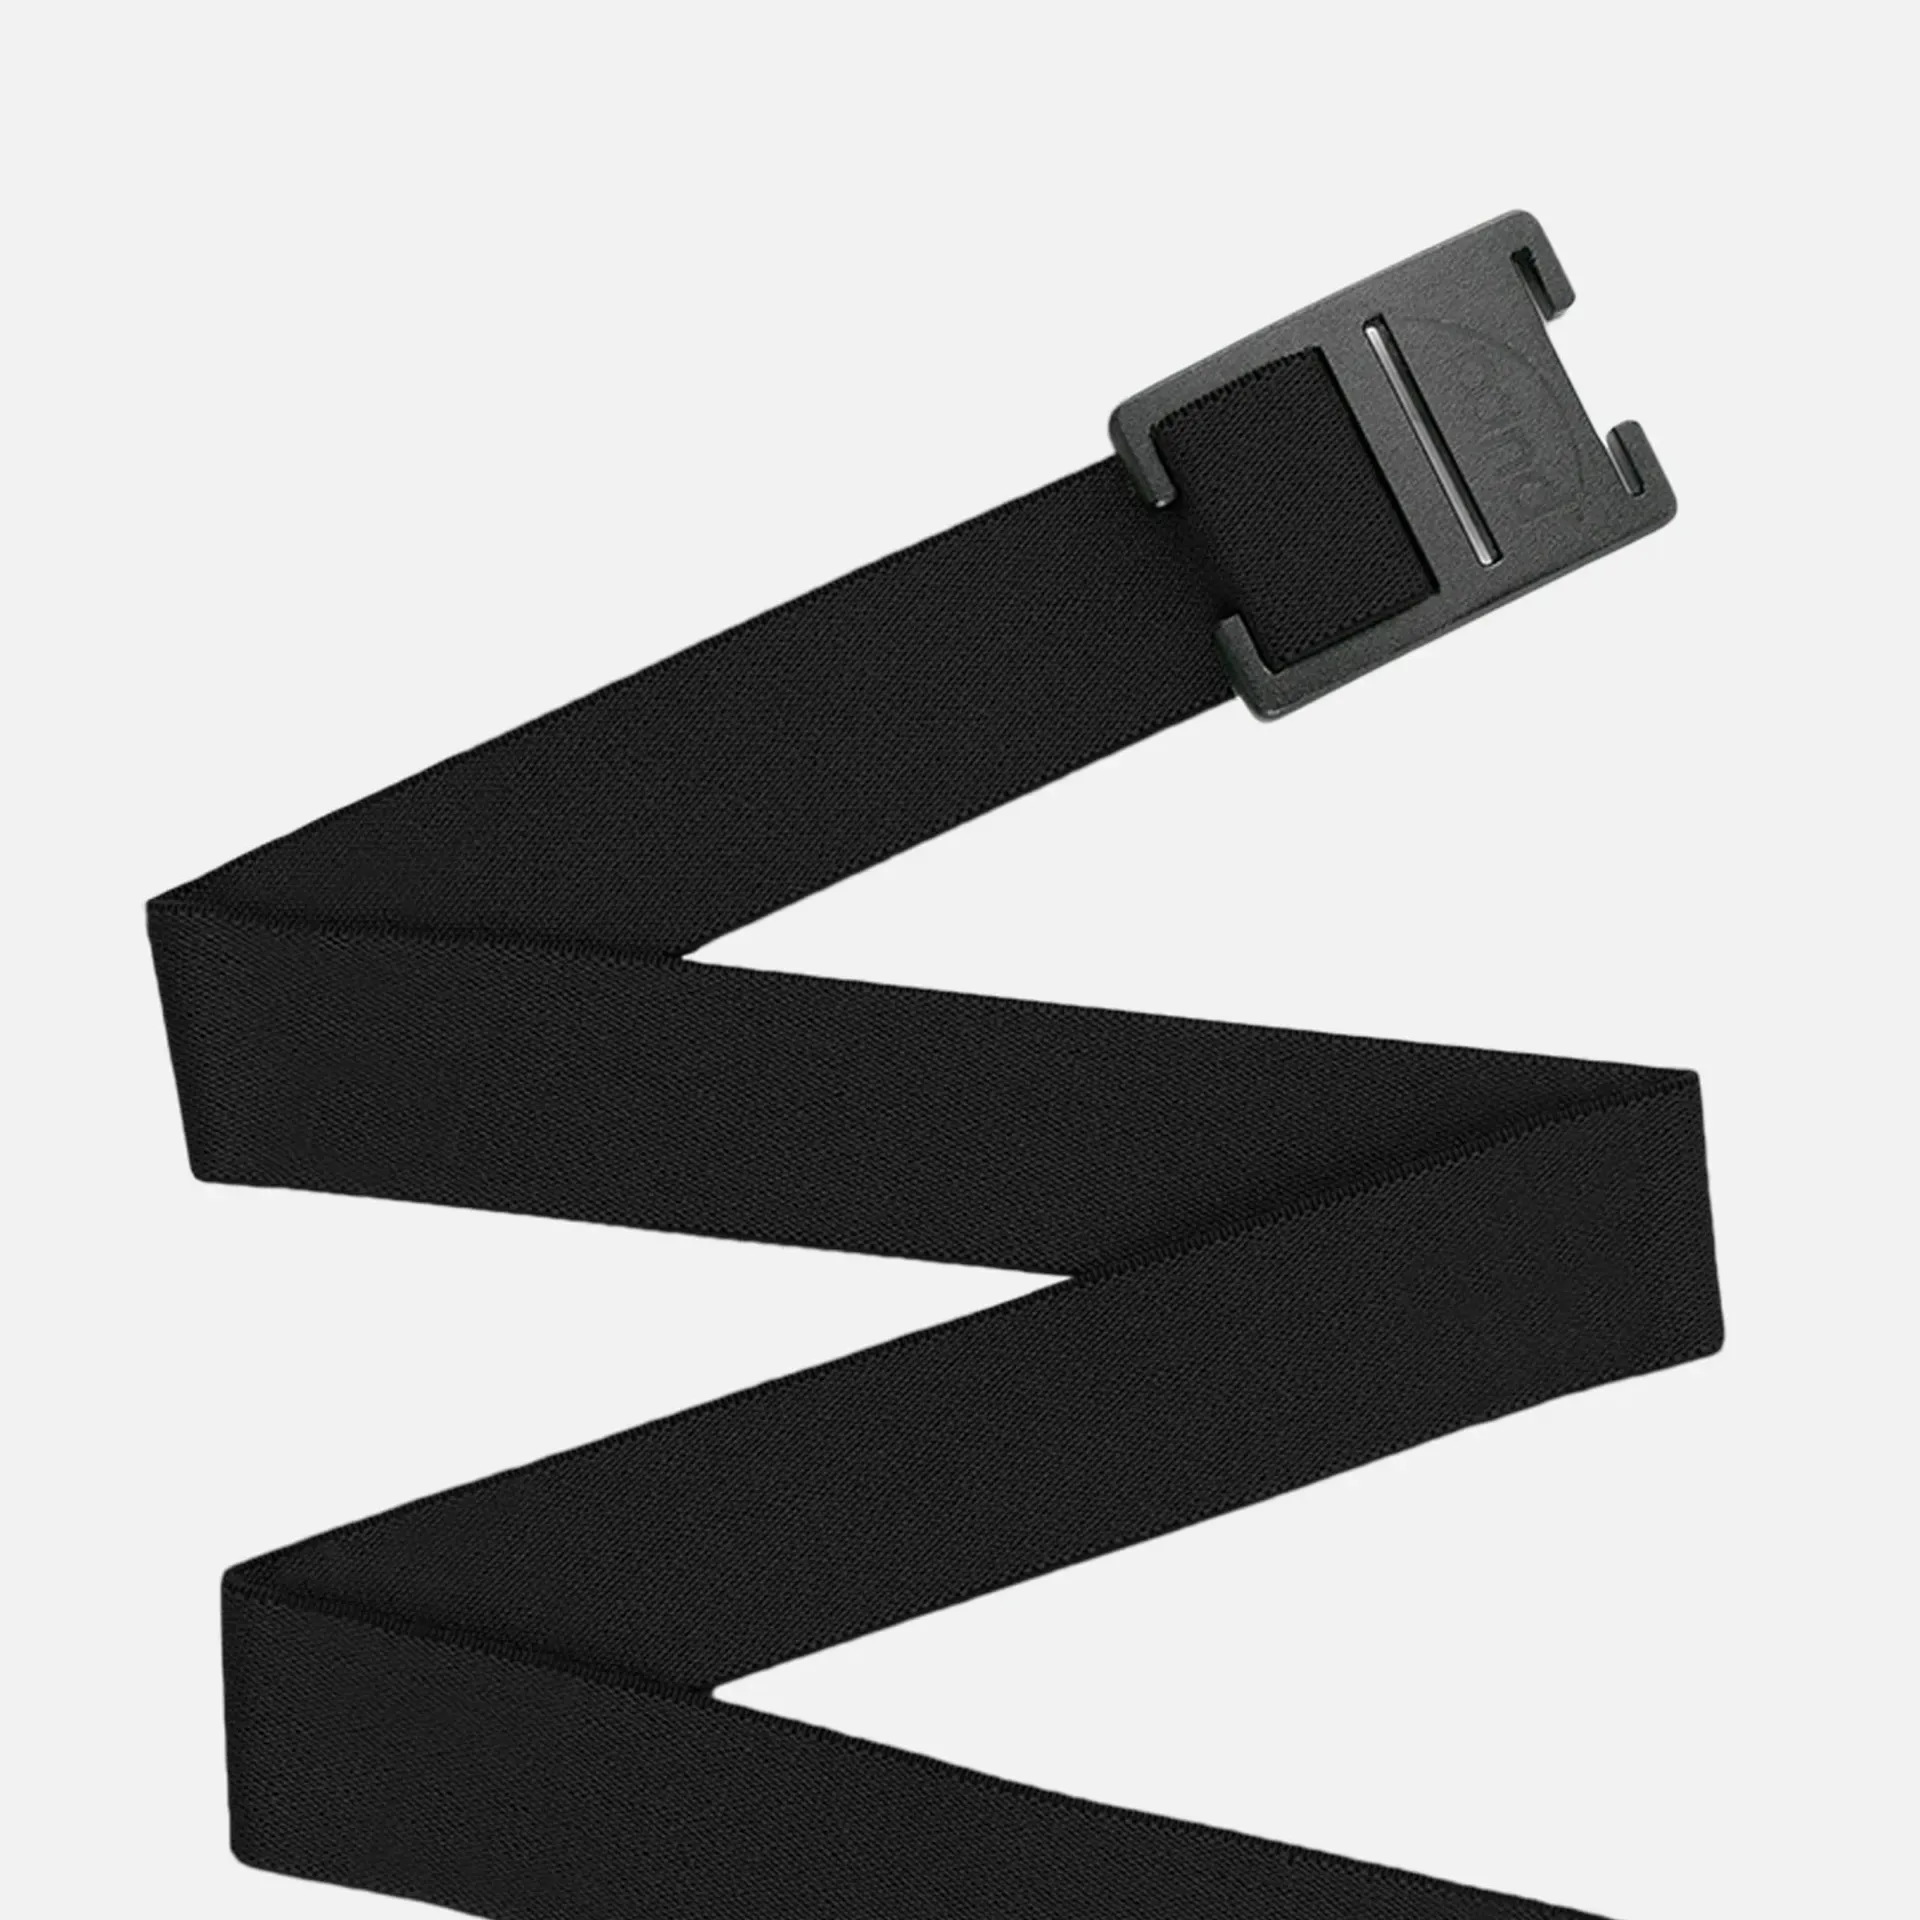
Belts come in two main styles: those with a fixed buckle (sewn or riveted) and those with a removable buckle (often using a screw or clip system). For removable buckles, adjustments are simpler. For fixed buckles, you may need to modify the strap itself. Many modern belts, including those compatible with the Belt Loop (Pack of 2) from Xpand Laces, allow for easy swapping without damaging the strap.
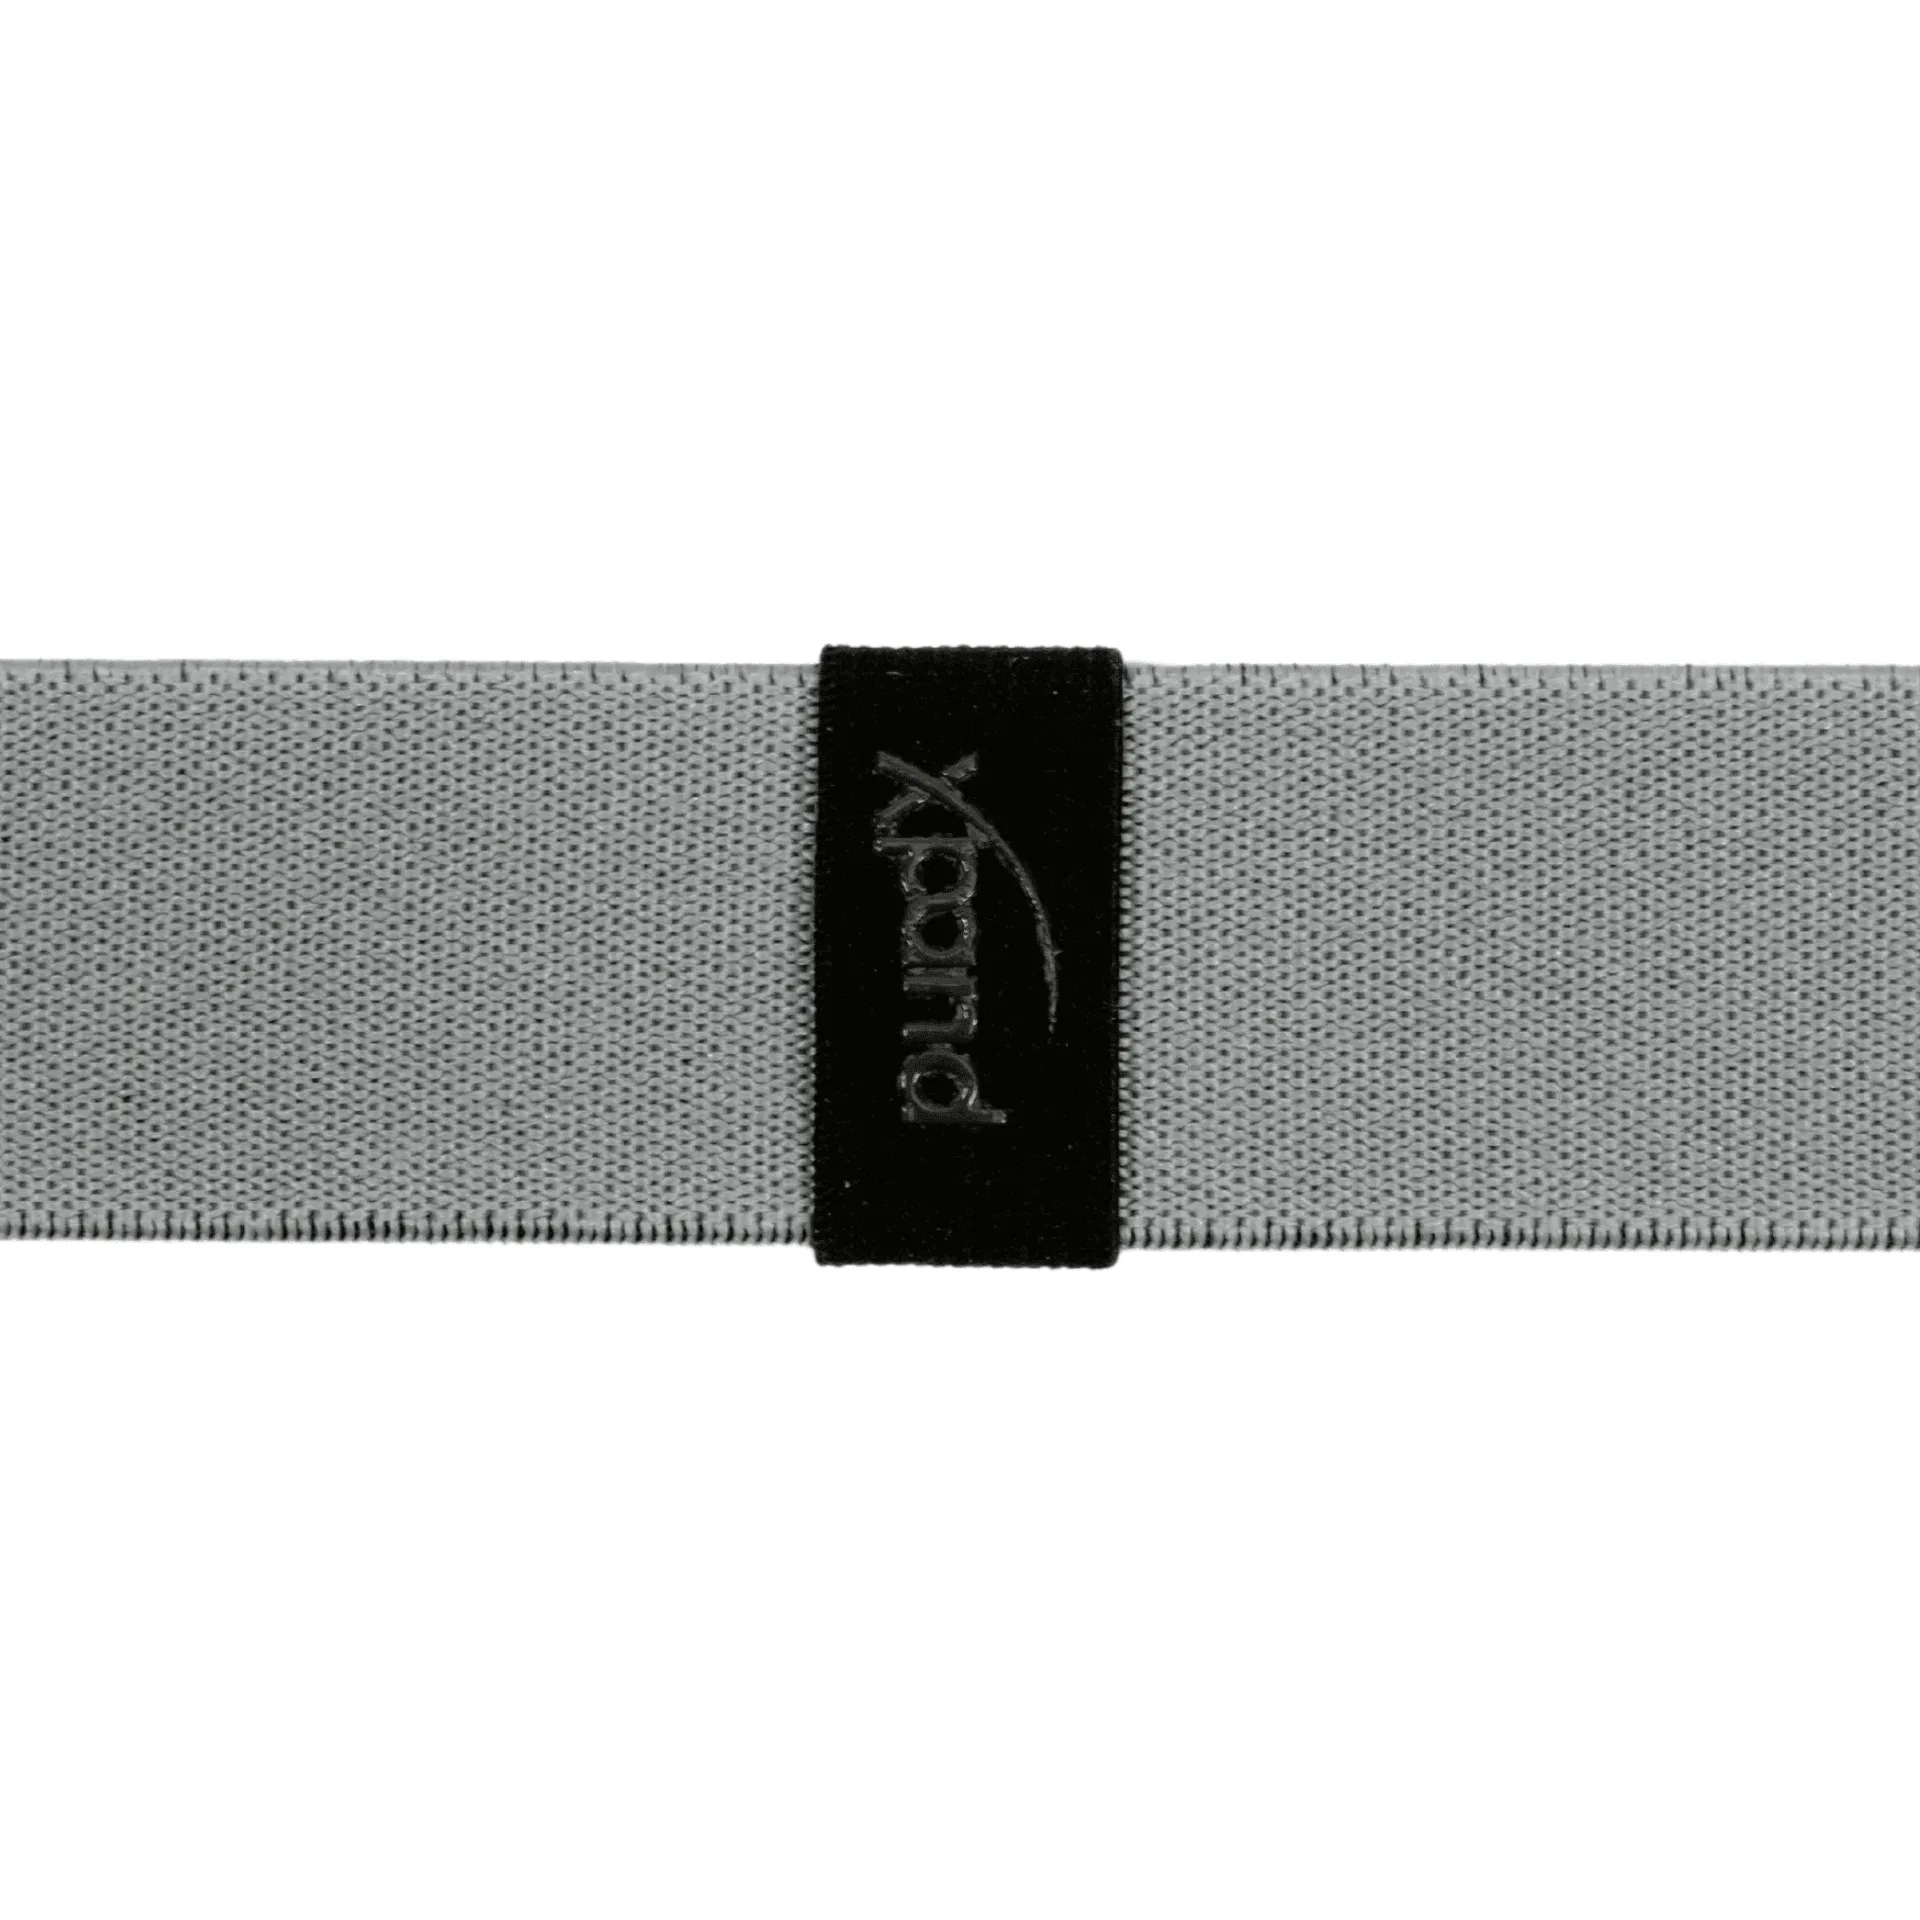
Belt Loop (Pack of 2)
Step 2: Loosen the Buckle Attachment
If your buckle is held by a screw, use a small screwdriver (usually Phillips or flathead) to gently loosen it. Do not remove it completely yet. For clip-on buckles, press the release mechanism. For stitched buckles, you may need to cut the stitching carefully with a seam ripper—proceed with caution if you plan to reuse the buckle.
Step 3: Adjust the Strap Length
Pull the belt strap through the buckle to your desired length. The general rule is that the tail end of the belt should extend past the buckle by 2–4 inches when fastened. If your belt has multiple holes, choose the one that gives a snug but not tight fit. For belts without pre-punched holes, mark the spot with a pen and use a leather punch to create a new hole. This is a great time to inspect the strap for wear and consider reinforcing it with a Belt Loop (Pack of 2) to keep the tail securely in place.
Step 4: Tighten the Buckle
Once the strap is at the right length, retighten the screw or re-engage the clip. Ensure the buckle is centered and doesn't wobble. For screw-type buckles, apply a small amount of threadlocker (like Loctite) to prevent loosening over time. Test the adjustment by wearing the belt for a few minutes—if it feels off, repeat steps 2–3.
Step 5: Secure the Tail
If your belt has a long tail after adjustment, use a belt loop to keep it tidy. The Belt Loop (Pack of 2) is designed to slide over the tail and hold it flat against the strap, preventing it from flopping or catching on things. This simple accessory can make a big difference in comfort and appearance.
How to Replace a Belt Buckle
Sometimes adjustment isn't enough—you may need to replace the buckle entirely due to damage, wear, or a style upgrade. Here's how to do it safely.
Tools You'll Need
- Small screwdriver (for screw-type buckles)
- Pliers (for stubborn clips or rivets)
- Seam ripper (for stitched buckles)
- New buckle (compatible with your strap width)
- Optional: threadlocker, leather conditioner
Removing the Old Buckle
For screw-type buckles, simply unscrew and remove. For riveted buckles, you may need to drill out the rivet with a small drill bit—do this carefully to avoid damaging the strap. For stitched buckles, cut the stitching and pull the buckle free. Be sure to save any washers or spacers that came with the original buckle.
Installing the New Buckle
Slide the new buckle onto the strap, ensuring the prong (if present) aligns with the holes. For screw-type buckles, insert the screw through the buckle and strap, then tighten. Use threadlocker if desired. For clip-on buckles, snap them into place. For stitched buckles, use a heavy-duty needle and waxed thread to sew the buckle securely—double-stitch for strength. After installation, test the buckle's movement and tightness.
Belt Care Tips to Extend Longevity
Proper care can double the life of your belt. Here are essential belt care guide tips.
Care Tip
Why It Matters
How Often
Clean with a damp cloth
Removes dirt and sweat that can degrade leather
Weekly
Condition leather straps
Prevents cracking and keeps suppleness
Monthly
Avoid excessive moisture
Water weakens stitching and leather
Always
Store belts flat or hung
Prevents kinks and warping
Daily
Check buckle tightness
Prevents loss or damage
Every few months
Additionally, if you notice the buckle's prong is bent or the latch is loose, consider replacing the buckle rather than forcing it. For those who wear athletic shoes with no-tie laces, maintaining belt care with similar attention to detail—like using the Belt Loop (Pack of 2)—ensures all your accessories work together seamlessly.
Common Mistakes to Avoid
- Overtightening: Can strip screw threads or damage the strap.
- Using the wrong tools: A dull screwdriver can slip and scratch the buckle.
- Skipping the tail loop: A loose tail can catch on door handles or furniture.
- Ignoring wear signs: A cracked buckle can break suddenly, causing injury.
When to Seek Professional Help
If your belt is a high-end leather piece or has intricate stitching, consider taking it to a cobbler or tailor for buckle replacement. They have specialized tools and experience to avoid damaging the strap. Similarly, if the strap itself is worn out, it may be more cost-effective to buy a new belt rather than just replacing the buckle. Xpand Laces offers a range of belt accessories designed for easy DIY maintenance, so most adjustments can be handled at home.
Conclusion
Adjusting and replacing a belt buckle is a straightforward skill that can save you time and money while keeping your wardrobe functional and stylish. With the right tools and a bit of patience, you can ensure your belt fits perfectly and lasts for years. Remember to check your buckle regularly, clean and condition your strap, and use accessories like the Belt Loop (Pack of 2) to maintain a polished look.
Ready to upgrade your belt game? Explore the full range of belt accessories from Xpand Laces, including durable belt loops and replacement buckles, to keep your favorite belts in top condition. Your wardrobe—and your waistband—will thank you.