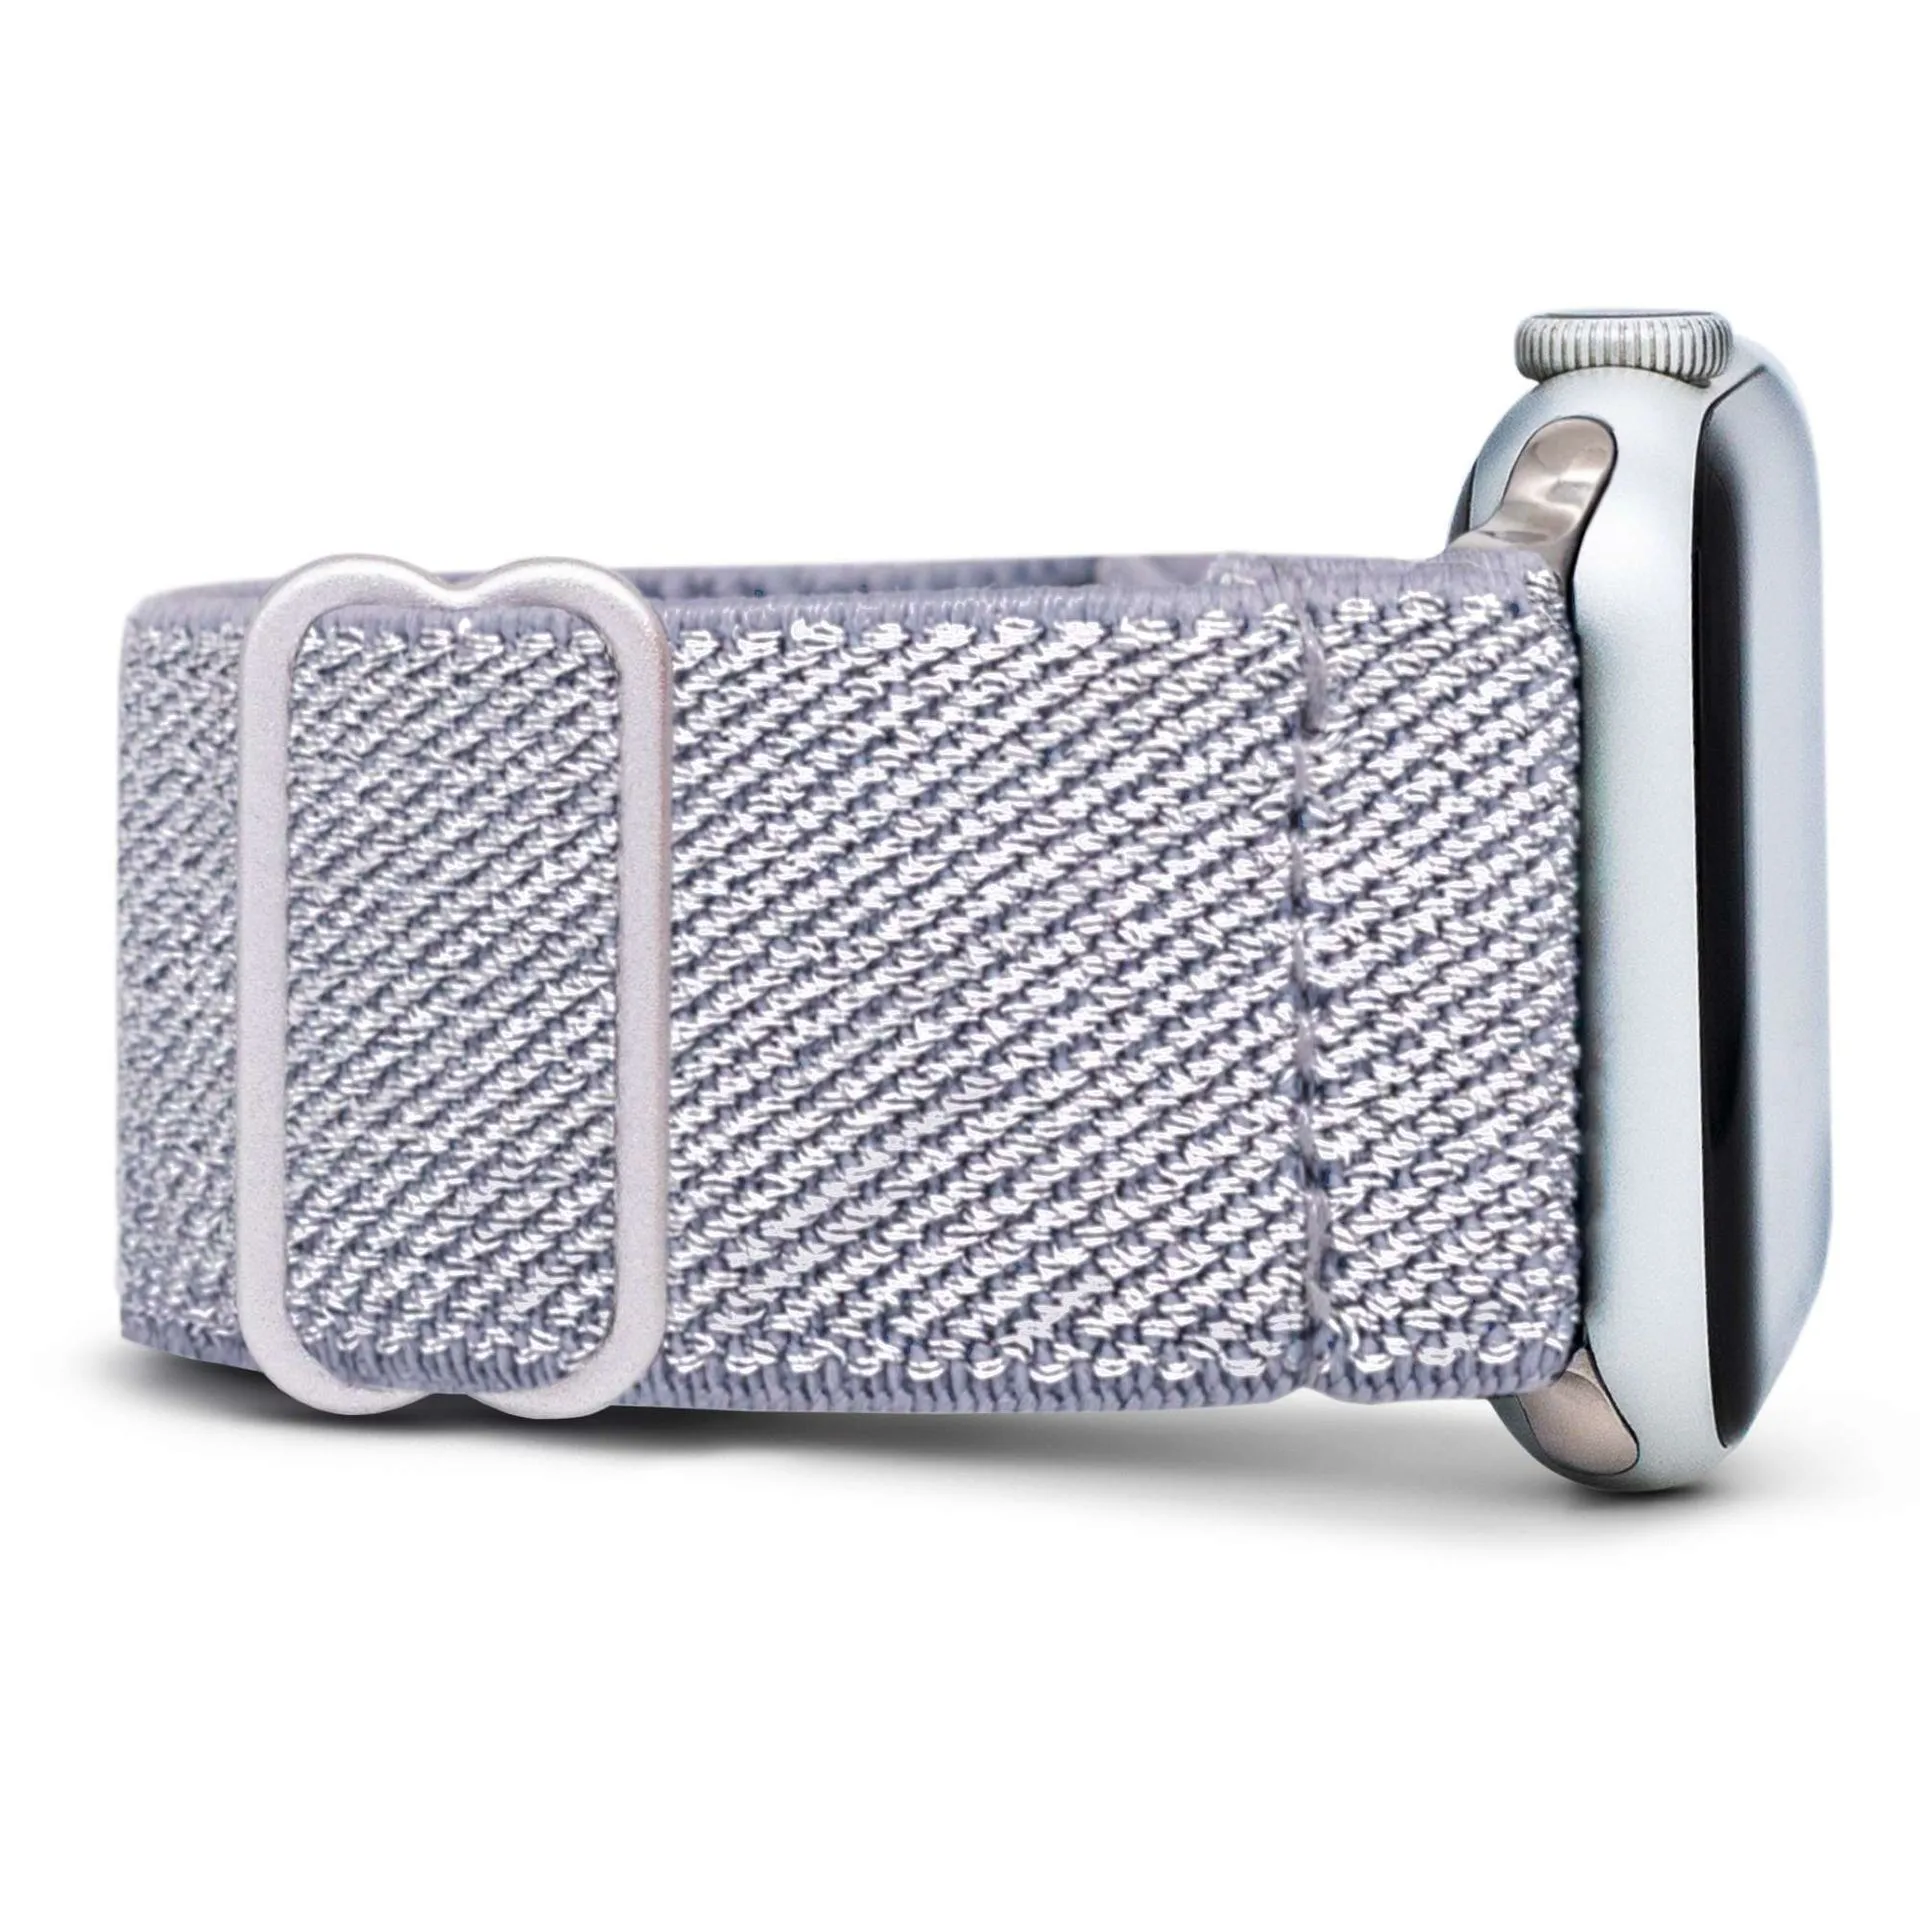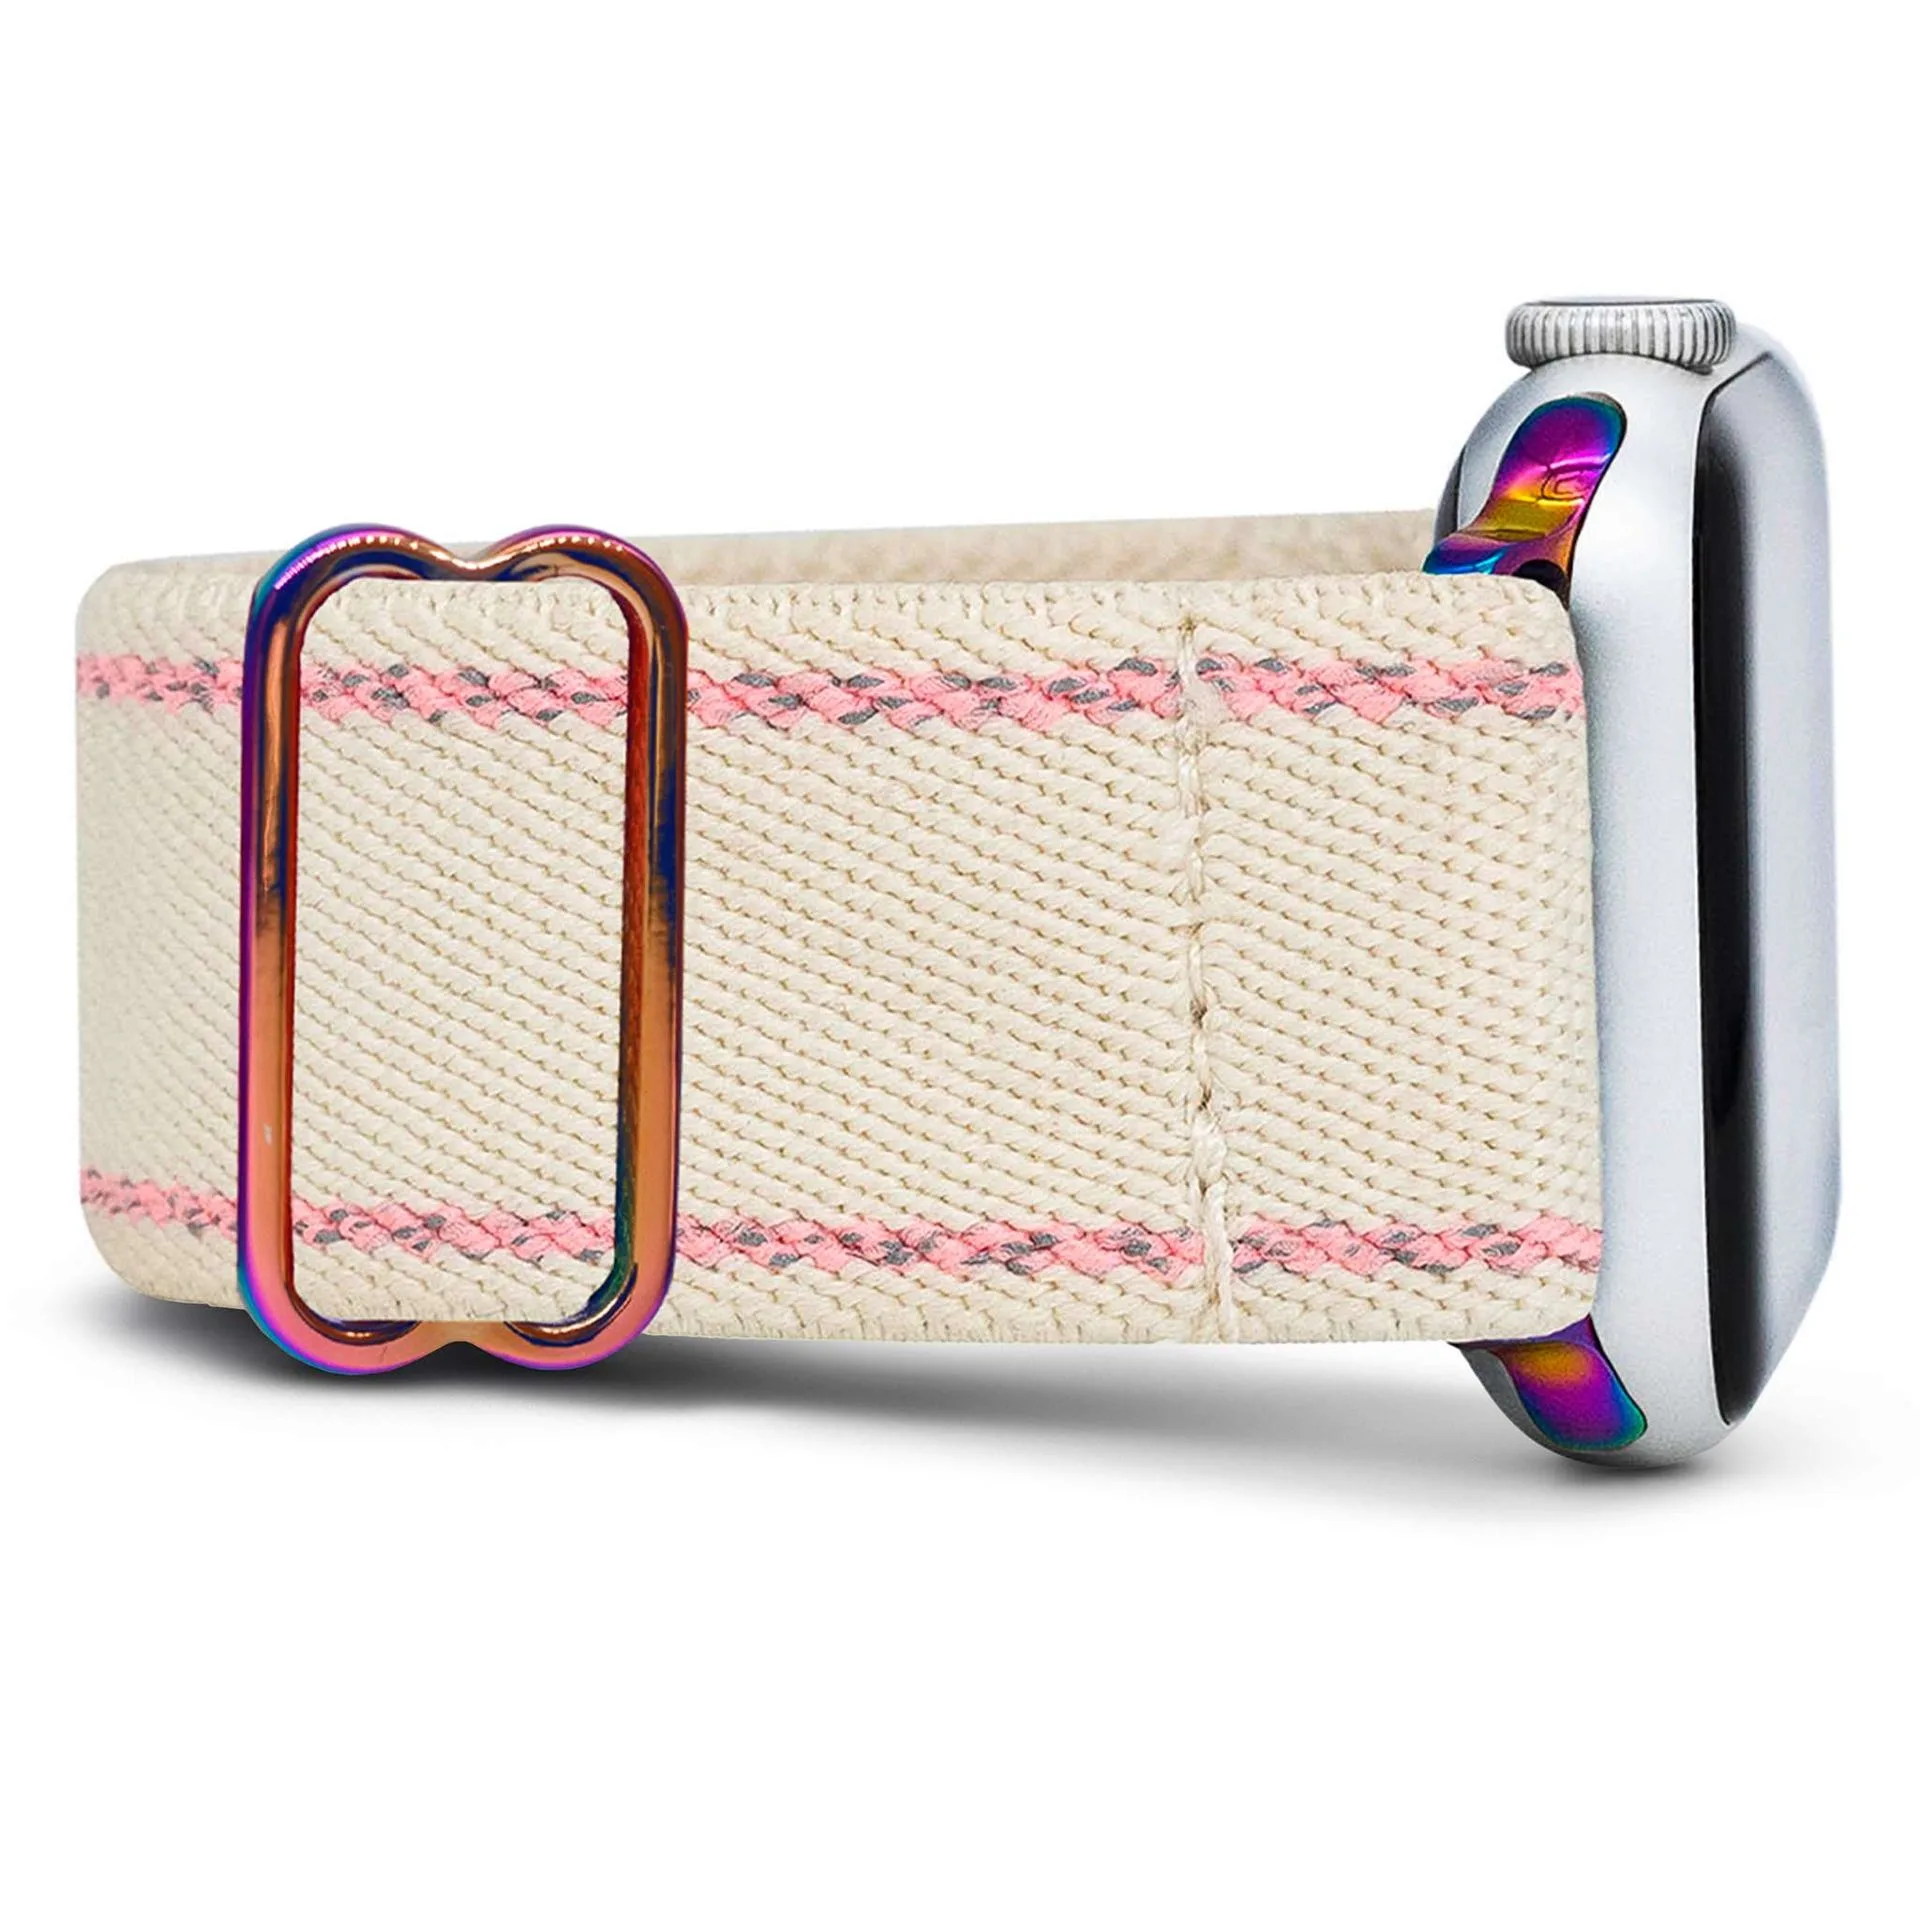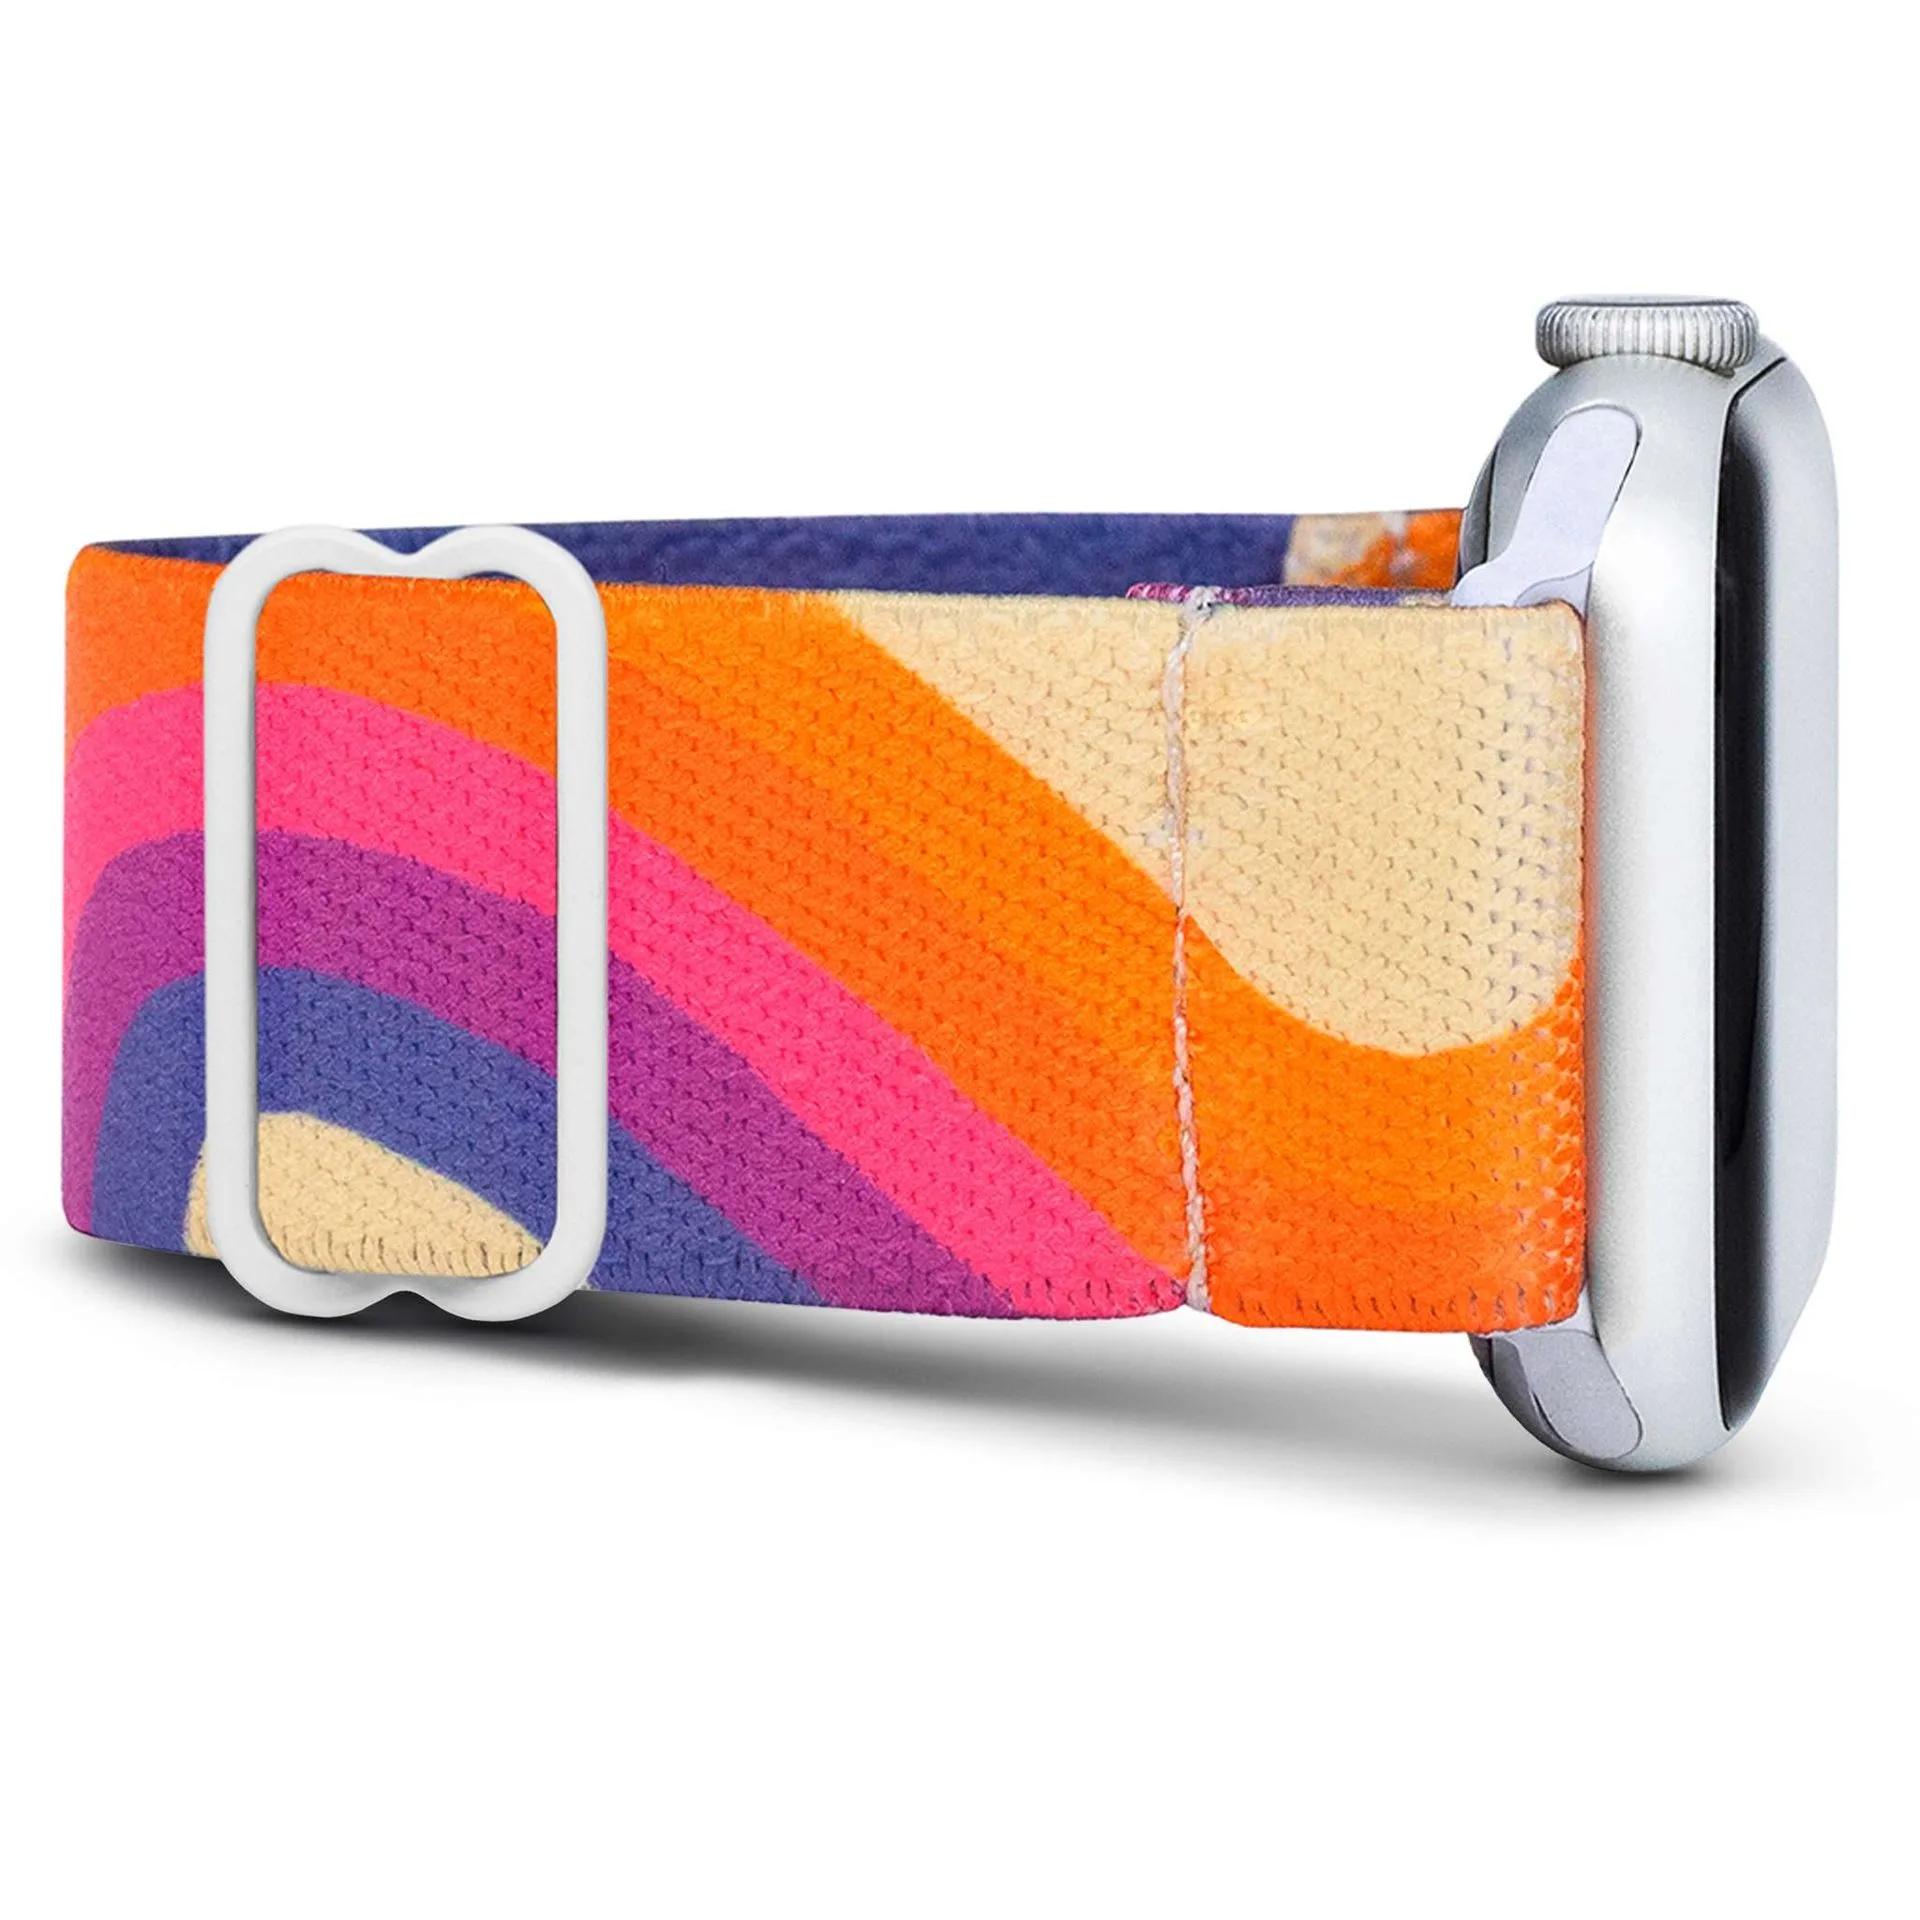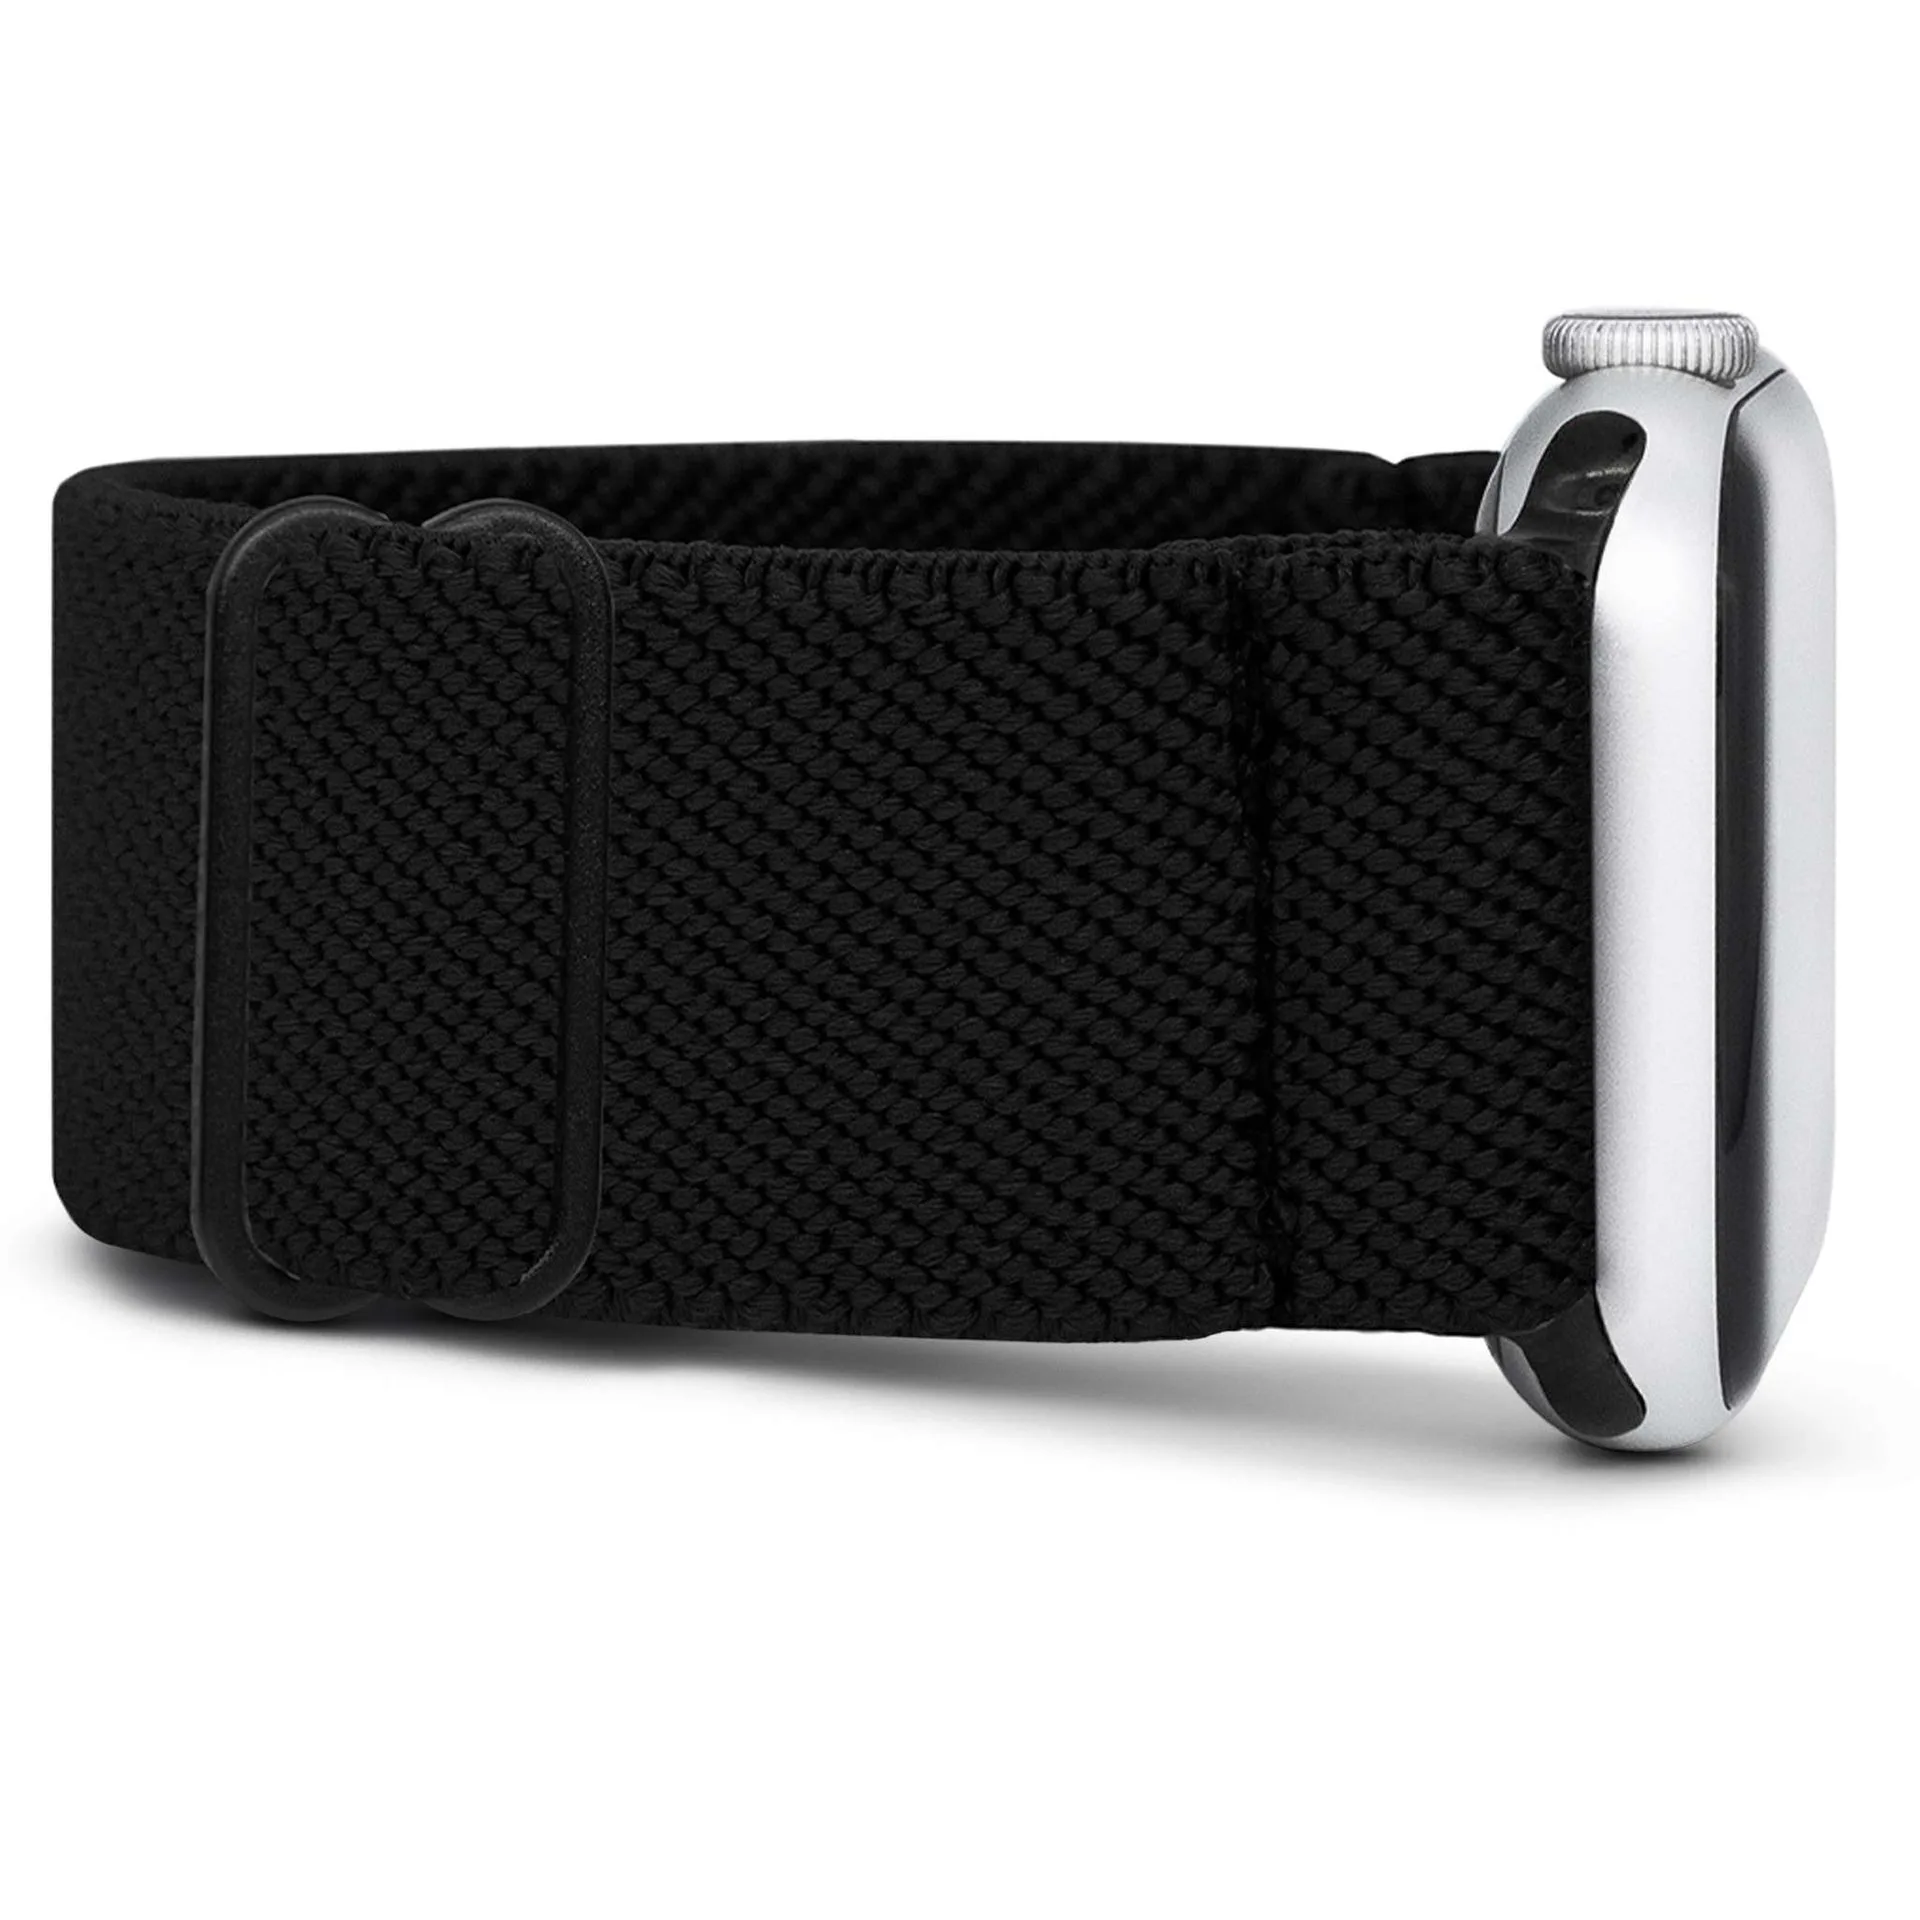
One of the best features of the Apple Watch is its interchangeable band system. Whether you want to switch from a sporty silicone band to a sleek leather one for a night out, or simply need to clean your current band, the process is designed to be fast and tool-free. In fact, with a little practice, you can swap your Apple Watch band in under 60 seconds.
This guide will walk you through the entire process—from releasing the old band to snapping in the new one—so you can change your look or upgrade your comfort in no time. We will also cover common mistakes to avoid and how to ensure your new band is secure.
What You Need to Know Before You Start
Apple Watch bands use a simple slide-and-click mechanism. The band connects to the watch case via two small buttons on the back of the watch. There are no screws, tools, or adapters required. This design makes swapping bands incredibly easy, even for first-time users. However, it is important to ensure your watch is clean and dry before you begin, and that you have a soft surface to work on to avoid scratches.
Before removing your current band, take a moment to identify which generation of Apple Watch you have. Bands for 38mm, 40mm, and 41mm cases are interchangeable, as are bands for 42mm, 44mm, and 45mm cases. If you are unsure, check the back of your watch for the model number. Braxley Bands offers a wide range of styles for all sizes, including the popular earth-49822">Earth band, which is available in multiple sizes.
- Always press the release button firmly until the band slides out. Never force the band or pull it at an angle.
Step 1: Remove the Old Band
Start by placing your Apple Watch face down on a clean, soft cloth or towel. This protects the screen and gives you easy access to the band release buttons. Locate the small oval button on the back of the watch, near where the band connects. Press and hold this button inward. While holding the button, slide the band sideways out of the slot. It should come out smoothly. Repeat this step for the other side of the band.
If you are removing a band that has been on for a long time, you may feel some resistance. This is normal. Simply press the button a little harder and slide the band out. Do not pull the band by the strap itself, as this can damage the connector. Once both pieces are removed, set them aside. You can now see the two parallel grooves on the watch case where the new band will slide in.
- Tip: If you plan to reuse the old band later, store it in a dry, dust-free place.
Step 2: Attach the New Band
Take your new Apple Watch band and identify which piece goes on the top (display side) and which goes on the bottom (heart rate sensor side). Most bands are labeled or have a subtle difference in shape. For example, the band with the buckle or clasp usually goes on the bottom. Slide the connector into the groove on the watch case, making sure the band's curve matches the watch's curve. Push it in until you hear a satisfying click.
Repeat the process for the other side. Once both pieces are inserted, gently tug on each band to confirm they are locked in place. If they slide out easily, you may not have pressed them all the way in. Try again, ensuring the release button pops out fully. Braxley Bands' blackout-49825">Blackout band, for instance, features a secure click-in mechanism that gives you confidence the band is attached correctly.
- Double-check that the band is oriented correctly—the text or logo on the band should face outward when worn.
Step 3: Test and Adjust the Fit
Now that your new band is attached, put the watch on your wrist. Adjust the band to your preferred tightness. A properly fitted band should be snug but not constricting—you should be able to slide one finger between the band and your wrist. If the band has multiple holes or an adjustable slider, find the setting that feels most comfortable. For active use, a slightly tighter fit prevents the watch from sliding around.
If you are using a fabric or elastic band, like the Slim Pacific, note that these materials may stretch slightly over time. You might need to adjust the fit after a few wears. Also, make sure the band does not interfere with the heart rate sensor on the back of the watch. The sensor needs direct contact with your skin for accurate readings, so avoid wearing the band too loosely.
- If the band feels too loose or too tight, try a different hole or adjust the slider before your first full day of wear.
Common Mistakes to Avoid When Swapping Bands
One of the most common mistakes is forcing the band into the slot at the wrong angle. Always slide the band straight in, parallel to the watch case. Tilting it can bend the connector pins or damage the groove. Another mistake is not pressing the release button all the way before removal. This can cause the band to catch and potentially scratch the watch. Take your time the first few times; speed will come with practice.
Another issue is using a band that is not compatible with your watch size. Double-check that the band width matches your watch case size. Braxley Bands offers both 38/40/41mm and 42/44/45mm options, so you can find the perfect fit for your model. For example, the Dusk band is available in both sizes, ensuring a seamless fit. Finally, avoid swapping bands in dusty or wet environments, as debris can get into the release mechanism.
- If you hear a grinding sound when sliding the band, stop immediately and check for obstructions.
Benefits of Having Multiple Apple Watch Bands
Owning multiple bands allows you to customize your Apple Watch for any occasion. A sporty silicone band is great for workouts and outdoor activities, while a leather or woven band elevates your look for work or formal events. With Braxley Bands' collection, you can easily switch from the Nitro band for a bold, athletic vibe to the Pure band for a minimalist, everyday style.
Having extra bands also extends the life of your watch. By rotating bands, you reduce wear and tear on any single strap. Additionally, you can match your band to your outfit, mood, or season. The quick-swap mechanism makes it effortless to change bands multiple times a day without any tools. It is one of the simplest ways to keep your Apple Watch feeling fresh and new.
- Consider buying a band with a quick-release spring bar for even faster swaps on leather or metal bands.
Swapping your Apple Watch band is a quick and rewarding way to personalize your device. With just a few seconds and no tools, you can transform your watch from sporty to sophisticated. Ready to upgrade your look? Explore the Earth band from Braxley Bands for a versatile, nature-inspired style that pairs perfectly with any outfit.