Discovering a tick bite can be unsettling, especially with the growing awareness of Lyme disease and other tick-borne illnesses. The good news is that you don’t have to wait for symptoms to appear to take action. With a home tick testing kit, you can test a tick for Lyme disease quickly and conveniently, giving you peace of mind and the information you need to seek early treatment if necessary.
In this step-by-step guide, we’ll walk you through the entire process—from safely removing the tick to using a tick testing kit and interpreting the results. Whether you’re an outdoor enthusiast, a parent, or someone who simply wants to be prepared, this article will help you navigate tick testing with confidence.
Why Test a Tick for Lyme Disease?
Testing a tick for Lyme disease is a proactive step that can save you weeks of uncertainty. Not all ticks carry the bacteria that cause Lyme disease (Borrelia burgdorferi), and even if a tick is infected, the risk of transmission increases the longer it remains attached. By testing the tick itself, you can determine whether it was a carrier before any symptoms develop in you or your family member.
Early detection of Lyme disease is critical. Symptoms can mimic the flu—fever, fatigue, muscle aches—and may not appear for days or weeks after the bite. A positive tick test allows you to consult your healthcare provider promptly, potentially starting treatment before the infection spreads. This is especially important for children, pregnant individuals, and those with compromised immune systems.
- Tick testing is recommended by many health authorities, including the CDC, for monitoring local tick-borne disease prevalence.
- Knowing the tick species also helps: black-legged ticks (deer ticks) are the primary carriers of Lyme disease, while other species may transmit different pathogens.
Step 1: Safely Remove the Tick
Before you can test a tick, you must remove it properly. Using fine-tipped tweezers, grasp the tick as close to the skin’s surface as possible. Pull upward with steady, even pressure—do not twist or jerk, as this can cause the mouthparts to break off and remain in the skin. If mouthparts remain, remove them with tweezers if possible, or leave them alone and let the skin heal.
After removal, clean the bite area and your hands with rubbing alcohol or soap and water. Place the tick in a clean, dry container such as a zip-top bag or a small vial. Do not crush the tick, as this can damage it and affect testing. For best results, keep the tick alive or refrigerate it (do not freeze) until you are ready to test.
- Avoid using petroleum jelly, nail polish, or heat to remove a tick—these methods are ineffective and may increase the risk of infection.
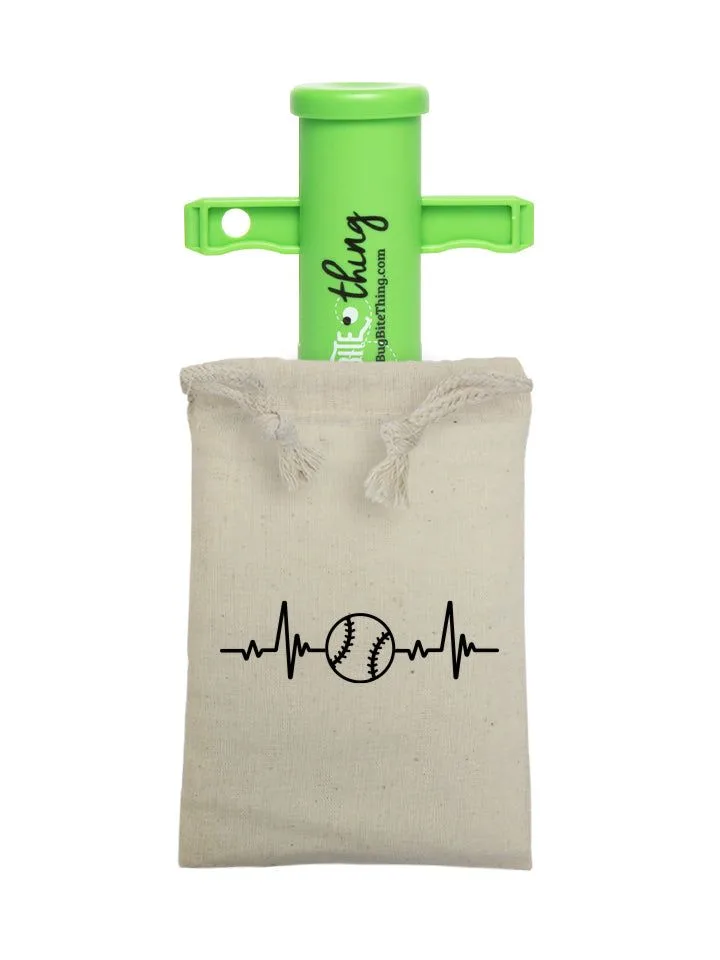
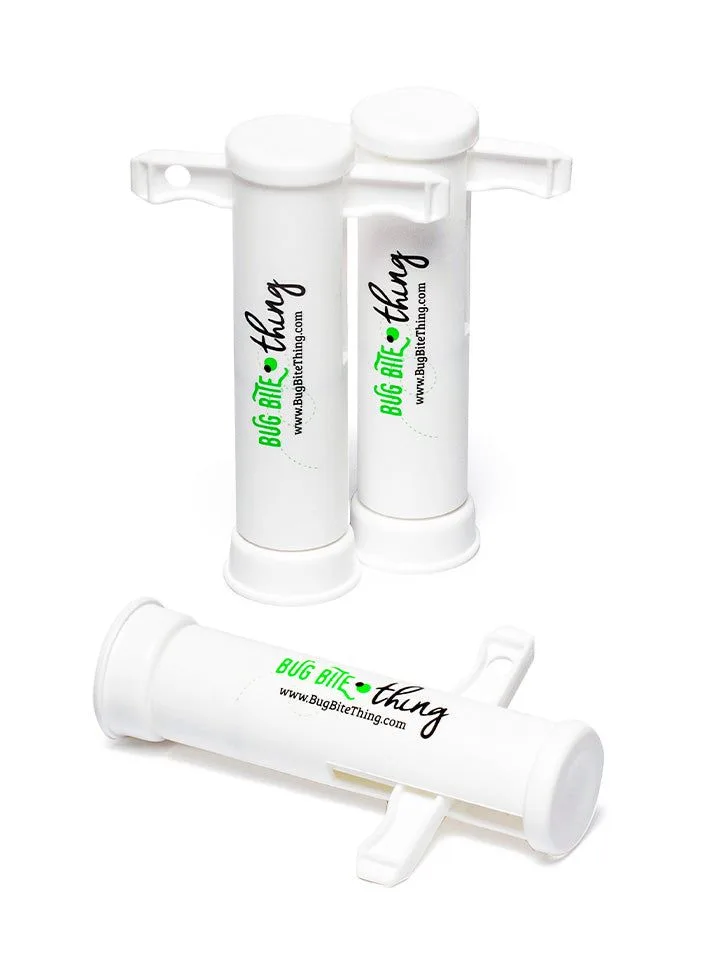
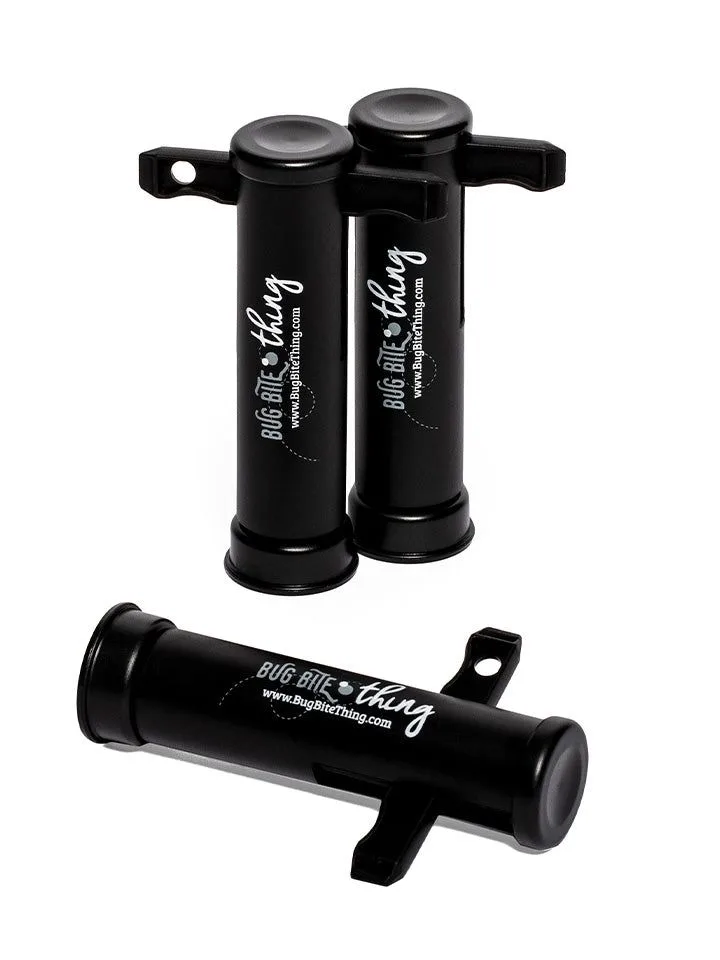
- If you prefer a dedicated removal tool, consider the Bug Bite Thing Tick Remover for a safe and easy extraction.
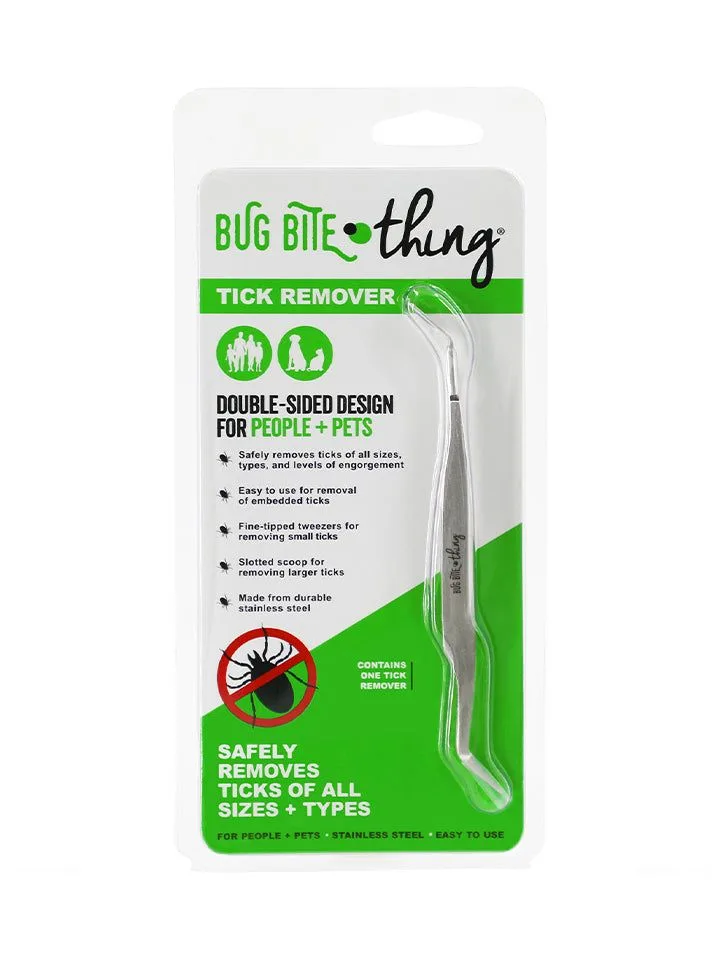
Bug Bite Thing Tick Remover
Step 2: Choose a Reliable Home Tick Testing Kit
Not all tick testing kits are created equal. For accurate results, look for a kit that uses PCR (polymerase chain reaction) technology, which detects the DNA of the Lyme disease bacteria. PCR testing is highly sensitive and can identify the pathogen even in small or damaged ticks. Some kits also test for other co-infections like anaplasmosis or babesiosis, giving you a broader picture.
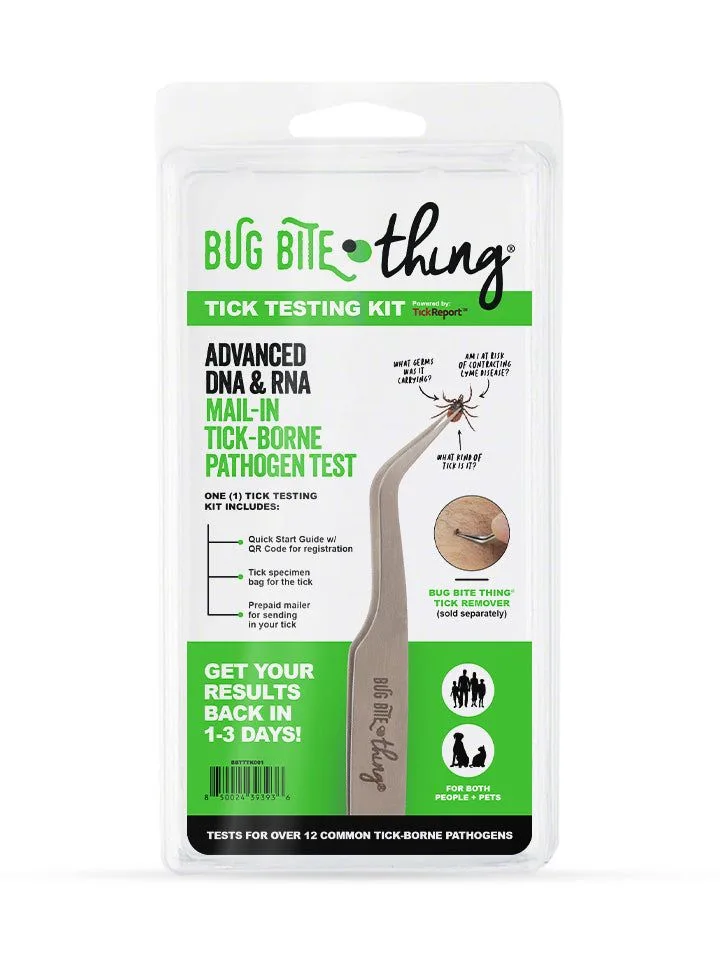
One trusted option is the Bug Bite Thing Tick Testing Kit - Powered by TickReport. This kit is designed for home use and is backed by a university-affiliated lab. It includes a prepaid shipping label, a secure container, and detailed instructions. After you mail in the tick, you receive an online report within a few business days that tells you exactly which pathogens were detected.
- Check that the kit tests for the specific tick species and pathogens common in your region.
- Some kits offer expedited processing for an additional fee—useful if you need results quickly.
Step 3: Prepare and Ship the Tick Sample
Once you have your tick testing kit, follow the included instructions carefully. Typically, you’ll place the tick into the provided vial or bag, seal it securely, and fill out the required forms with information such as the date of the bite, your location, and any symptoms you may have noticed. Some kits also ask for a photo of the tick to help identify the species.
Place the sealed container and forms into the prepaid envelope provided. Mail it as soon as possible—ticks can degrade over time, which may affect test accuracy. Most labs recommend shipping within 24 to 48 hours of removal. If you need to delay, refrigerate the tick (do not freeze) in a sealed bag with a damp cotton ball to keep it from drying out.
- Always double-check that the shipping address on the prepaid label is correct and that the package is properly sealed.
- If you’re testing multiple ticks from different bites, use separate kits and clearly label each sample.
Step 4: Receive and Interpret Your Results
After the lab receives your sample, they will process it and post the results online. You’ll typically receive an email notification with a link to a secure portal. The report will list each pathogen tested and indicate whether it was detected or not detected. Some reports also include the tick species and an estimate of the infection level.
If the test is positive for Lyme disease or another pathogen, don’t panic. Contact your healthcare provider promptly and share the report. Early treatment with antibiotics is highly effective. Even if the test is negative, monitor the bite site for a rash (especially a bull’s-eye rash) and watch for flu-like symptoms for up to 30 days. A negative test does not guarantee you won’t develop symptoms, but it significantly reduces the likelihood.
- Keep a copy of the test report for your medical records—it can be valuable for your doctor and for public health monitoring.
- If symptoms develop despite a negative test, seek medical attention anyway; no test is 100% perfect.
Tips for Accurate Home Tick Testing
To get the most reliable results from your home tick testing kit, follow these best practices. First, handle the tick with gloves or tweezers to avoid contaminating the sample with your own DNA. Second, do not apply alcohol, hand sanitizer, or any chemicals to the tick before testing, as they can degrade the DNA. Third, if you are unsure about the tick species, include a clear photo with your submission—many labs can identify it visually.
Finally, consider testing ticks even if you don’t have symptoms. Many people with Lyme disease never see a rash, and early testing can catch an infection before it becomes serious. By making tick testing a routine part of your outdoor safety protocol, you can enjoy nature with greater peace of mind.
- Store the tick in a cool, dry place if you cannot mail it immediately—avoid heat and direct sunlight.
- If you have multiple ticks from different people or pets, test each one separately to track potential exposures.
What to Do While Waiting for Results
The waiting period for tick test results is typically 3 to 5 business days. During this time, stay vigilant for any signs of tick-borne illness. Common early symptoms include fever, chills, headache, fatigue, and muscle or joint pain. If you experience any of these, contact your doctor immediately—do not wait for the test results. A healthcare provider may recommend starting prophylactic antibiotics if the risk is high.
You can also take steps to support your immune system: stay hydrated, get plenty of rest, and eat a balanced diet. While there is no evidence that supplements can prevent Lyme disease, maintaining overall health is always beneficial. If you develop a rash at the bite site, take a photo and note its size and appearance—this can help your doctor make a diagnosis.
- Keep the bite area clean and covered; apply an antiseptic if needed to prevent secondary infection.
- Avoid strenuous exercise until you know the test result, as intense activity may temporarily stress your immune system.
Testing a tick for Lyme disease at home is a straightforward process that can provide invaluable peace of mind and early intervention. By following these steps—safe removal, choosing a reliable kit, proper shipping, and interpreting results—you take control of your health after a tick bite. For a trusted and easy-to-use solution, consider the Bug Bite Thing Tick Testing Kit - Powered by TickReport. It’s a simple way to get professional-grade lab results from the comfort of your home, so you can focus on enjoying the outdoors without worry.