Access to clean drinking water is something many of us take for granted, but even municipal tap water can contain contaminants like chlorine, lead, or bacteria. Whether you rely on a well, live in an area with aging pipes, or simply want peace of mind, testing your water quality at home is a smart first step. And if you already use a portable filter like a LifeStraw, testing before and after filtration helps you verify its effectiveness and maintain your system properly.
In this guide, we'll walk you through simple, low-cost methods to test your water quality at home. From visual checks to bacterial test kits, you'll learn how to spot common issues and confirm that your LifeStraw is doing its job. We'll also highlight two popular LifeStraw products—the LifeStraw Sip Essential Water Filter straw and the LifeStraw Go Series Stainless Steel 18 oz—that can help you achieve safe drinking water on the go or at home.
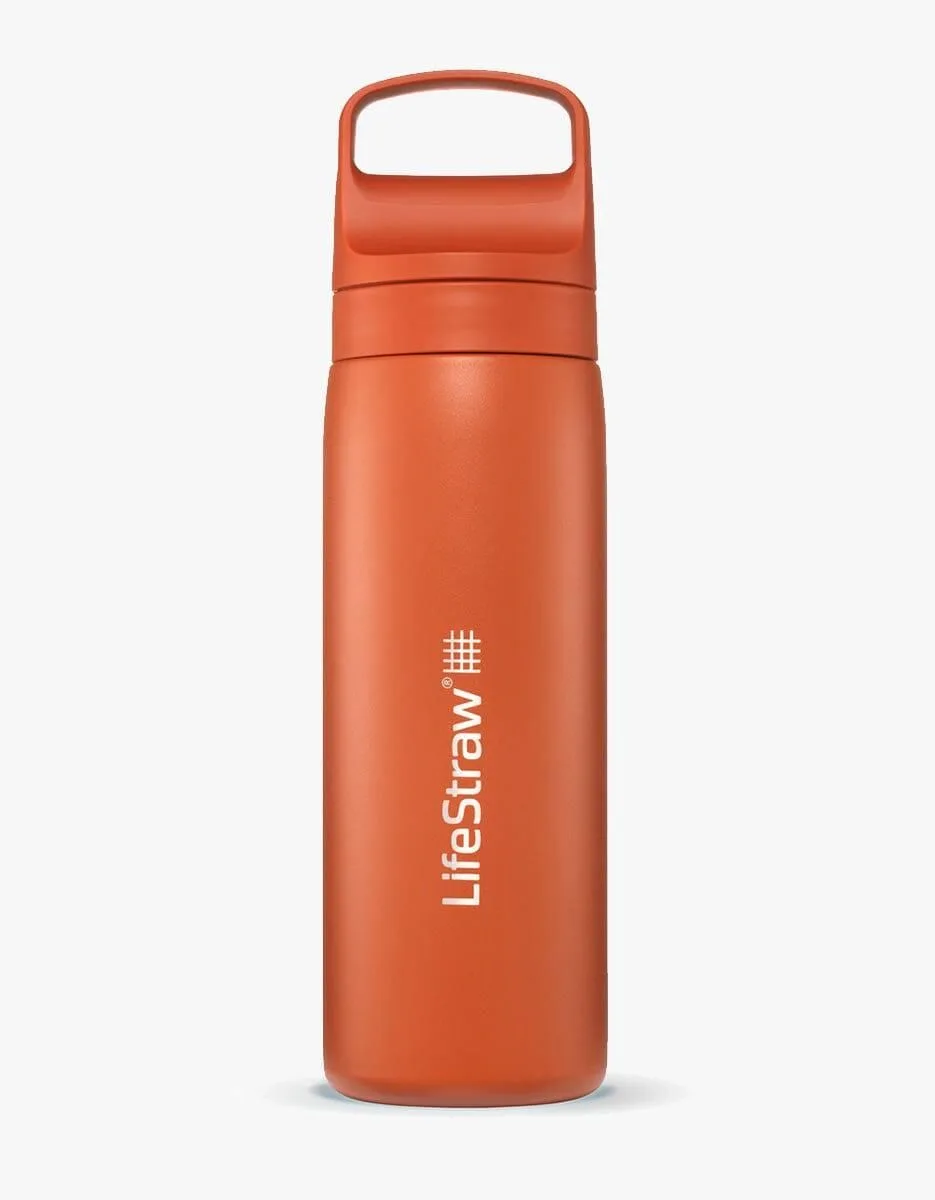
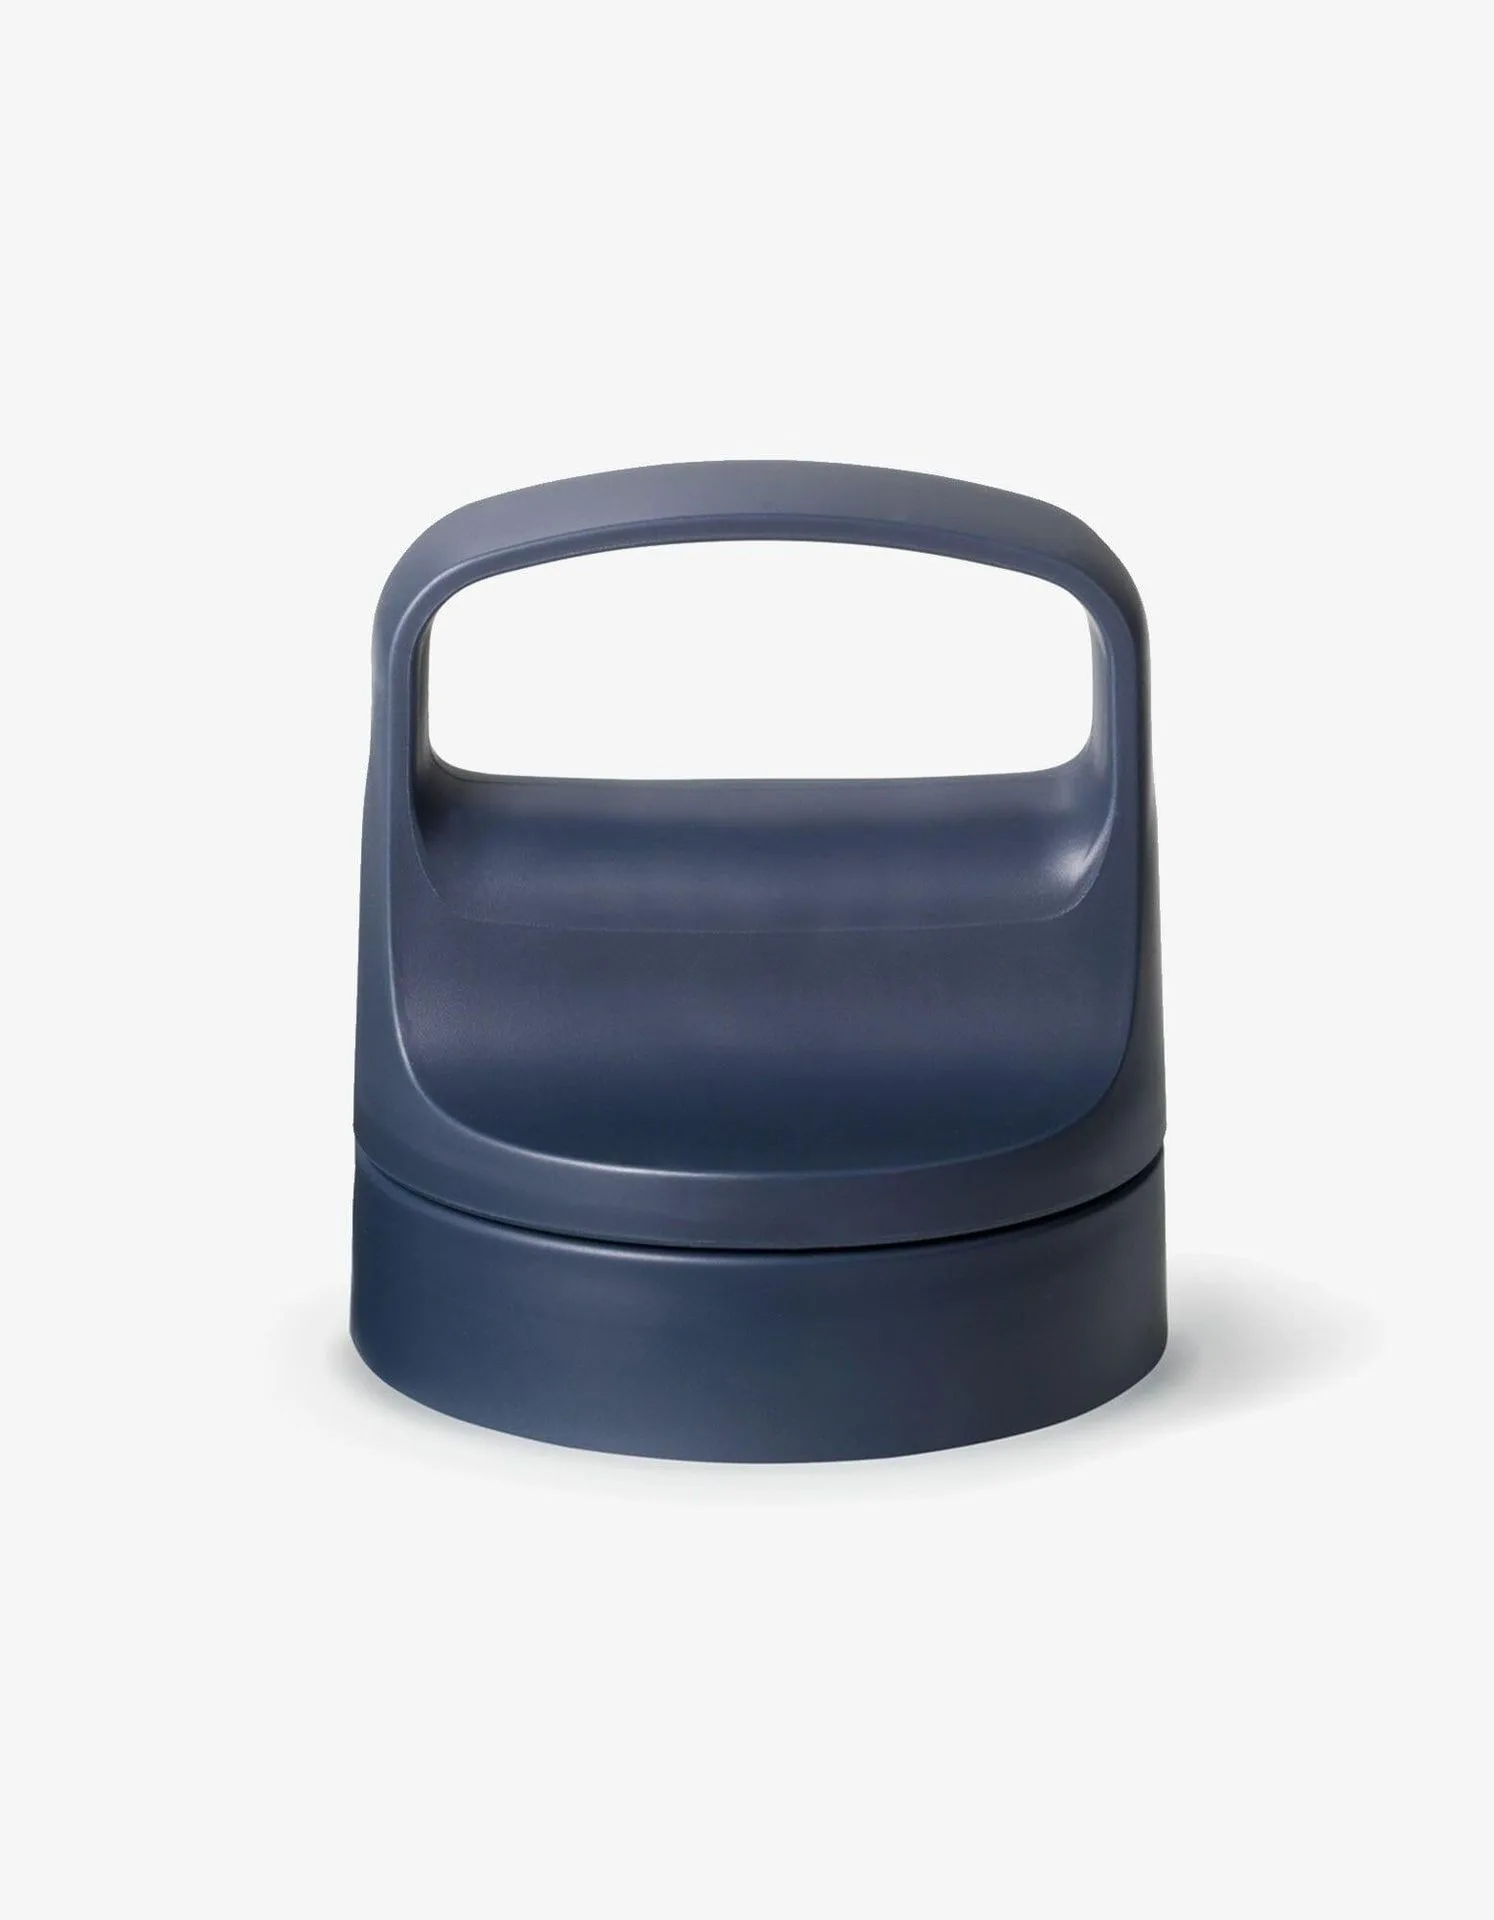
LifeStraw Go Series Stainless Steel 18 oz
Why Test Your Water Quality at Home?
Even if your water looks clear and tastes fine, it may contain invisible threats like bacteria, heavy metals, or chemical residues. Regular home water testing gives you a baseline understanding of your water's safety, especially if you have a private well or live in an older home with lead pipes. For those using a LifeStraw, testing before and after filtration shows you exactly how much the filter improves your water quality.
Common contaminants include sediment, chlorine, bacteria (like E. coli), lead, and pesticides. While LifeStraw filters are designed to remove 99.9999% of bacteria and 99.9% of protozoa, they do not remove dissolved salts or chemical contaminants. Knowing what's in your water helps you choose the right filtration solution and replacement schedule.
- Test your water at least twice a year, or whenever you notice changes in taste, color, or odor.
- Always test after installing a new filter to confirm it's working correctly.
Simple Visual and Taste Tests for Home Water Quality
Start with your senses. Fill a clear glass with tap water and hold it up to the light. Look for cloudiness (turbidity), floating particles, or a yellow/brown tint. Cloudy water can indicate sediment or air bubbles, but persistent cloudiness may signal bacterial growth or high mineral content. Next, smell the water: a chlorine smell suggests treatment chemicals, while a rotten egg odor points to sulfur bacteria or decaying organic matter.
Taste a small sip (if you're confident it's safe). Metallic tastes often come from iron or copper pipes, while a salty taste may indicate high sodium or mineral levels. These simple checks won't confirm bacterial safety, but they give you quick clues. If your water passes these tests, it's still wise to perform a bacterial test, especially if you plan to use a LifeStraw in an emergency or outdoor setting.
- Use a white paper towel to check for sediment: let a drop of water dry on it—any residue indicates dissolved solids.
DIY Bacterial and Chemical Test Kits for Home Use
For a more thorough assessment, purchase a home water test kit from a hardware store or online. Basic kits test for pH, hardness, chlorine, nitrates, and bacteria. For bacterial testing, you'll typically collect a water sample in a sterile vial, add a growth medium, and incubate it for 24–48 hours. A color change indicates the presence of coliform bacteria, which suggests possible fecal contamination.
Chemical test strips are easy to use: dip a strip into your water sample and compare the color pads to the chart. These strips can detect lead, copper, pesticides, and other contaminants. While not as precise as lab tests, they give you a reliable snapshot. If your test reveals high levels of contaminants, consider using a LifeStraw designed for higher flow rates, such as the LifeStraw Peak Series 3-in-1 Kit, which combines filtration with a carbon pre-filter for chemical reduction.
- Always follow the kit's instructions exactly, and use cold water samples for the most accurate results.
- Store test kits in a cool, dry place to ensure they remain effective.
Testing Your Water After Using a LifeStraw Filter
Once you've established your baseline water quality, test the same water after running it through a LifeStraw. For example, fill a glass directly from the tap, then filter another glass using a LifeStraw Sip Essential Water Filter straw. Compare the two samples visually: filtered water should be clearer and free of visible particles. You can also use a TDS (Total Dissolved Solids) meter to measure dissolved minerals—though LifeStraw does not remove dissolved solids, a significant drop may indicate a problem with the filter.
For bacterial testing, collect a sample of filtered water in a sterile container and test it with a home bacteria kit. If the unfiltered sample shows contamination but the filtered sample is clean, your LifeStraw is working effectively. If both samples show contamination, the filter may be compromised or past its lifespan. Replace filters as recommended, and always store your LifeStraw clean and dry to prevent mold growth.
- Test filtered water immediately after filtration to avoid recontamination from the container.
- Replace your LifeStraw filter after 1,000 gallons (or as specified by the model) to maintain performance.
When to Upgrade or Replace Your LifeStraw Filter
If your home water tests reveal high levels of sediment, chlorine, or chemical contaminants, you may benefit from a LifeStraw model with a carbon pre-filter or a larger capacity. The LifeStraw Go Series Stainless Steel 18 oz is an excellent choice for daily use at home or in the office, offering a built-in activated carbon filter that improves taste and reduces chlorine. For families or off-grid setups, consider a gravity system like the LifeStraw Max or Community series.
Regular maintenance is key. Replace the carbon pre-filter every 2–3 months or as soon as you notice a change in taste. The membrane filter should be backflushed or cleaned according to the manufacturer's instructions. If you use your LifeStraw heavily, test the filtered water every few months to ensure it's still meeting safety standards. A small investment in test kits can save you from drinking contaminated water.
- Mark your calendar for filter replacements based on usage—don't rely on memory alone.
- Store replacement filters in a sealed bag to keep them dry and dust-free.
Testing your home water quality is a simple, empowering habit that ensures your family drinks safe, clean water every day. By combining DIY test kits with a reliable filter like a LifeStraw, you can catch problems early and verify that your filtration system is performing at its best. Start with a basic bacterial and chemical test, then enjoy the peace of mind that comes from knowing exactly what's in your glass. For a durable, everyday solution, explore the LifeStraw Go Series Stainless Steel 18 oz—it's designed to keep your water safe and great-tasting wherever you are.