Quick Answer
To clean your HydroJug can cooler effectively, hand wash it with warm soapy water after each use, using a soft sponge. For deep cleaning, use a mixture of white vinegar and baking soda to remove odors and stains. Always dry it thoroughly upside down to prevent mold and maintain the stainless steel insulation.
Your HydroJug can cooler is built to keep drinks ice-cold for hours, but it only performs at its best when it's clean. Over time, residue from beverages, sweat from condensation, and lingering moisture can lead to odors, stains, and even mold. Fortunately, keeping your can cooler in top shape is easy with the right routine.
In this guide, we'll walk you through a step-by-step cleaning process, share maintenance tips to extend its lifespan, and highlight common mistakes to avoid. Whether you have a standard 12oz can cooler or a slim model, these tips will keep it fresh and functional.
Why Regular Cleaning Matters
Regular cleaning isn't just about appearances. The double-wall stainless steel insulation inside your can cooler can trap moisture and beverage residue if left uncleaned. Over time, this can lead to unpleasant smells, stubborn stains, and potentially mold growth, especially in the crevices around the screw-top collar.
By cleaning your can cooler after each use and performing a deeper clean weekly, you'll not only keep it hygienic but also ensure that it continues to perform at its best. A clean can cooler also prevents flavor transfer, so your drinks always taste as they should.
- Hand washing is recommended over dishwasher to preserve the insulation.
- Dry the can cooler completely before storing to prevent mold.
Step-by-Step Cleaning Process
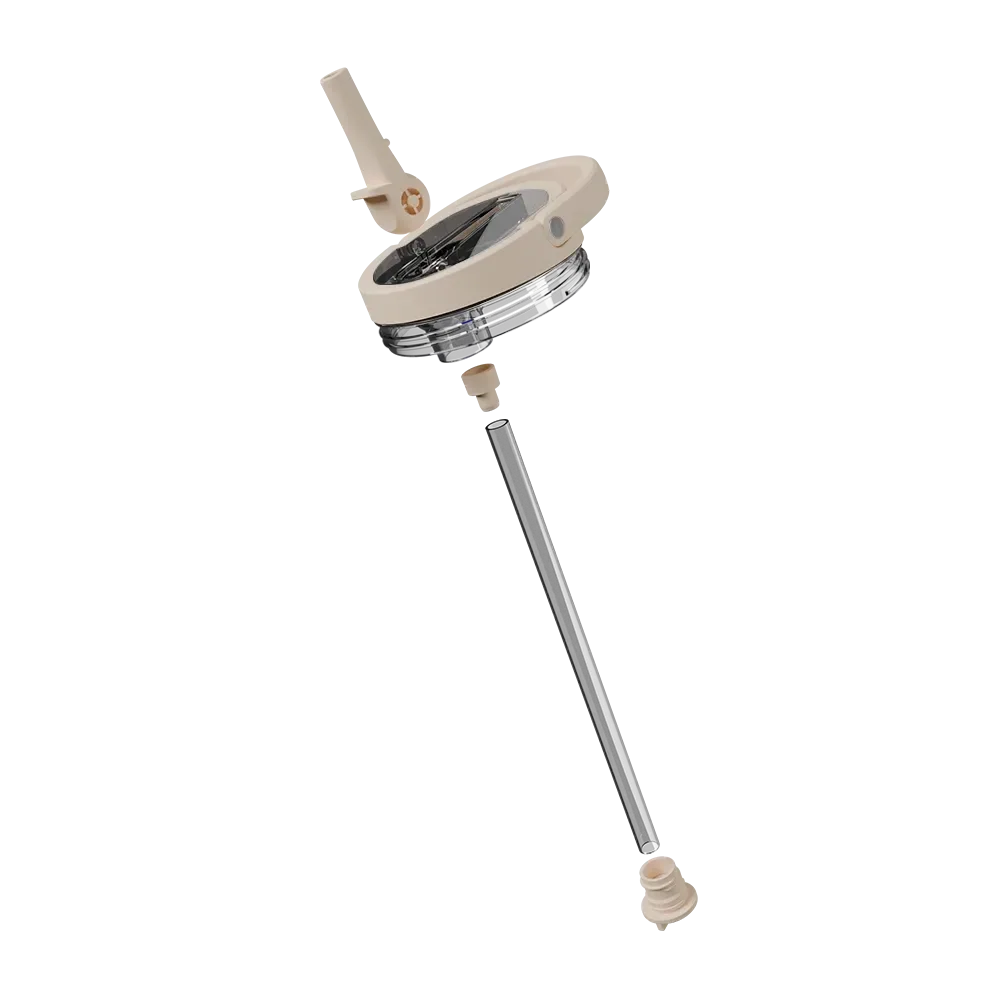
Start by disassembling your can cooler if possible. Remove the screw-top collar and any rubber gaskets. These parts can trap moisture and are often the first place mold appears. Wash them separately in warm, soapy water.
For the main body, use a soft sponge or cloth with mild dish soap. Avoid abrasive scrubbers that can scratch the stainless steel surface. Pay extra attention to the interior, where condensation can leave mineral deposits.
For a deep clean, fill the can cooler with a solution of one part white vinegar to three parts water. Let it sit for 15-20 minutes, then scrub gently. Vinegar is excellent for removing odors and breaking down residue. Rinse thoroughly with warm water.
If you notice persistent odors, create a paste with baking soda and water and apply it to the interior. Let it sit for 10 minutes, then scrub and rinse. Baking soda is a natural deodorizer that won't damage the surface.
- Never use bleach or harsh chemicals, as they can damage the stainless steel finish.
- Use a bottle brush to reach the bottom of the can cooler.
Drying and Storing Your Can Cooler
After cleaning, it's crucial to dry your can cooler thoroughly. Turn it upside down on a drying rack to allow any remaining water to drain. Use a clean, dry cloth to wipe the interior and exterior, especially around the collar threads.
Store your can cooler with the lid off or slightly ajar to allow air circulation. This prevents moisture from being trapped inside, which is the primary cause of mold and mildew. Avoid storing it in a damp environment like a gym bag without drying it first.
- If you notice a musty smell, it's a sign that moisture has been trapped—re-clean and dry thoroughly.
- Consider using a small silica gel packet inside when storing long-term to absorb moisture.
Common Mistakes to Avoid
One common mistake is putting your can cooler in the dishwasher. While some HydroJug products are dishwasher safe, the high heat and harsh detergents can degrade the insulation and damage the finish over time. Hand washing is always the safest option.
Another mistake is using metal utensils or abrasive scrubbers to clean the interior. These can scratch the stainless steel, creating tiny crevices where bacteria can hide. Stick to soft sponges and plastic brushes.
Finally, don't ignore the screw-top collar. Many users clean only the main body, forgetting that the collar and gasket are prime spots for mold. Make sure to clean and dry these parts every time.
Maintenance Routine for Long-Lasting Use
- After Each Use: Rinse the can cooler with warm water and wipe the interior and exterior with a soft cloth. Remove the collar and rinse it separately. This prevents residue from drying and sticking.
- Weekly Deep Clean: Hand wash with mild soap and warm water. For odors, use a vinegar solution or baking soda paste. Scrub gently and rinse thoroughly. Keep your can cooler fresh and free of buildup.
- Monthly Inspection: Check the screw-top collar and gaskets for any signs of mold or wear. Clean with a cotton swab dipped in vinegar if needed. Early detection prevents bigger problems.
Product-Specific Care Notes
- black-73998">black-73991">black-73973">black-73966">Black: The HydroJug Standard Can Cooler 12oz in Black features double-wall stainless steel insulation and a screw-top collar that locks your can securely in place. It is dishwasher safe. While this cooler is dishwasher safe, hand washing is still recommended for longevity. The screw-top collar should be removed and cleaned separately to prevent residue buildup.
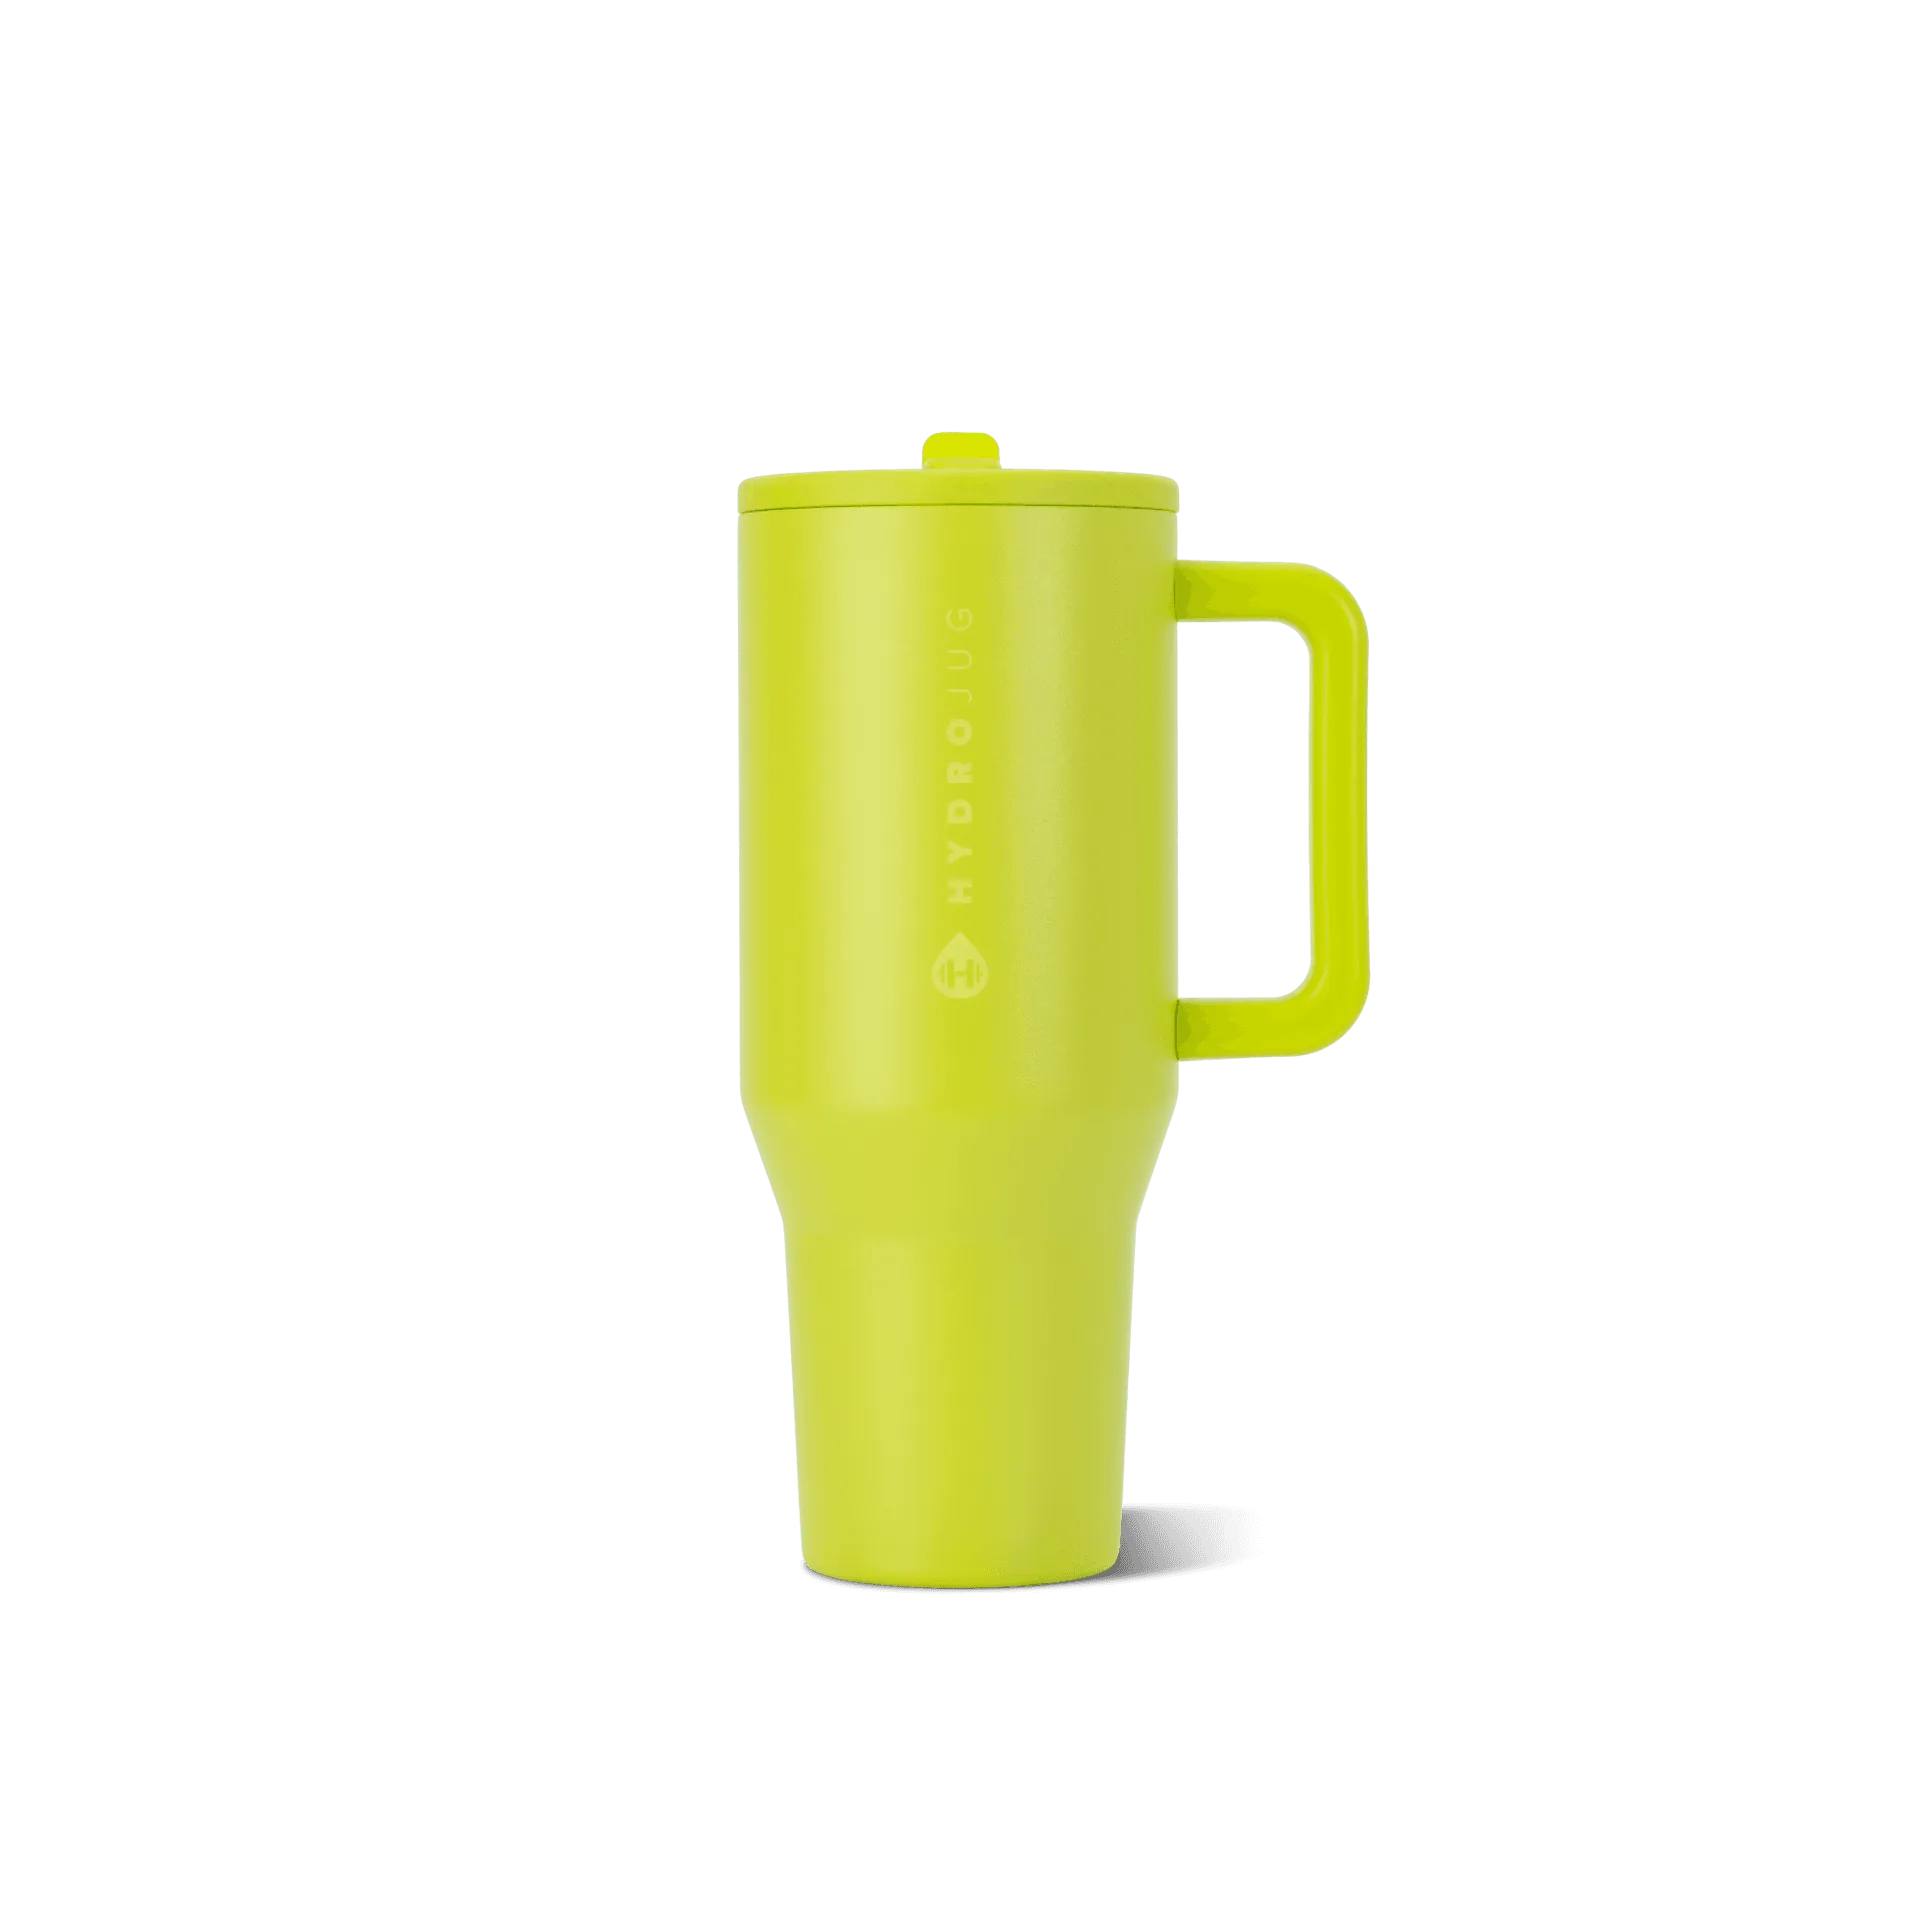
- Lemon Lime: The HydroJug 12 oz Slim Can Cooler in Lemon Lime is made from durable stainless steel with a screw-top design to prevent slips and spills. The slim profile may have a narrower opening, making it easier to miss spots during cleaning. Use a small bottle brush to reach all interior surfaces.
With these simple cleaning and maintenance steps, your HydroJug can cooler will stay fresh, functional, and ready for every tailgate, picnic, or pool day. Regular care not only extends the life of your cooler but also ensures that every sip is as cold and clean as the first. Make it a habit, and your can cooler will serve you well for years to come.