Batch cooking baby food is a game-changer for busy parents. It saves time, reduces stress, and ensures your little one always has a healthy meal ready. But the key to success lies in how you store those purees. Silicone baby food containers offer a flexible, reusable solution that works perfectly for freezing and portioning.
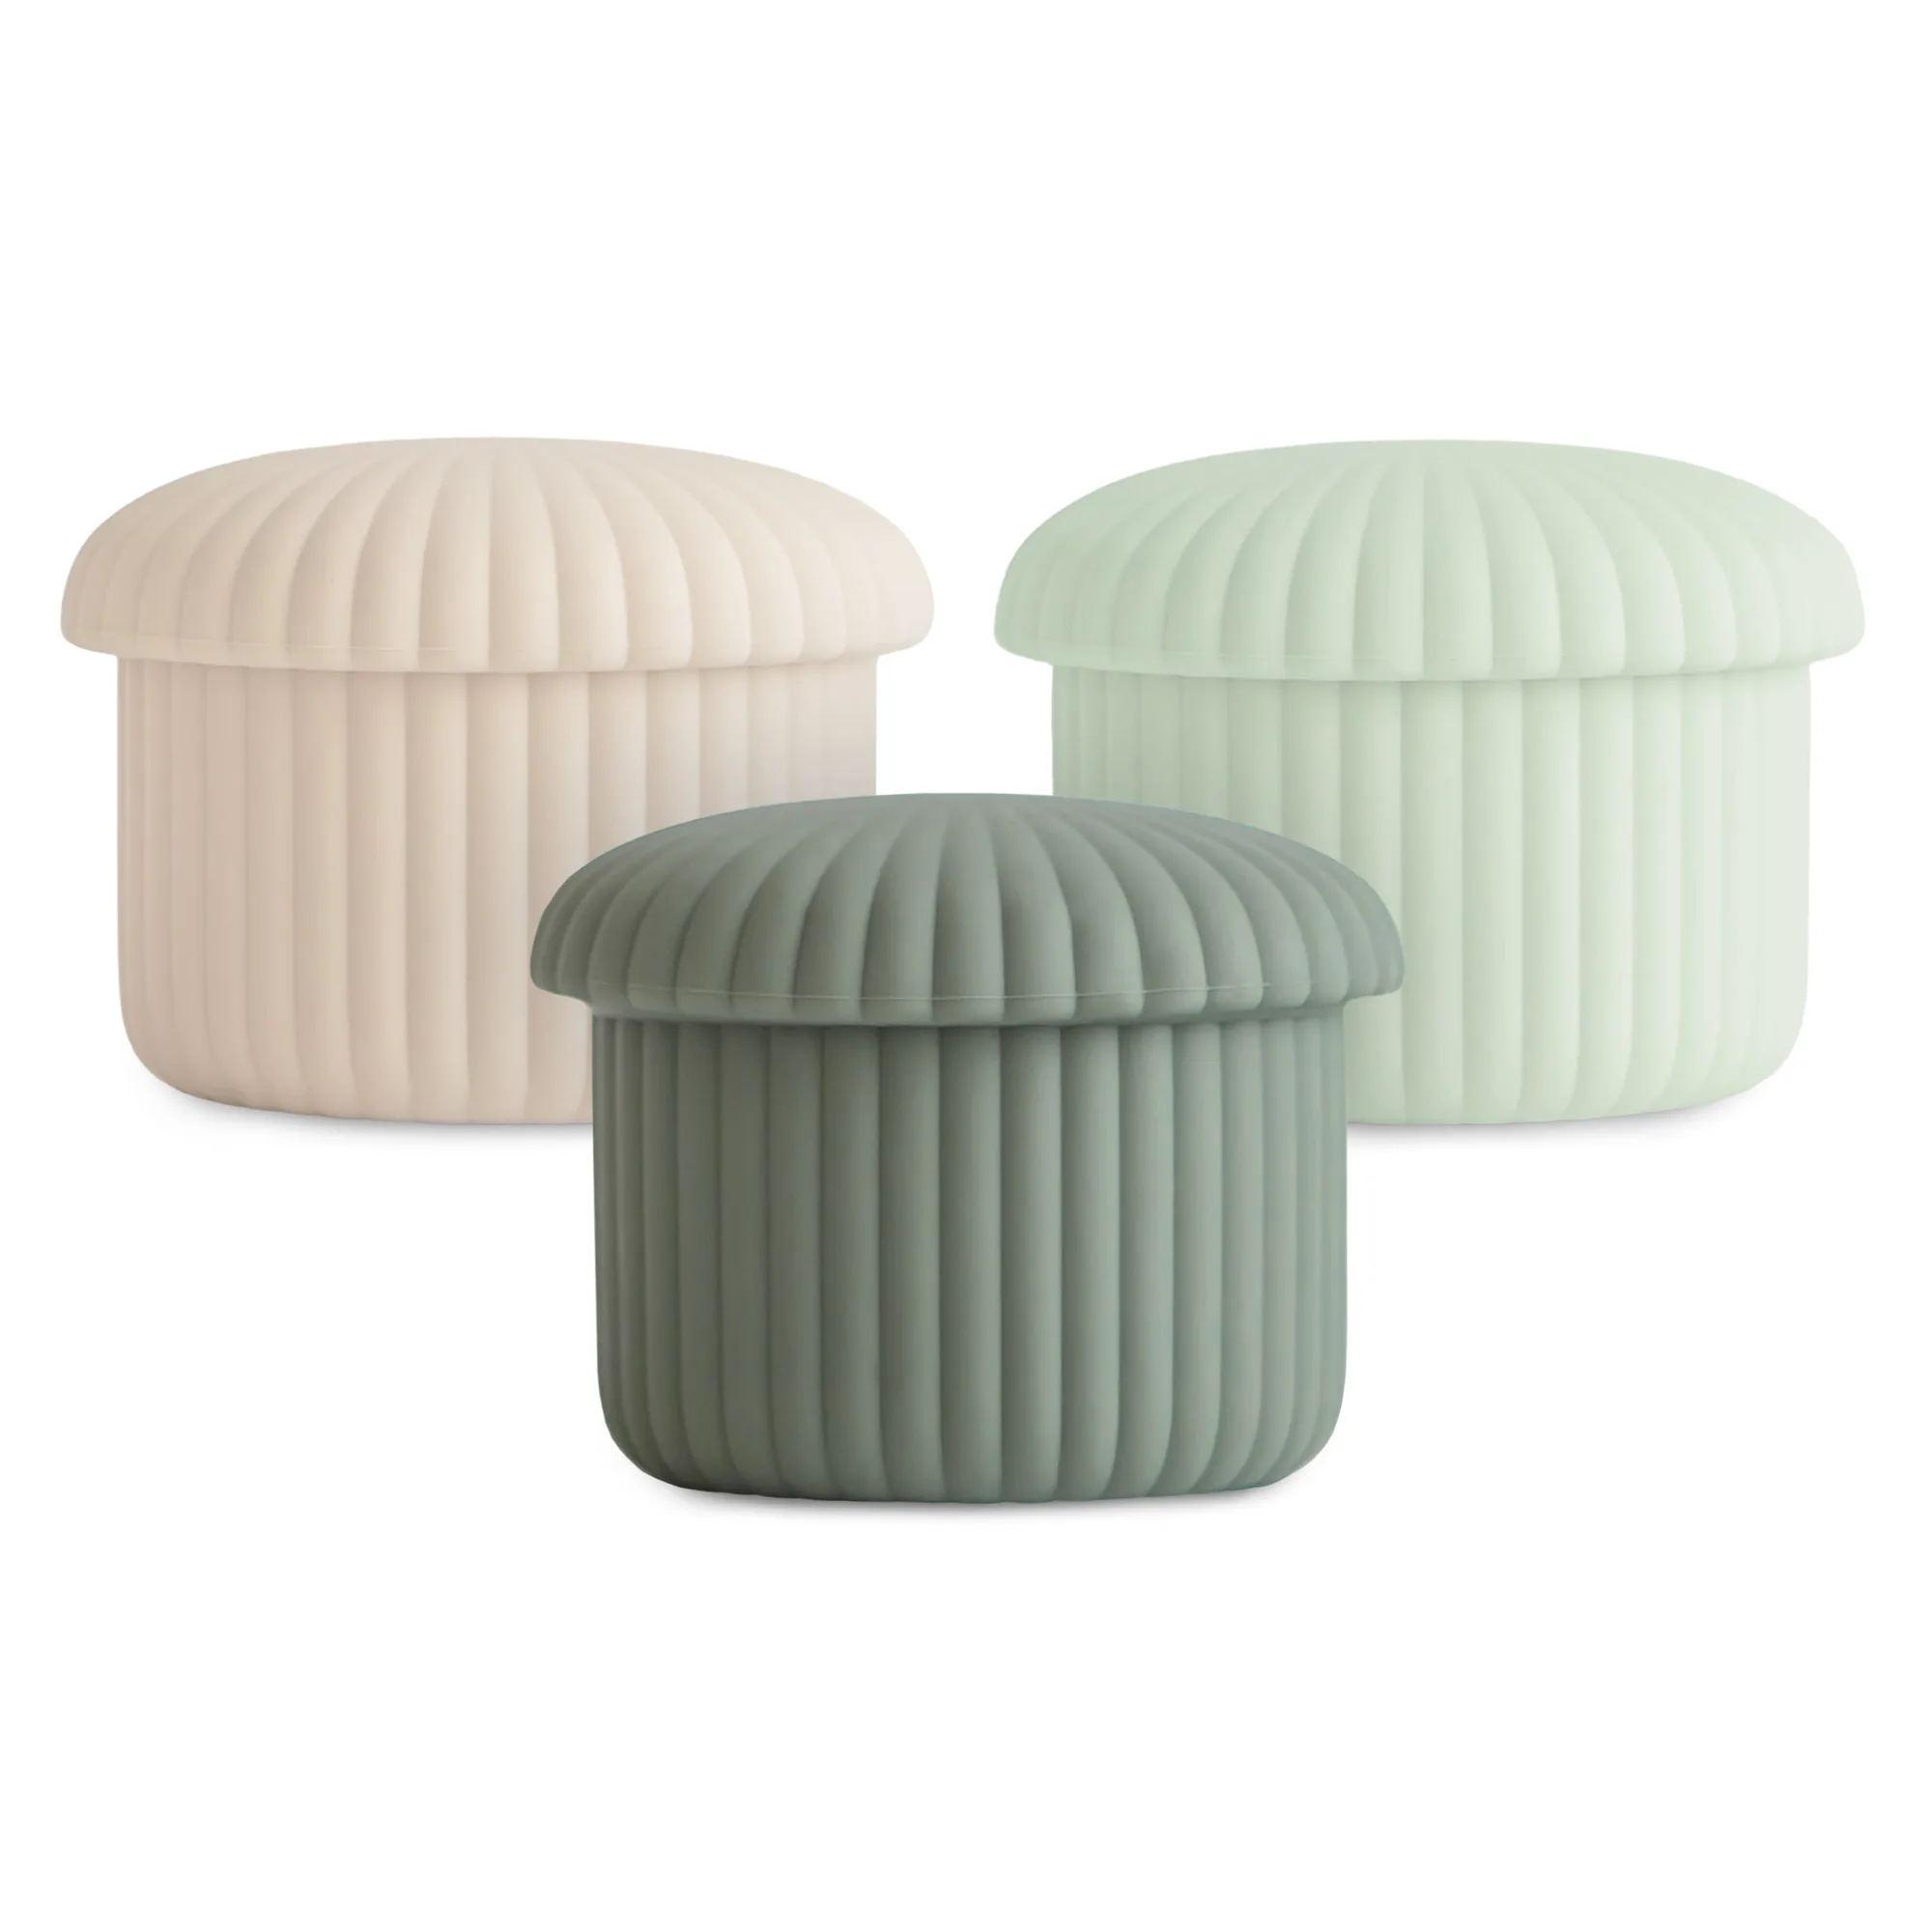
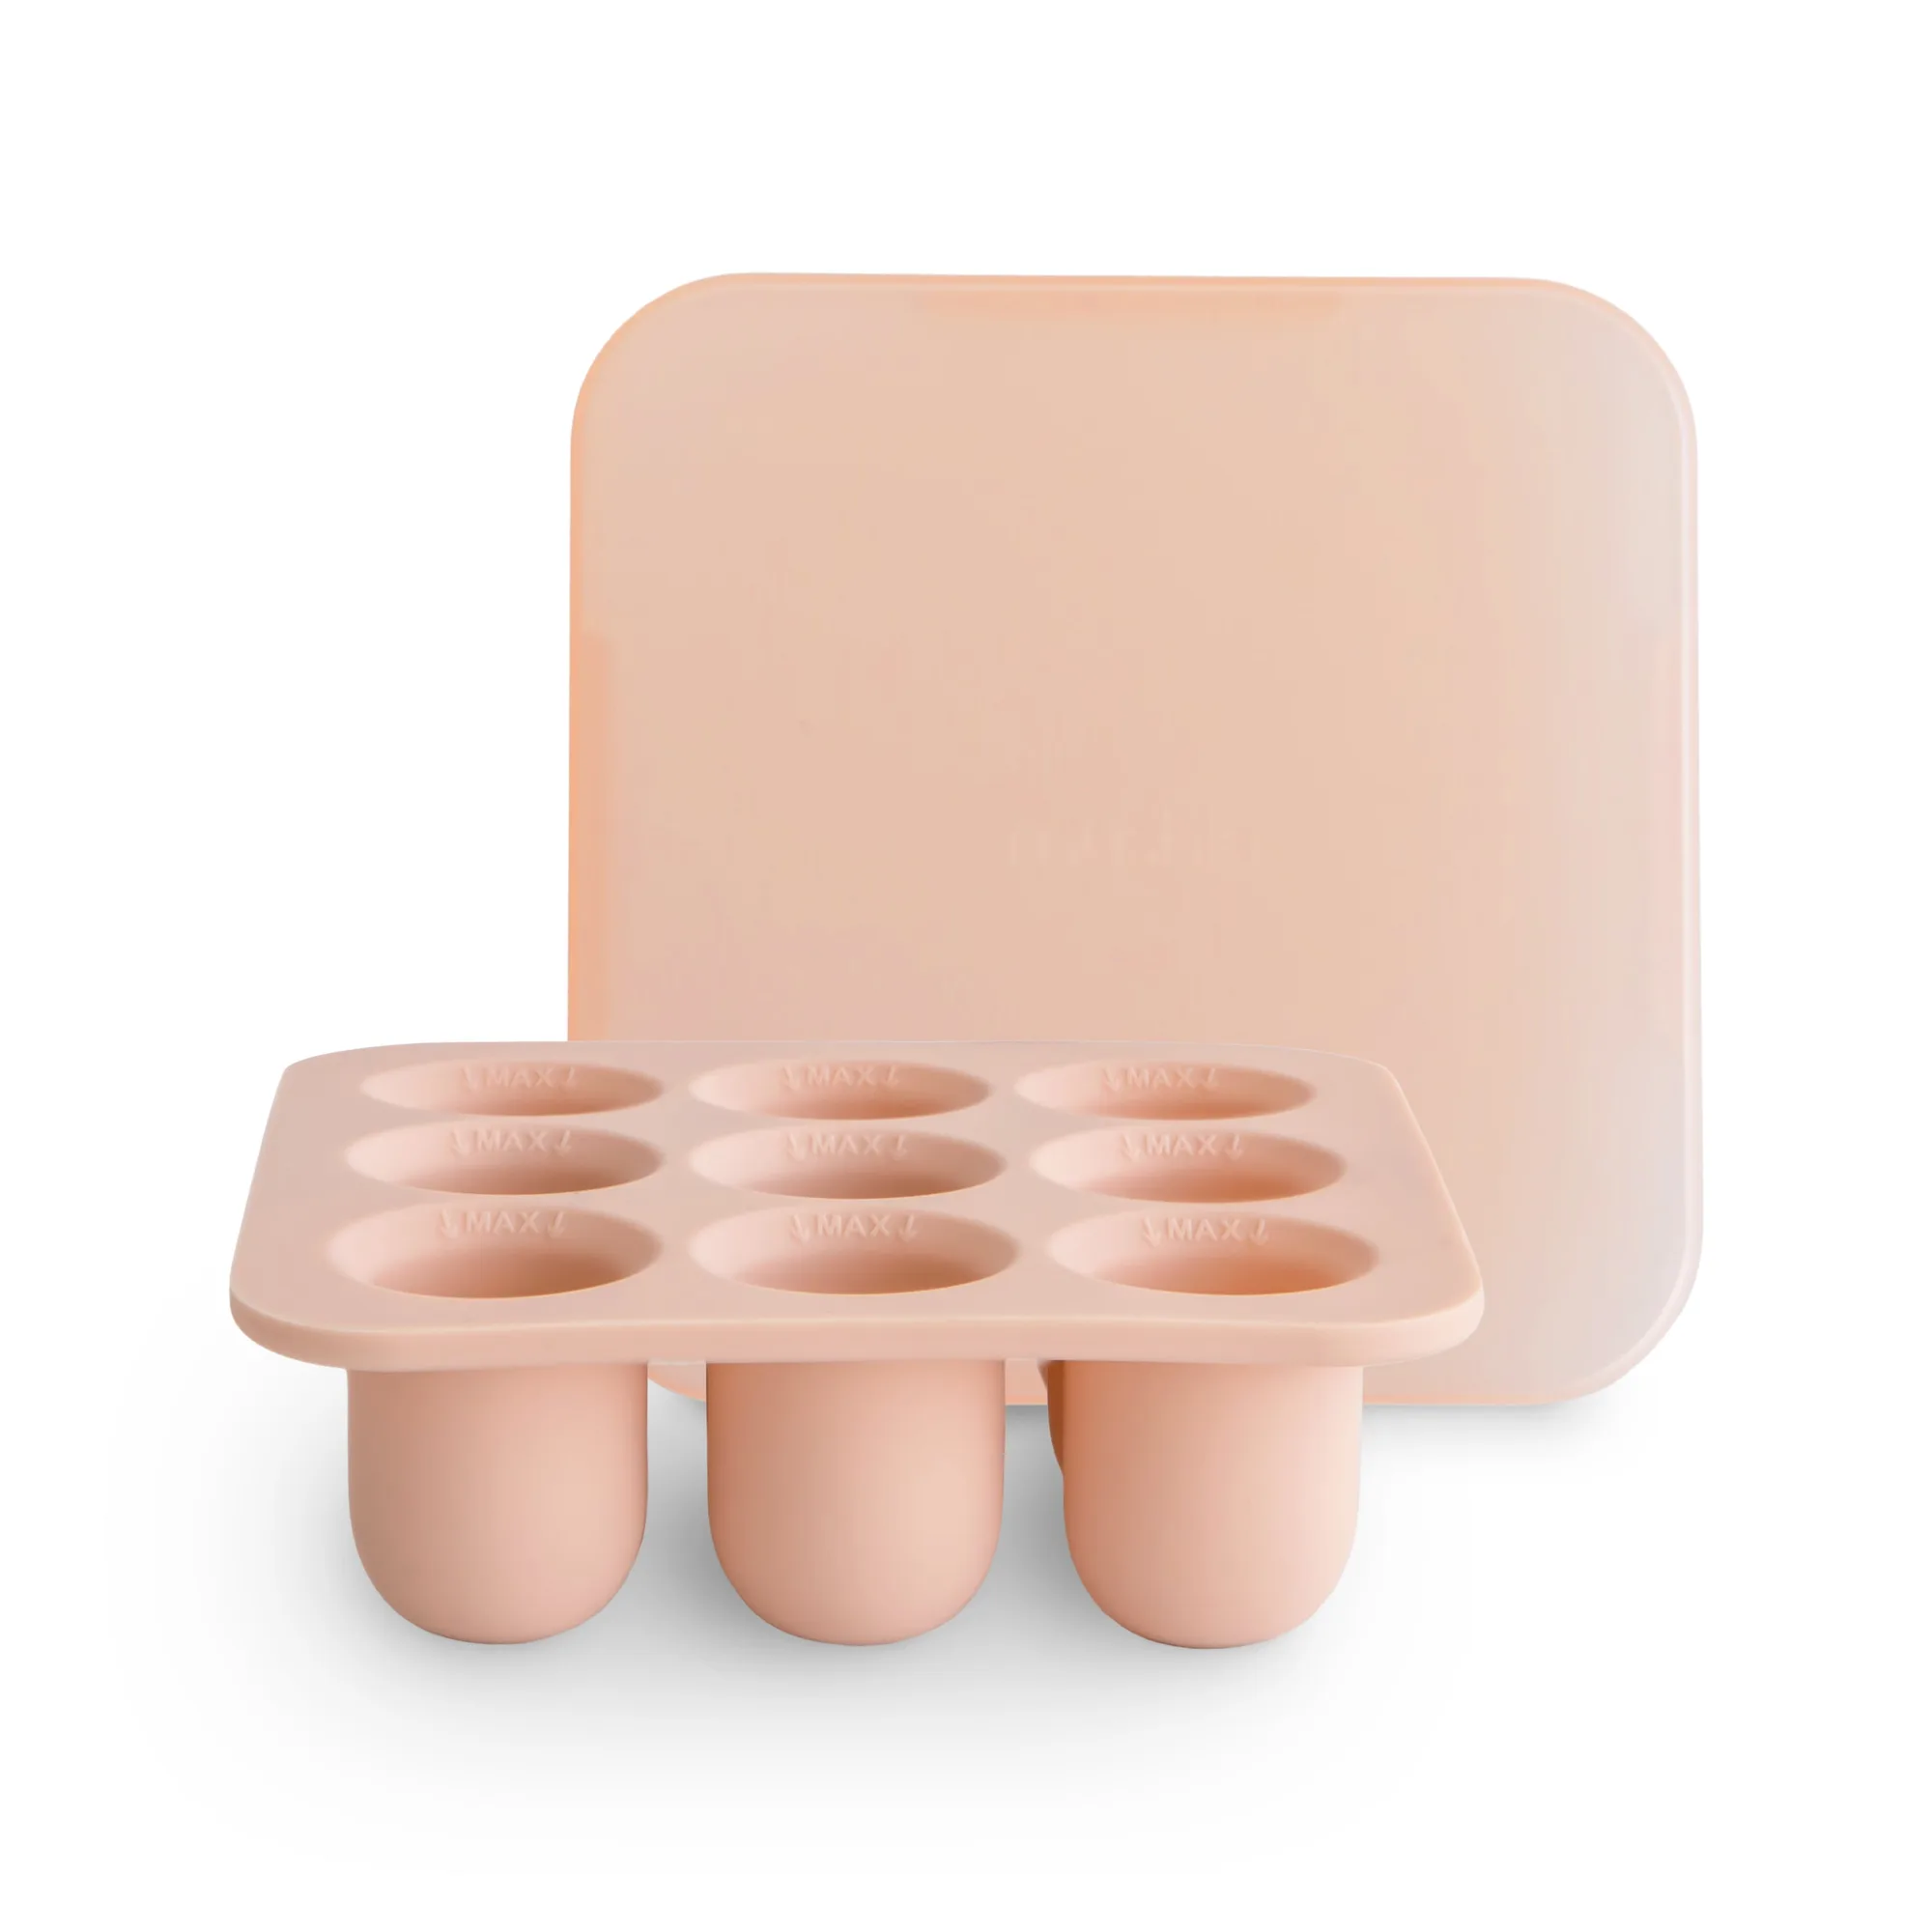
Silicone baby food containers
Unlike glass or plastic, silicone is freezer-safe, dishwasher-safe, and easy to pop out individual servings. In this guide, we’ll walk you through the best practices for using silicone containers to batch cook and freeze baby food, with tips on portion sizes, labeling, and reheating. Whether you’re new to baby-led weaning or a seasoned pro, these steps will help you streamline your routine.
Why Silicone Containers Are Ideal for Batch Cooking
Silicone baby food containers are durable, non-toxic, and flexible, making them a top choice for freezing purees. Their soft walls allow you to pop out frozen cubes or portions with a simple squeeze, so you don’t have to run the container under hot water or risk breaking it. Plus, silicone is naturally non-stick, which means even thick purees like sweet potato or avocado slide out easily.
Another advantage is that silicone is heat-resistant and can go straight from the freezer to the microwave or oven (check manufacturer guidelines). This reduces the number of dishes you need to wash. For example, the Mushie Silicone Baby Food Containers come with airtight lids that prevent freezer burn and leaks, keeping your purees fresh for up to three months. They’re also stackable, saving valuable freezer space.
- Silicone is BPA-free, phthalate-free, and food-grade, so it’s safe for baby’s meals.
- The flexibility of silicone means you can easily push out single portions without thawing the whole batch.
How to Batch Cook and Portion Baby Food
Start by choosing a few simple, single-ingredient purees like apples, pears, carrots, or peas. Cook them in bulk by steaming or roasting until soft, then blend to your baby’s preferred consistency. Let the puree cool completely before transferring to your silicone containers. Hot puree can create condensation inside the lid, which may lead to ice crystals.
Fill each cavity or container about three-quarters full to allow for expansion during freezing. If you’re using a multi-cavity tray, you can fill different sections with different purees to create variety. For older babies, you can mix purees like apple and spinach or sweet potato and chicken. Once filled, press the lids on firmly and label each container with the date and contents. A simple masking tape and marker work well.
- Portion sizes: 1–2 ounces for younger babies (4–6 months), 3–4 ounces for older babies (6–12 months).
- Freeze purees flat on a baking sheet for 2 hours before stacking to prevent spills and ensure even freezing.
Freezing and Storing Silicone Containers
Place the filled and sealed silicone containers in the freezer, making sure they are level. Once the purees are fully frozen (usually after 4–6 hours), you can stack the containers or remove the cubes and store them in a labeled freezer bag. If you plan to keep them in the original container, ensure the lids are airtight to prevent freezer odors from seeping in.
Silicone containers like the Mushie Silicone Baby Food Containers are designed to withstand temperatures as low as -40°F (-40°C), so they won’t crack or become brittle. For best quality, use frozen purees within three months. Always thaw in the refrigerator overnight or by placing the sealed container in a bowl of warm water. Avoid thawing at room temperature to prevent bacterial growth.
- For quick thawing, run the sealed container under warm water for 30 seconds, then pop out the frozen cube.
- Never microwave silicone containers with metal lids or clips, as they can cause sparks.
Reheating and Serving Tips
To reheat, transfer the desired portion to a small bowl and warm it in the microwave for 15–20 seconds, stirring halfway. Alternatively, place the frozen cube in a saucepan over low heat and stir until warm. Always test the temperature on your wrist before serving—it should feel lukewarm, not hot.
If you’re using a silicone container that’s microwave-safe, you can reheat directly in the container (remove any metal lids first). The Mushie Silicone Baby Food Containers are microwave-safe for short bursts, but we recommend transferring to a bowl for even heating. Once thawed, never refreeze leftover puree—discard any uneaten portion after a meal to maintain food safety.
- Stir purees well after reheating to eliminate hot spots.
- For babies starting solids, serve purees at room temperature or slightly warm for easier acceptance.
Cleaning and Maintaining Silicone Containers
Silicone is naturally non-porous and stain-resistant, but it can still absorb odors from strong foods like garlic or fish. To keep your containers fresh, wash them with warm soapy water and a soft sponge after each use. Most silicone containers are top-rack dishwasher-safe, but hand washing extends their lifespan.
For stubborn stains or smells, soak the containers in a mixture of equal parts white vinegar and water for 30 minutes, then rinse. Avoid using abrasive scrubbers, as they can scratch the surface. The Mushie Silicone Baby Food Containers are designed to retain their shape even after repeated use, but always let them air dry completely before storing to prevent mold.
- Baking soda paste (3 parts baking soda to 1 part water) works wonders on tough stains.
- Store containers with lids off or slightly ajar to allow airflow and prevent moisture buildup.
Batch cooking with silicone baby food containers simplifies meal prep, reduces waste, and gives you control over what your baby eats. By following these tips for freezing, portioning, and reheating, you’ll have nutritious, homemade meals ready in minutes. Whether you’re using the Mushie Silicone Baby Food Containers or another brand, the key is consistency—prep once, and enjoy the convenience all week long.