Clip-in hair extensions are the ultimate gateway to instant length, volume, and versatility without a long-term commitment or a visit to the salon. Whether you're preparing for a special event or simply want to experiment with a new look, mastering the DIY installation of clip-ins can save you time and money. In this comprehensive guide, we’ll walk you through everything from prepping your natural hair to securing the wefts for a seamless, natural blend. By the end, you’ll feel confident enough to transform your hair from home.
Why Choose Clip-In Hair Extensions?
Clip-in extensions are popular for a reason: they offer instant results and are beginner-friendly. Unlike tape-in or sew-in methods, clip-ins require no glue, heat, or professional tools—just a few minutes of practice. They are also reusable, making them a cost-effective investment for anyone who loves changing their hairstyle frequently. With proper care, high-quality clip-ins can last for months, giving you endless styling possibilities.
What You’ll Need Before Starting
Preparation is key to a flawless installation. Gather these items before you begin:
- Clip-in hair extensions (choose a set that matches your hair color and texture)
- Tail comb (for precise sectioning)
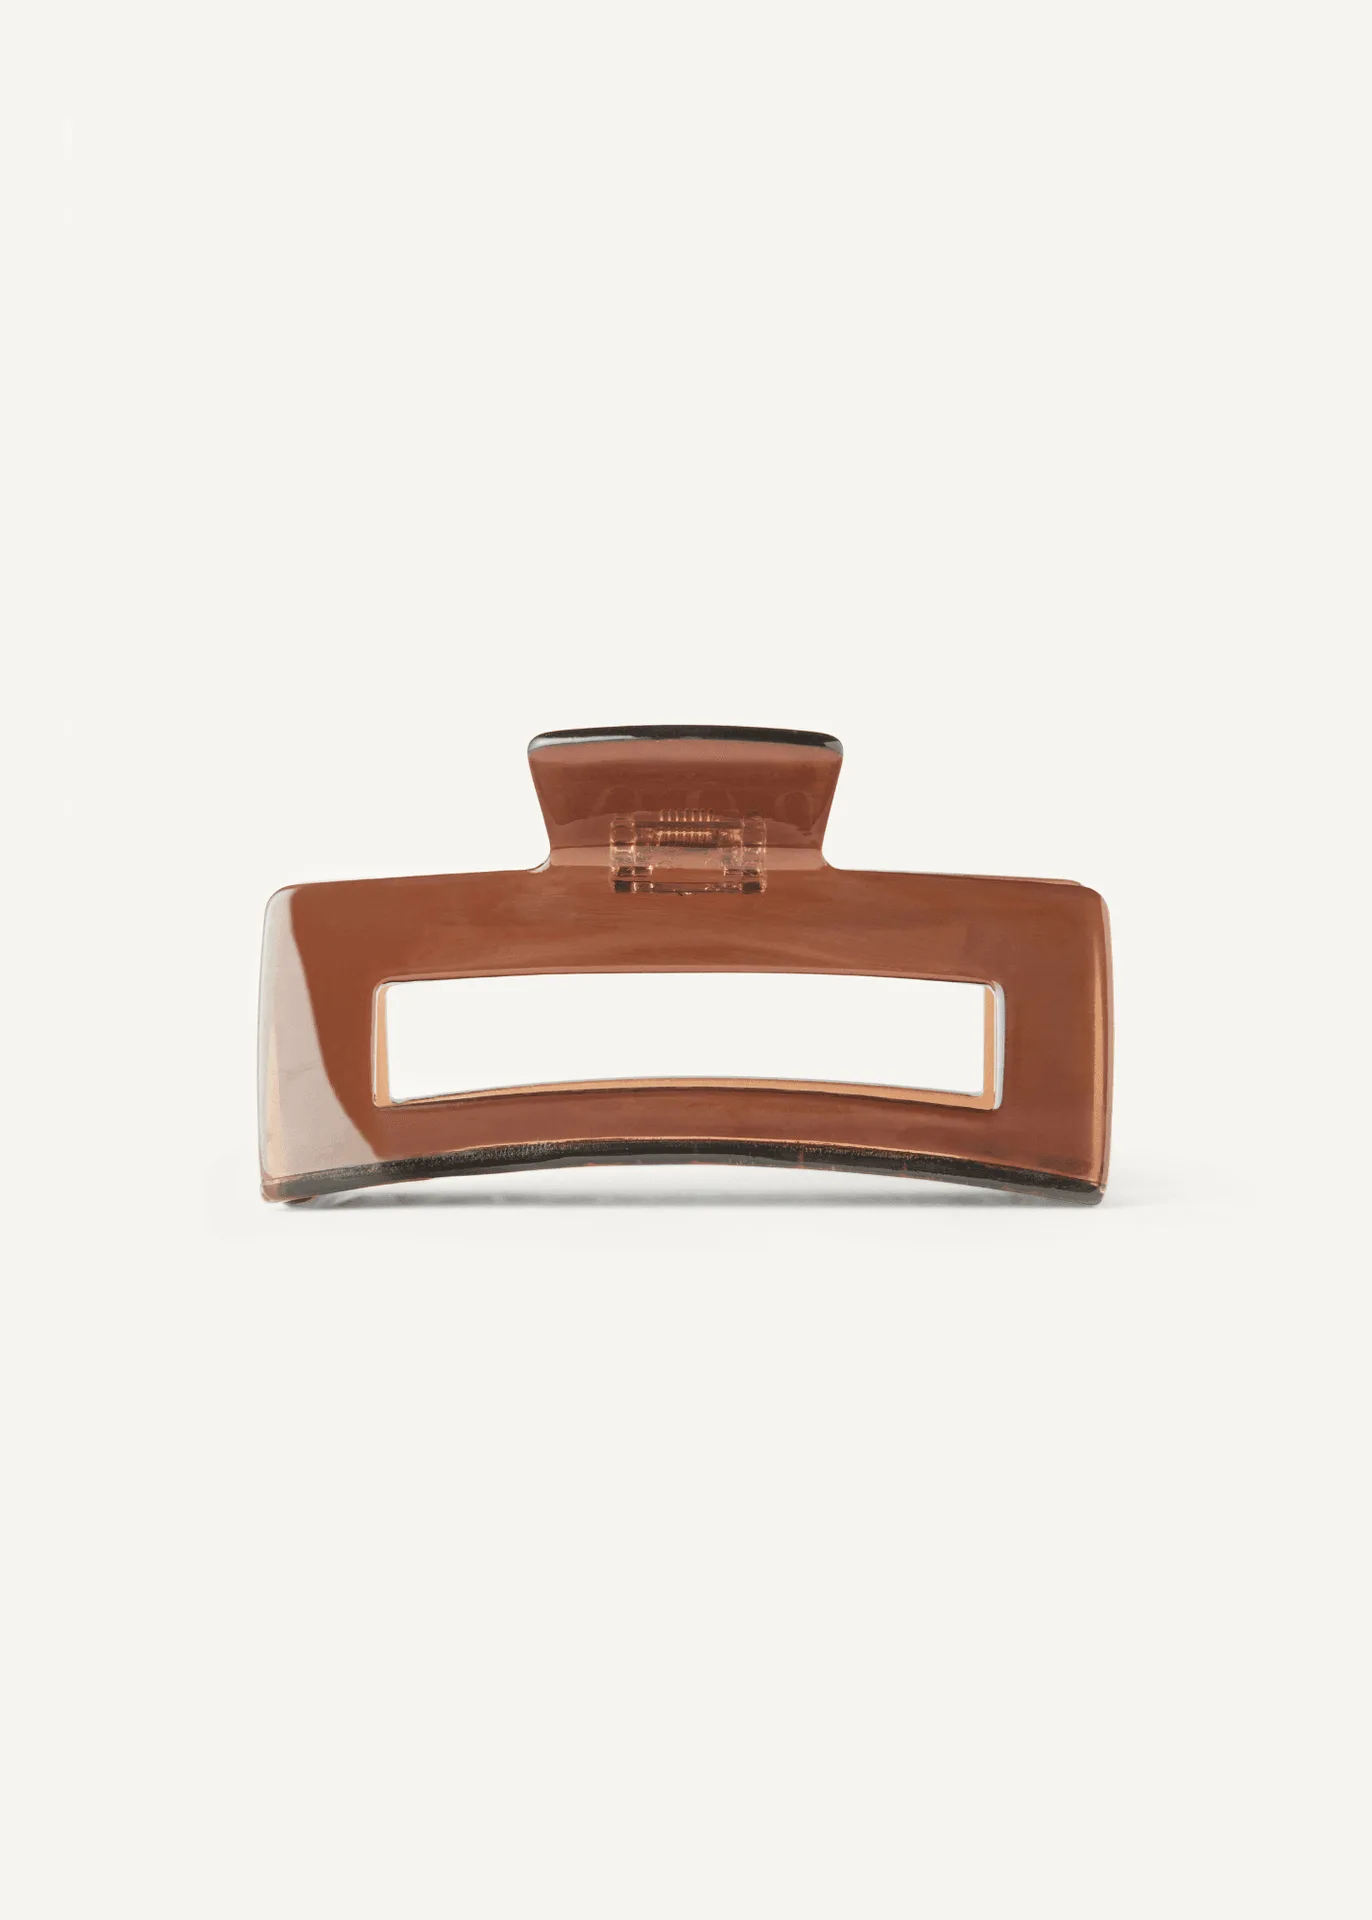
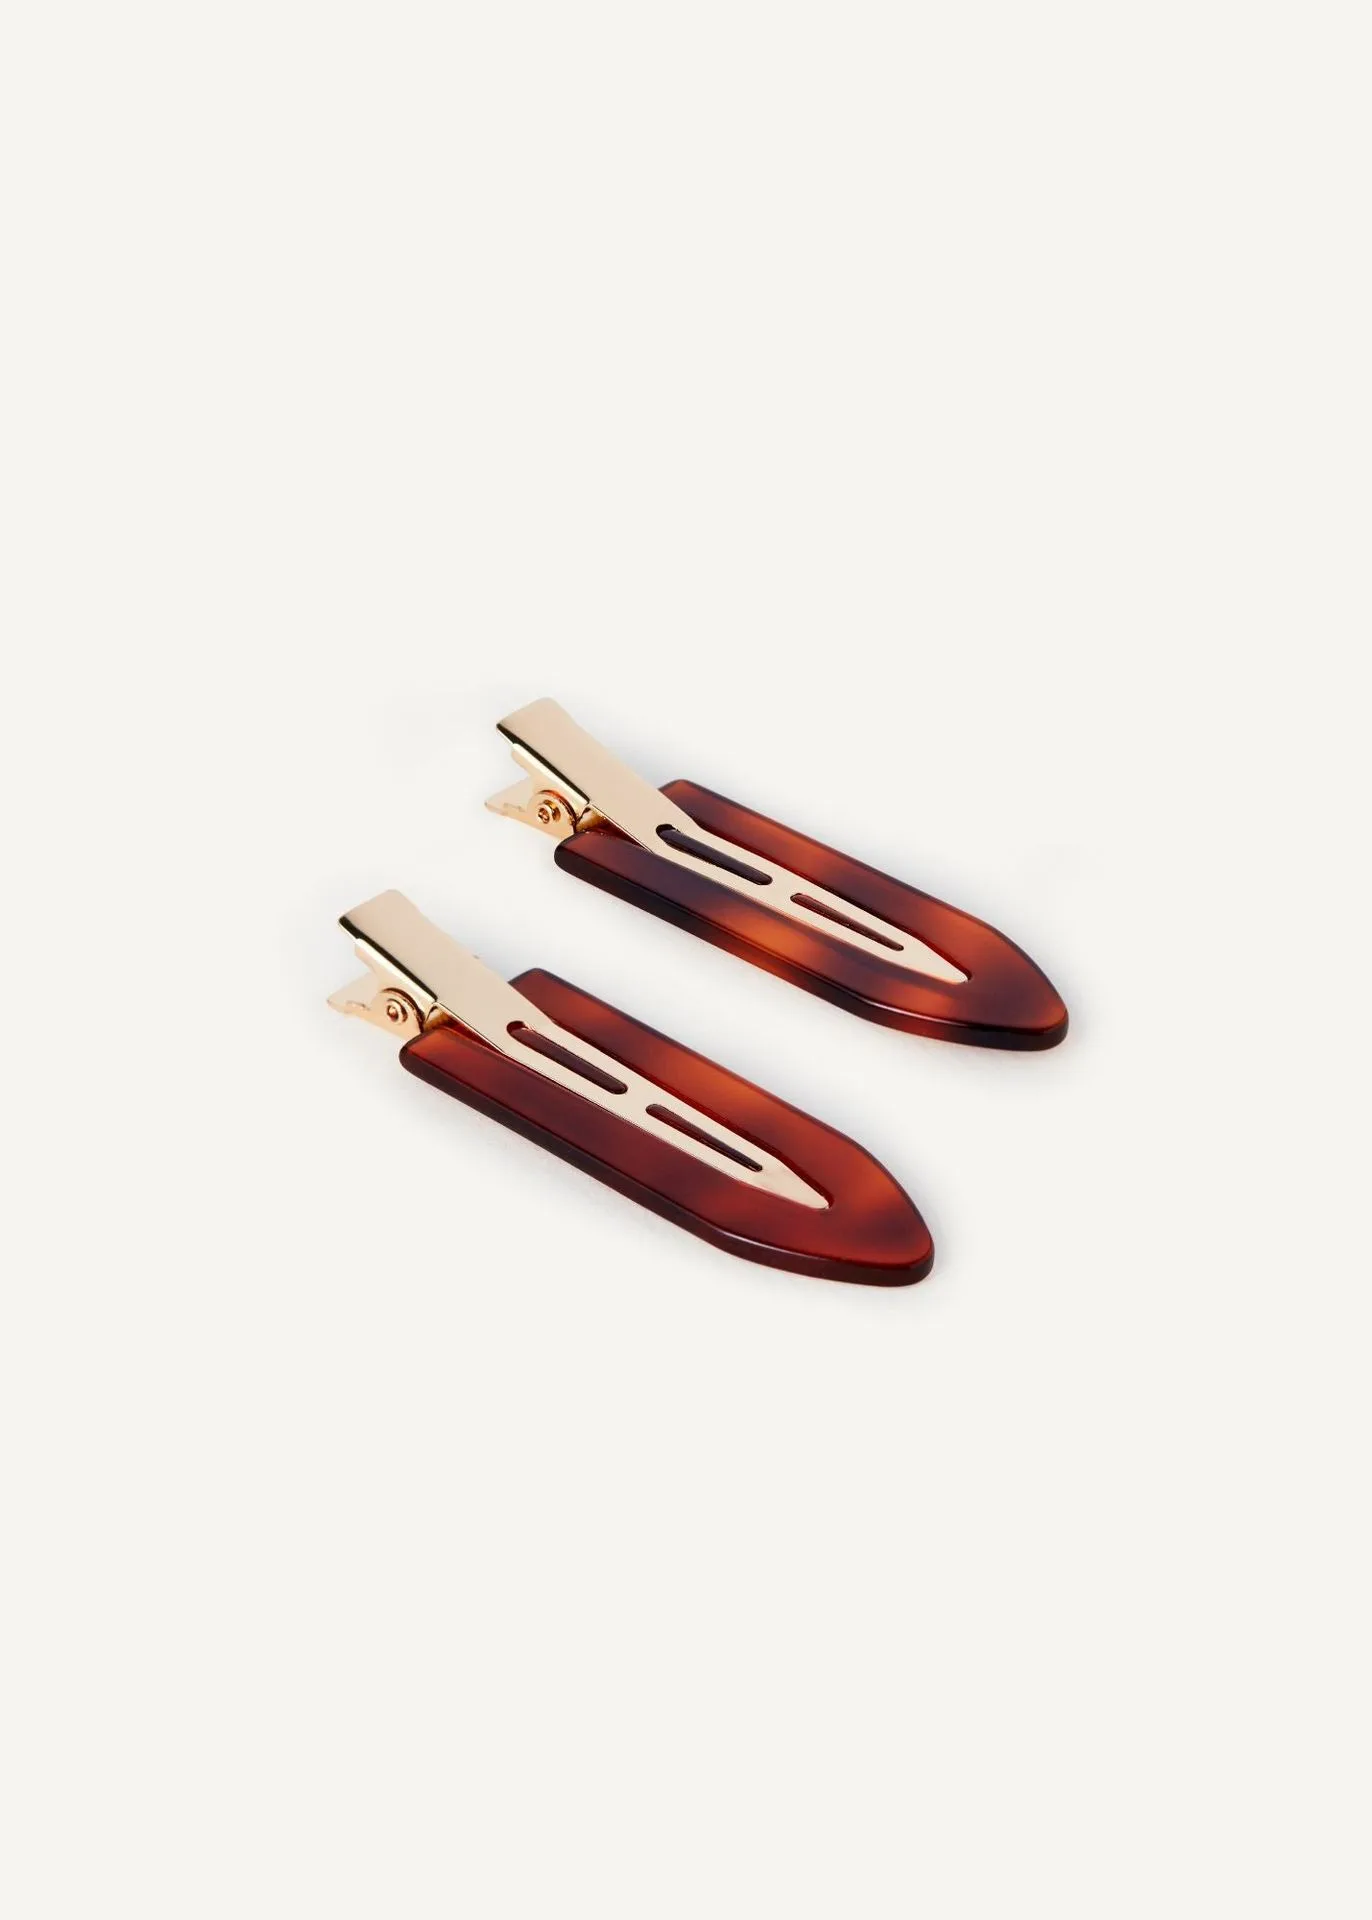
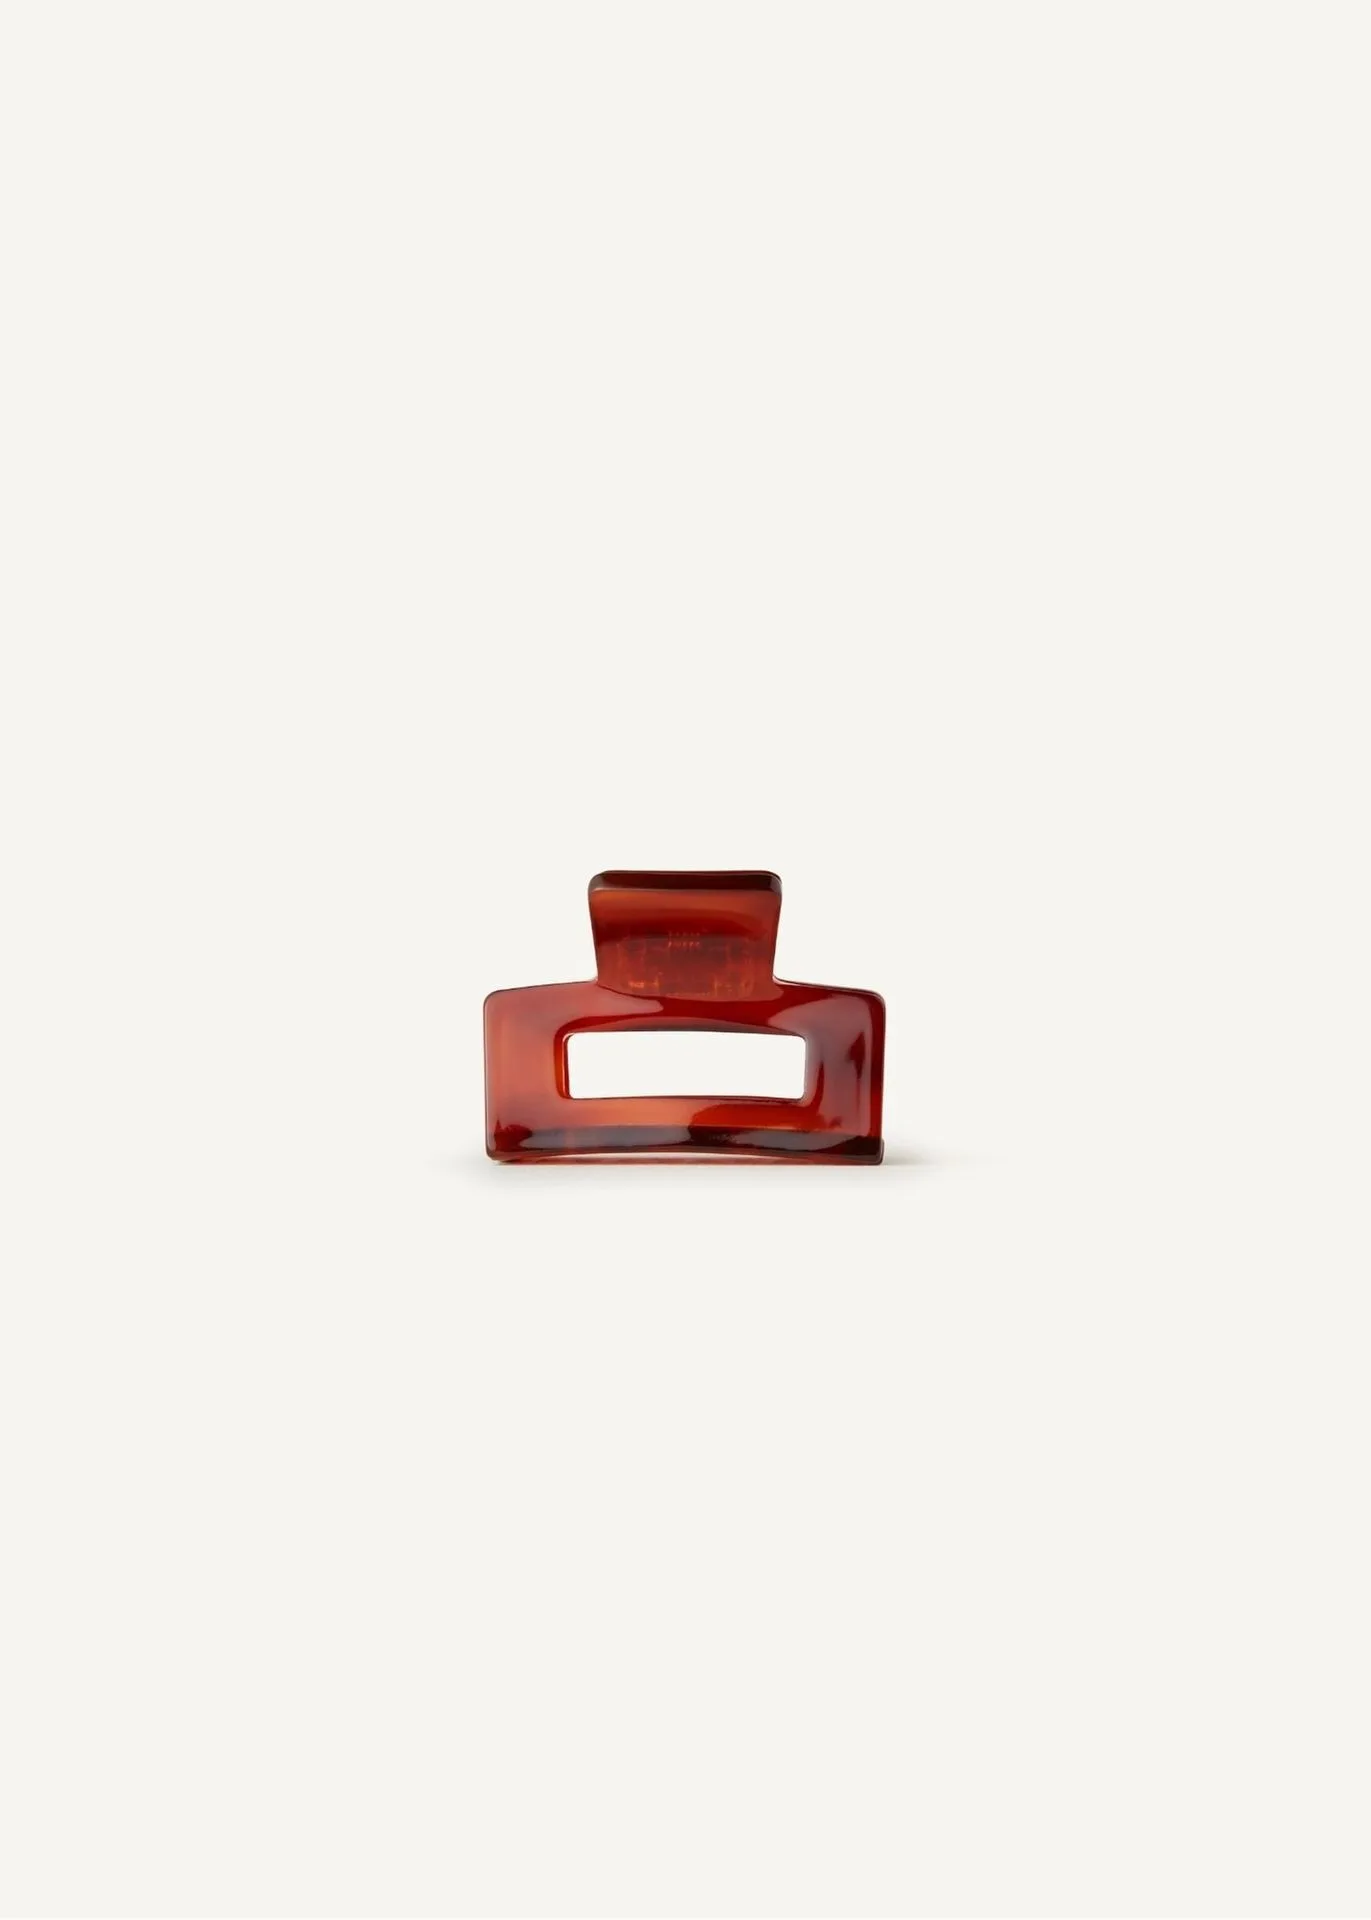
- Hair clips (to hold sections in place)
- Mirror (preferably a large one with good lighting)
- Heat protectant spray (if you plan to blend with styling tools)
- Soft-bristle brush or a loop brush for extensions
Make sure your natural hair is clean, dry, and completely detangled. Avoid applying heavy conditioners or oils near the roots, as this can cause the clips to slip.
Step 1: Section Your Hair Like a Pro
Proper sectioning ensures that the clips lie flat and remain hidden. Start by parting your hair horizontally at the nape of your neck—about an inch above the hairline. Use a tail comb to create a clean, straight part. Clip the rest of your hair up out of the way using a hair clip. This bottom layer is where the first weft will go.
Step 2: Secure the First Weft
Take the smallest weft from your extension set (usually the one with two to three clips). Open the clips, position the weft about half an inch away from your roots, and snap the clips shut close to your scalp. Press down gently to ensure they are secure. Repeat this process for the other side of the same horizontal section, using two wefts if your set includes them. The key is to keep the wefts parallel to your part and evenly spaced.
Step 3: Work Your Way Up
Release the next section of hair, creating a horizontal part about an inch above the first weft. Repeat the process of clipping the weft in place. For a natural look, use slightly wider wefts as you move up—the widest wefts should sit at the crown and temples. Always snap the clips into the hair, not the scalp, to avoid discomfort. If you have thin hair, use fewer wefts and place them closer to the sides for a voluminous but undetectable finish.
Step 4: Blend the Top Layer
This step is crucial for a seamless blend. Leave a thin top layer of your natural hair (about half an inch thick) unclipped. Comb this layer over the extensions and use a curling iron or flat iron to blend textures. If both your natural hair and extensions are the same texture, a simple brush-through may suffice. For a polished look, lightly curl the ends together. Remember to apply a heat protectant to avoid damage.
Common Mistakes to Avoid
- Placing wefts too high: Wefts should sit at least half an inch from your roots to prevent them from peeking out or feeling tight.
- Using too many wefts: Overloading your hair with extensions can strain your natural strands and make the clips visible. Stick to the recommended number for your hair density.
- Skipping the test fit: Always hold the wefts against your head before clipping to check color and placement. This saves time and frustration.
How to Style and Wear Clip-Ins
Once installed, you can style your extensions just like your natural hair. Braids, ponytails, and half-up styles all work beautifully with clip-ins. However, avoid sleeping or showering with them in, as this can cause tangling and reduce their lifespan. For a secure hold during active days, consider using a lightweight hairspray on the clips. If you’re new to extensions, start with a simple straight or wavy style before attempting complex updos.
Removing and Storing Your Extensions
To remove clip-ins, simply open the clips and gently slide them out—never pull or tug. Start from the top wefts and work downward. After removal, brush the extensions thoroughly to remove any shed hair, then store them flat in a satin bag or on a hanger. Proper storage prevents tangling and maintains the wefts’ shape. Clean them every 10–15 wears with a sulfate-free shampoo and conditioner to keep them looking fresh.
Frequently Asked Questions
Will clip-in extensions damage my hair?
When installed and removed correctly, clip-ins cause minimal damage. Avoid wearing them for more than 8–10 hours at a time, and give your hair breaks between uses.
How long do clip-in extensions last?
With proper care, high-quality clip-ins can last 3–6 months. Heat styling and regular brushing will shorten their lifespan, so handle them gently.
Can I color clip-in extensions?
Many synthetic and human hair extensions can be dyed, but always test a small weft first. For best results, purchase extensions that match your desired color from the start.
Final Thoughts: Unlock Your Hair’s Potential
Installing clip-in hair extensions at home is a skill that pays off with every wear. By following these steps, you can achieve a salon-quality look in minutes. The key is patience and practice—don’t rush the sectioning process, and always prioritize a natural blend. With your new-found confidence, you’re ready to experiment with different lengths and volumes. Explore our collection of premium clip-in sets to find the perfect match for your hair and style. For an effortless upgrade, check out our top-rated clip-in extensions designed for everyday glamour.
Remember, the best accessory is your smile—and a gorgeous head of hair never hurts. Happy styling!