A filtro a clip è uno di quegli utensili da cucina che risolve silenziosamente un fastidio quotidiano: scolare una pentola di pasta o sciacquare il riso senza perdere metà del contenuto nel lavandino. A differenza del tradizionale colino, che occupa spazio nell'armadio e richiede una doppia mano per versare, un filtro a clip si aggancia direttamente al bordo della ciotola o della pentola, permettendoti di versare, sciacquare e scolare con una sola mano. È particolarmente utile per le cucine piccole, per la preparazione dei pasti o per chi vuole meno ingombri."t2":"filtro a clip","t3":"In questa guida tratteremo gli usi più pratici del filtro a clip, dallo sciacquare i cereali allo scolare le verdure sbollentate, insieme a compromessi onesti e consigli per ottenere i migliori risultati. Che tu sia nuovo a questo strumento o che tu voglia usarlo in modo più efficace, queste tecniche ti aiuteranno a sfruttare al meglio un filtro semplice ma versatile.","t4":"Sciacquare riso e cereali piccoli senza perdere un solo chicco","t5":"Sciacquare il riso è uno degli usi più comuni del filtro a clip, e per una buona ragione. Un colino standard ha fori abbastanza grandi da far passare cereali piccoli come quinoa, miglio o anche riso a grano corto. Un filtro a clip ha tipicamente una rete fine che trattiene anche le particelle più piccole lasciando scorrere liberamente l'acqua. Per usarlo, basta agganciare il filtro al bordo della ciotola o della padella, aggiungere il riso e far scorrere acqua fredda attraverso la rete mentre si muovono i chicchi con la mano. Il filtro tiene tutto in posizione, quindi non devi tenere un colino separato o preoccuparti di fuoriuscite.","t6":"Un compromesso è che il riso molto appiccicoso o amidaceo può a volte ostruire la rete se versi l'acqua troppo velocemente. La soluzione è semplice: usa un getto d'acqua delicato e picchietta di tanto in tanto il filtro per rimuovere l'amido intrappolato. Per le varietà extra appiccicose come il riso sushi, puoi anche sciacquarlo prima in una ciotola e poi versare l'acqua attraverso il filtro. Questo metodo mantiene la rete pulita e rende il processo più veloce. Il filtro a clip di Misen funziona bene per questo perché i suoi clip rivestiti in silicone tengono saldamente senza graffiare le ciotole.","t7":"Controlla sempre che il filtro sia agganciato uniformemente su entrambi i lati del bordo per evitare che si ribalti.","t8":"Per i cereali piccoli, usa una pressione dell'acqua bassa per evitare schizzi.","t9":"Scolare le verdure dopo il lavaggio o la sbollentatura","t10":"Che tu stia lavando un mazzo di spinaci o sbollentando fagiolini, un filtro a clip rende lo scolo rapido e senza sporcare. Dopo la sbollentatura, puoi agganciare il filtro alla pentola, inclinarla leggermente e lasciare scolare l'acqua mentre le verdure restano dentro. Questo è molto più sicuro che sollevare una pentola pesante di acqua bollente per versarla in un colino, soprattutto quando si lavora con liquidi caldi. Il filtro funge anche da cestello per la cottura a vapore per piccole quantità: basta agganciarlo a una pentola con un po' d'acqua, aggiungere le verdure e coprire con un coperchio.","t11":"Un limite è che il filtro funziona meglio con pentole che hanno un bordo dritto o leggermente svasato. Le pentole molto strette o affusolate potrebbero non garantire una presa sicura. Inoltre, se devi scolare una grande quantità di acqua (come da una pentola piena di pasta), la rete può rallentare il versamento. In quel caso, è meglio usare un colino tradizionale per lo scolo iniziale e poi usare il filtro a clip per il risciacquo finale. Per la preparazione quotidiana delle verdure, tuttavia, la comodità e la pulizia ridotta lo rendono una scelta solida.","t12":"Usa un guanto da forno o un canovaccio quando inclini una pentola calda con il filtro agganciato.","t13":"Sciacqua il filtro subito dopo aver scolato acqua amidacea per evitare che si ostruisca.","t14":"Filtrare brodi, salse e cibi in scatola","t15":"Oltre a cereali e verdure, un filtro a clip è eccellente per separare i solidi dai liquidi. Quando prepari un brodo veloce, puoi agganciare il filtro a una ciotola capiente e versare il contenuto: niente più bisogno di tenere un colino sopra la ciotola con una mano mentre versi con l'altra. La stessa tecnica funziona per scolare fagioli o pomodori in scatola: apri la lattina, aggancia il filtro al bordo (se ci sta) e versa il liquido. In questo modo i solidi restano nella lattina e il liquido va nel lavandino o in un contenitore separato.","t16":"Un consiglio pratico è usare il filtro come paraspruzzi quando friggi. Aggancialo al bordo della padella per coprire parzialmente la superficie, permettendo al vapore di fuoriuscire e riducendo gli schizzi di olio. Tieni presente che la rete non fermerà tutti gli schizzi, quindi è adatto per cotture a fuoco medio-basso. Per attività che richiedono un filtro molto fine (come filtrare lo yogurt per ottenere yogurt greco), è meglio usare un colino foderato con garza. Ma per lo scolo quotidiano, il design a clip fa risparmiare tempo e riduce il numero di piatti da lavare.","t17":"Per i cibi in scatola, inclina leggermente la lattina in modo che il liquido passi attraverso la rete, non oltre il bordo.","t18":"Pulisci subito il filtro dopo aver filtrato cibi acidi come i pomodori per evitare macchie.","t19":"Usare il filtro a clip come ausilio per misurare e preparare","t20":"Un uso meno ovvio del filtro a clip è come misurino o imbuto temporaneo. Poiché il filtro si aggancia al bordo, puoi usarlo per tenere gli ingredienti mentre prepari altri elementi. Ad esempio, aggancialo a una ciotola, aggiungi frutti di bosco o erbe aromatiche sciacquate e lasciali asciugare all'aria mentre tagli altre verdure. La rete permette all'acqua di gocciolare via, quindi gli ingredienti restano asciutti e pronti all'uso. Puoi anche usarlo per tenere mezzo limone o lime mentre ne spremi il succo: i semi vengono trattenuti e il succo scorre nella ciotola sottostante.","t21":"Un altro trucco utile: usa il filtro come coperchio per le ciotole quando usi il microonde. Mettilo sopra una ciotola di avanzi per evitare schizzi mentre permetti al vapore di fuoriuscire. Questo funziona perché i clip in silicone sono resistenti al calore (controlla le specifiche del tuo modello). Il filtro a clip di Misen, ad esempio, è realizzato in silicone per alimenti e rete in acciaio inossidabile che può sopportare temperature fino a 400°F, rendendolo sicuro per l'uso nel microonde. Evita solo di usarlo sotto il grill o a fiamma diretta. Con un po' di creatività, questo strumento può sostituire diversi gadget monouso nella tua cucina.","t22":"Lascia asciugare all'aria erbe aromatiche o frutti di bosco nel filtro per 5-10 minuti prima di conservarli.","t23":"Non mettere il filtro nel microonde se ha componenti metallici che non sono adatti al microonde.","t24":"Un filtro a clip è un piccolo investimento che ripaga nella comodità quotidiana. Che tu stia sciacquando il riso, scoiando verdure o filtrando cibi in scatola, semplifica attività che di solito richiedono mani extra o pulizia extra. Abbinalo a contenitori in vetro come il","t25":"contenitore tondo in vetro da 4 tazze","t26":"per facili passaggi dalla preparazione al frigorifero, e ti chiederai come facevi senza. Inizia con le tecniche sopra e scoprirai rapidamente ancora più modi per mettere a frutto questo strumento versatile.","t27":"contenitore tondo in vetro da 4 tazze"}}
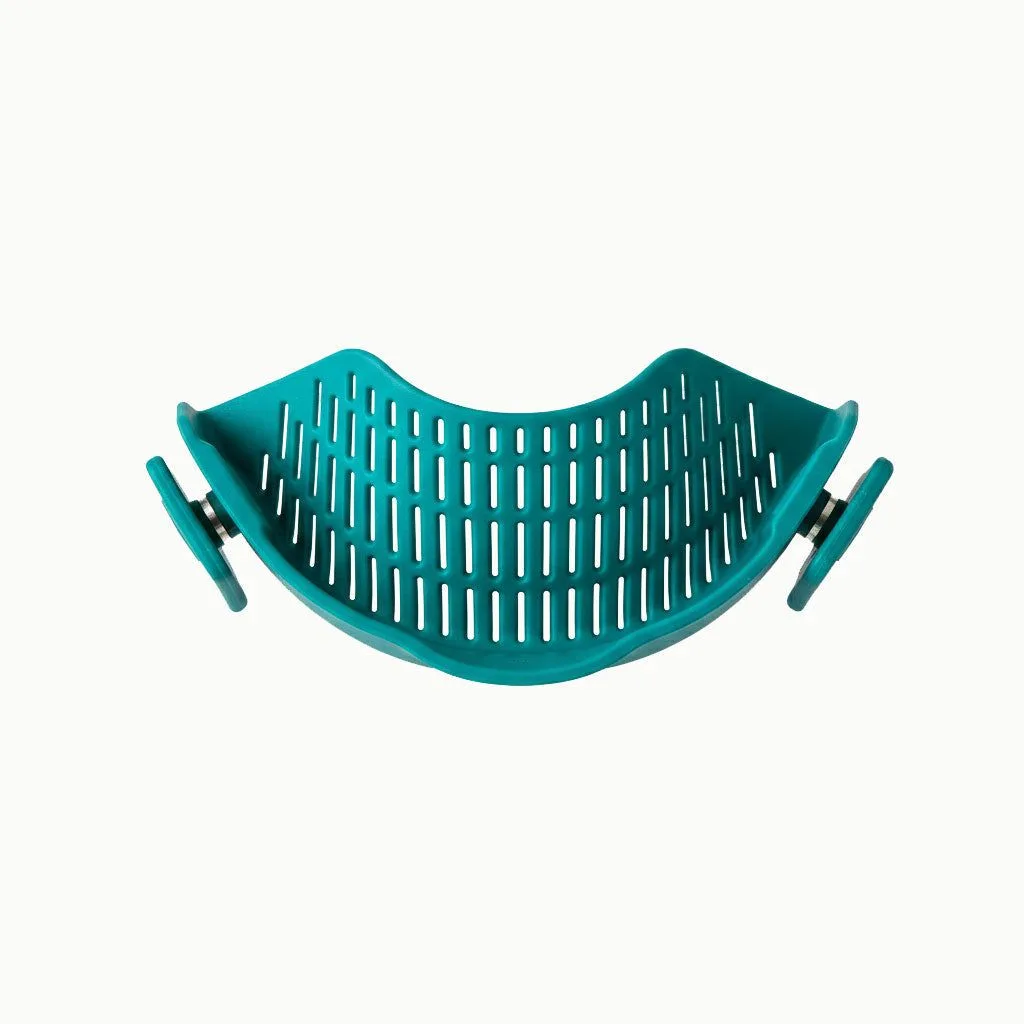
clip-on strainer
In this guide, we will cover the most practical clip on strainer uses — from rinsing grains to draining blanched vegetables — along with honest trade-offs and tips for getting the best results. Whether you are new to this tool or looking to use it more effectively, these techniques will help you make the most of a simple but versatile strainer.
Rinsing Rice and Small Grains Without Losing a Single Kernel
Rinsing rice is one of the most common clip on strainer uses, and for good reason. A standard colander has holes large enough that small grains like quinoa, millet, or even short-grain rice can slip through. A clip-on strainer typically features fine mesh that catches even tiny particles while letting water flow freely. To use it, simply clip the strainer onto the side of your mixing bowl or saucepan, add the rice, and run cold water through the mesh while swishing the grains with your hand. The strainer holds everything in place, so you do not need to hold a separate sieve or worry about spillage.
One trade-off is that very sticky or starchy rice can sometimes clog the mesh if you pour the water too quickly. The fix is simple: use a gentle stream of water and occasionally tap the strainer to dislodge trapped starch. For extra-sticky varieties like sushi rice, you can also rinse in a bowl first, then pour the water out through the strainer. This method keeps the mesh clear and makes the process faster. The Clip-on Strainer from Misen works well for this because its silicone-coated clips grip securely without scratching your bowls.
- Always check that the strainer is clipped evenly on both sides of the rim to prevent tipping.
- For small grains, use a low water pressure to avoid splashing.
Draining Vegetables After Washing or Blanching
Whether you are washing a bunch of spinach or blanching green beans, a clip-on strainer makes draining quick and mess-free. After blanching, you can clip the strainer onto the pot, tilt the pot slightly, and let the water drain out while the vegetables stay inside. This is much safer than lifting a heavy pot of boiling water to pour into a colander, especially when you are working with hot liquids. The strainer also doubles as a steamer basket for small batches: just clip it onto a pot with a little water, add vegetables, and cover with a lid.
One limitation is that the strainer works best with pots that have a straight or slightly flared rim. Very narrow or tapered pots may not provide a secure clip. Also, if you are draining a large volume of water (like from a full pot of pasta), the mesh can slow down the pour. In that case, it is better to use a traditional colander for the initial drain, then use the clip-on strainer for a final rinse. For everyday vegetable prep, however, the convenience and reduced cleanup make it a solid choice.
- Use a pot holder or towel when tilting a hot pot with the strainer attached.
- Rinse the strainer immediately after draining starchy water to prevent clogging.
Straining Stocks, Sauces, and Canned Goods
Beyond grains and vegetables, a clip-on strainer is excellent for separating solids from liquids. When you make a quick stock or broth, you can clip the strainer onto a large bowl and pour the contents through — no need to hold a sieve over the bowl with one hand while pouring with the other. The same technique works for straining canned beans or tomatoes: open the can, clip the strainer onto the can's rim (if it fits), and pour out the liquid. This keeps the solids in the can and the liquid in the sink or a separate container.
A practical tip is to use the strainer as a splatter guard when frying. Clip it onto the side of your skillet to partially cover the surface, allowing steam to escape while reducing oil splatter. Just be aware that the mesh will not stop all splatter, so it is best for low-to-medium heat cooking. For tasks that require a very fine filter (like straining yogurt for Greek yogurt), a cheesecloth-lined sieve is still better. But for everyday straining, the clip-on design saves time and reduces the number of dishes you need to wash.
- For canned goods, tilt the can slightly so the liquid flows through the mesh, not over the top.
- Clean the strainer promptly after straining acidic foods like tomatoes to avoid staining.
Using the Clip-On Strainer as a Measuring and Prep Aid
One less obvious clip on strainer use is as a temporary measuring cup or funnel. Because the strainer attaches to the rim, you can use it to hold ingredients while you prepare other items. For example, clip it onto a bowl, add rinsed berries or herbs, and let them air-dry while you chop other vegetables. The mesh allows water to drip away, so your ingredients stay dry and ready to use. You can also use it to hold a lemon or lime half while you squeeze juice — the seeds get caught, and the juice flows into the bowl below.
Another handy trick: use the strainer as a lid for bowls when microwaving. Place it over a bowl of leftovers to prevent splatters while allowing steam to escape. This works because the silicone clips are heat-resistant (check your model's specifications). The Misen Clip-on Strainer, for instance, is made from food-grade silicone and stainless steel mesh that can handle temperatures up to 400°F, making it safe for microwave use. Just avoid using it under a broiler or direct flame. With a little creativity, this tool can replace several single-purpose gadgets in your kitchen.
- Let herbs or berries air-dry in the strainer for 5-10 minutes before storing.
- Do not microwave the strainer if it has any metal components that are not microwave-safe.
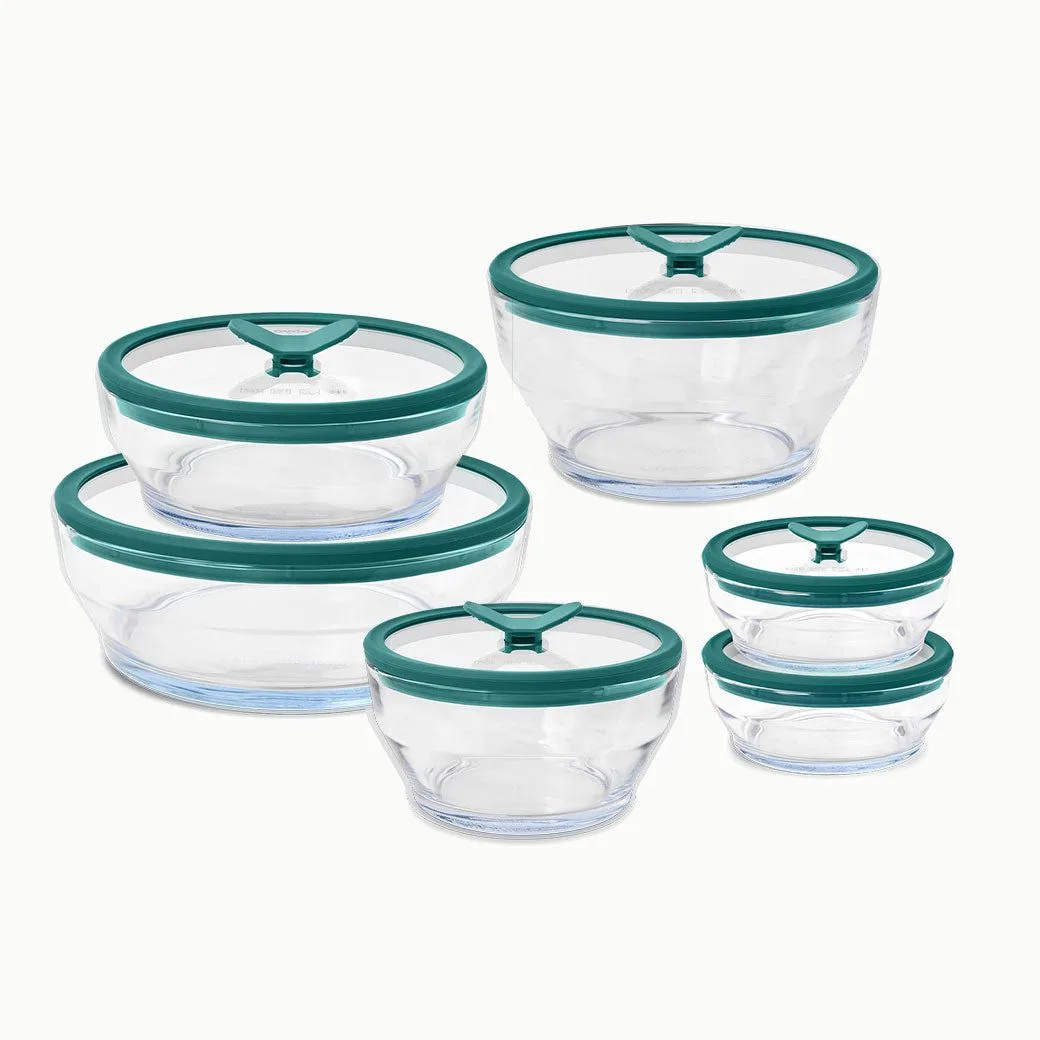
A clip-on strainer is a small investment that pays off in everyday convenience. Whether you are rinsing rice, draining vegetables, or straining canned goods, it simplifies tasks that usually require extra hands or extra cleanup. Pair it with glass storage dishes like the 4-Cup Glass Round Shallow Dish for easy prep-to-fridge transitions, and you will wonder how you managed without it. Start with the techniques above, and you will quickly discover even more ways to put this versatile tool to work.
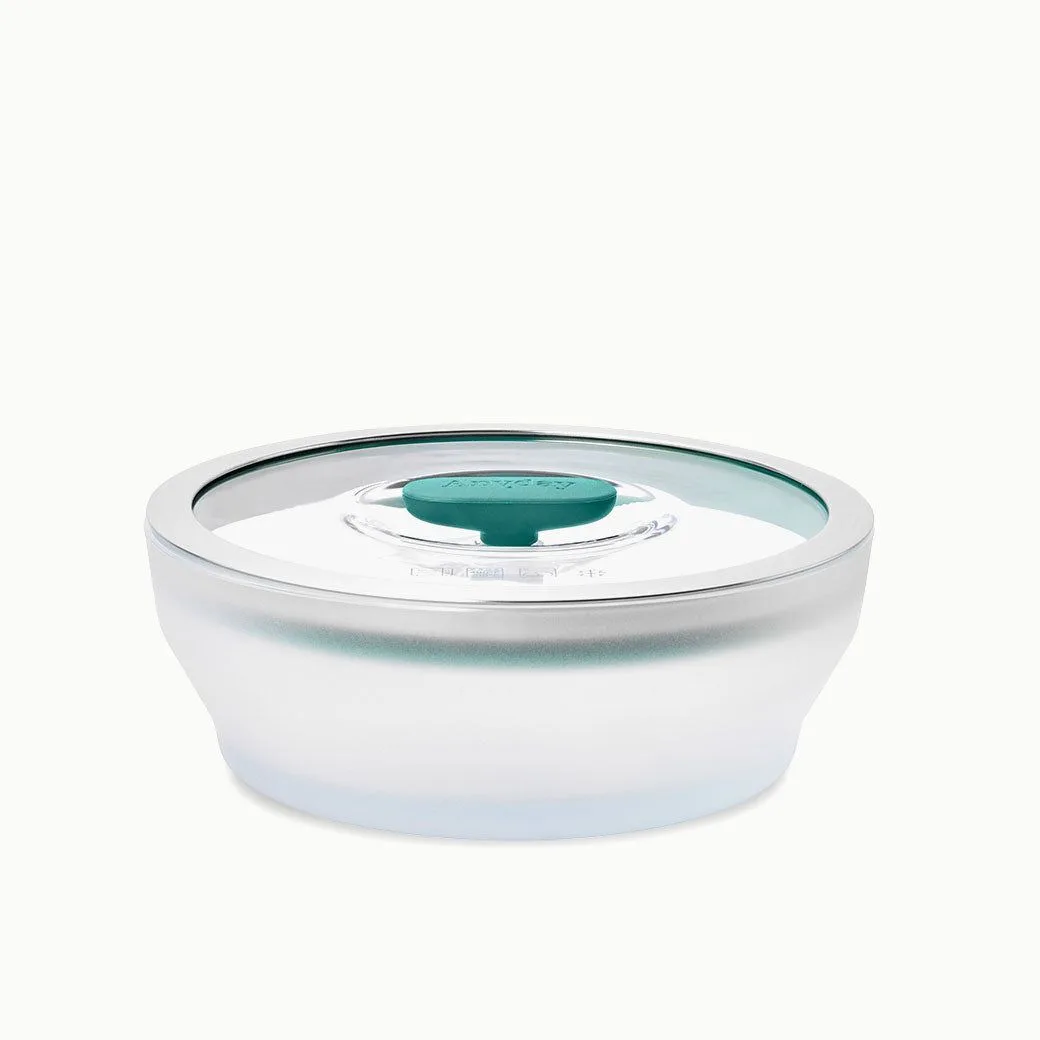
4-Cup Glass Round Shallow Dish