Réponse rapide
Montez le porte-serviette Camion de pompiers dans une poutre ou une cheville murale conçue pour au moins 1,5 kg, en utilisant les deux points de fixation à l'arrière. Mesurez deux fois, percez une fois, et testez la fixation en tirant dessus avant que votre enfant n'utilise la pièce. Si vous ne trouvez pas de poutre ou de cheville adaptée, choisissez un autre mur plutôt que de risquer un arrachement.
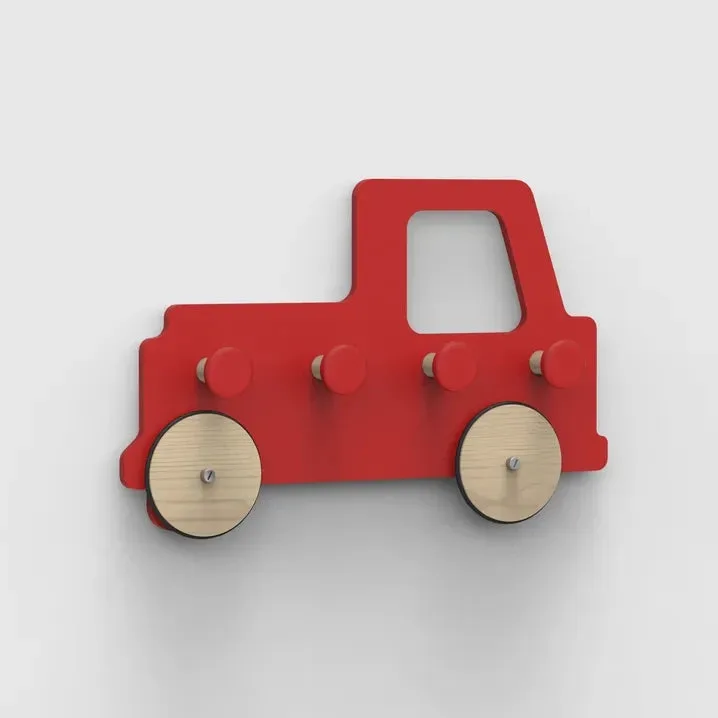
Porte-serviette Camion de pompiers
Un porte-serviette camion de pompiers est une petite décoration murale, mais il nécessite tout de même une fixation solide. Le porte-serviette Moover Life Fire Truck Hanger pèse 1,5 kg et mesure 44 x 27,6 x 7 cm, il est donc assez léger pour la plupart des murs, mais assez lourd pour causer des dégâts s'il tombe. Ce guide explique l'installation dans l'ordre, avec les points de contrôle importants.
Vous n'avez pas besoin d'outils spécialisés : une perceuse, un niveau à bulle, un crayon et les bonnes chevilles suffisent. Les principaux risques sont de percer un mur creux sans cheville, de monter trop bas là où un enfant peut tirer dessus, et de sauter le test de traction final. Suivez les étapes ci-dessous et vous éviterez ces trois écueils.
Avant de percer : vérifiez le mur et la hauteur
Commencez par décider exactement où le porte-vêtements sera installé. Le Fire Truck Hanger mesure 44 cm de large, alors marquez un point central et vérifiez que la largeur totale s'insère entre les cadres de fenêtre, les étagères ou les interrupteurs. Tenez le porte-vêtements contre le mur à la hauteur choisie et demandez à quelqu'un de reculer pour confirmer qu'il semble de niveau et centré.
La hauteur est importante pour la sécurité. Montez le porte-vêtements suffisamment haut pour qu'un tout-petit ne puisse pas facilement attraper le bord inférieur, mais assez bas pour qu'il reste intégré à la décoration de la pièce. Une bonne règle est de garder le point le plus bas au-dessus de la hauteur des épaules de votre enfant lorsqu'il est debout. Si vous le montez au-dessus d'un berceau ou d'un lit, déplacez-le sur un autre mur.
- Checkpoint: press the wall where you plan to drill. If it flexes or sounds hollow, you need a proper anchor, not just a screw.
- Common mistake: drilling before checking for hidden wires or pipes. Use a stud finder with a wire-detection mode if you have one.
Choose the right fixing for your wall type
The Fire Truck Hanger arrives flat-packed and requires assembly, so build it first and let the glue or fixings set before you hang it. Once assembled, look at the back of the hanger to see the mounting points. You will need two fixings, spaced to match those points.
For a solid wood or masonry wall, a standard wood screw or masonry plug is fine. For drywall or plasterboard, use a hollow-wall anchor rated for at least 1.5 kg per fixing. Do not rely on the screw alone in drywall. If you cannot find a stud and do not have anchors, wait until you can buy the right ones.
- Checkpoint: each fixing should be rated for at least 1.5 kg, ideally more, because a child may pull on the hanger.
- Common mistake: using the screws that come in a generic picture-hanging kit without checking the wall type.
Drill, mount, and level the hanger
Mark your two drill points with a pencil, using a spirit level to keep them horizontal. Drill pilot holes slightly smaller than your screws or anchors. If you are using hollow-wall anchors, follow the anchor manufacturer's instructions for hole size exactly, because an oversized hole weakens the fixing.
Push the hanger onto the fixings and tighten the screws until the hanger sits flush against the wall. Do not overtighten, especially into drywall, as this can crush the anchor. Check the level again once it is snug. If it is off, loosen slightly, adjust, and retighten.
- Checkpoint: the hanger should not wobble or rock when you press gently on one corner.
- Common mistake: drilling the second hole without re-checking level, which leaves the hanger visibly tilted.
Final safety test and placement check
Once mounted, give the hanger a firm but gentle tug downward and sideways. It should not move. This is your last chance to catch a weak fixing before a child does. If it shifts, remove it and start again with a better anchor or a different spot.
Also check what is below the hanger. If it is above a bed, sofa, or play mat, consider moving it. Even a 1.5 kg object can hurt if it falls. The hanger is decorative, so it does not need to be within a child's reach. Higher is safer.
- Checkpoint: tug-test each mounting point separately, not just the center.
- Common mistake: skipping the tug test because the hanger looks fine. Looks are not a safety check.
Pairing the hanger with other Moover wooden toys
The Fire Truck Hanger is designed to match the Moover Firetruck Essential stroller, so it works well as part of a coordinated room theme. If you already have the Push truck Pink flatpacked or the Dump truck Pink, the hanger can tie the decor together without adding floor clutter.
Keep in mind that the hanger is decoration, not a toy. It is not designed to be climbed on or pulled. If your child is in a pulling phase, mount it higher or wait until that phase passes. The same applies to any wall-mounted item in a kids room.
- Checkpoint: if you are also installing a stroller or ride-on, keep the hanger out of the traffic path.
- Common mistake: treating the hanger as a storage hook for bags or coats. It is not rated for that.
Installation steps at a glance
- Assemble the hanger first: The Fire Truck Hanger requires assembly. Build it completely and let any fixings set before you drill into the wall. Checkpoint: the hanger should feel rigid, not loose, before mounting.
- Pick a safe height and location: Mount above your child's standing shoulder height and away from beds, cribs, or play mats. Check the full 44 cm width fits your chosen wall space. Checkpoint: stand back and confirm it looks level and centered before drilling.
- Identify your wall type: Find a stud if possible. For drywall or plasterboard, use hollow-wall anchors rated for at least 1.5 kg per fixing. Do not use bare screws in hollow walls. Checkpoint: if you cannot find a stud or suitable anchor, choose a different wall.
- Drill and mount: Mark two level points, drill pilot holes, and fix the hanger to the wall. Tighten until flush, but do not overtighten into drywall. Checkpoint: the hanger should not wobble when pressed.
- Tug-test and final check: Pull gently downward and sideways on each mounting point. If it moves, remove and re-fix with a stronger anchor. Check nothing fragile sits below. Checkpoint: no movement is the pass mark. If it shifts, start again.
Product facts that affect installation
- Fire Truck Hanger: Designed in Denmark, this Moover Life red truck hanger was designed to match the Firetruck Essential stroller. Material: FSC-CERTIFIED 9mm fireboard. All paint is environmentally-friendly, water-based, non-toxic paint. Assembly required. Dimensions: 44 x 27.6 x 7 cm, 1.5 kg. The 1.5 kg weight tells you the minimum anchor rating. The 44 cm width tells you how much wall space you need. Assembly required means you must build it before mounting.
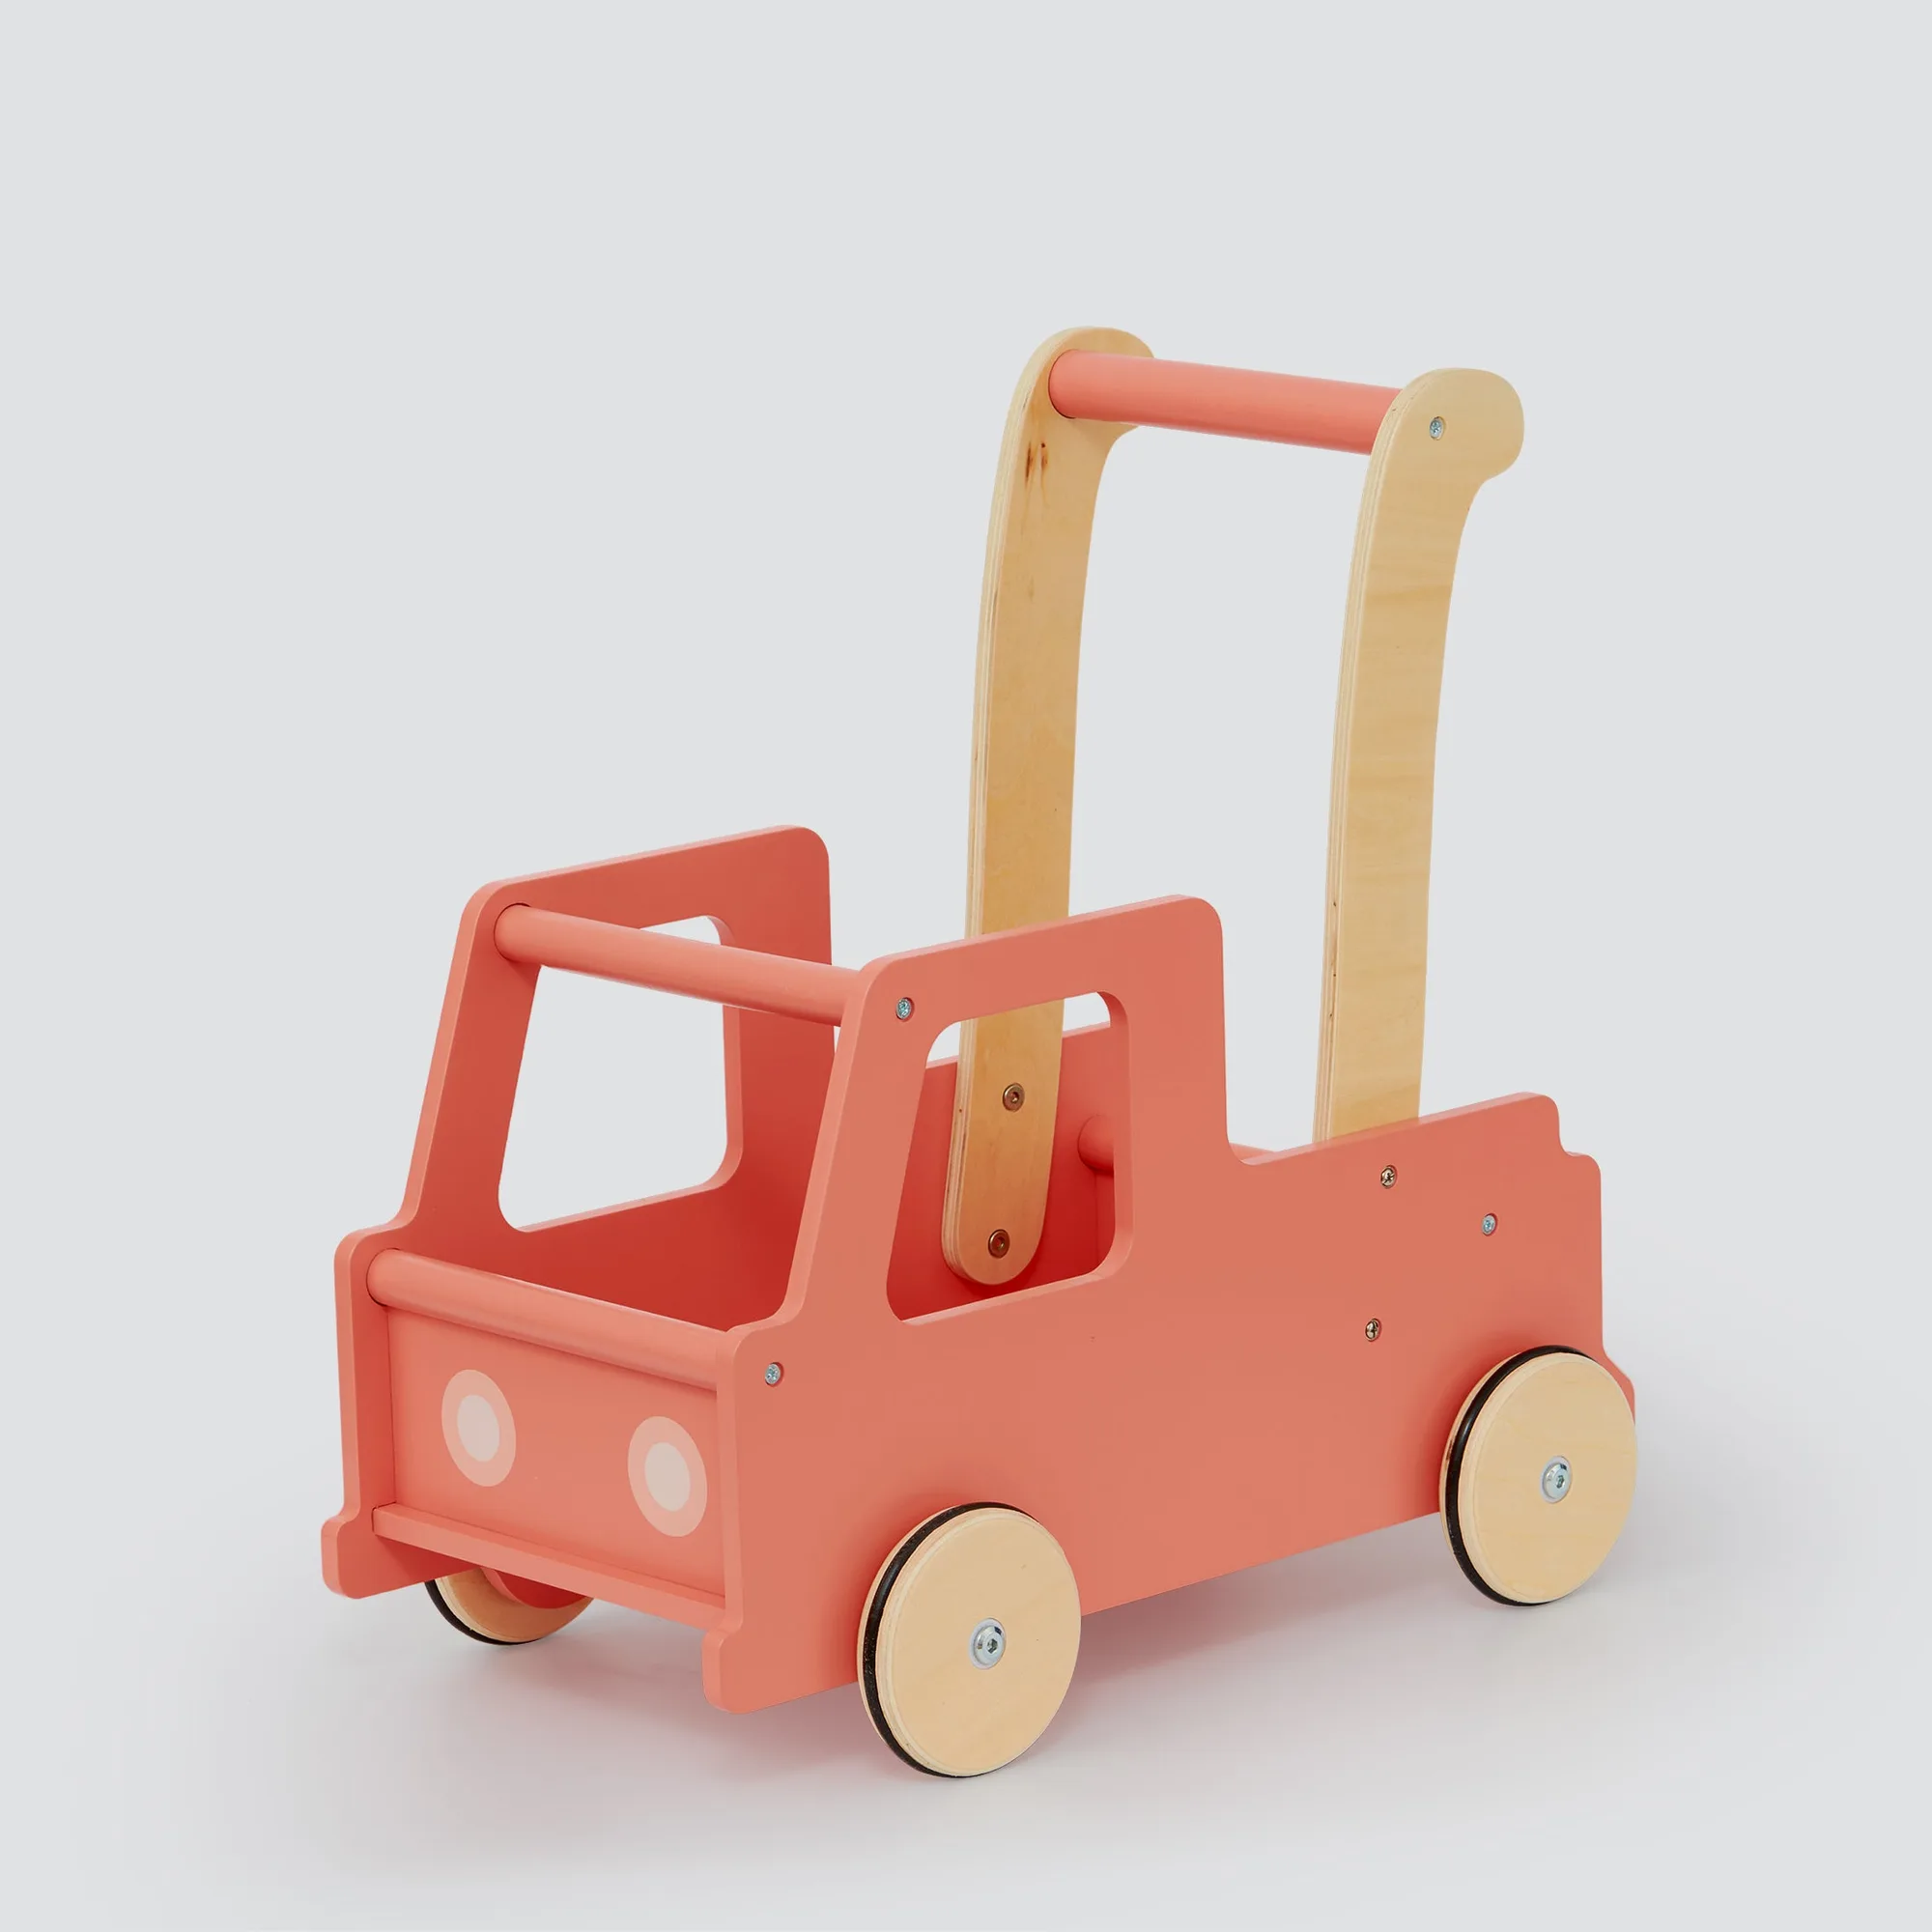
- Push truck Pink flatpacked: Designed in Denmark, this Moover ESSENTIAL Stroller is part of our slightly smaller, lighter stroller options available at Moover's lower price-point. The Fire Truck design is gender neutral and will keep your baby moving after taking their first steps while inspiring their imagination. For kids 18+ months. Material: FSC-CERTIFIED. If you are matching the hanger with this stroller, keep the same safety rules in mind: the stroller is a toy, the hanger is not.
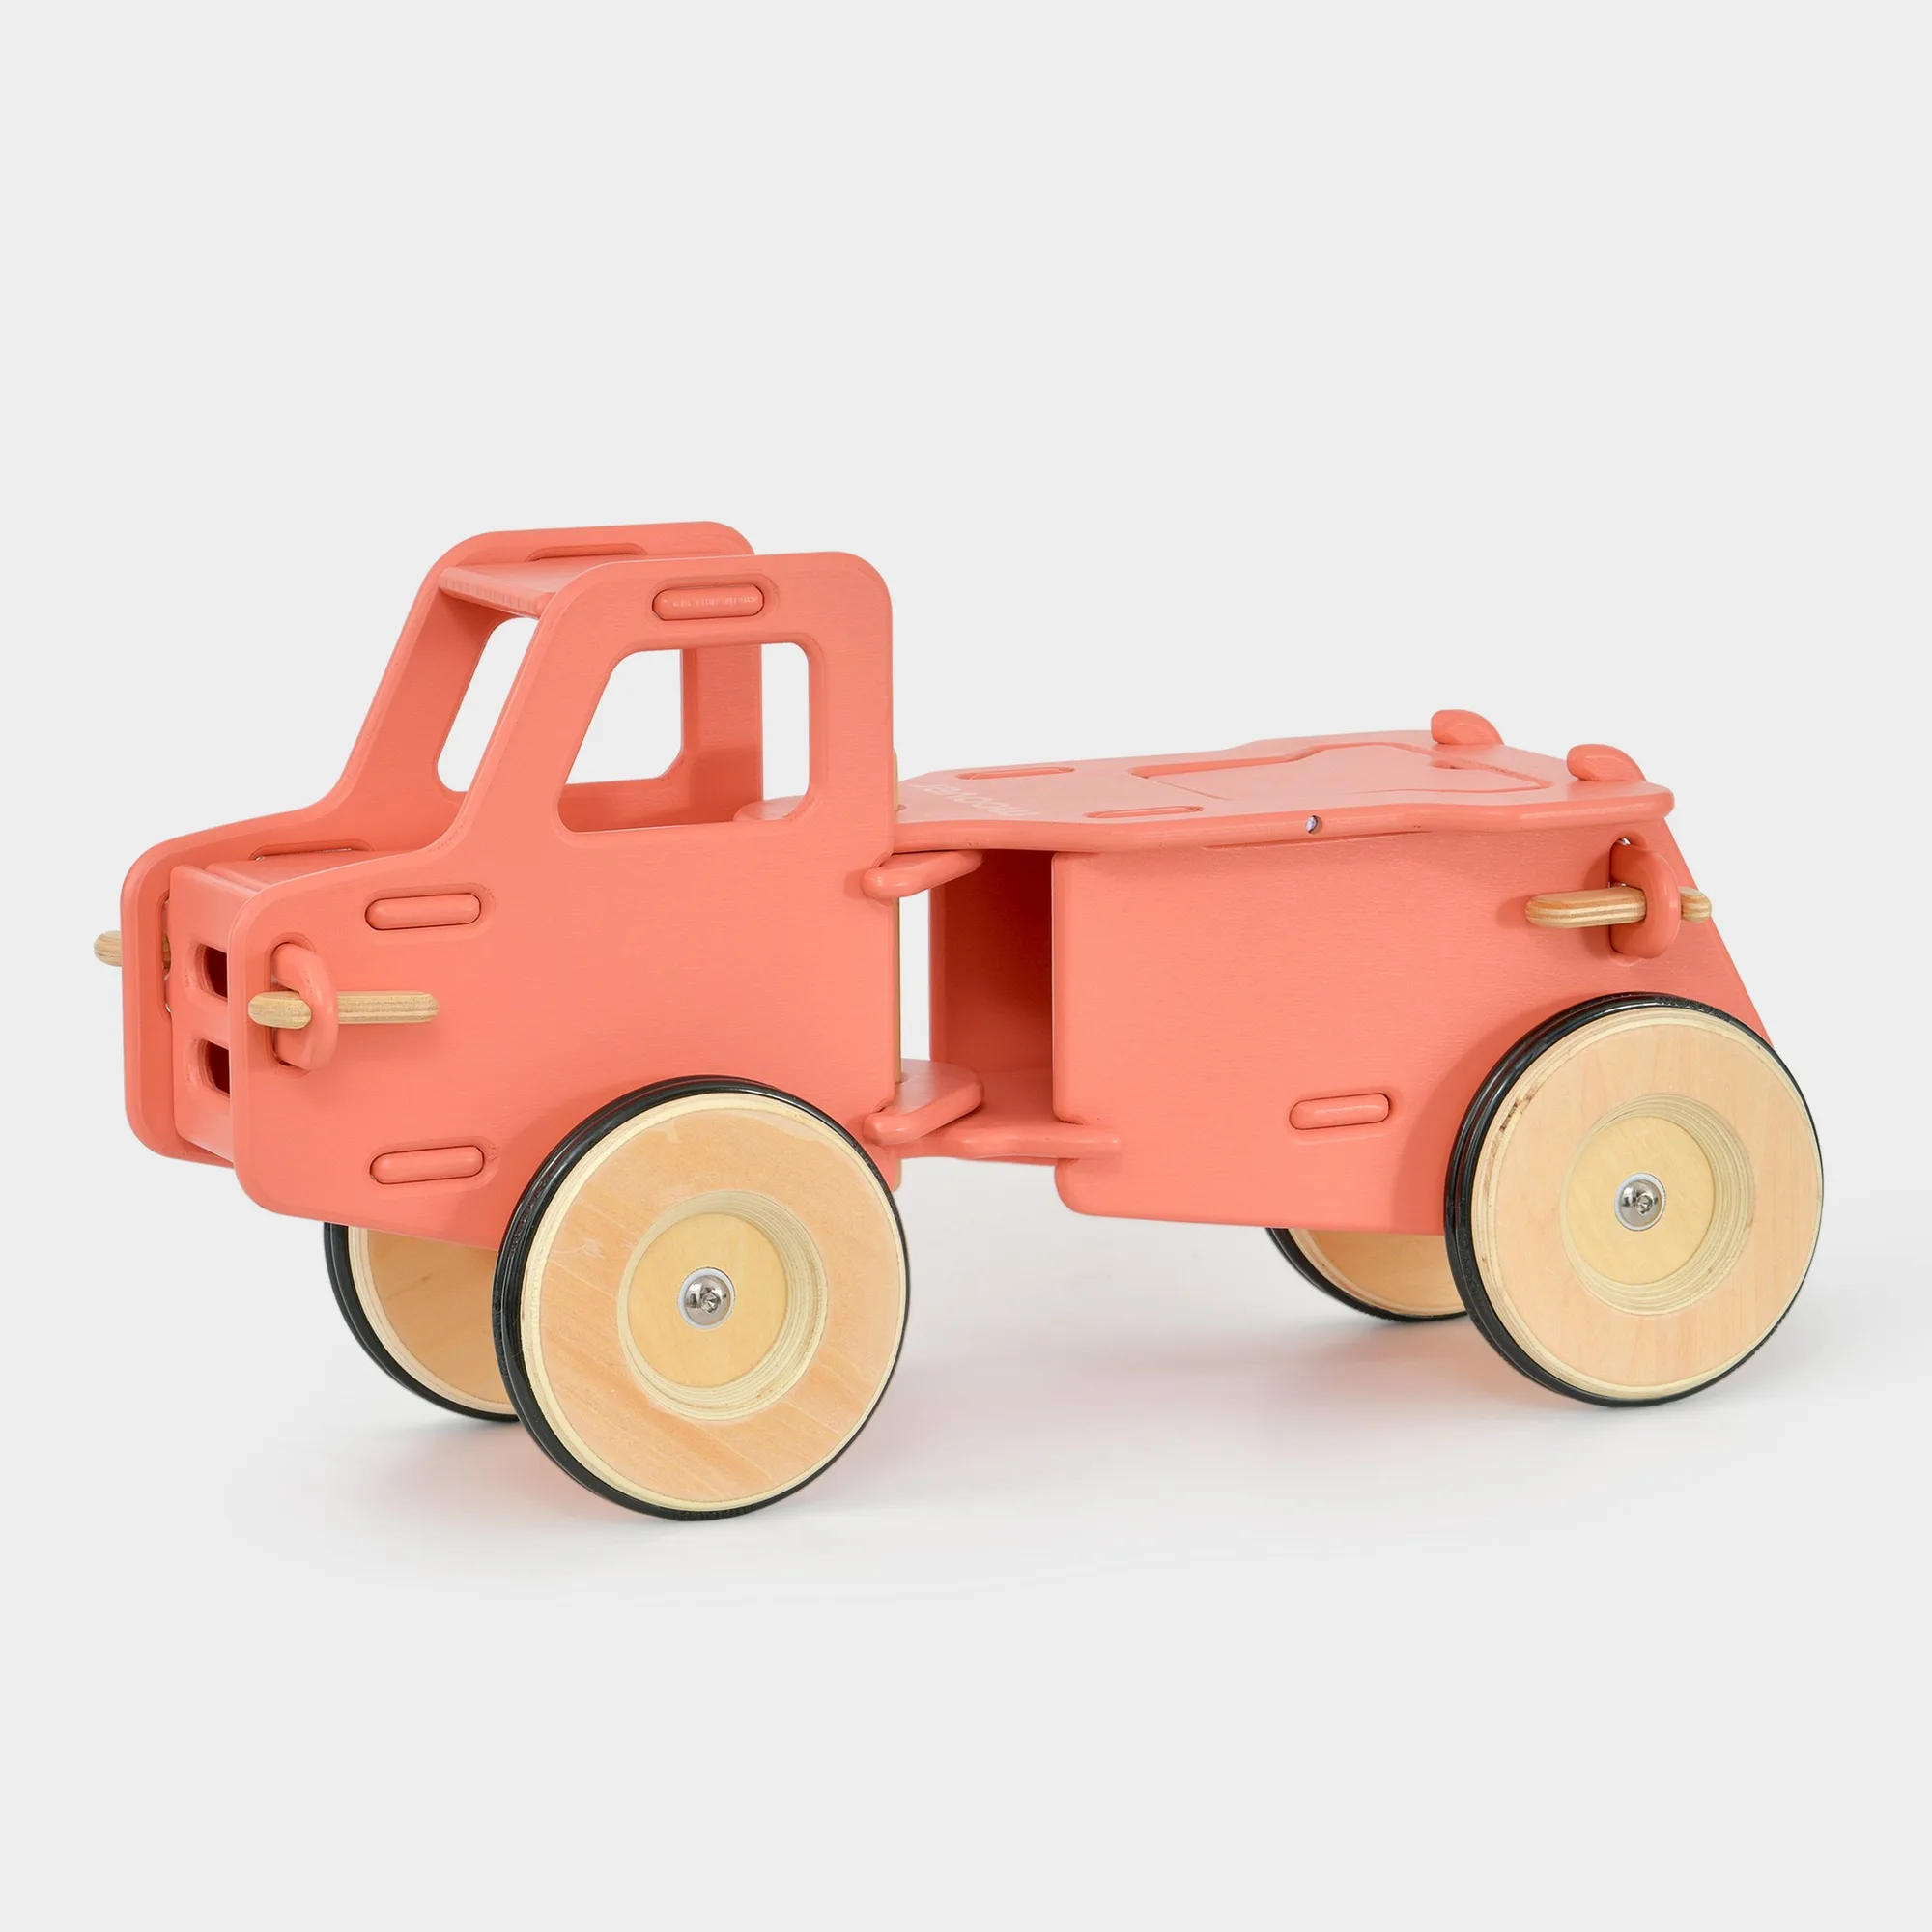
Dump truck Pink: