Quick answer
Build the Hasegawa 1/24 Mitsubishi Lancer GSR Evolution IV in three stages: prep and test-fit the body and chassis, paint and polish the shell before adding details, then assemble from the interior outward. Treat each stage as a checkpoint so you catch fit or finish problems before they are locked in.
Why the body shell should be painted before final assembly
On a 1/24 car model build, the body is the largest visible surface and the hardest part to correct once interior, glass, and trim are attached. Painting the shell first lets you sand, re-coat, and polish without risking fragile parts. It also means you can test-fit the painted body onto the chassis before committing to glue.
Where this kit rewards patience and where it does not
The Hasegawa kit is a 1/24 scale plastic model of the Lancer GSR Evolution IV, so the payoff comes from clean bodywork and a smooth paint finish rather than from complex mechanical features. If you want a quick weekend build with opening panels or a full engine, this kit is not aimed at that. If you want a rally-bred sedan silhouette to practice automotive model kit tips on, it fits well.
Step-by-step build plan
- Wash and inspect the sprues: Rinse the plastic in lukewarm water with a drop of dish soap, air-dry fully, then check the body shell for mold lines and sink marks before any paint. Common mistake: painting over mold-release residue, which causes fisheyes and poor adhesion. If water beads on the plastic, wash again before priming.
- Test-fit body, chassis, and glass: Tape the body to the chassis and dry-fit the windows and light lenses. Note any tight spots and sand them lightly. Common mistake: forcing parts together, which cracks clear plastic or distorts the body. Every clear part should sit flush without pressure before paint.
- Prime and paint the body shell: Apply thin primer coats, then color in light passes, letting each coat flash off. Common mistake: heavy wet coats that run or bury panel lines. Build up coverage slowly and keep panel lines visible. Stop when the color is even, not when the surface looks wet.
- Polish and clear-coat the finish: Once the color is fully cured, wet-sand lightly with fine grit, then apply clear coat in thin layers. Common mistake: polishing uncured paint, which dulls or smears it. Follow the paint maker's cure time. A smooth clear coat hides minor orange peel better than extra color coats.
- Assemble the interior and chassis: Build the interior tub and chassis as subassemblies, then test-fit them into the painted body. Common mistake: gluing interior parts to the body before checking alignment with the glass. Dry-fit the dashboard and seats with the windows in place.
- Attach glass, trim, and final details: Install windows with a clear-drying adhesive, then add lights, mirrors, and trim. Common mistake: using too much glue near clear parts, which fogs them. Use a toothpick to apply small amounts. Leave the model undisturbed until the clear adhesive is fully set.
Kit at a glance
-
1/24 MITSUBISHI LANCER GSR Evolution IV: Hasegawa 1/24 scale kit of the Mitsubishi Lancer GSR Evolution IV. The 1/24 scale keeps the body large enough for meaningful paint and trim work without demanding display space.
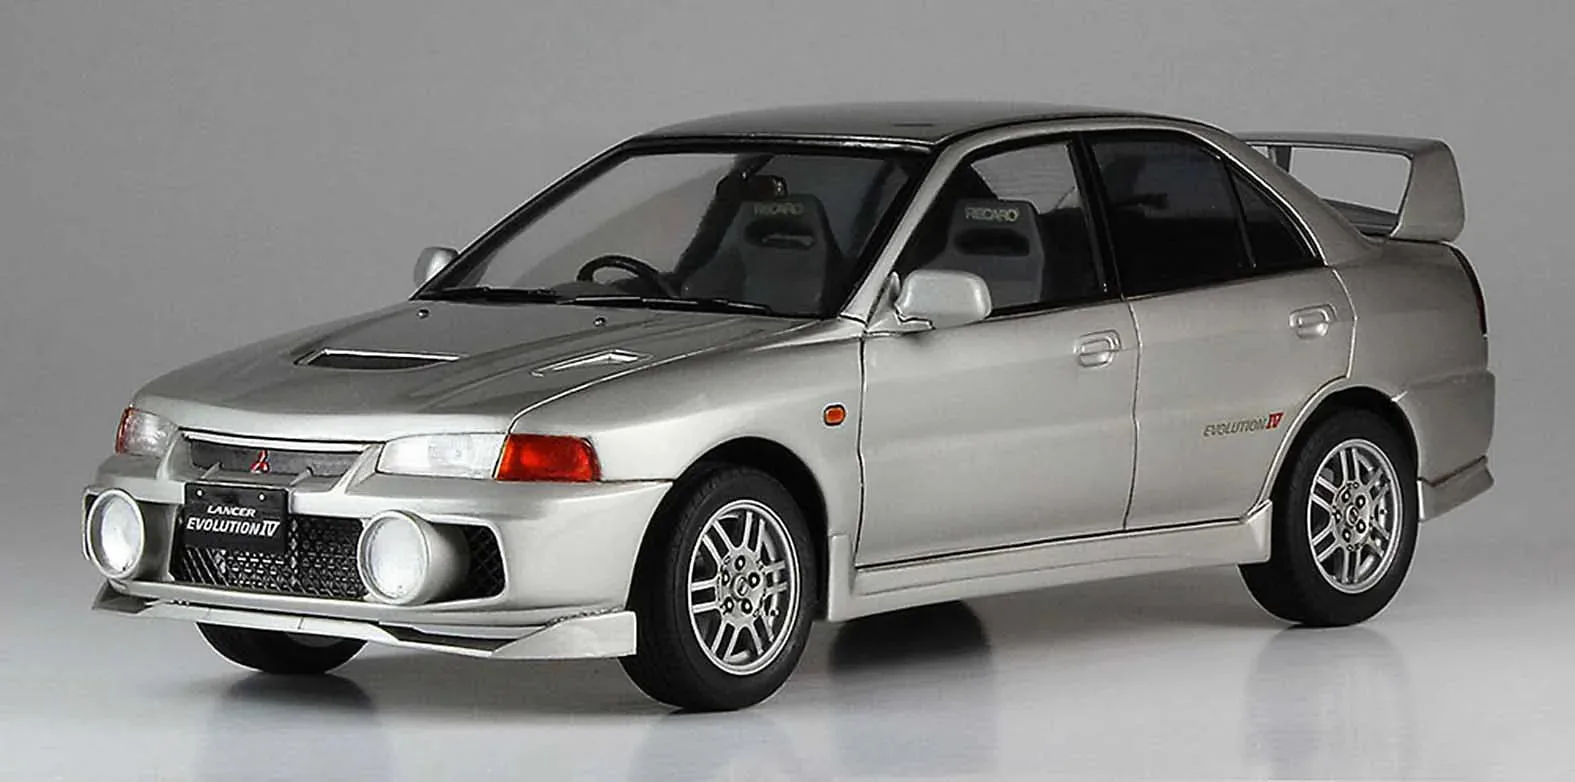
1/24 MITSUBISHI LANCER GSR Evolution IV