Quick answer
To build a clean Tamiya 1/48 A-10A Thunderbolt II, focus on dry-fitting the fuselage halves, avoiding glue on visible panel lines, and using thin cement for the wing-to-fuselage joint.
Why the Tamiya 1/48 A-10A is a good starting point
This kit reproduces the A-10A's distinctive silhouette and the massive GAU-8 Avenger 30mm cannon. It includes a pilot figure, a wide range of missiles and bombs, and five marking options from the Gulf War era. The parts fit is generally tight, but a few areas need extra care to avoid visible seams or alignment issues.
Step-by-step assembly plan
- 1. Dry-fit and align the fuselage halves: Join the two fuselage halves without glue first. Check that the cockpit tub, intake trunks, and nose gear bay fit flush. Sand any flash from the mating edges. Apply thin cement sparingly along the seam from the inside, then clamp lightly. A small gap at the nose or tail is common; fill it with dissolved sprue putty before painting.
- 2. Attach the wings with a slow-setting glue: The wing-to-fuselage joint has a large contact area. Use a medium-viscosity cement (like Tamiya Extra Thin) and press the wing firmly for 20 seconds. Check the dihedral angle against the instructions—both wings should match. If the wing sits too high or low, the landing gear will not sit flat. Adjust before the glue sets.
- 3. Paint and decal the cockpit before final assembly: Paint the ejection seat, instrument panel, and side consoles before gluing the canopy. Mask the canopy interior with liquid mask or tape. Apply decals over a gloss coat, then seal with a flat clear. A common mistake is gluing the canopy before painting; you then cannot reach the seat or panel details.
- 4. Build the landing gear last to avoid breakage: Assemble the main and nose gear struts, but leave them off until the fuselage and wing painting is complete. Paint the tires separately with a dark rubber color and add a wash to the struts for depth. The gear legs are delicate; handling the model while they are attached can snap the mounting pins.
- 5. Load ordnance after final flat coat: Paint the missiles and bombs separately. Attach them to the wing pylons using a tiny dab of white glue or a friction fit—this allows removal for transport or display changes. If you glue the ordnance permanently, you cannot adjust the loadout later without damaging the paint.
Kit details at a glance
-
1/48 Fairchild Republic A-10A Thunderbolt II (Tamiya 1/48 Aircraft Series No.28): The kit depicts the A-10A Thunderbolt II, which served during the 1991 Gulf War, and includes a wide range of missiles and bombs. You have enough ordnance to load the wings realistically, but you'll need to decide on a loadout early to avoid painting conflicts.
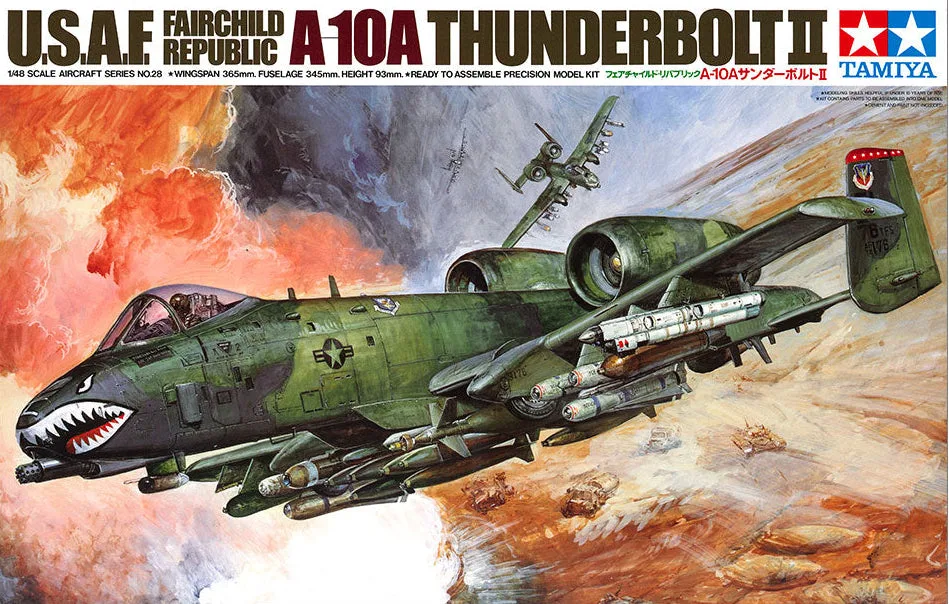
1/48 Fairchild Republic A-10A Thunderbolt II (Tamiya 1/48 Aircraft Series No.28)