Quick Answer
To install a 1200W solar street light correctly, choose a location with full sun exposure, set the pole securely, and angle the solar panel toward the equator for maximum charging.
Why Placement Matters for 1200W Solar Lights
A 1200W solar street light like the LANGY model can deliver 30,000 lumens, but only if its solar panel receives adequate sunlight. Shade from trees, buildings, or other structures can cut charging by 50% or more, leaving you with dim light or shorter runtimes. The pole height (16 or 20 feet) also affects light spread and glare control, so placement isn't just about sun—it's about coverage too.
Another tradeoff: taller poles reduce shadows but may require stronger foundations in windy areas. If you install on soft ground, the pole might lean over time. Concrete bases solve this but add labor. Weigh your site conditions before digging.
Installation and Placement Steps
- Step 1: Choose the Right Location: Pick a spot that gets direct sunlight for at least 6 hours a day. Use a sun path app or observe the area over a few days. Avoid north-facing walls in the northern hemisphere, and keep the light at least 10 feet away from trees or buildings that cast shade. Common mistake: installing under a tree that looks fine in winter but shades the panel in summer.
- Step 2: Prepare the Pole Foundation: Dig a hole about 2 feet deep and 1 foot wide for the 16-foot pole, or 2.5 feet deep for the 20-foot pole. Fill with concrete mix and let it cure for at least 24 hours. Use a level to ensure the pole mount is perfectly vertical. Skipping concrete or using too shallow a hole can cause the pole to tilt after heavy rain or wind.
- Step 3: Assemble and Mount the Light Head: Attach the light head to the pole bracket using the included bolts. Tighten firmly but avoid overtightening the plastic housing. Connect the solar panel cable to the light head, ensuring the connector clicks fully to prevent water ingress. Checkpoint: test the connection by gently tugging on it—if it comes apart, seal it with electrical tape or replace the connector.
- Step 4: Adjust the Solar Panel Angle: Tilt the solar panel to match your latitude. A general rule: angle = latitude + 10° in winter, latitude - 10° in summer. For year-round use, set it to your latitude. Face the panel south (northern hemisphere) or north (southern hemisphere). Common mistake: leaving the panel flat—this reduces winter charging by up to 30%.
- Step 5: Set the Light Controls and Test: Most 1200W solar lights have an auto on/off sensor. Cover the sensor to simulate darkness and verify the light turns on. If your model has a timer or dimming modes, set them according to your needs (e.g., full brightness from dusk to midnight, then dim until dawn). Checkpoint: if the light doesn't turn on during testing, ensure the battery switch is flipped to ON—many units ship with the battery disconnected.
Product Facts
-
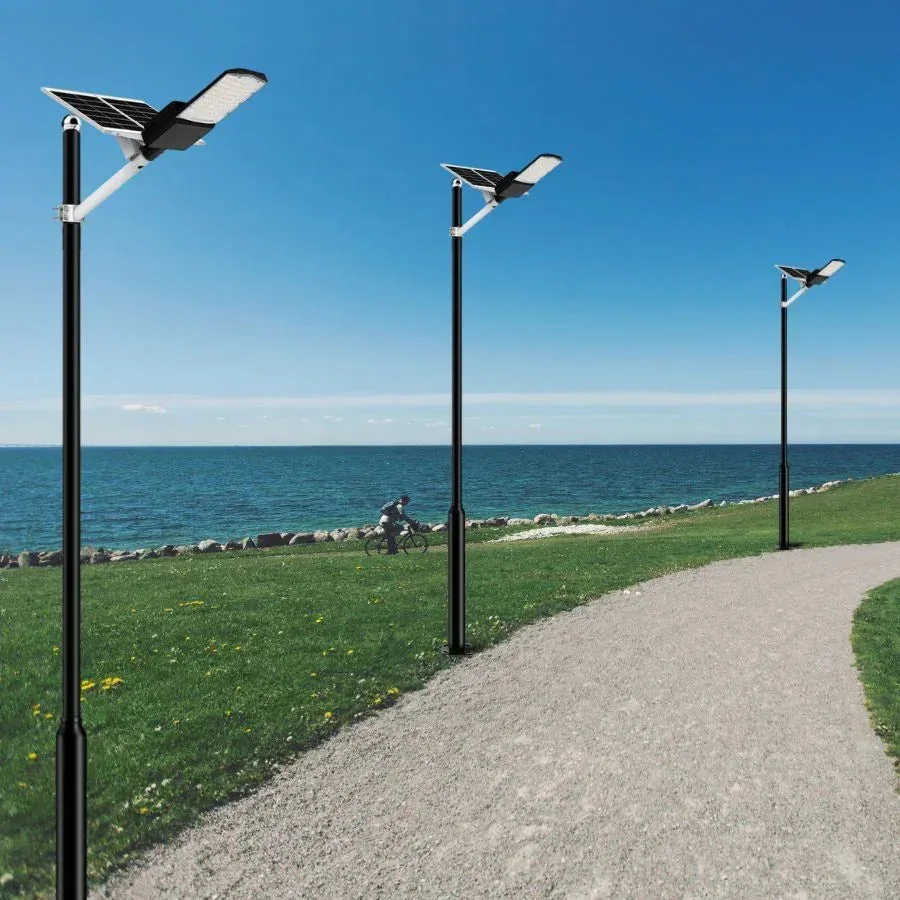
1200W solar street light with pole -30,000lumens: The LANGY 1200W solar street light delivers 30,000 lumens and includes a 30,000 mAh battery with IP65 waterproof rating. This means the light can run all night even after a cloudy day, and it withstands rain and dust without failure—ideal for year-round outdoor use.
1200W solar street light with pole -30,000lumens