Quick answer
Build the 30MF DLROSKELETON in stages: prep and sort parts, assemble the core body, add armor and weapons, then test articulation before you customize. Keep subassemblies loose until you have checked fit, because parts swapping and cleanup are easier before final closure.
Why assembly order matters on a 30 Minute Fantasy kit
30 Minute Fantasy kits are designed for a straightforward build, but the order you follow still affects cleanup and customization. If you snap every part closed immediately, you may trap nubs or make it harder to test joints. Treat the first pass as a dry fit, then finalize.
The DLROSKELETON is a fantasy mecha unit, so armor and weapon attachments are the areas most likely to need adjustment. Leave those until the core body is stable, and keep track of left and right parts if the kit uses mirrored pieces.
Where parts swapping fits into the process
Parts swapping is best done after the core body is built but before you commit to a final look. Test alternate armor or weapon placements on a loose joint, note any tight pegs, and only then decide what stays. If a swap feels forced, stop and check orientation rather than sanding immediately.
Customization should come after you have confirmed the build is stable. Paint, panel lining, and decals are harder to correct once the kit is fully closed, so plan your color and detail changes around the subassemblies you can still remove.
DLROSKELETON build steps
- Prep and sort the runners: Open the box, check the manual, and sort runners by assembly section before cutting anything. Keep small parts in a tray so they do not roll away. Checkpoint: confirm every listed runner is present before you start cutting.
- Clean nubs before assembly: Cut parts from the runner with a small gap, then trim and sand the nub flush. Do this before snapping parts together so you are not sanding around finished joints. Mistake to avoid: cutting flush with the runner can gouge the part surface.
- Build the core body first: Assemble the torso, head, arms, and legs as separate subassemblies, but leave armor panels off until the joints move freely. Test each joint through its range before closing it. Checkpoint: if a joint feels tight, loosen or adjust it before adding armor.
- Dry-fit armor and weapons: Attach armor and weapon parts without forcing them. If a peg binds, check left/right orientation and the manual before trimming anything. Mistake to avoid: sanding a peg before confirming it is oriented correctly.
- Test parts swapping: Try alternate placements on loose joints and note which combinations fit cleanly. Keep swapped parts in labeled bags if you plan to change the look later. Checkpoint: only commit to a swap after the part seats without pressure.
- Customize after the build is stable: Once the kit holds together and poses well, apply panel lining, paint, or decals to removable subassemblies where possible. Let each layer dry before handling. Mistake to avoid: customizing before confirming joint fit, which can hide problems until it is too late.
Product facts
-
30MF DLROSKELETON: The 30MF DLROSKELETON includes parts to assemble the DLROSKELETON unit and is aimed at hobbyists and Gunpla enthusiasts. Because the kit is a complete assembly project, you can plan your build order around the included unit rather than hunting for extra parts first.
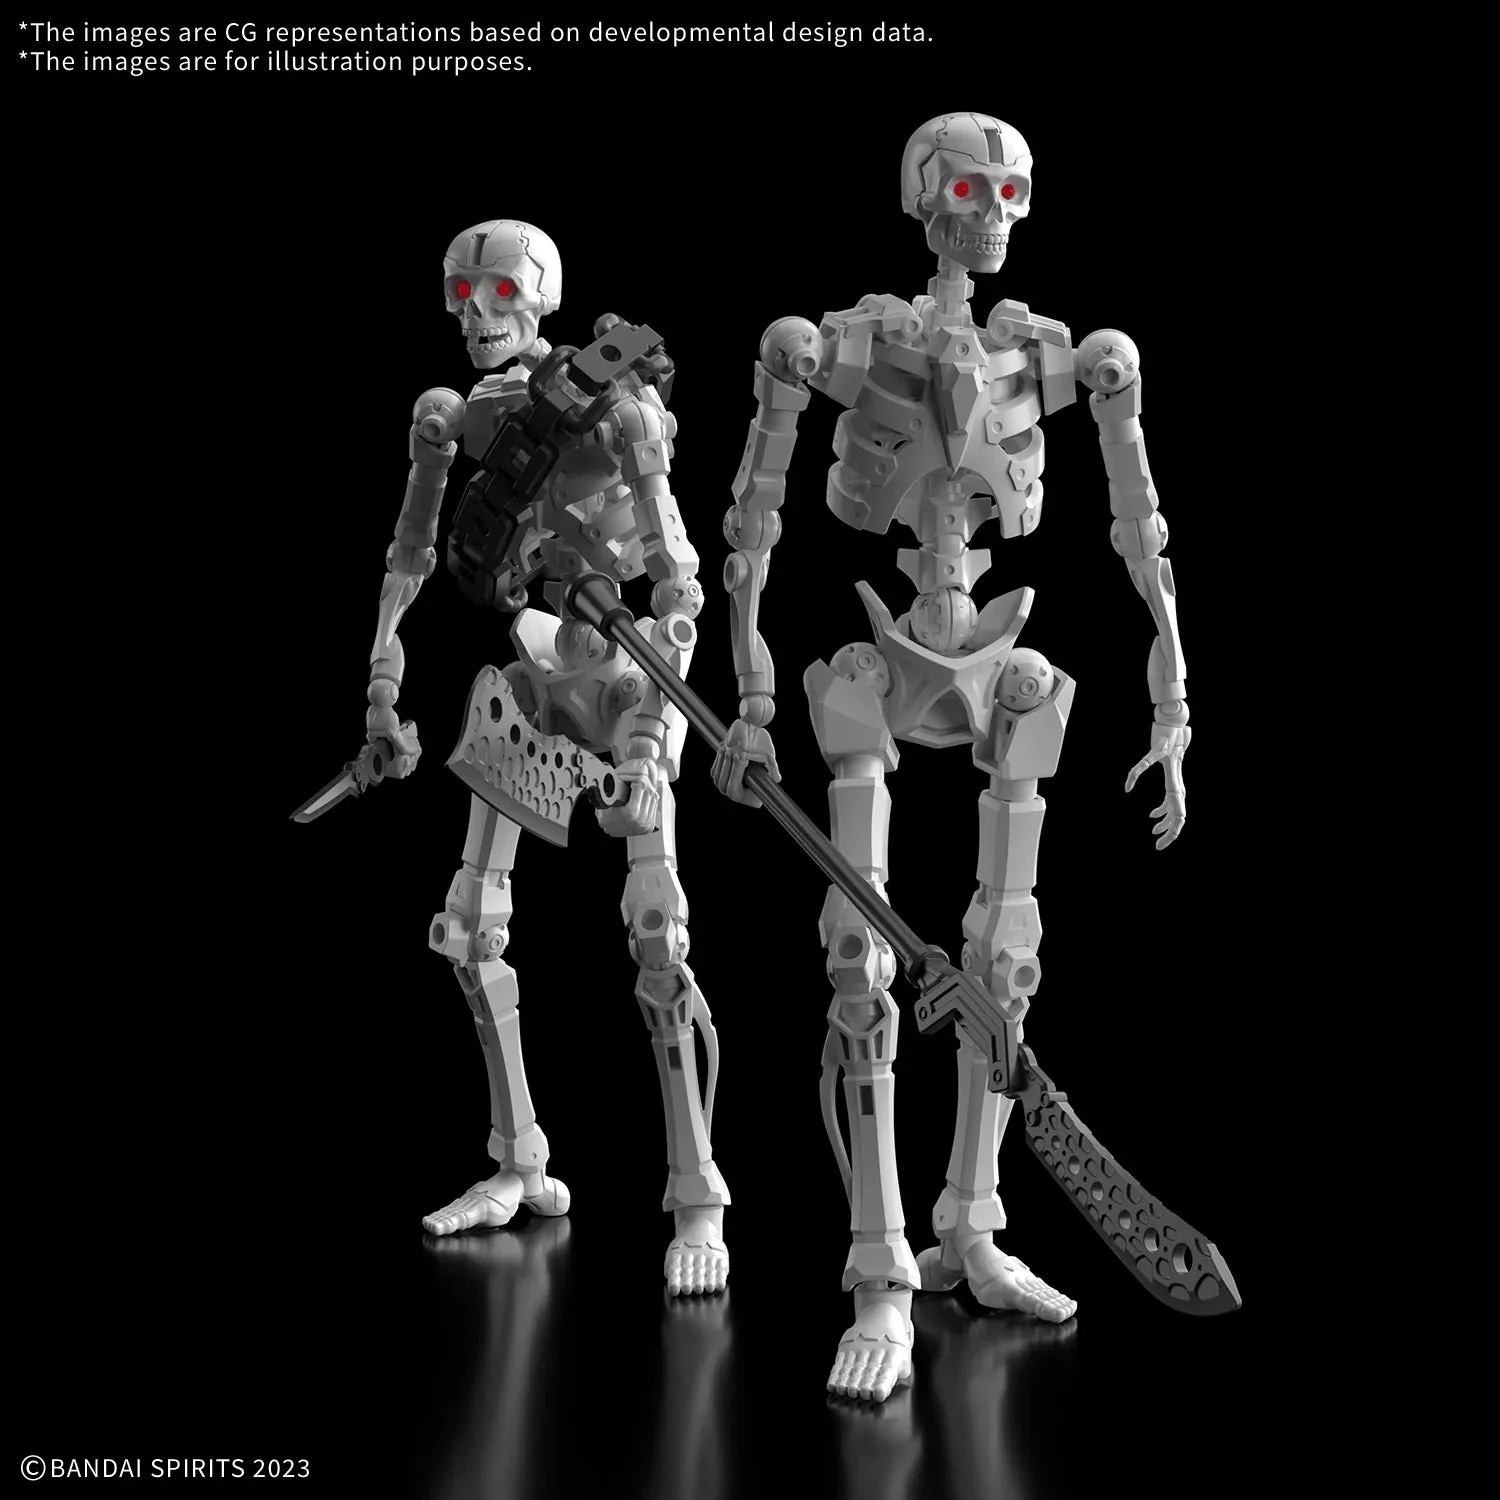
30MF DLROSKELETON