Quick answer
Treat the EX Jointcore Cube as a joint-and-detail donor, not a standalone model. Plan where the multi-joint will sit first, then use the single-piece cube to add color-coded detail without gluing or painting.
Why one-piece molding changes your build order
The cube arrives as one insert-molded part, so there is no assembly stage to schedule. That sounds easier, but it also means you cannot open it up to reposition a joint later. Decide the mounting point before you commit.
Because the detail and color coding are already condensed into the part, the cube works best as a visible accent on a limb, backpack or shoulder rather than a hidden internal connector. If you bury it inside armor, you lose the reason to use it.
Where a 30MM joint cube build usually goes wrong
The most common mistake is forcing the multi-joint into a socket that was not designed for it. The cube expands customization options, but it does not resize existing ports. Test the fit on a spare 30MM joint or limb before modifying a finished kit.
A second trade-off: the cube is inexpensive, so it is tempting to add several at once. Each extra joint adds weight and can loosen the pose. Start with one cube, check balance, then decide whether a second is worth it.
Step-by-step: using the EX Jointcore Cube in a 30MM build
- 1. Pick the host kit and the exact mounting point: Choose one 30MM model and identify a single limb, shoulder or backpack location where the cube will be visible. Hold the cube against that spot before cutting or sanding anything. If you cannot see the cube from the front and side, choose a more exposed mounting point.
- 2. Test the multi-joint in the target socket: Insert the included multi-joint into the 30MM port dry, without forcing it. If it binds, stop and test a different port rather than enlarging the socket immediately. A joint that needs force to seat will stress the plastic every time you pose the kit.
- 3. Attach the cube to the joint, not the armor: Connect the cube to the multi-joint first, then offer the assembled unit to the kit. This lets you check the cube's angle and clearance before committing. Check that the cube does not block an existing articulation range before final placement.
- 4. Pose and balance-check the kit: Move the joint through its intended range and stand the kit on its feet. If the added cube makes the kit back-heavy or floppy, move the cube closer to the body or remove it. A pose that holds for ten seconds is not proof; leave the kit standing for a few minutes before you call it done.
- 5. Decide whether a second cube earns its place: Only add another cube if the first one improved the silhouette without hurting stability. Repeat the dry-fit and balance check for each additional cube. Stop at the first cube if the kit already feels loose or crowded.
Product facts
-
30MM Customize Material 10 (EX Jointcore Cube): The EX Jointcore Cube is part of Bandai's Customization Material series and includes a multi-joint for customization. The included joint is the part that actually connects your cube to a 30MM kit, so plan around it rather than around the cube's outer shape.
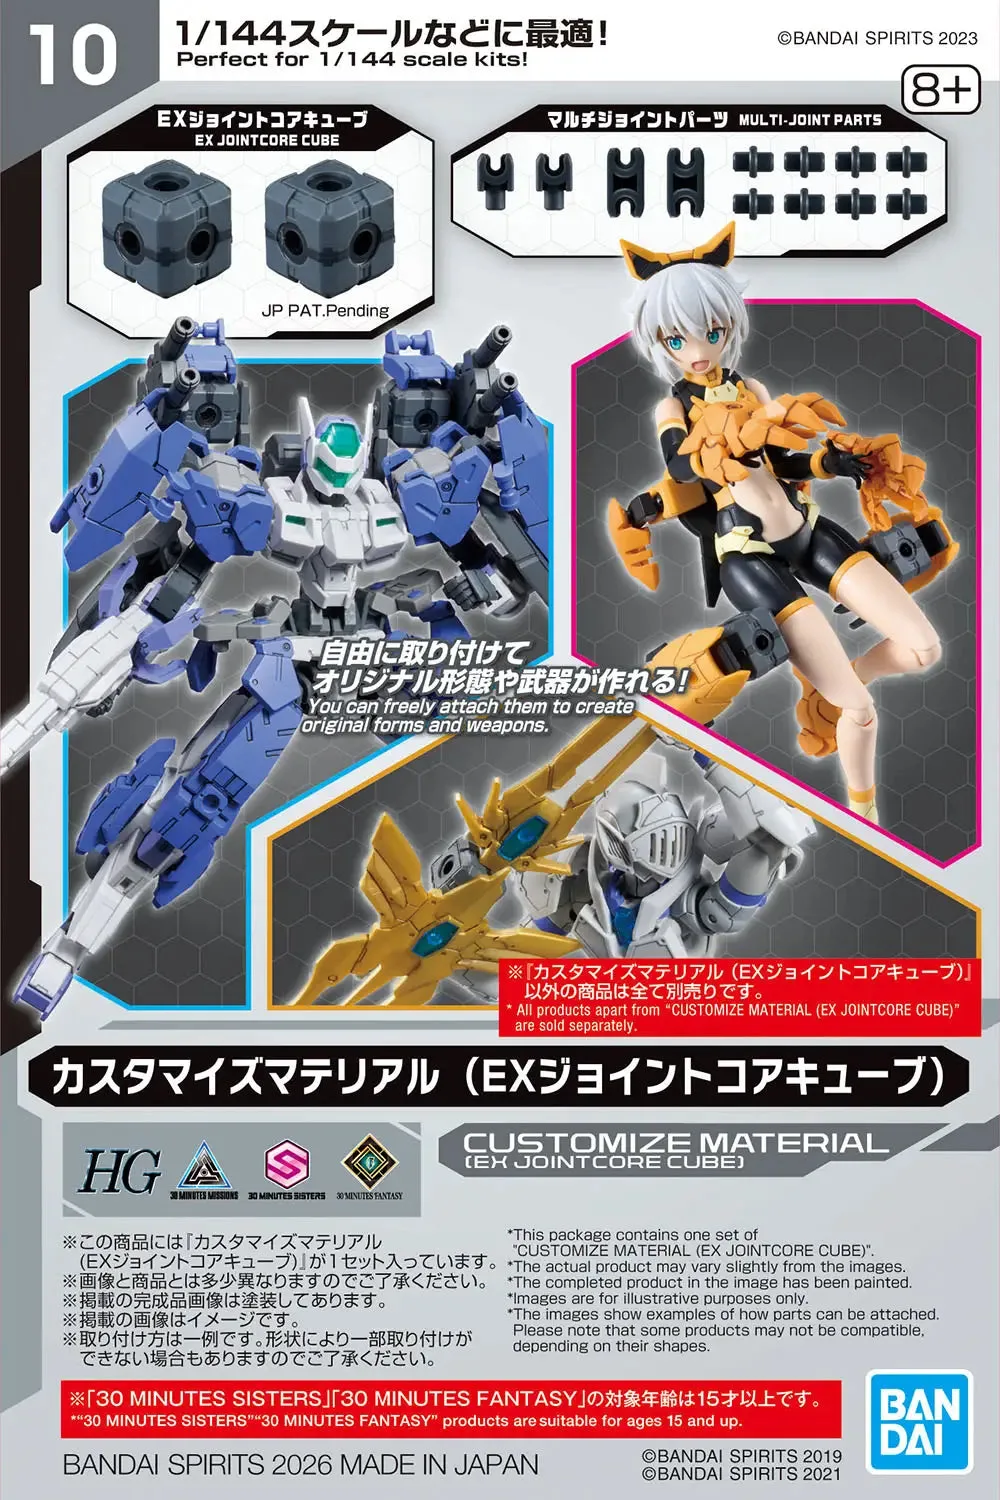
30MM Customize Material 10 (EX Jointcore Cube)
-
30MM Customize Material 10 (EX Jointcore Cube): One-piece insert molding eliminates assembly and condenses detail and color coding into a single part. You can add a finished-looking detail piece without painting, which makes it a low-risk first customization for beginners.