Quick Answer
To assemble a 3D puzzle castle, start by sorting pieces, then build the base, assemble walls and towers, and finish with the roof and decorative details. Follow the numbered instructions and use gentle pressure to avoid breaking tabs.
Why 3D puzzles are different from flat puzzles
Unlike traditional jigsaw puzzles, 3D puzzles require spatial reasoning and careful alignment. Pieces interlock in three dimensions, so you need to follow the numbered sequence and ensure each connection is snug before moving on.
One common challenge is that pieces can be fragile, especially thin cardboard or foam boards. Applying too much force can bend or break tabs, so patience and light pressure are key.
What to do if pieces don't fit
If a piece seems too tight, double-check that you're using the correct piece and orientation. Sometimes pieces look similar but have subtle differences. Gently wiggle the piece rather than forcing it.
If a piece is loose, it may be because the surrounding pieces aren't fully seated. Press the neighboring pieces together to create a tighter fit. Avoid using glue unless the instructions specify it.
Step-by-Step Assembly Process
- Sort and organize pieces: Lay out all pieces and sort them by number or section as indicated in the instruction booklet. Group similar shapes together to make finding pieces easier. Checkpoint: Ensure you have all pieces before starting.
- Build the base: Assemble the base pieces first, following the numbered order. Press pieces together gently until they click or fit snugly. Use a flat surface to keep the base level. Checkpoint: The base should be flat and stable before continuing.
- Assemble walls and towers: Attach wall sections to the base, working from one corner to the other. Insert tabs into slots at a slight angle, then press down. Add towers as instructed, ensuring they are perpendicular to the base. Checkpoint: Verify each wall is vertical and securely attached.
- Add roof and decorative details: Place roof pieces and any decorative elements like chimneys or flags. These often require careful alignment; do not force them. Use the fine detailing as a guide for correct placement. Checkpoint: All pieces are used; no extras remain.
- Final inspection and display: Review the entire structure for loose connections and gently press any gaps. Place your completed castle on a sturdy shelf or table where it can be admired. Checkpoint: The castle stands firm and looks complete.
Featured Product
-
3D Puzzle Castle: The Cozy Christmas Cottage 3D Puzzle features fine detailing and is designed to be a festive decorative piece once completed. This puzzle offers both an engaging assembly experience and a beautiful display item, making it a great choice for beginners who want a satisfying result.
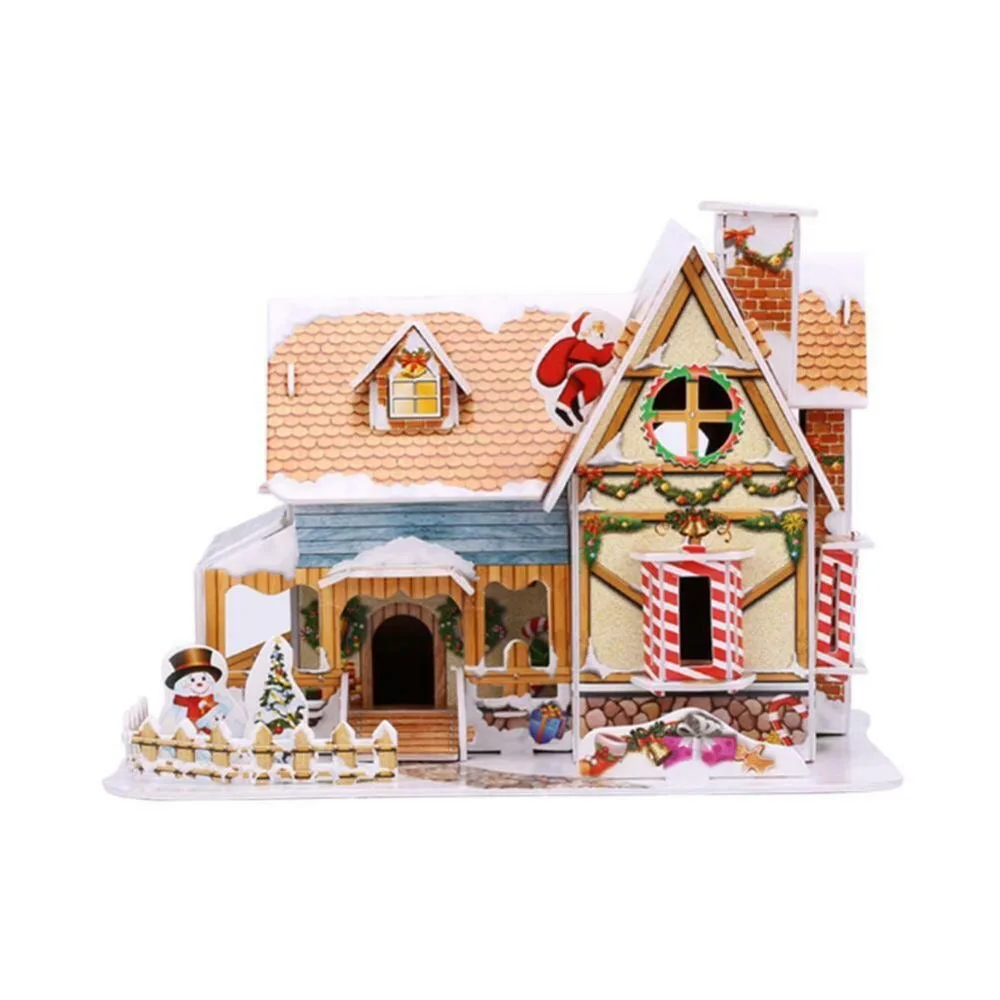
3D Puzzle Castle