What a 4 Pin PWM fan splitter actually does
A 4 Pin PWM fan splitter is a Y-shaped adapter that turns one motherboard fan header into two fan connections. It passes power and the PWM speed-control signal to both fans, so they spin together under the motherboard's control. The Innov8 Wholesale Ltd 4 Pin PWM Fan Splitter Cable – Female to Dual 3/4 Pin PC CPU Case Fan Adapter is built for exactly this job: one 4-pin PWM female connector plugs into the board, and two 3/4-pin fan connectors accept your case or CPU fans.
The important detail is the RPM signal. Only one of the two fan connectors sends a tachometer (RPM) reading back to the motherboard. That is deliberate: two fans reporting speed on the same header can confuse the board's fan monitoring. Both fans still receive power and PWM control, but the motherboard sees the speed of just one fan. Treat that single reading as a reference, not a precise average of both fans.
Connector and compatibility details
-
4 Pin PWM Fan Splitter Cable – Female to Dual 3/4 Pin PC CPU Case Fan Adapter: Connector A: 4 Pin PWM Female; Connector B: 2 x 3/4 Pin Fan Connectors. Confirms the splitter plugs into a standard 4-pin motherboard header and accepts two fans, whether they use 4-pin PWM or 3-pin connectors.
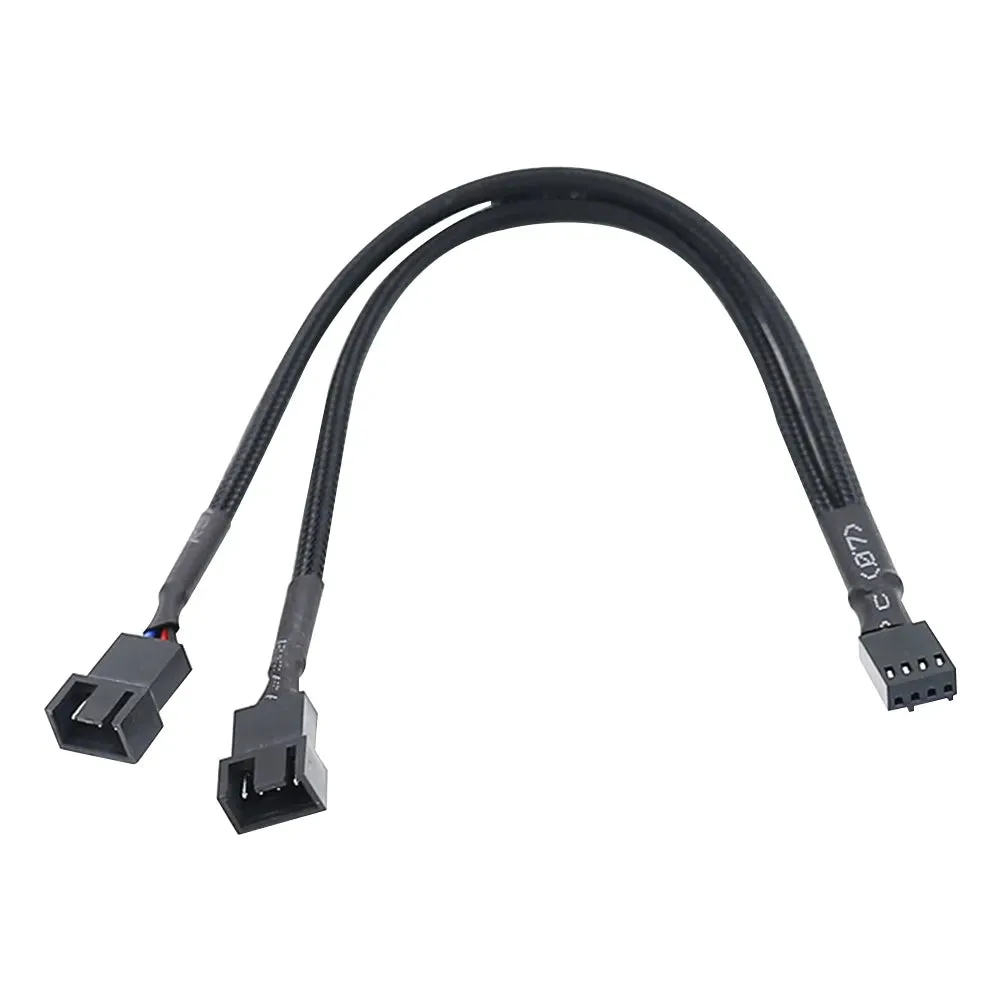
4 Pin PWM Fan Splitter Cable – Female to Dual 3/4 Pin PC CPU Case Fan Adapter
-
4 Pin PWM Fan Splitter Cable – Female to Dual 3/4 Pin PC CPU Case Fan Adapter: Compatible with standard 4-pin PWM and 3-pin PC cooling fans, including CPU coolers and case fans. This is the compatibility statement to check against your own fans before ordering.
-
4 Pin PWM Fan Splitter Cable – Female to Dual 3/4 Pin PC CPU Case Fan Adapter: Only one fan reports RPM signal to avoid motherboard conflicts. Explains why your motherboard will show one fan speed even though two fans are running.
How to wire the splitter into your build
The supplied product information does not include a formal installation procedure, so the sequence below is general wiring guidance based on the connector types and the one-RPM-signal design. Power off and unplug the PC before you start, and follow your motherboard and fan documentation for any model-specific instructions.
- Identify the motherboard fan header: Find the 4-pin header you want to use. The splitter's 4-pin PWM female connector is the end that goes to the board. If you are using a CPU fan header, confirm in your motherboard manual that it is the intended CPU fan connection.
- Decide which fan carries the RPM signal: Because only one connector reports RPM, choose the fan whose speed you most want the motherboard to monitor. In many builds that is the fan most likely to reflect the pair's behavior, but the supplied information does not specify which of the two connectors is the reporting one, so check the splitter's labeling or the connector arrangement before you commit.
- Connect both fans to the splitter: Plug each fan into one of the two 3/4-pin connectors. A 3-pin fan can physically connect to a 4-pin header; the splitter is listed as compatible with both standard 4-pin PWM and 3-pin PC cooling fans. The 3-pin fan will not receive a PWM control signal in the same way a 4-pin fan does, but the supplied record does not describe how a 3-pin fan's speed behaves on this splitter, so do not assume full PWM control for a 3-pin fan.
- Plug the splitter into the motherboard header: Align the connector keying with the header and seat it fully. Do not force it. The 4-pin female connector is designed for a standard 4-pin PWM header.
- Power on and check fan behavior: Start the system and confirm both fans spin. In your motherboard's fan monitoring, expect one RPM reading, not two. If a fan does not spin, power down and recheck the connections before changing settings.
What to check before you buy
The splitter solves a header shortage, not a power shortage. Both fans draw their power through the single motherboard header, so the header's current limit matters. The supplied product record does not state a maximum current or wattage rating for the splitter, and it does not state the motherboard header's limit either. Check your motherboard manual for the header's fan current rating and compare it with the combined current draw of your two fans. If the total is close to or above the header rating, a splitter is the wrong tool; use a fan hub with its own power connection instead.
Also confirm the physical fit. The splitter is a short Y cable, so plan where the two fan leads will reach. The record lists a black cable and standard 3/4-pin fan connectors, but it does not supply a cable length, so measure your routing before ordering if clearance is tight.
Where a dual fan adapter cable makes sense, and where it does not
- Good fit: two matched case fans on one header: If you have two identical or similar case fans and only one free chassis fan header, the splitter lets both run from that header under one PWM control signal.
- Good fit: a CPU cooler with two fans on the CPU header: The splitter is listed as compatible with CPU coolers, so a dual-fan CPU cooler can share the CPU fan header. Keep in mind that only one fan reports RPM.
- Check first: mixing a 3-pin fan with a 4-pin fan: The splitter accepts both connector types, but the supplied information does not describe how the 3-pin fan's speed is controlled on this splitter. If you need both fans to follow PWM speed control precisely, use two 4-pin PWM fans.
- Not the right tool: fans whose combined current exceeds the header rating: The splitter passes power from the motherboard header to both fans. If the combined draw is above the header's rating, use a powered fan hub instead.
- Not the right tool: independent fan control: Both fans receive the same PWM signal, so they cannot be controlled separately. If you need different speeds for each fan, use separate headers or a controller.
The trade-offs to accept
A 4 Pin PWM fan splitter is a simple, low-cost way to add a second fan when headers are scarce. The trade-offs are built into the design: one RPM reading for two fans, shared PWM control, and all the current passing through one motherboard header. None of those are faults, but they do mean the splitter is best for pairs of similar fans doing a similar job. For mismatched fans, high-current fans, or builds where you want per-fan monitoring and control, a powered hub or a motherboard with more headers is the cleaner answer.