Quick Answer
The best way to display your enamel pin collection depends on your space and style. For a flexible, low-commitment option, use a fabric pin board or a felt banner. If you want a more curated look, attach pins to greeting cards or a small ceramic dish for a rotating mini-display.
Why Displaying Your Pins Matters
Enamel pins are small works of art, and keeping them tucked in a drawer hides their personality. A thoughtful display turns your collection into a conversation starter and makes it easy to swap pins based on your mood or season. The right method also protects your pins from scratches and bent clasps.
Choosing a Display Method That Fits Your Space
Before you start, consider where you want to hang or place your pins. A pin board works well above a desk or in a hallway, while a ceramic dish fits neatly on a nightstand or shelf. If you rent or like to change things often, go with a no-damage option like a felt banner or a greeting card frame.
5 Steps to Display Your Enamel Pins Creatively
- Choose a Pin Board or Fabric Banner: Start with a cork board, felt board, or a fabric banner. These materials let you push pin backs in easily and rearrange your collection without damage. Mount the board on a wall or hang the banner from a dowel. Common mistake: using a board that is too small. Leave room to grow your collection so you don't have to redo the layout every month.
- Use a Greeting Card as a Backdrop: Pick a sturdy greeting card with a design that complements your pins. Place the card in a small frame or attach it to a foam board. Pin your enamel pins directly through the card, or rest them on the card surface inside a shadow box. Checkpoint: make sure the card is thick enough to hold the pin back securely. A standard A2 card works well for lightweight pins.
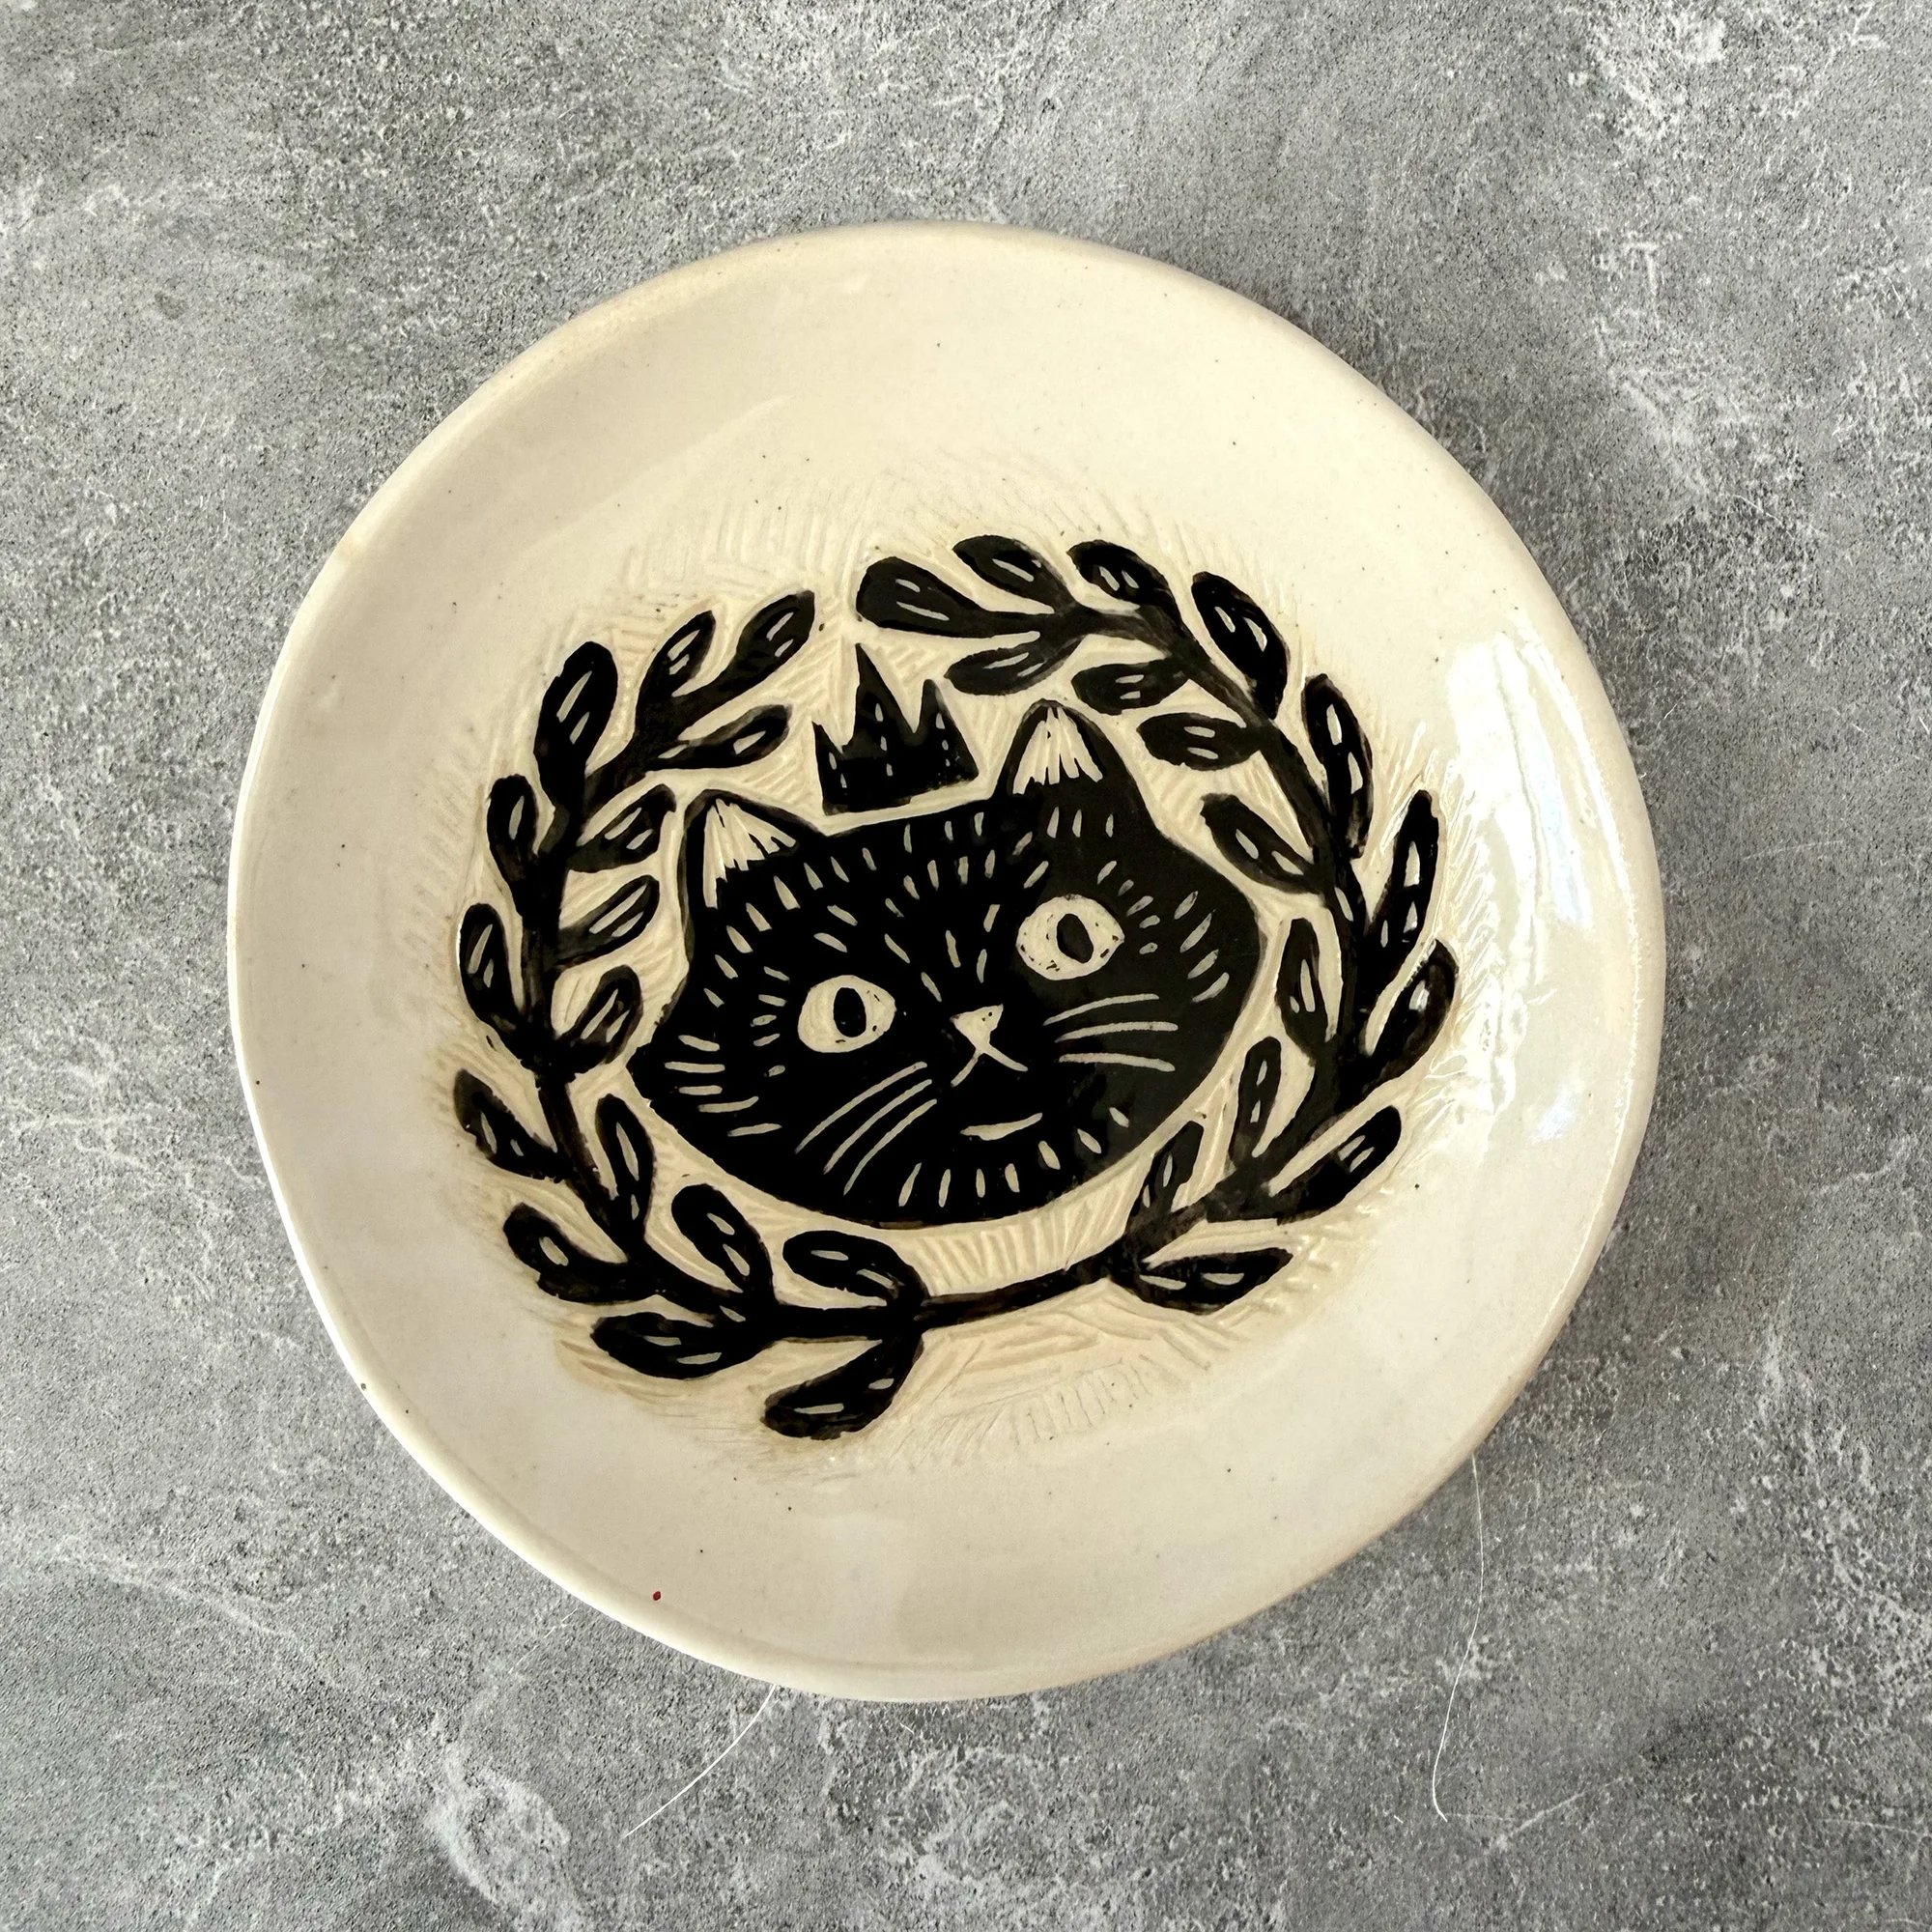
- Arrange Pins on a Ceramic Dish: Set a small ceramic trinket dish on a shelf, nightstand, or desk. Lay your pins face-up in the dish so you can see the designs at a glance. This method works best for a rotating selection of 3–5 pins. Common mistake: using a dish that is too deep. Shallow dishes keep pins visible and prevent them from sliding under each other.
- Create a Seasonal or Themed Layout: Group your pins by color, occasion, or theme. For example, pair holiday pins with a matching greeting card or arrange nature-themed pins on a green felt board. Swap the layout every few months to keep the display fresh. Checkpoint: store off-season pins in a soft pouch or a small box to prevent dust and scratches.
- Secure Loose Pins with Rubber Clutches: If your pins keep falling off the board or banner, replace the standard metal butterfly clutch with a rubber clutch. Rubber grips the pin post more tightly and reduces the chance of losing a pin. Verdict: rubber clutches cost very little and can save you from losing a favorite pin. Keep a few extras in your display area.
Products That Help You Display Pins
- Michigan Holiday Grid Card: A2 Size comes with a forest green envelope, offset printed in the USA. The sturdy cardstock and envelope make this card a perfect pin display base. You can pin through the card into a foam board behind it, or simply rest pins on the card surface inside a shadow box for a seasonal look.
- Ceramic Black Crowned Cat Dish: Hand-painted orange cat with sgraffito carving. Trinket dish for rings or odds and ends. Food safe. Approx. diameter 5.25" and 0.5" tall. This ceramic dish is ideal for holding a small collection of enamel pins on a desk or shelf. The carved details add visual interest, and the shallow depth keeps pins visible and easy to grab.