Quick answer
Assemble your 7.5" Bruiser EXP by dry-fitting the pre-slotted airframe, installing through-the-wall fins, and securing the MMAS system. This guide walks each step with one common pitfall to avoid.
Why the pre-slotted airframe matters
The Bruiser EXP ships with a factory pre-slotted airframe, which saves hours of cutting and ensures the fin slots align perfectly with the motor mount. This precision reduces the risk of fin misalignment—a common cause of flight instability. Focus on dry-fitting every piece before applying epoxy; once glue sets, adjustments are nearly impossible.
Through-the-wall fin installation trade-offs
Through-the-wall (TTW) construction bonds each fin directly to the motor mount, creating a stronger joint than surface-mount fins. The trade-off is a tighter fit that requires careful alignment and fillet work. If you skip the internal fillets, the fins may shear off during high-thrust burns. Plan extra time for internal and external fillets.
Build steps
- Dry-fit all parts: Lay out the pre-slotted airframe, motor mount, centering rings, and fins. Slide each fin into its slot to confirm a snug fit without forcing. Mark alignment lines on the airframe with a pencil. A fin that binds or wobbles now will cause trouble later; sand the slot edges slightly for a smooth slide.
- Assemble the motor mount and MMAS: Glue the central MMAS (Motor Mount Alignment System) tube into the aft centering ring first. Slide the forward ring into place, then epoxy the assembly into the airframe. Keep the mount centered by rotating the airframe and checking for equal gap all around. If the mount shifts off-center, the rocket may fly asymmetrically. Use a centering jig or shims to hold alignment while the epoxy cures.
- Install through-the-wall fins: Apply epoxy to the root edge of each fin and insert it through its slot until it contacts the motor mount. Wipe away excess epoxy that squeezes out. Let the fins stand vertical while the glue sets, using a square to check 90° alignment. A common mistake is applying too much epoxy on the root edge, which can drip inside the airframe and add weight. Use a thin, even layer.
- Apply internal and external fillets: After the fins are set, run a bead of epoxy along each joint inside the airframe (reach through the open forward end) and outside along the fin-to-airframe seam. Shape fillets with a rounded tool or your finger dipped in alcohol. Skipping internal fillets reduces joint strength; thin external fillets may crack under thrust. Aim for a smooth radius about the diameter of a pencil.
- Install recovery system and electronics: Once all epoxy cures, thread the shock cord through the forward centering ring and attach the parachute. Mount the altimeter or ejection charge in the designated bay. Perform a ground test of the ejection charge before sealing the airframe. Forgetting to test the ejection charge before final assembly is the top cause of lawn-dart landings. Always test with the nose cone off.
Product facts
-
7.5" Bruiser EXP: Factory pre-slotted airframe and through-the-wall fin construction are standard. You save cutting time and get a stronger fin-to-motor-mount bond, which is essential for Level 2 flights.
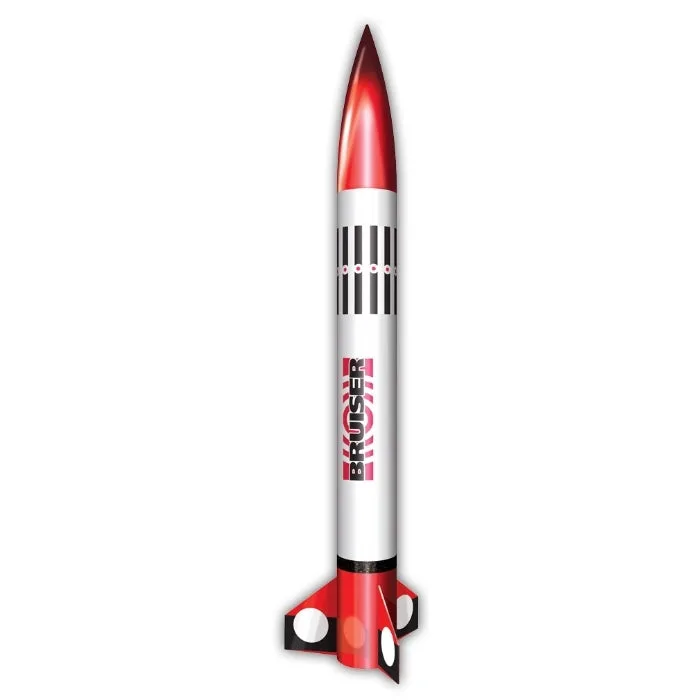
7.5" Bruiser EXP