What the 7" Resaw Guide changes about resawing
Resawing thin boards on a bandsaw asks a lot of your fence: the stock has to stay flat against a tall, stable reference while the blade works through it. The Kreg 7" Resaw Guide attaches to the Kreg Precision Band Saw Fence, giving you a taller, dedicated guide surface for that job. The supplied product information describes it as easy to attach and intended to deliver a higher level of control and accuracy.
That is the whole value proposition: a guide that mounts to a fence you already trust, so thin cuts get more support and less wander. This walkthrough covers how to plan the installation, what to check before and after mounting, and where the supplied information stops short so you can fill the gaps with your own machine's manual.
The guide at a glance
-
7" Resaw Guide: 7" Resaw Guide, catalog price USD 24.49 (comparison price USD 34.99). A low-cost accessory that upgrades a fence you already own rather than replacing it.
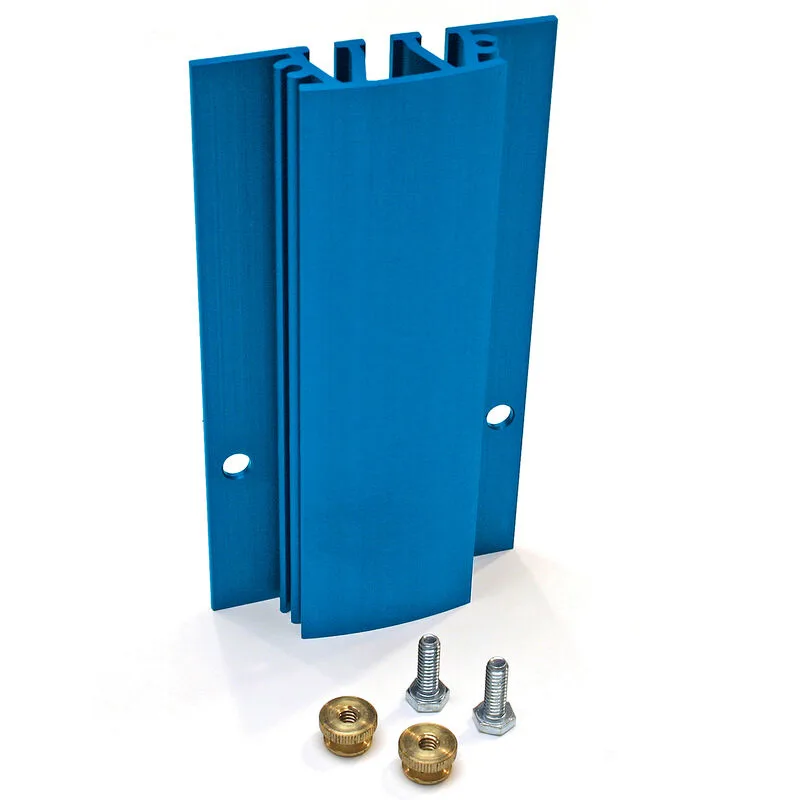
7" Resaw Guide
-
7" Resaw Guide: Attaches to the Kreg Precision Band Saw Fence. Compatibility is the first gate: this guide is built for that fence, not a universal bolt-on.
-
7" Resaw Guide: Designed to provide a higher level of control and accuracy when resawing. That is the practical benefit to verify on your own saw with test cuts.
A sensible setup sequence
The supplied record confirms the attachment point but does not include a step-by-step mounting procedure, torque values, or alignment tolerances. Treat the sequence below as a planning framework, and follow your Kreg fence instructions and your bandsaw manual for the actual fastening details.
- Confirm the fence is square and stable first: The guide references the fence, so any error in the fence carries through. Check that the Precision Band Saw Fence is secure and set as you normally would before adding the guide.
- Attach the guide to the fence: The product is described as easily attaching to the Kreg Precision Band Saw Fence. Mount it per the fence documentation, and make sure it seats fully before you tighten anything.
- Set the guide height for your stock: The supplied information does not specify a height setting or adjustment range. Set the guide so it supports the board through the cut without interfering with blade or stock path, using your saw's clearance as the guide.
- Run a test cut on scrap: Resaw a piece of scrap the same thickness as your intended thin boards. Check the cut for drift and the board for flatness against the guide before committing good stock.
- Adjust and repeat: If the test cut wanders, revisit fence alignment and guide seating before changing anything else. Change one variable at a time so you know what fixed it.
Alignment checks that matter for thin cuts
- Fence-to-blade relationship: Thin boards amplify any fence misalignment. Verify the fence is parallel to the blade path using your saw's normal method, then re-check after mounting the guide.
- Guide contact along the board: The board should ride against the guide consistently from entry to exit. If contact changes through the cut, the guide or fence is not presenting a flat reference.
- Stock preparation: A face that is not flat will rock against any guide. Joint or flatten the reference face before resawing thin stock so the guide has something true to work against.
- Blade condition and tension: The guide supports the cut; it cannot compensate for a dull or poorly tensioned blade. Follow your bandsaw manual for blade setup.
Resawing thin boards and veneer: what to expect
The 7" Resaw Guide is aimed at resawing thin boards, and the same setup logic applies when you are cutting veneer on a bandsaw: a stable, tall reference surface helps keep the stock oriented as the blade slices through. The guide gives you that surface on the Precision Band Saw Fence.
What the supplied information does not confirm is a maximum or minimum stock thickness, a specific blade recommendation, or a feed technique. Those details live in your bandsaw manual and blade documentation. Use the guide as a control aid, not as a substitute for correct blade selection and machine setup.
Where the supplied information stops
The product record confirms the attachment to the Kreg Precision Band Saw Fence and the intended benefit of more control and accuracy. It does not include installation steps, adjustment ranges, or compatibility with other fences. If you need those specifics, check the fence documentation and the product page before ordering.
That is not a knock on the guide; it is a reminder to plan the installation around your own fence and saw rather than assuming a universal fit. If you already run the Kreg Precision Band Saw Fence, the 7" Resaw Guide is a straightforward addition for thin-board work.