Quick answer
Attach the full rainfly on your 9 Person Lighted Instant Cabin Tent after the tent body is fully pitched and secured, then care for it by cleaning and drying it thoroughly before storage. Follow the ordered steps below to avoid common mistakes and maintain reliable rain protection.
Why the full rainfly matters for the 9 Person Lighted Instant Cabin Tent
The full rainfly adds a critical layer of rain protection, but it also interacts with the tent's built-in LED lighting system. Because the lights are integrated into the ceiling poles, the rainfly must be positioned so it doesn't block or interfere with the light spread. A properly attached rainfly keeps the interior dry without compromising the glare-free lighting modes. This guide focuses on the rainfly specifically; for general tent setup, refer to the instant cabin tent setup instructions.
When to attach the rainfly: timing and conditions
Attach the rainfly before any rain arrives, ideally right after pitching the tent. If you expect wind, attach the rainfly before staking out the tent completely so you can adjust tension evenly. In calm, dry conditions, you can wait until evening, but having it on early prevents sudden downpours from catching you off guard. Avoid attaching the rainfly in strong winds; instead, partially stake the tent first and add the rainfly once the tent is stable.
Step-by-step rainfly attachment and care
- Pitch and secure the tent body: Unpack the tent, unfold it, and extend the pre-attached poles until the Instant Hub Technology clicks into place. Stake out the corners and guy lines so the tent is taut and stable. A loose tent body will cause the rainfly to sag and pool water. Check that all stakes are firmly set before moving on.
- Locate the rainfly orientation: Lay the rainfly over the tent and identify the front and back by matching the rainfly's shape to the tent's door and window positions. The rainfly should have a designated front edge that aligns with the door. Attaching the rainfly backwards will leave gaps and block the door. Double-check before clipping.
- Attach the rainfly to the tent poles: Starting at the top, clip the rainfly's attachment points to the corresponding pole clips or sleeves. Work your way down evenly on all sides to avoid uneven tension. Missing a clip or attaching in the wrong order can cause the rainfly to shift in wind. Ensure every clip is engaged.
- Secure the rainfly guylines and stakes: Pull the rainfly's guylines taut and stake them out at a 45-degree angle away from the tent. Adjust tension so the rainfly is smooth but not overly tight. Over-tightening can tear the fabric or pull out stakes. The rainfly should have a slight give.
- Verify light and ventilation clearance: Check that the rainfly does not cover the built-in LED light panels in the ceiling poles. Ensure the wall switch remains accessible and that ventilation openings are not blocked. If the rainfly covers the lights, adjust its position or use the guylines to lift it slightly.
- Care and cleaning after use: Before packing up, shake off debris and wipe the rainfly with a damp cloth. Allow it to dry completely before folding and storing to prevent mold and mildew. Storing a wet rainfly can damage the waterproof coating. Always dry it fully, even if it takes extra time.
Product facts
-
9 Person Lighted Instant Cabin Tent with Full Rainfly: Pre-attached poles and Instant Hub Technology allow setup in as little as 60 seconds. You can pitch the tent quickly and then focus on attaching the rainfly correctly without rushing.
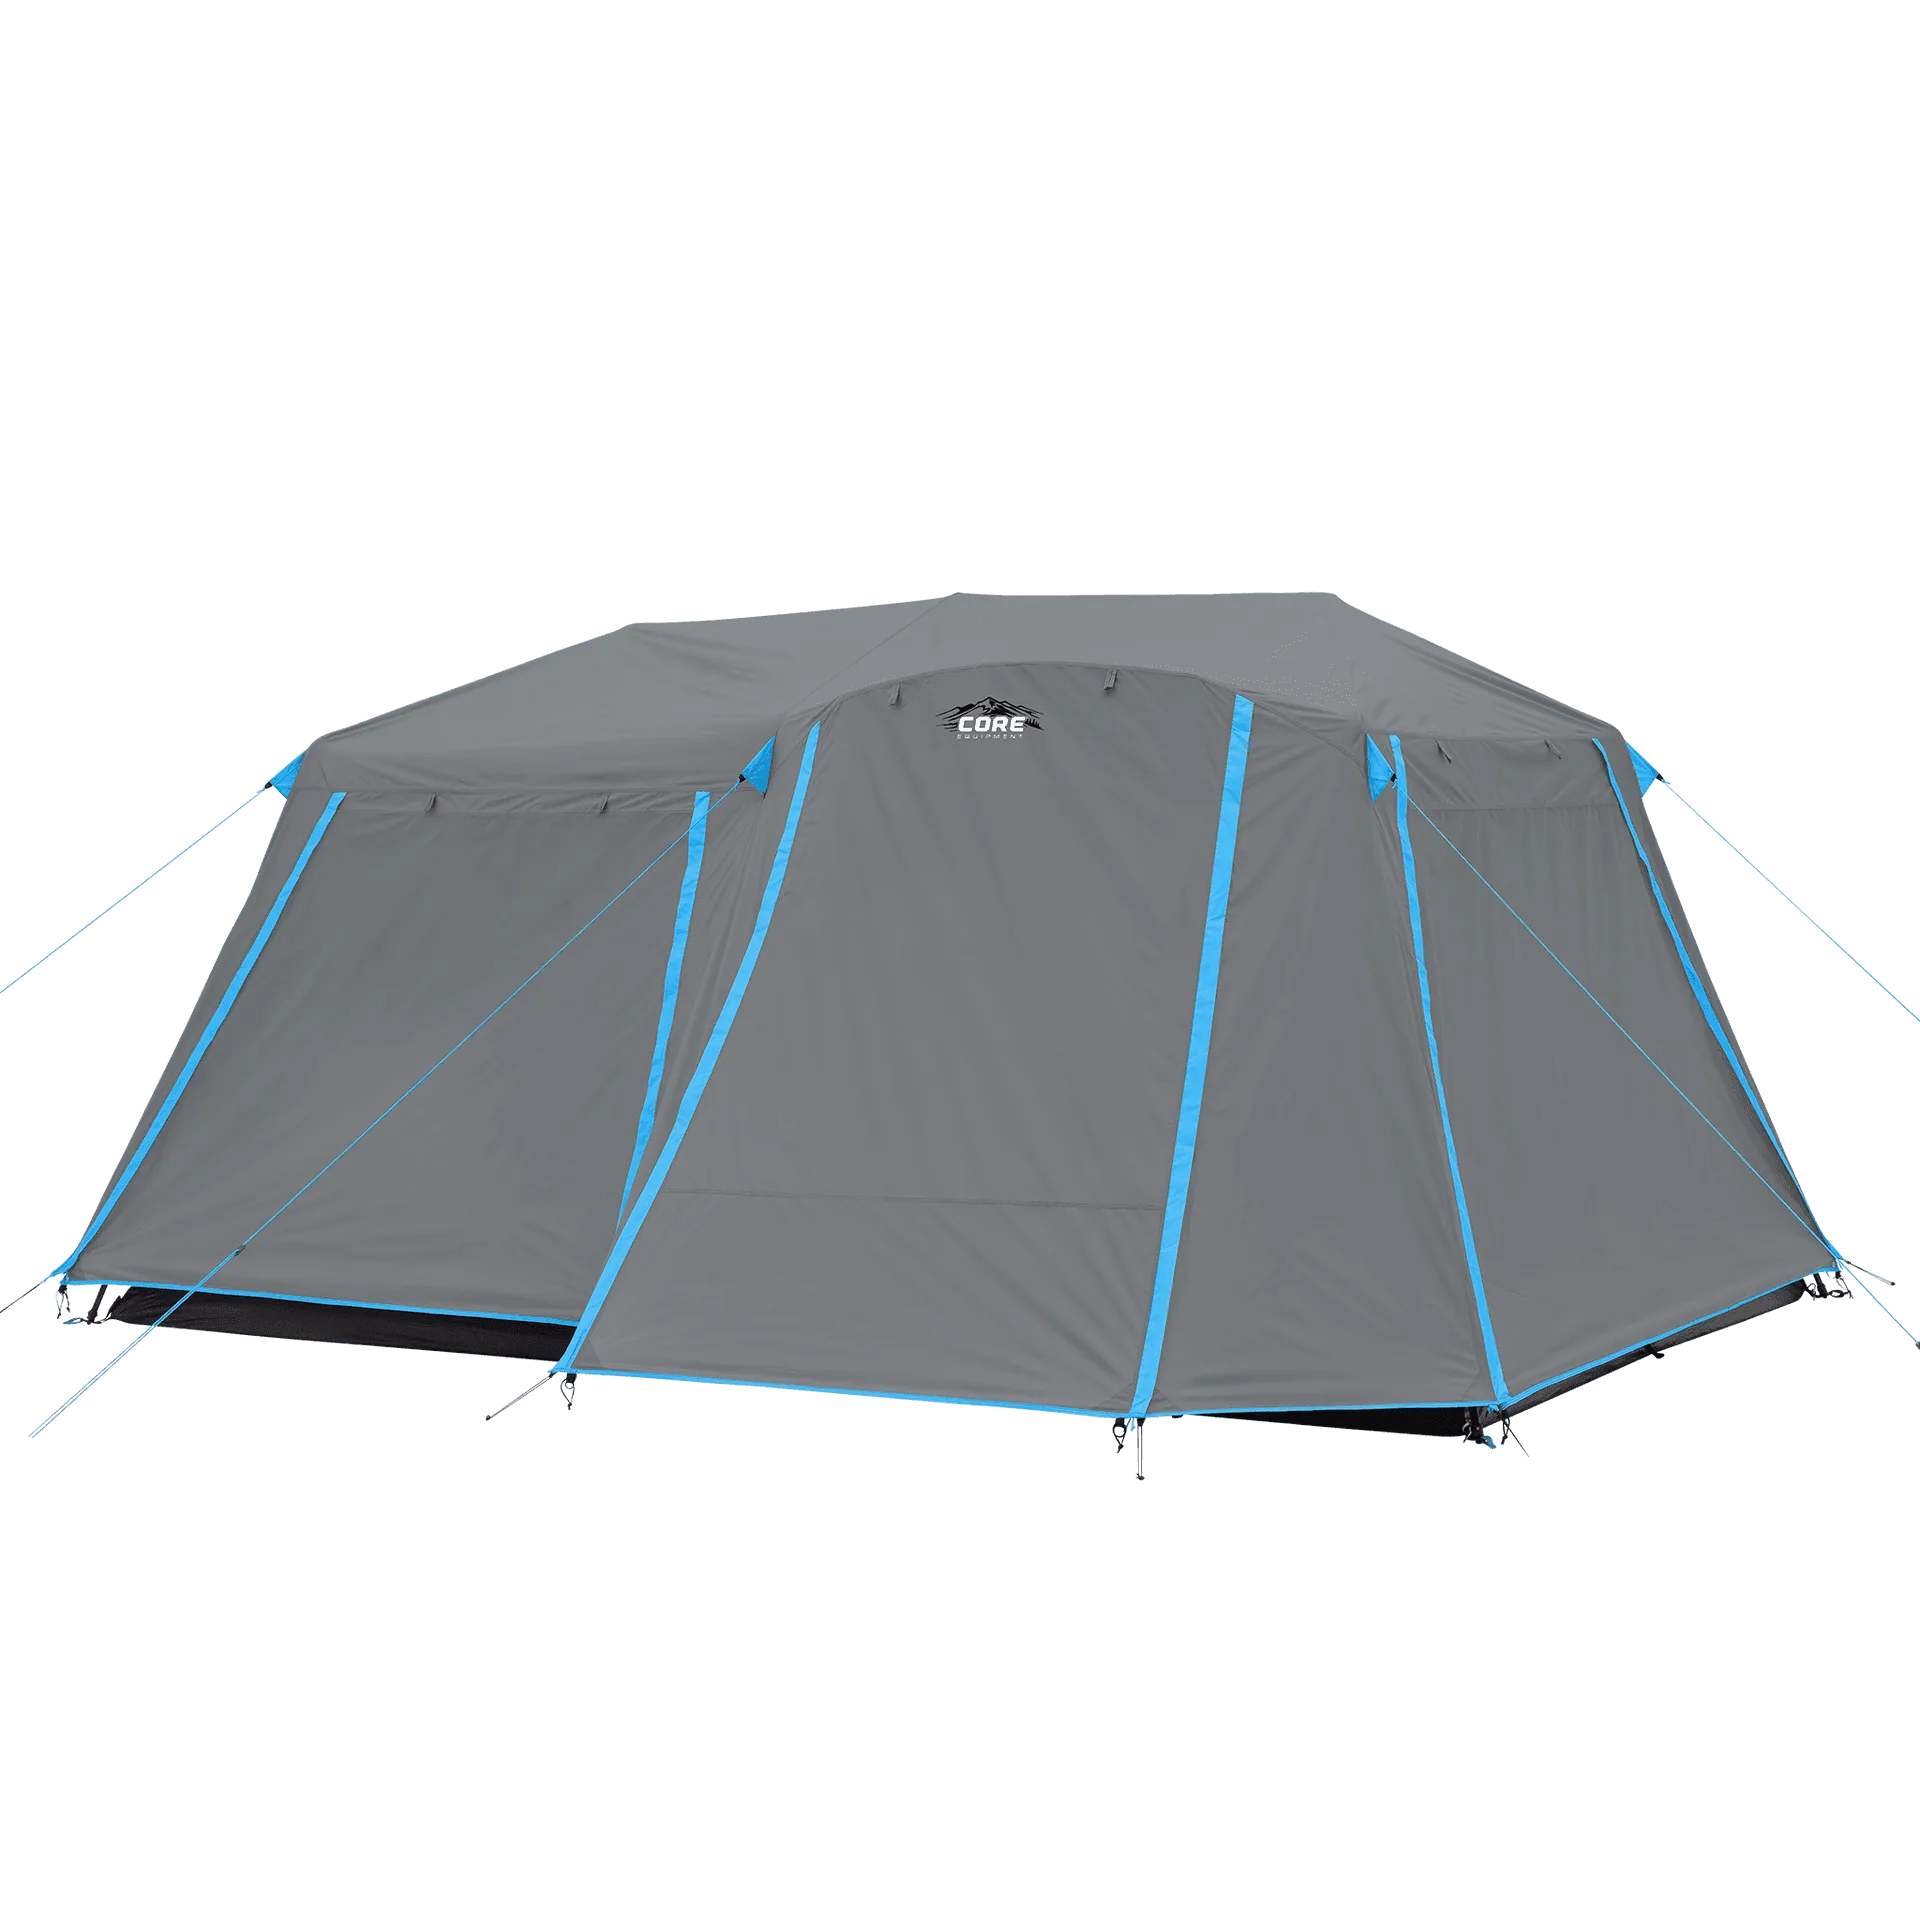
9 Person Lighted Instant Cabin Tent with Full Rainfly
-
9 Person Lighted Instant Cabin Tent with Full Rainfly: Built-in LED lights in the ceiling poles are controlled by a wall switch with three glare-free modes. The rainfly must be aligned so it doesn't cover the light panels or interfere with the switch access.