Quick answer
Mount the ADAPT Admin Panel by threading its thermoplastic tabs through the vertical slots on your carrier's chest, then press the panel onto the 4x6 Velcro loop field to lock it in place. Load it with flat, frequently used items and test access before you close the dual zippers.
Why the chest location changes what you should carry
The ADAPT Admin Panel sits on the chest of the Slickster Plate Carrier and other ADAPT-compatible products. That position is easy to reach with either hand, but it also sits in your line of sight when you look down and can interfere with shouldering a rifle or wearing a chest rig over the carrier. Keep the panel low-profile by limiting contents to flat items such as a small notebook, pen, or folded map. Bulky items push the panel away from the chest and make the carrier feel front-heavy.
When a dangler pouch makes more sense
A dangler pouch hangs below the front plate bag and typically offers more depth for items like gloves, a snack, or a small med kit. The ADAPT Admin Panel trades that depth for a slimmer profile and quicker access because it stays tight to the chest. If your mission requires carrying thicker or heavier small gear, a dangler may be the better primary organizer. The admin panel works well as a secondary flat-item pouch in that case, but avoid doubling up on the same real estate if it makes the carrier too crowded.
Check compatibility before you buy
The panel's thermoplastic tabs are designed to secure into vertical slots, and the back adheres to a 4x6 Velcro loop panel. Not every plate carrier has both features. Check your carrier's front panel for a 4x6 loop field and vertical slots before ordering. If your carrier lacks one of these, the panel may not mount securely or at all. The product listing does not specify a minimum or maximum slot spacing, so measure your carrier's slots and compare them to the panel's tab spacing if you are unsure.
Step-by-step ADAPT Admin Panel setup
- Inspect your carrier's mounting points: Locate the vertical slots and the 4x6 Velcro loop panel on the chest of your carrier. Confirm the slots are open and the loop field is free of debris. Common mistake: assuming every plate carrier has both features; if either is missing, the panel will not mount as intended. Snap a photo of your carrier's chest area before you start so you can reference the layout later.
- Thread the thermoplastic tabs: Feed each thermoplastic tab through a corresponding vertical slot from the front of the carrier toward the back. Work one tab at a time and keep the panel aligned so the Velcro backing faces the loop field. Common mistake: forcing a tab through a slot that is too narrow, which can bend the tab or damage the carrier. If a tab does not pass easily, stop and check that you are using the correct slot rather than forcing it.
- Press the panel onto the loop field: Once the tabs are through, press the panel firmly against the 4x6 Velcro loop panel. Run your hand across the entire face to seat the hooks. Common mistake: pressing only the center, which leaves the edges loose and lets the panel peel away when you open the zipper. Lift each corner gently to confirm the panel is fully seated before loading it.
- Load flat items first: Open the dual zippers and place flat, frequently used items inside: a small notebook, pen, folded map, or similar. Keep the load thin so the panel stays close to your chest. Common mistake: overstuffing the panel, which bulges it outward and makes the zipper hard to close. Leave a little slack in the zipper; if you have to force it, remove an item.
- Test access with your gear on: Put on the carrier and try opening the panel with one hand from each side using the dual zipper pulls. Check that you can reach the contents without removing the carrier. Common mistake: testing only with bare hands; wear your gloves to confirm the pulls are easy to grip. Adjust the panel's position slightly if the zipper pulls sit where your arm naturally reaches.
- Check for interference: With the carrier on, shoulder a rifle or put on your chest rig to see if the loaded panel gets in the way. If it does, reduce the contents or consider moving the panel to a different compatible location. Common mistake: ignoring how the panel affects your draw or cheek weld until you are at the range. Do a few dry reps of your most common arm movement before you commit to the setup.
Product facts
-
ADAPT Admin Panel: The ADAPT Admin Panel provides extra storage and organization of essentials to the chest of the Slickster Plate Carrier and other ADAPT-compatible products. This tells you the panel is purpose-built for the chest area, so plan your loadout around flat, quick-access items rather than bulky gear.
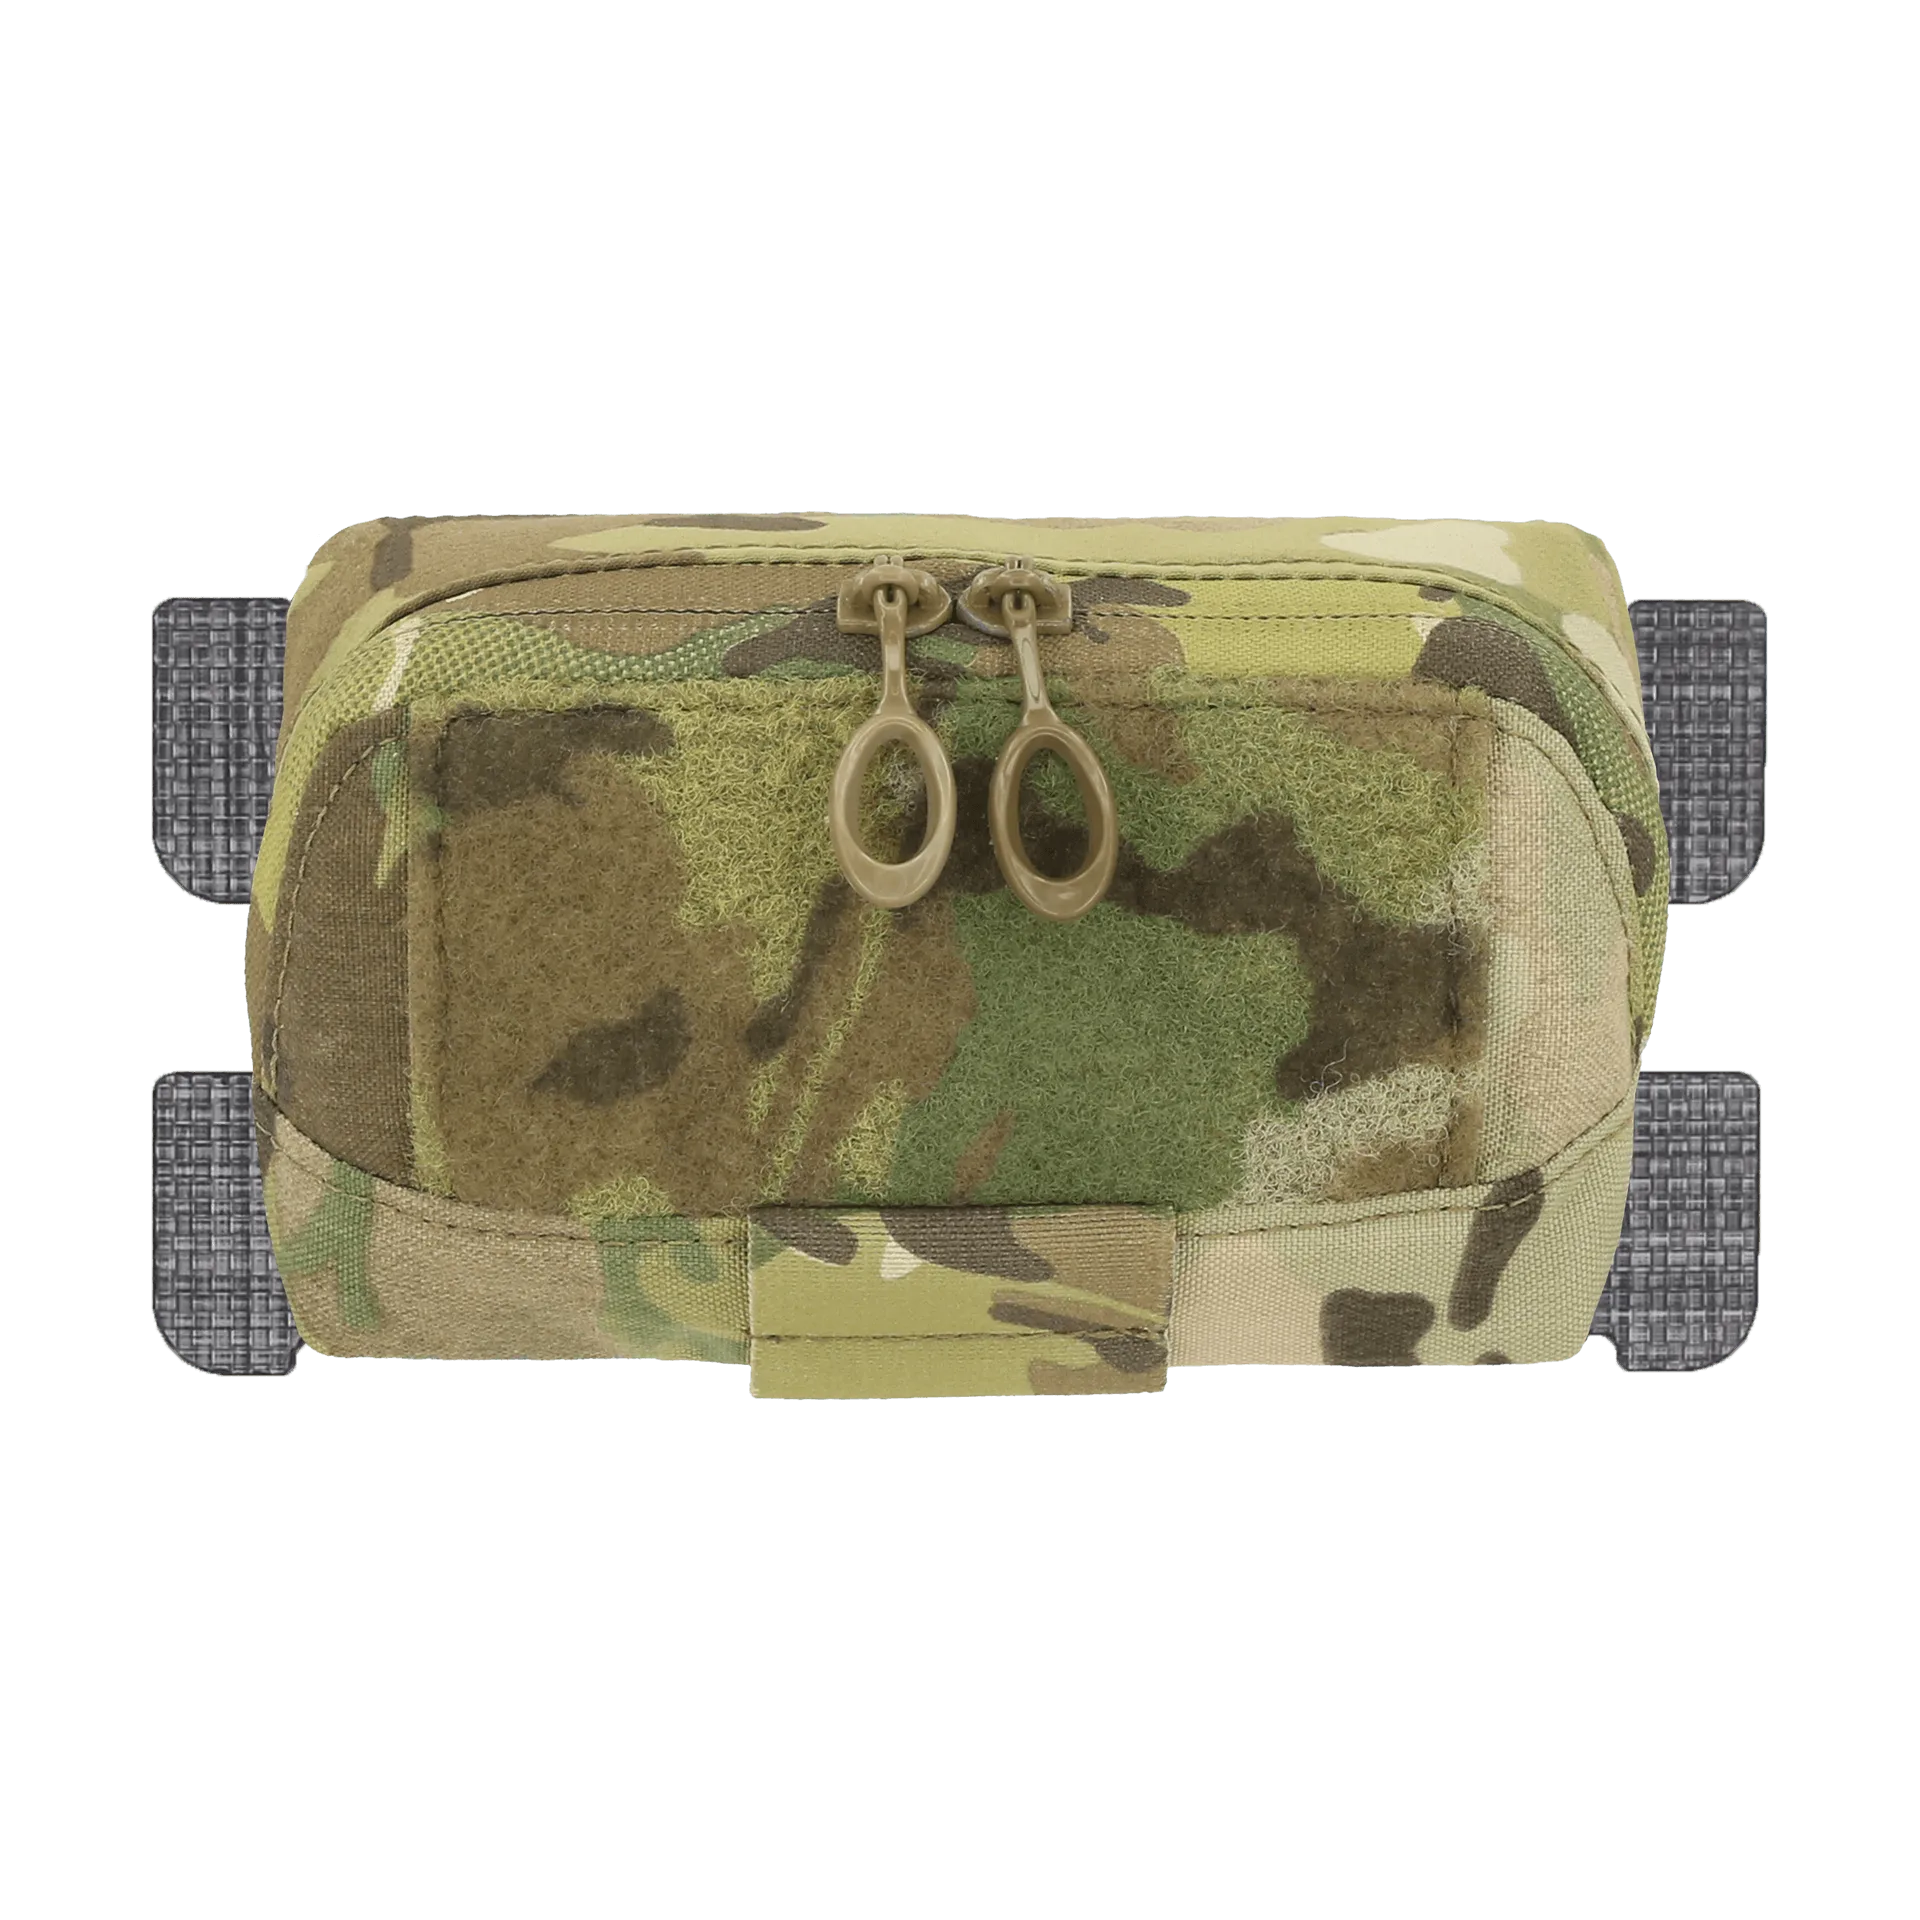
ADAPT Admin Panel
-
ADAPT Admin Panel: The panel's thermoplastic tabs secure into vertical slots and adhere to the 4x6 Velcro loop panel of ADAPT products that include these features. You need both the slots and the loop field on your carrier for a secure mount, so verify those features before installation.
-
ADAPT Admin Panel: A large zipper opening with dual zipper pulls allows for easy access to contents yet doesn't allow items to fall out. Dual pulls let you open the panel from either side, which is useful when your other hand is occupied or when you wear gloves.