Why placement matters more than pressure
A self-adhesive ruler is only as useful as its alignment. Once the adhesive touches the surface, repositioning is difficult without stretching or damaging the Mylar. The 12-inch centering rule from Micro-Mark lays flat and can be cut with scissors, but its thin profile means you get one clean shot at placement. The tips below help you get that shot right, whether you are marking a workbench, a lathe bed, or a sewing table.
A dry-run method for straight placement
Work through these steps before peeling any backing. They apply to any smooth, clean surface where you want a permanent measuring reference.
- Clean and dry the surface: Wipe away dust, oil, and moisture. Adhesive bonds best to a clean, dry surface; debris under the rule can create high spots that affect flatness.
- Mark your reference line: Use a pencil or removable tape to establish the exact line you want the rule to follow. A centering rule is most useful when its zero point or center mark aligns with a feature you already trust.
- Test-fit without removing the backing: Lay the rule in place and check that the 1/32-inch and 1 mm divisions read in the direction you expect. Confirm the 12-inch length fits your space and that the 3/4-inch width does not interfere with nearby hardware.
- Peel a short section of backing: Expose only the first inch or two of adhesive. This gives you a handling tab and limits accidental contact.
- Tack one end and sight down the edge: Press the exposed end lightly, then look along the rule from the opposite end. Adjust before applying full pressure. The Mylar is flexible enough to follow gentle curves but will not slide once pressed hard.
- Press progressively and burnish: Work from the tacked end toward the other, peeling backing as you go. Use a soft cloth or your thumb to press out air bubbles. Full adhesion develops over time, so avoid sliding the rule after burnishing.
What the 12-inch centering rule gives you
-
Adhesive Mylar Centering Rule, 12 Inches: Adhesive-backed, self-stick Mylar centering rule, 12 inches long by 3/4 inch wide. The narrow width suits tight spots like tool boxes and sewing tables, while the 12-inch length covers common bench and machine scales.
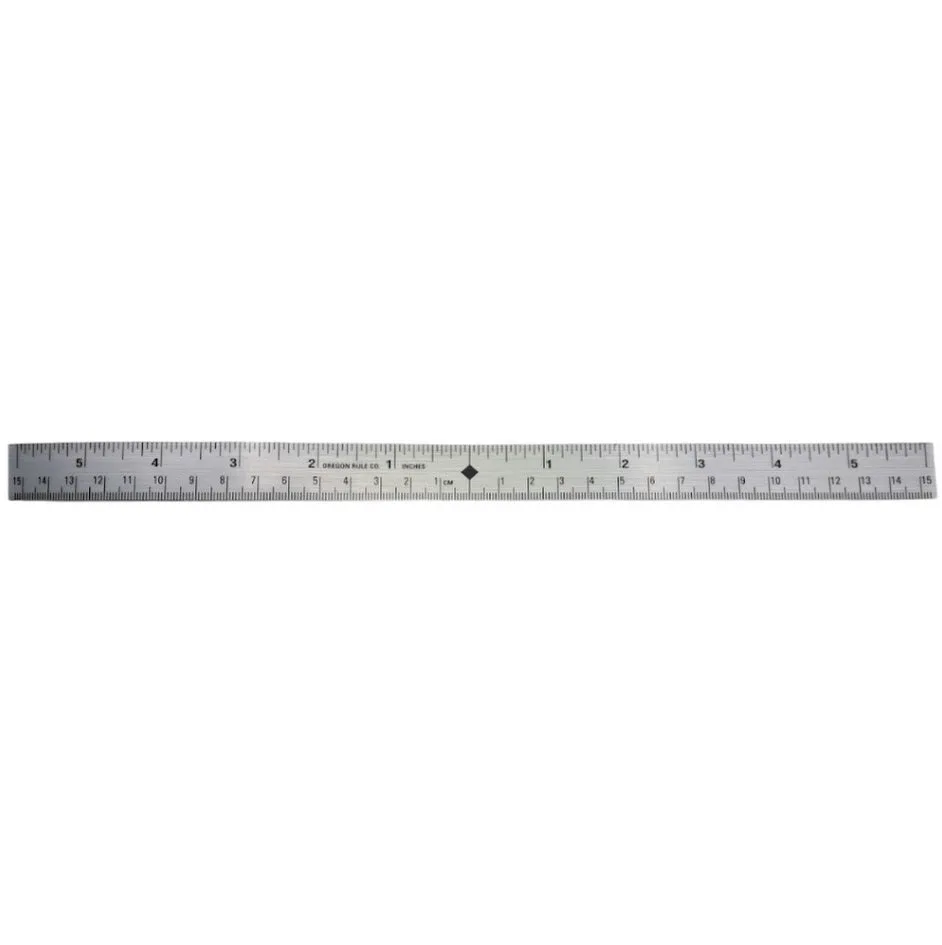
Adhesive Mylar Centering Rule, 12 Inches
-
Adhesive Mylar Centering Rule, 12 Inches: 1/32-inch and 1 mm divisions. Dual graduations let you work in either imperial or metric without switching tools, which is handy for model layout measuring where plans may mix units.
-
Adhesive Mylar Centering Rule, 12 Inches: Can be cut to size with scissors. You can trim the rule to fit short runs or curved edges, but cut before peeling the backing to keep the adhesive clean.
Where a self-adhesive ruler earns its keep
The catalog lists work benches, lathe beds, drill presses, table saws, sewing tables, drafting tables, and tool boxes as suitable surfaces. The common thread is a flat, stable face that you reference often. A centering ruler is especially useful when you need to find the middle of a board or align a workpiece to a centerline, because the graduations are printed to read from the center outward. That said, the supplied information does not specify the adhesive's shear strength or temperature range. If you plan to place the rule on a surface that gets hot, wet, or heavily abraded, test a short scrap first or choose a removable tape instead.
Placement tips for specific surfaces
The same rule can behave differently depending on what it sticks to. These notes are based on the catalog's suggested uses and general handling of thin adhesive films.
- Workbench and drafting table: Place the rule along the front edge or a frequently used reference line. Leave enough clearance for clamps and vises. Because the rule is only 3/4 inch wide, it stays out of the way of most bench dogs and hold-downs.
- Lathe bed and drill press: Avoid covering oil ports, locking levers, or travel stops. The Mylar surface wipes clean, but adhesive edges can trap swarf if the rule is trimmed poorly. Cut with scissors before installation for a clean edge.
- Table saw and radial arm saw: Never place a rule where it could interfere with the blade guard, fence, or material path. Use the rule on the stationary table surface only, and keep it clear of the cut line. The supplied information does not include safety approvals for use near cutting edges, so treat this as a general caution.
- Sewing table and butcher block: These surfaces are often porous or finished. Clean and dry thoroughly before applying. If the finish is waxed or oiled, the adhesive may not bond well; test a small area first.
When to trim and when to reposition
Trimming is straightforward with scissors, but do it before you remove the backing. Measure twice, cut once, and leave a little extra length if you are unsure. Once the rule is down, repositioning is not recommended because the adhesive may lose tack or the Mylar may stretch. If you must remove it, work slowly from one end and expect to replace the rule rather than reuse it. The catalog does not list a removal method, so avoid solvents that could damage the surface or the printed graduations.
A final check before you commit
Before pressing the full length, step back and check the rule from both ends. Confirm that the centering marks align with your intended reference and that the divisions are readable from your normal working position. If the rule will be exposed to coolant, solvent, or heavy wear, consider whether a permanent adhesive is appropriate. The 12-inch centering rule is a low-cost way to add a reliable scale to a bench or machine, but it is not a substitute for a hardened metal rule where impact or heat is expected. Used thoughtfully, it saves time on repeated measurements and keeps your layout consistent.