Motion detection is one of the most powerful features of modern security cameras, but it only works well when properly calibrated. Lorex Nocturnal 3 turret cameras deliver exceptional night vision and wide coverage, but without the right motion settings, you risk endless false alerts or missed events. Adjusting sensitivity, zones, and scheduling can transform your system from a noisy burden into a precise security tool.
This guide walks you through the motion detection adjustment process for Lorex Nocturnal 3 turret cameras, whether you're using a Lorex NVR or the Lorex Home app. We'll cover accessing the settings, tweaking sensitivity, setting motion zones, and using advanced features like object detection to reduce false triggers from animals, passing cars, or swaying trees.
Accessing Motion Detection Settings on Your NVR
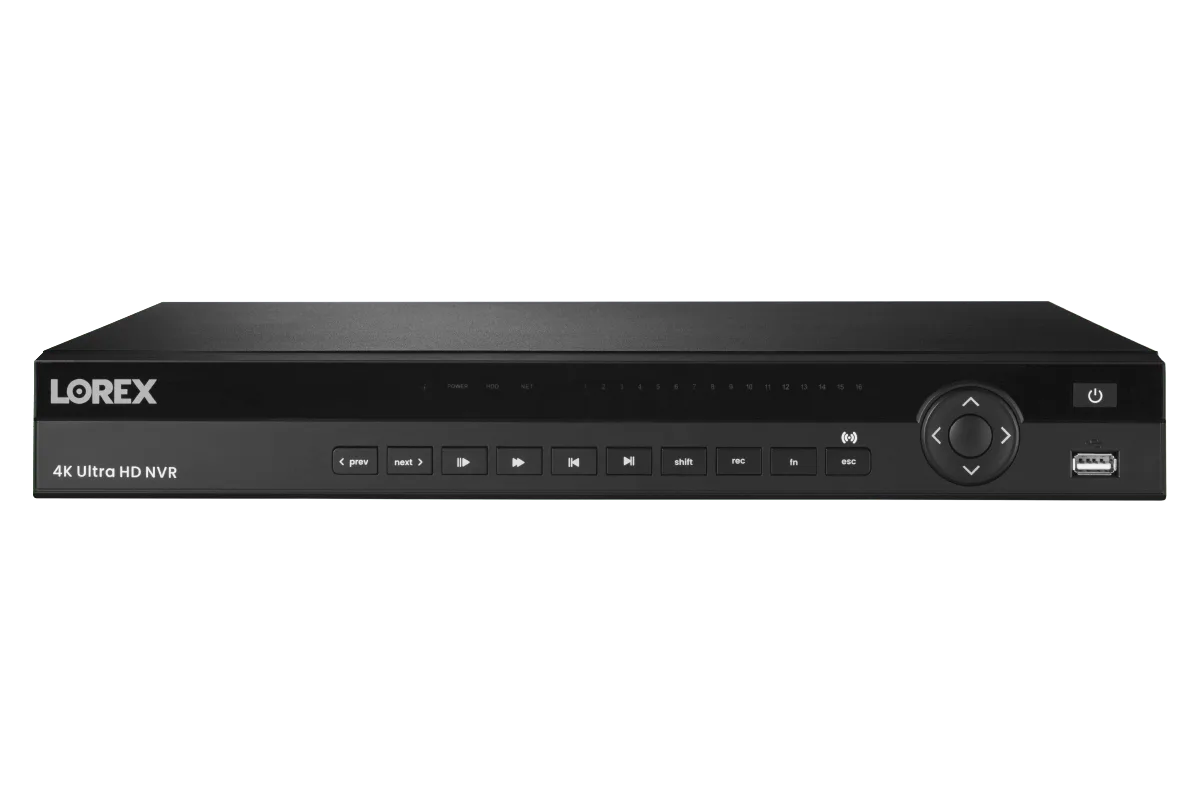
To begin adjusting motion detection on your Nocturnal 3 turret cameras, you'll need to log into your Lorex NVR. Connect a monitor and mouse directly to the NVR, right-click on the live view screen, and select Main Menu. Navigate to the Camera section and choose the specific camera you want to configure. Look for the Motion Detection tab—this is where all sensitivity and zone controls live. If you're using a model like the https://gadgetguardai.shop/products/lorex-4k-16-camera-capable-elite-series-4tb-nvr-218032Lorex 4K (16 Camera Capable) Elite Series 4TB NVR, the interface is intuitive and consistent across all channels.
Alternatively, you can access motion settings through the Lorex Home app on your smartphone. Simply tap on the camera in the device list, go to the settings gear, and select Motion Detection. The app offers a streamlined version of the same controls, making it easy to make quick adjustments on the go. For users with multiple cameras, it's best to fine-tune each unit individually based on its field of view.
- Connect a monitor and mouse to the NVR, or use the Lorex Home app for remote access.
- Navigate to Main Menu > Camera > select camera > Motion Detection.
Adjusting Sensitivity for Optimal Detection
Sensitivity controls how easily the camera detects motion. A high sensitivity setting will catch even the smallest movements—good for high-security areas but prone to false alarms from leaves or insects. For most outdoor environments, start with a medium sensitivity around 60-70%, then observe over 24 hours. If you see too many false triggers, gradually lower the number until the camera only responds to meaningful motion like people or vehicles. On the Lorex Nocturnal 3 turret cameras, you can also enable Smart Motion Detection to filter out irrelevant motion.
Consider the camera's placement. A camera overlooking a busy street may need lower sensitivity to avoid constant alerts from traffic, while a camera covering a quiet backyard can be set higher. The Nocturnal 3's passive infrared (PIR) sensor helps by detecting heat, but tweaking the digital sensitivity still matters. If you pair the adjustments with a compatible NVR, such as the Lorex 4K Fusion 2TB Wired NVR System, you'll notice improved accuracy thanks to the system's advanced processing.
- Start sensitivity at 60-70% and adjust based on false alarm frequency.
- Use Smart Motion Detection to reduce alerts from animals or ambient movement.
Setting Motion Zones to Focus on Key Areas
Motion zones let you define specific areas of the camera's view where detection is active. This is one of the most effective ways to eliminate false alerts. For example, you can draw a zone that covers your driveway and front door while excluding the sidewalk or road. On your Lorex NVR, select the Motion Zone option under the Motion Detection menu. You'll see a grid overlay on the camera feed—simply click or drag to add cells that form the detection area. Use different colors for different zones if your NVR supports it.
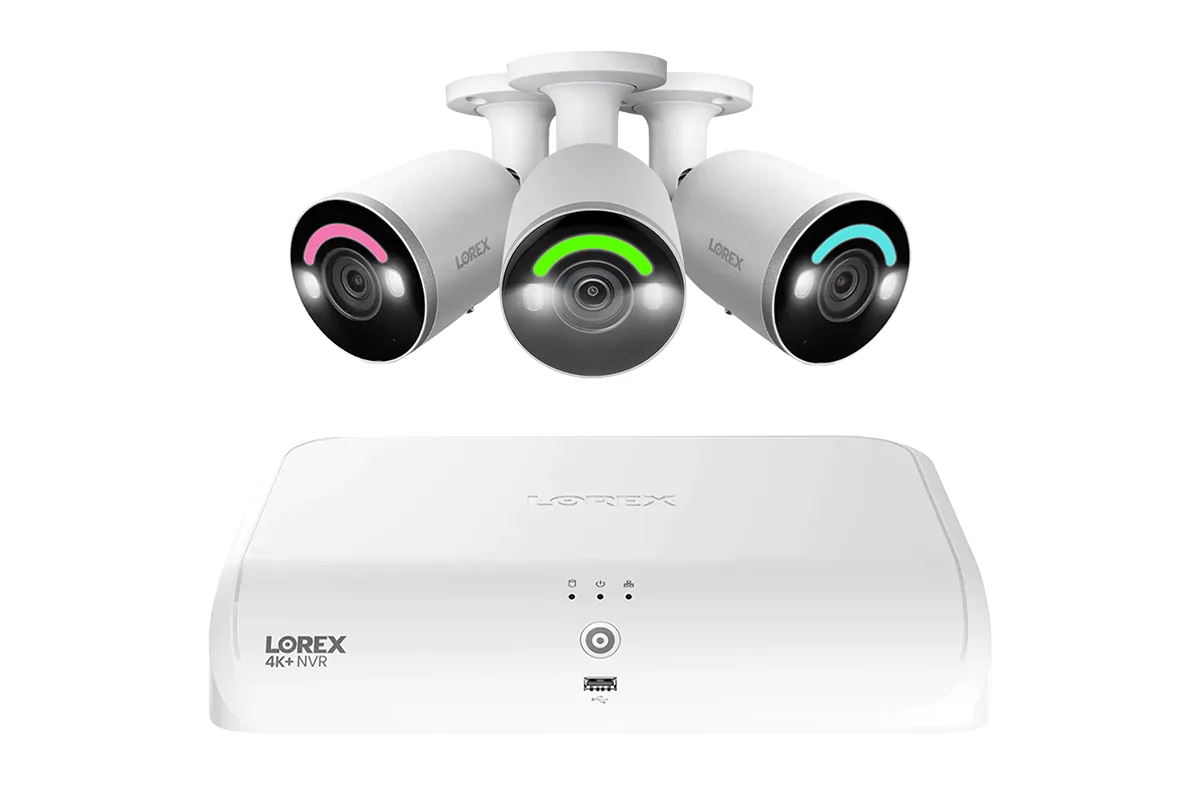
For turret cameras like the Lorex Connect U3 4K PoE Turret Camera with Red & Blue Deterrence Lights, motion zones are especially useful because of their wide field of view. Paint the zone to cover only the entrance points you want monitored, and leave the rest blank. This reduces irrelevant triggers and saves storage space by recording only what matters. Remember to save your changes and test by walking through the area to ensure the zone captures you as expected.
- Draw zones on the grid to cover only critical areas like doors and windows.
- Avoid including public sidewalks or roads to minimize false alerts.
Fine-Tuning Object Detection and Scheduling
Modern Lorex systems include object detection—making motion alerts more intelligent by distinguishing between people, vehicles, and animals. On your Nocturnal 3 turret camera, enable this feature under the Smart Motion Detection settings. Choose which object types you want to be notified about. For instance, if your goal is to monitor for human intruders, set the camera to only trigger on people. This drastically cuts down false alarms from pets or passing cars.
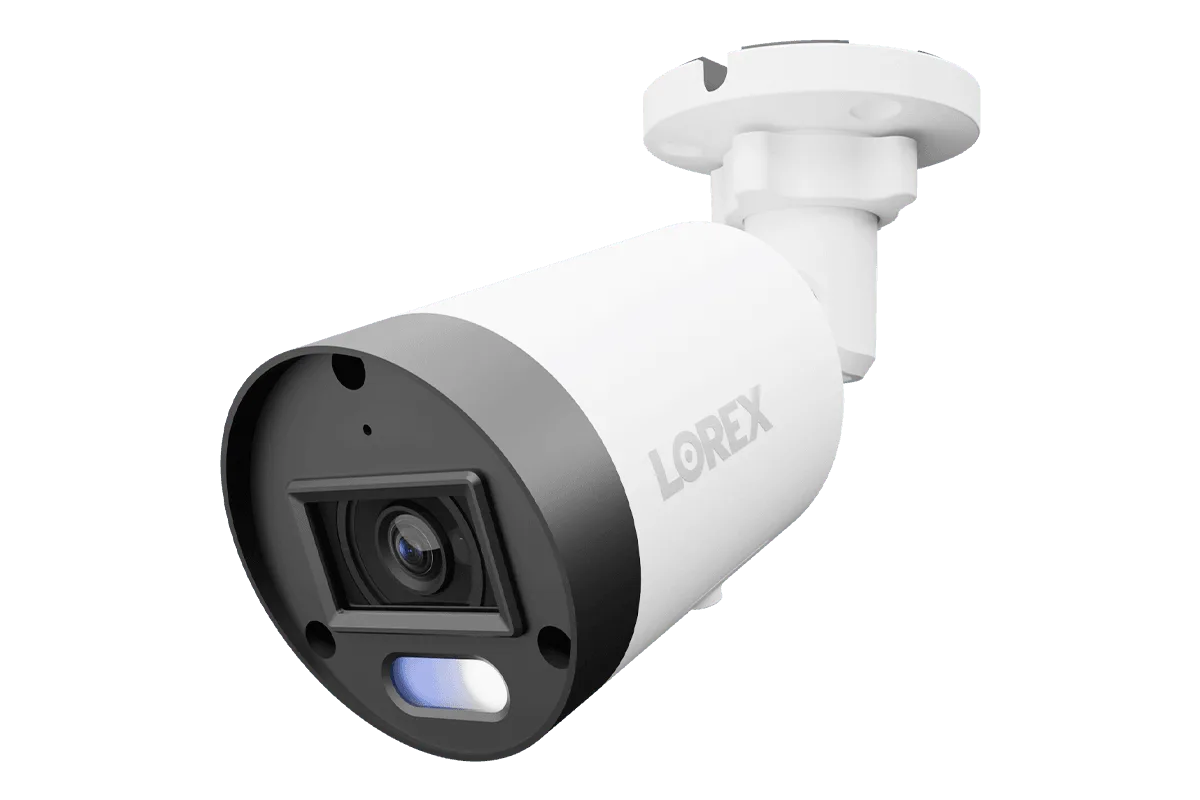
Scheduling adds another layer of control. You might want higher sensitivity during nighttime or when you're away from home. On the NVR, go to the Schedule tab within Motion Detection and set time periods with different sensitivity levels. For example, lower sensitivity during the day when kids and pets are active, and ramp it up at night. The Lorex Connect U3 4K PoE Bullet Camera with Red & Blue Deterrence Lights also supports these same scheduling settings, making it easy to replicate the configuration across your system.
- Enable object detection to receive alerts only for people or vehicles.
- Create schedules to automatically adjust sensitivity based on time of day.
Testing and Monitoring Your Changes
After making adjustments, it's crucial to test the camera's response. Walk in front of the camera at different distances and speeds to verify detection. Check the live view for the motion icon or colored box that appears when motion is detected. If the camera fails to detect you, try increasing sensitivity or widening the motion zone. Conversely, if you get false alerts, tighten the zone or lower sensitivity. Repeat this process until you're satisfied.
Monitor the alert history in your NVR or app over the next few days. If you notice consistent false triggers from a specific cause—like a tree branch moving in the wind—adjust the zone to exclude that area or lower sensitivity further. The Lorex 4K (16 Camera Capable) Elite Series 4TB NVR allows you to review recordings tagged as motion events, making it easy to identify problematic patterns. Properly tuned motion detection not only enhances security but also extends the life of your storage by recording only true events.
- Test detection by walking through the camera's field of view.
- Review motion-tagged recordings to fine-tune over time.
Adjusting motion detection on your Lorex Nocturnal 3 turret cameras doesn't have to be complex. With a few careful tweaks to sensitivity, zones, and object filters, you can create a security system that alerts you only when it matters. If you're looking to expand or upgrade your setup, consider the Lorex Connect U3 4K PoE Turret Camera with Red & Blue Deterrence Lights—it offers the same advanced motion detection features with added visual deterrence for total peace of mind.