Quick answer
Start with 2–3 sets of 8–12 smooth, full squeezes per hand at a resistance you can close completely without pain. Train 2–3 times per week, adding reps or resistance only when you can finish every set with steady form and no forearm tightness the next day.
Choose a resistance you can actually close
The most common mistake with adjustable hand grip training is starting too heavy. If you cannot close the handles completely and hold for a moment, the gripper is too hard for that hand. Set the tension so the last rep of each set feels challenging but still smooth. For beginners, that often means starting near the lowest setting and adding only small turns of the dial as the weeks pass.
Set up your hand position before you squeeze
Place the gripper so the handles sit across the meat of your palm and the base rests near the heel of your hand, not on your fingers. Wrap your fingers around the top handle and keep your wrist straight. A bent wrist shifts the work away from your grip and can irritate the joint. Squeeze slowly, pause for a second at full closure, then open your hand under control instead of letting the spring snap it open.
Build a weekly schedule that fits your recovery
Grip training is like any other strength work: you improve between sessions, not during them. Two or three sessions per week is enough for most people, with at least one rest day between grip workouts. If you also do pull-ups, rows, or deadlifts, put grip training at the end of those sessions so a tired grip does not limit your main lifts. On rest days, skip extra squeezing and let your forearms recover.
Know when to add reps and when to add resistance
Use a simple rule: add reps first, then resistance. When you can complete every set at the top of your rep range with clean form and no lingering soreness, increase the tension slightly and drop back to the bottom of the rep range. This keeps progress steady without forcing your hands to jump to a setting they are not ready for. If your form breaks down or you feel sharp pain, reduce resistance or take an extra rest day.
Your 8-week adjustable hand grip progression plan
- Week 1–2: Test and set your baseline: Warm up with a few easy squeezes, then find a resistance you can close completely for 2 sets of 10 reps per hand. Write down the setting and the date. Checkpoint: you should finish both sets with the same form you started with.
- Week 3–4: Add one set and one rep: Move to 3 sets of 10–12 reps per hand at the same resistance. Keep the pause at full closure to one second and open slowly. Mistake to avoid: rushing reps. Slow, full-range squeezes build more usable crushing grip than fast partial closes.
- Week 5–6: Increase resistance slightly: Turn the tension dial up a small amount and return to 3 sets of 8 reps per hand. If you cannot close the handles fully, back off the dial. Checkpoint: no sharp pain or next-day forearm tightness. Mild fatigue is fine.
- Week 7–8: Consolidate and retest: Stay at the new resistance and build back to 3 sets of 12 clean reps. At the end of week 8, retest your original setting to see how much easier it feels. Next step: use the retest to decide whether to keep progressing or repeat the last two weeks before adding more resistance.
Two adjustable grippers that fit this plan
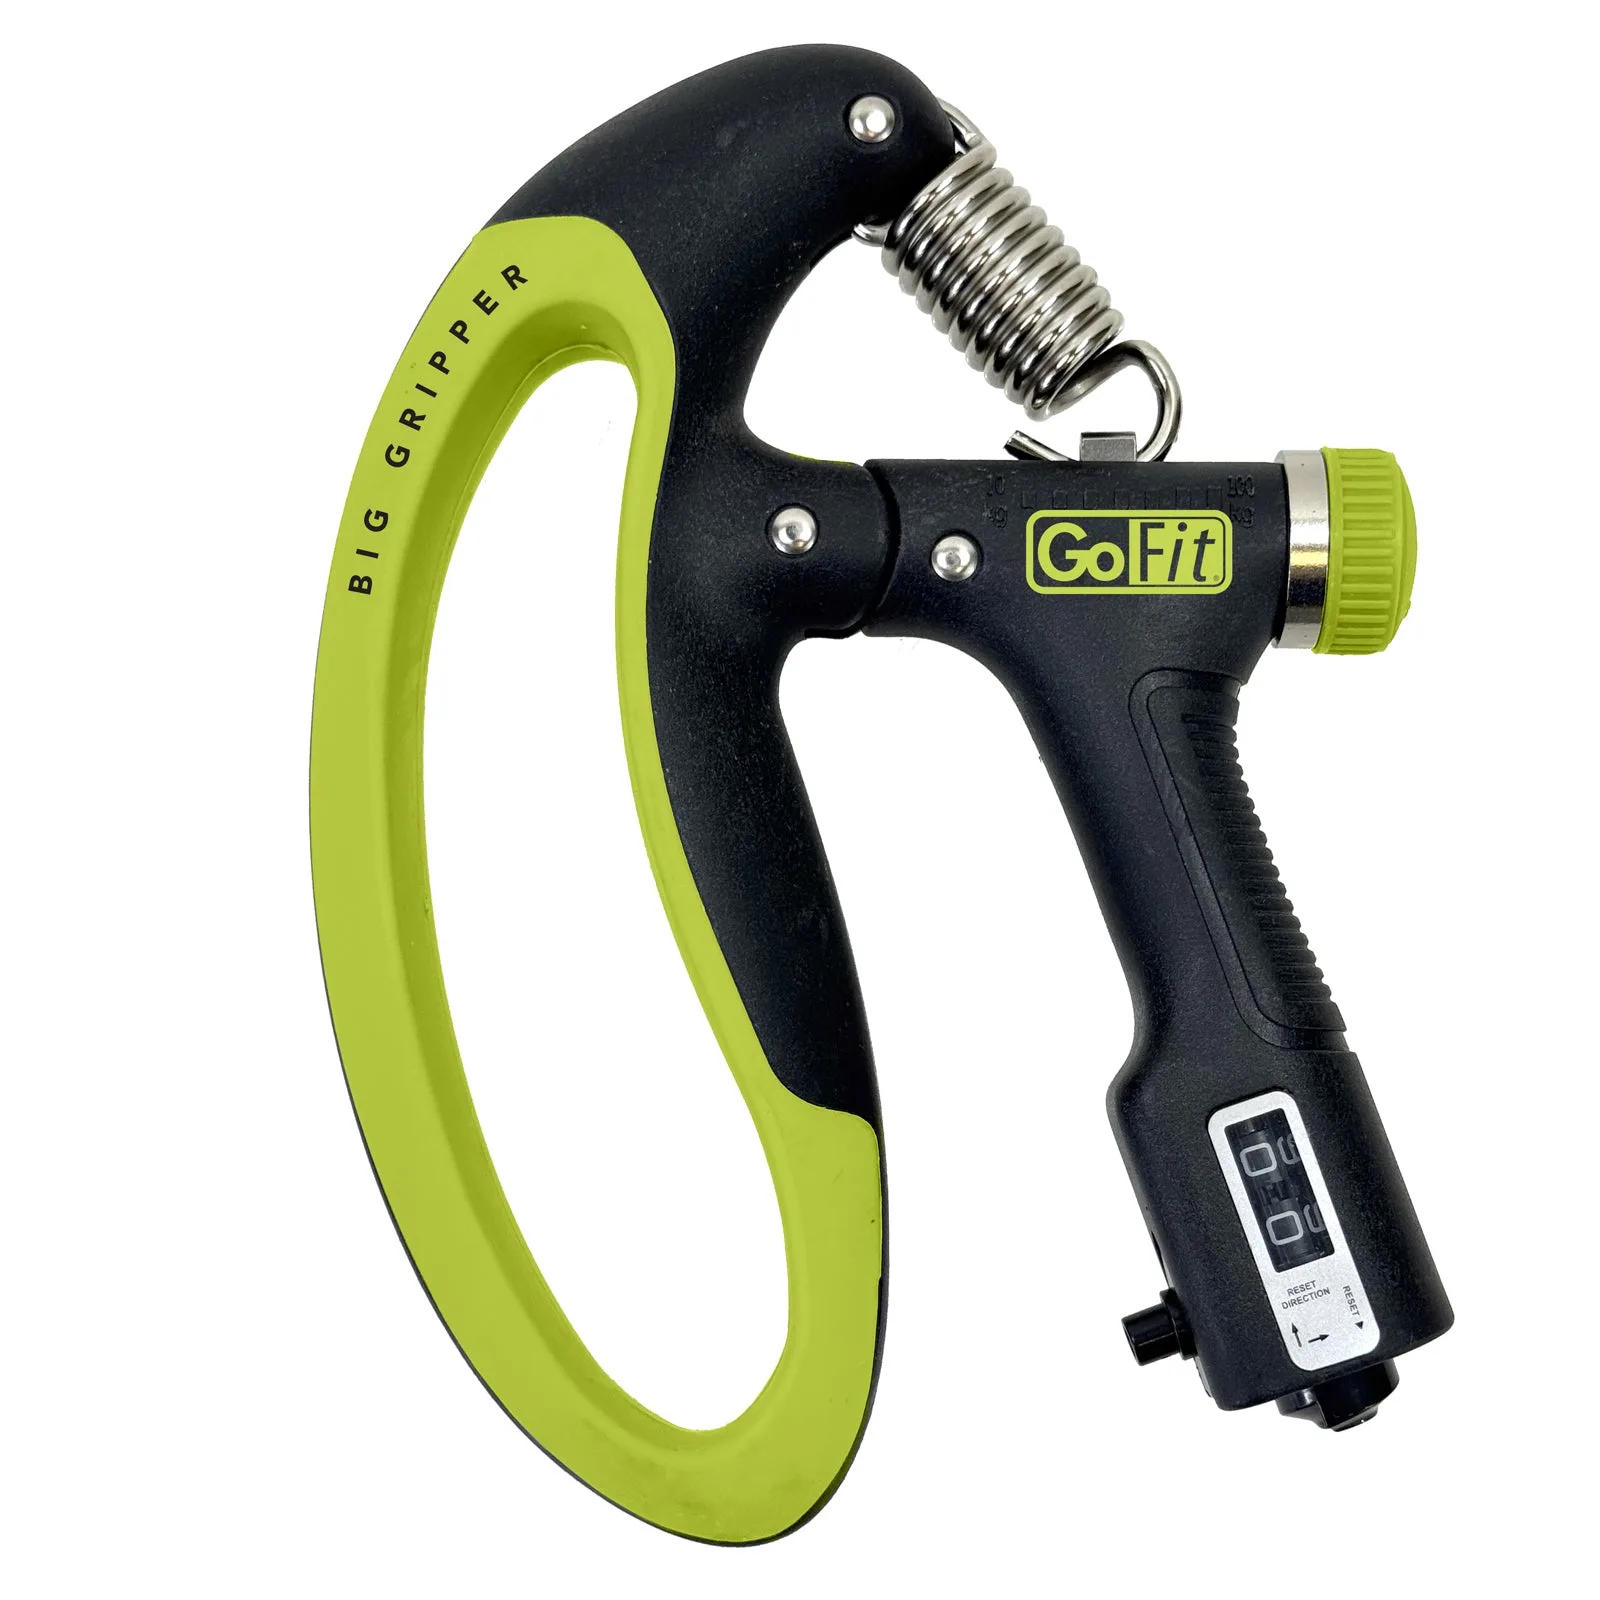
- Big Gripper Adjustable Hand Grip: Adjustable resistance from 11lb to 220lb (5kg to 100kg), with a roto-dial counter that tallies each squeeze up to 99 reps and resets with a bottom knob. The wide range lets beginners start light and still progress for months, while the counter removes the need to mentally track reps during sets.
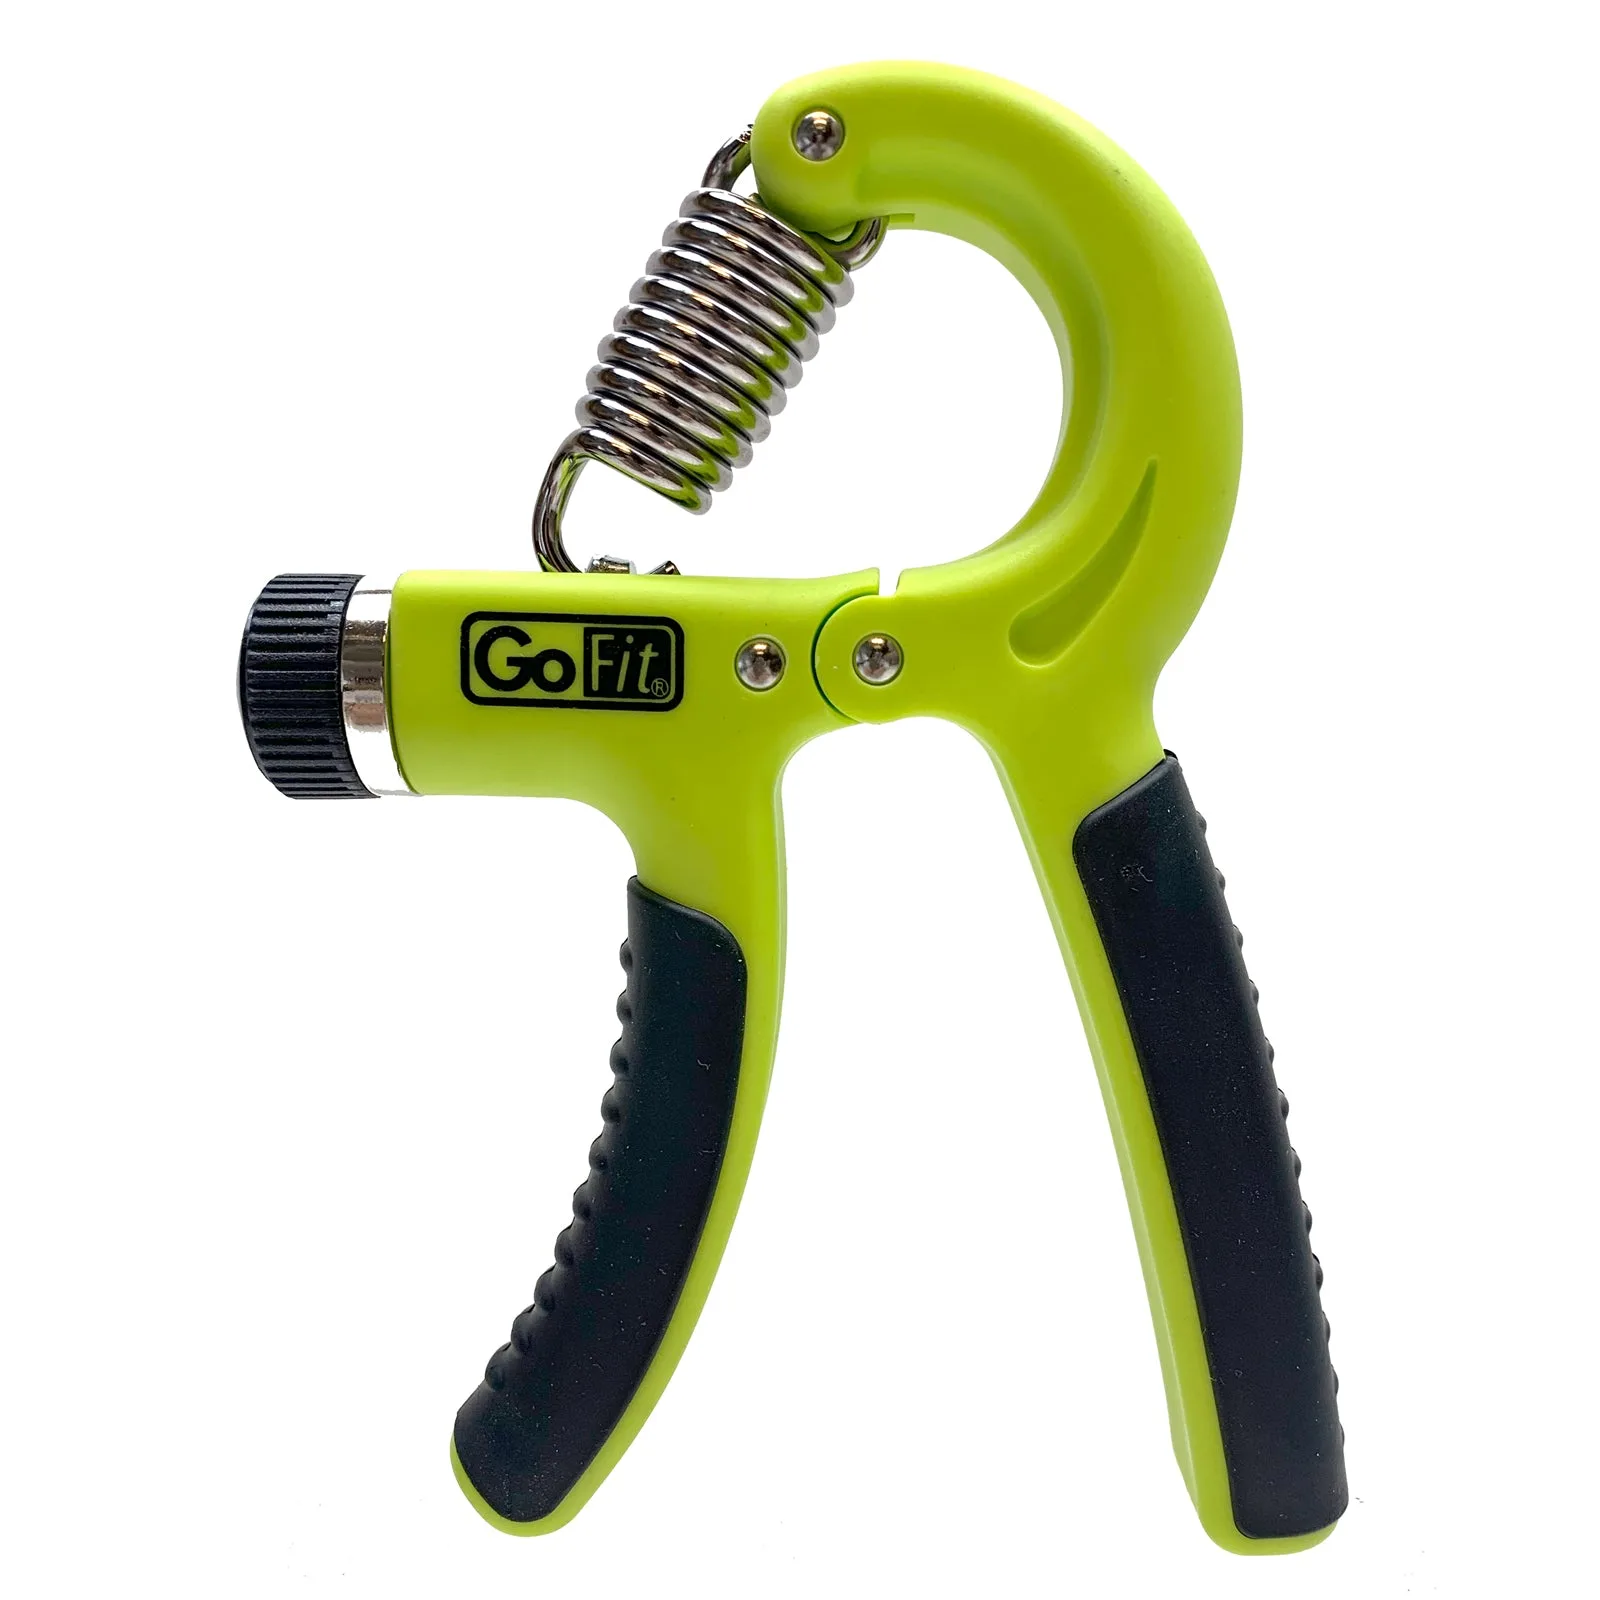
- Adjustable Hand Grip: Resistance ranging from 11lbs up to 132lbs with a rolling tension control knob, plus front and back handles with raised rubber tread for a no-slip grip. A simpler, lower-cost option for beginners who want a comfortable hold and enough range to build a base before moving to heavier settings.