What the AI Sentinel 4K Wired Camera Gives You to Work With
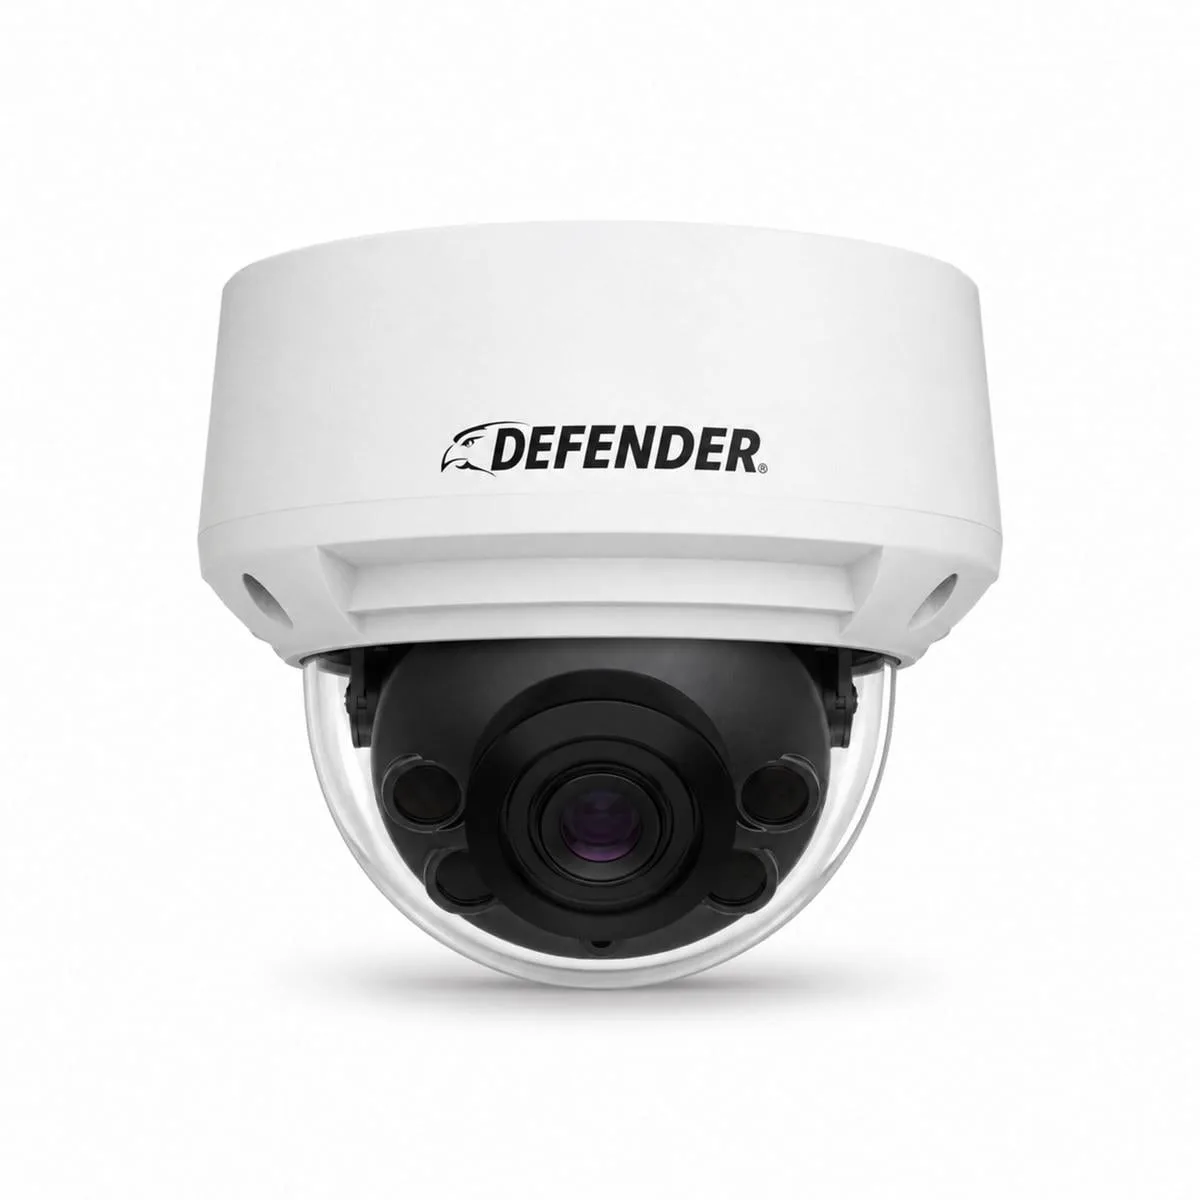
The Defender AI Powered Sentinel 4K Ultra HD Wired Additional Security Camera is designed to expand an existing security setup. It captures 4K Ultra HD video and uses AI-driven motion detection to help identify relevant activity. The wired design ensures consistent power and stable data transmission, making it a good fit for permanent installations where Wi-Fi can be unreliable.
Before you begin, confirm that you have a PoE (Power over Ethernet) switch or injector that supplies both power and data over a single Ethernet cable. The camera does not include a power adapter for separate power; PoE is the intended method.
Camera Facts That Shape Your Setup
-
AI POWERED Sentinel 4K Ultra HD Wired Additional Security Camera: 4K Ultra HD resolution provides clear, detailed footage. Higher resolution means more detail in recorded video, which is useful for identifying faces or license plates.
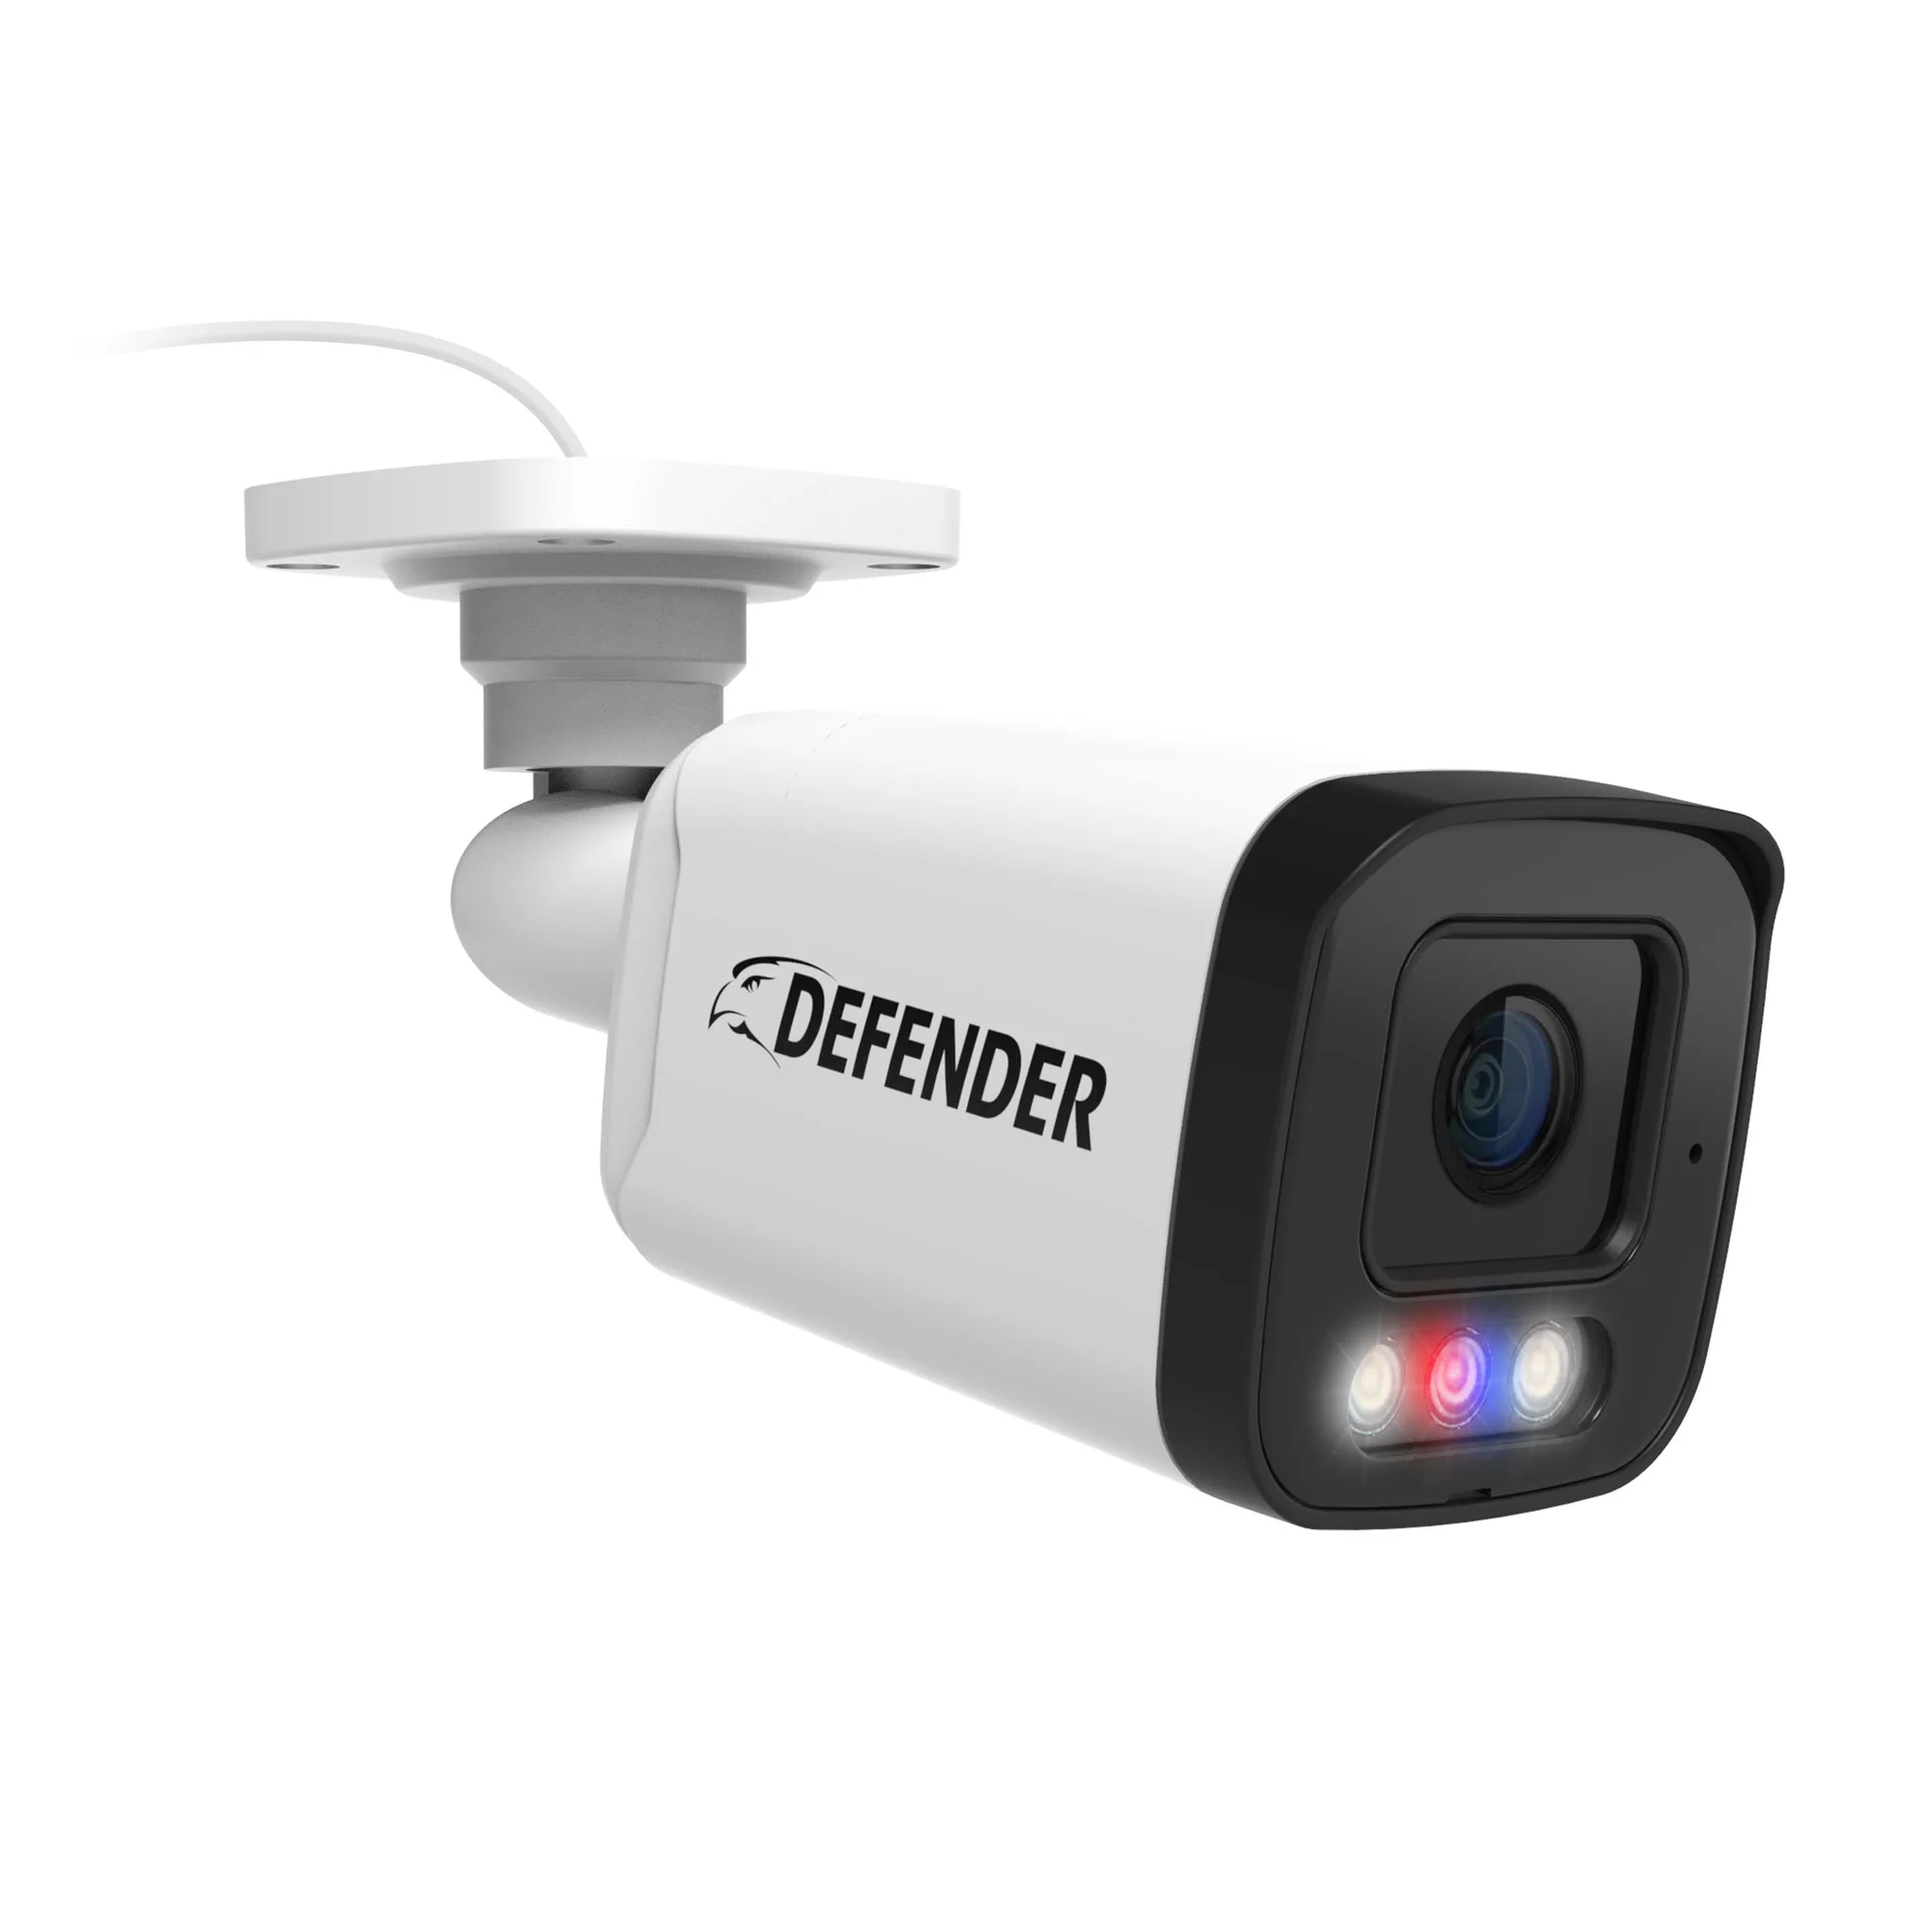
AI POWERED Sentinel 4K Ultra HD Wired Additional Security Camera
-
AI POWERED Sentinel 4K Ultra HD Wired Additional Security Camera: AI-driven motion detection helps identify relevant activity. Reduces false alerts from moving leaves or animals, so you only get notified about meaningful events.
-
AI POWERED Sentinel 4K Ultra HD Wired Additional Security Camera: Wired design ensures consistent power and stable data transmission. No battery to recharge and no Wi-Fi dropouts, making the camera reliable for continuous recording.
-
AI POWERED Sentinel 4K Ultra HD Wired Additional Security Camera: Designed as an additional camera to expand existing security setups. This camera works as an add-on, not a standalone system. You need a compatible NVR or PoE switch to use it.
Practical PoE Setup Sequence
Follow these steps to connect and configure the AI Sentinel 4K camera. The order matters to avoid unnecessary rework.
- 1. Choose a location and run the Ethernet cable: Select a mounting spot that covers the area you want to monitor. Run a shielded Cat5e or Cat6 Ethernet cable from the camera location back to your PoE switch or NVR. The cable carries both power and data, so no separate power outlet is needed at the camera.
- 2. Connect the camera to the PoE switch or NVR: Plug one end of the Ethernet cable into the camera's RJ45 port and the other end into a PoE-enabled port on your switch or NVR. The camera should power on immediately. Look for the status LED – typically a solid or blinking light indicates power and network activity.
- 3. Assign an IP address and access the camera: Most PoE switches or NVRs automatically assign an IP address via DHCP. Check your router's DHCP client list or use the NVR's device discovery tool to find the camera's IP. Enter that IP into a web browser to access the camera's settings page. Default credentials are usually printed on the camera label or in the manual.
- 4. Configure motion detection and recording: In the camera's web interface, enable AI-driven motion detection. Adjust sensitivity and detection zones to match your environment. Set up recording schedules or continuous recording to the NVR's hard drive. Test the detection by walking in front of the camera.
- 5. Mount the camera securely: Once you've verified the camera works and the field of view is correct, mount it using the supplied bracket and screws. Aim the camera to cover the desired area. Tighten all connections to prevent movement from wind or vibration.
What the Supplied Information Does Not Confirm
The product record does not specify the exact PoE standard (e.g., 802.3af or 802.3at), the maximum cable length, or the camera's power consumption. In practice, standard PoE (802.3af) is common for fixed cameras, but verify compatibility with your switch or NVR. For cable runs over 100 meters, consider using a PoE extender or a switch closer to the camera.
Also absent from the supplied data are specific instructions for adjusting AI detection parameters or setting up email alerts. These features are likely configurable in the camera's web interface, but the exact steps depend on the firmware version. Consult the full user manual or Defender's support site for detailed settings.