Quick Answer
Set your compressor on a flat, stable surface, connect the air hose and moisture trap, then start with 15–20 PSI for general work. Test on scrap material and adjust in small increments. Always drain moisture before a session and use a regulator to keep pressure consistent.
Position the Compressor for Airflow and Stability
Place the compressor on a hard, level surface with at least a few inches of clearance around its vents. Avoid carpet or soft surfaces that can block airflow and cause overheating. If your compressor has rubber feet, make sure they sit flat. A stable base reduces vibration, which keeps the air supply steady and your spray pattern consistent.
Connect the Moisture Trap and Air Hose
A moisture trap is essential because compressed air heats up and carries water vapor that can spit into your paint. Screw the trap onto the compressor outlet, then attach the air hose to the trap. Hand-tighten only; over-tightening can damage the threads. Check that the trap’s drain valve is closed before you start. If your compressor already has a built-in trap, you can skip the external one, but many beginners add a second trap near the airbrush for extra protection.
Set the Regulator and Test Your PSI
Turn the regulator knob counterclockwise to lower pressure, then start the compressor and let it build to its cutoff point. With air flowing through the brush, adjust the regulator to your starting PSI. For most acrylics and general hobby work, 15–20 PSI works well. Thin paints like inks may need 10–12 PSI, while thicker primers or varnishes might need 25–30 PSI. Always test on scrap material before spraying your project. Adjust in 1–2 PSI increments and note what works for your paint and brush.
Match Paint Consistency to Your PSI
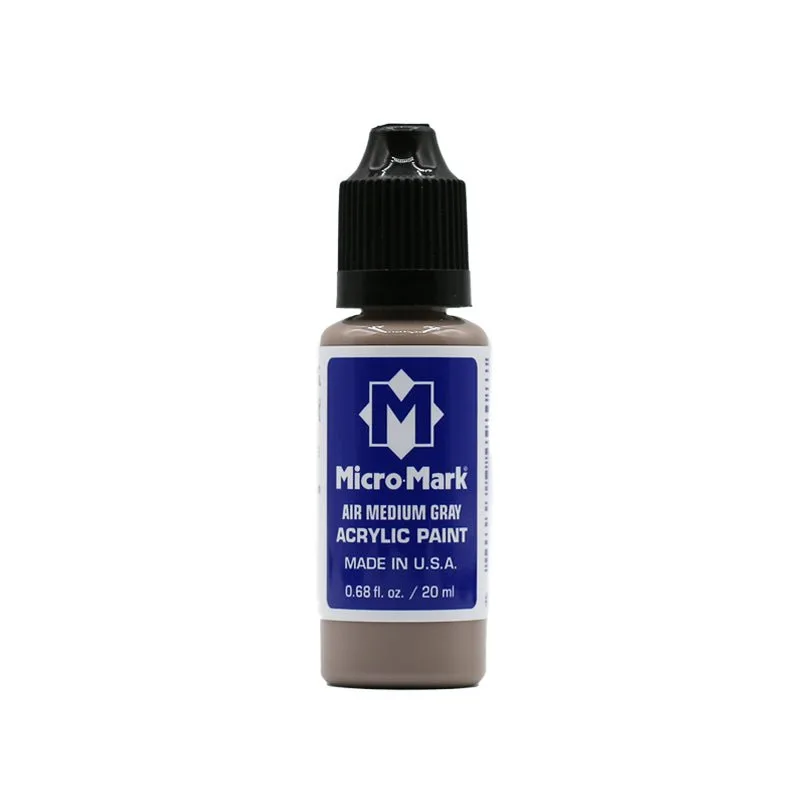
PSI and paint thickness work together. If your paint is too thick, you’ll need higher pressure, which can cause splatter and overspray. If it’s too thin, lower pressure helps avoid runs. For acrylics like Micro-Mark Air Medium Gray Acrylic Paint, start at 18 PSI and thin only if the brush sputters or the spray feels dry. That paint can be further thinned if desired, so you have room to adjust. Keep a small notebook of paint-to-thinner ratios and PSI settings that work for you.
Maintain Your Setup Between Sessions
After each session, release pressure from the tank and open the moisture trap drain to remove water. Wipe down the air hose connections and check for wear. If you use a MicroLux Multi-Saw or other tools in the same shop, keep the compressor covered when not in use to prevent dust from entering the intake. A few minutes of care prevents moisture buildup and keeps your air supply clean.
Step-by-Step Compressor Setup
- 1. Unbox and place the compressor: Set it on a hard, level surface with clearance around the vents. Check that the power switch is off before plugging in. Mistake to avoid: placing it on carpet or a soft mat that blocks airflow.
- 2. Install the moisture trap: Screw the trap onto the compressor outlet and hand-tighten. Make sure the drain valve is closed and the O-ring is seated. Checkpoint: no air leaks when you pressurize the system.
- 3. Attach the air hose and airbrush: Connect the hose to the trap, then to your airbrush. Use the correct adapter if needed. Hand-tighten only. Mistake to avoid: over-tightening and stripping threads.
- 4. Set the regulator to a starting PSI: Turn the regulator counterclockwise to zero, start the compressor, then adjust to 15–20 PSI for general acrylic work. Checkpoint: the gauge holds steady when air is flowing.
- 5. Test spray on scrap material: Spray a test pattern. If the paint sputters, increase PSI slightly or thin the paint. If it runs, lower PSI or move closer. Mistake to avoid: skipping the test and spraying your project first.
- 6. Drain moisture after each session: Release tank pressure, open the drain valve, and let any water out. Leave the valve open until next use. Checkpoint: no water droplets in the trap before you store the setup.
Products That Support Your Setup
- Micro-Mark Air Medium Gray Acrylic Paint, 20ml: Premium airbrush acrylic paint that can be further thinned if desired; made in the USA for wood, plastic, resin, and metal with a clean matte finish. A paint that thins predictably makes it easier to dial in your PSI without clogging or splattering.
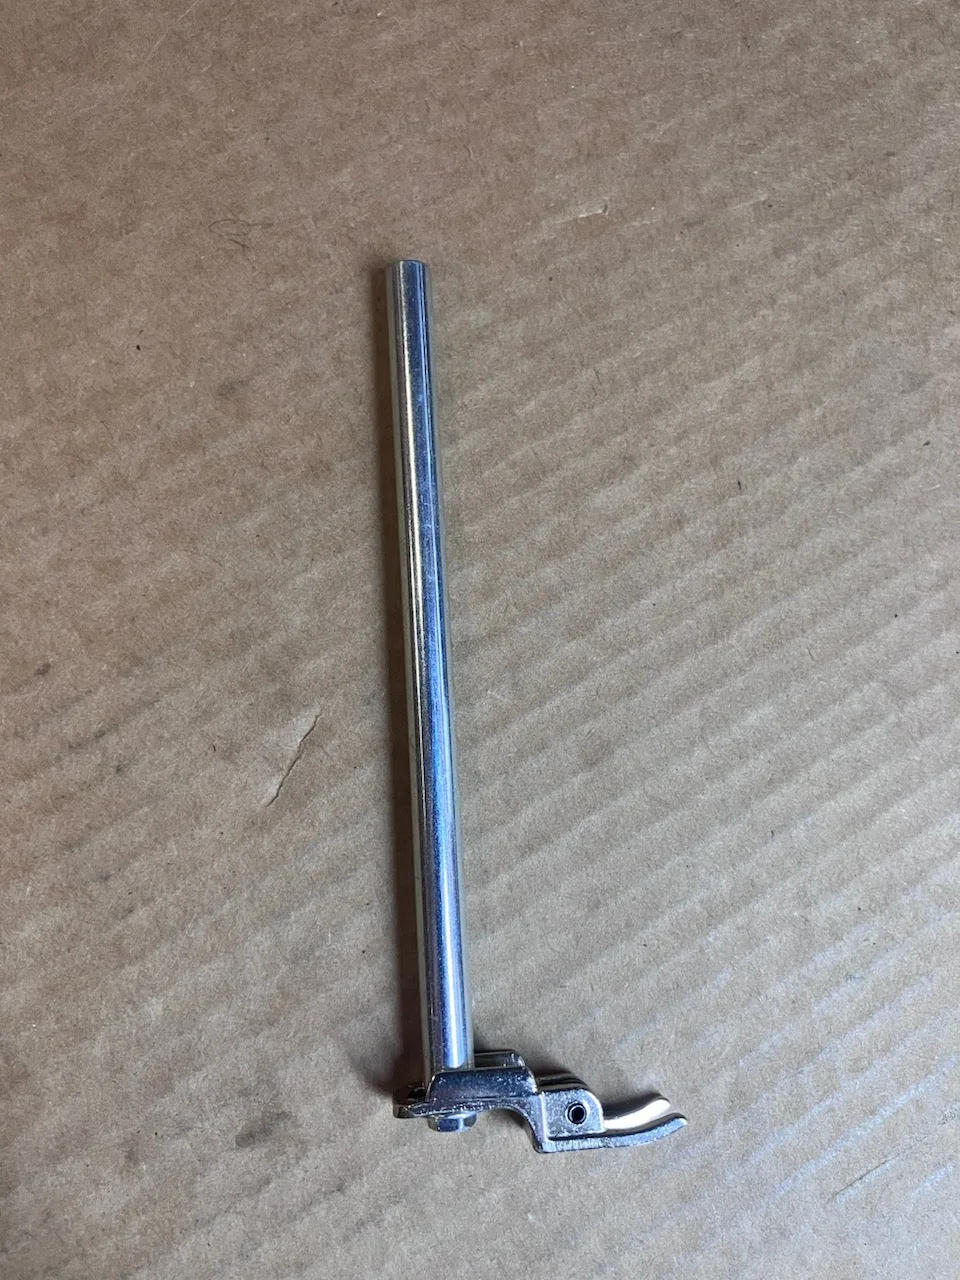
- FOOT / GUIDE ASSEMBLY: Replacement hold-down foot and roller guide assembly for the MicroLux Multi-Saw; helps stabilize material during cutting. If you use a multi-saw in the same workspace, this part keeps your cutting stable while you focus on airbrush setup.