Quick answer
Buy an angled 5x5-hole plate when you need a rigid corner that ties two surfaces together and keeps a model square. If you only need to close a flat outer surface, a cladding plate is lighter and cheaper; if you need one adjustable joint, a single angle is enough. Match the plate size to the frame spacing you already use, and buy a few extras because corners rarely fail alone.
Corner stiffness decides whether a finished model feels solid or wobbles when you pick it up. An angled 5x5-hole plate is one of the fastest ways to add that stiffness, but it is not automatically the right part for every joint. The size, hole pattern, and the way the bend sits against your frame all change how useful it is.
This guide explains what an angled 5x5-hole plate does well, how it compares with flatter plates and single angles in the eitech Manufaktur line, and how to decide how many to order. Use it before you add the part to a basket, or before you rebuild a corner that never felt stable.
What an angled 5x5-hole plate actually does
An angled plate is a flat metal plate with a bend along one edge. The 5x5-hole size means the hole grid is large enough to bridge a wide span and still leave room for bolts on both faces of the bend. In practice, that makes it a corner and edge part rather than a general surface panel. It earns its place where two planes meet and you want that meeting point to resist twisting.
The trade-off is weight and cost. A larger angled plate uses more material than a small angle, and it can overhang a narrow frame if you fit it to a joint that is smaller than the plate. Before ordering, measure the distance between the holes you plan to bolt through, not the outside edge of the model. The plate only helps if its hole grid lines up with the structure underneath.
- Use an angled plate where two surfaces meet at roughly a right angle.
- Check hole spacing on both faces before you commit to the size.
- A plate that overhangs the frame adds weight without adding stiffness.
How to choose between angled plates, cladding plates, and single angles
Think in three jobs: closing a surface, joining two surfaces, and making one adjustable connection. Cladding plates handle the first job. They are thin, often coloured, and intended to complete the outer surfaces of a model. An angled plate handles the second job by adding a bend that resists folding. A single angle handles the third job when you need one hole to line up slightly differently from another.
If you are building a box or a vehicle body, you usually need all three. Start with the frame, add angled plates at the corners that carry load or get handled, then close the visible sides with cladding plates. Keep single angles for spots where you expect to adjust the position later, such as a bracket that has to meet a hole that is not perfectly aligned.
- Cladding plate: finish a surface, keep weight low.
- Angled plate: stiffen a corner or edge.
- Single angle: make one small, adjustable connection.
Fit guidance: making an angled plate sit square
Fit the plate before you tighten anything. Set the two surfaces roughly in position, drop the plate over the holes, and start every bolt by hand. Tighten in a cross pattern, a little at a time, so the bend does not pull the frame out of square. If a hole refuses to line up, loosen the neighbouring bolts rather than forcing the plate.
The bend direction matters. Fitting the plate so the bend sits inside the corner usually gives the cleanest look and keeps the outer faces flat. Fitting it outside can work when you need the plate to act as a small flange, but it changes how the model sits on a table or how a panel closes. Decide which face should stay flat before you tighten down.
- Start all bolts by hand before tightening any of them.
- Tighten gradually in a cross pattern to avoid pulling the frame out of square.
- Keep the bend inside the corner when the outer surface needs to stay flat.
Quantity and spares: how many angled plates to order
Corners rarely fail alone. If one joint in a model is underbuilt, the opposite corner usually flexes too. A practical starting point is one angled plate per structural corner, plus one spare for every four corners. That spare is not waste; it lets you reinforce a handle point or a joint that turned out to need more support after the first test lift.
If you are extending an existing build rather than starting fresh, count the corners you can reach without disassembly. Order for those first, then add a small buffer. Because the part is a standard Manufaktur component, matching an existing plate is mostly a question of hole count and bend direction, not a special order.
- One plate per structural corner is a reasonable baseline.
- Add one spare for every four corners to cover reinforcement.
- Order for reachable corners first when extending a finished model.
Decision rules for buying angled plates
- Rule 1: Buy for the joint, not the model: Count the corners and edges that carry load or get handled. Order one angled plate for each, then add spares for reinforcement. If you cannot name the joint, you probably do not need the plate yet.
- Rule 2: Match the plate to the frame span: Measure hole spacing on both faces. Choose the smallest angled plate that still reaches across the joint without overhanging the frame. A plate that overhangs adds weight without adding stiffness.
- Rule 3: Use the right part for the job: Cladding plates close surfaces, angled plates stiffen corners, and single angles make adjustable connections. Mixing them up wastes money and adds weight. Buy cladding plates for looks and angled plates for strength.
- Rule 4: Fit loose, tighten last: Start every bolt by hand, check square, then tighten gradually in a cross pattern. Loosen neighbours before forcing a misaligned hole. A square frame with hand-started bolts stays square after tightening.
Parts worth pairing with an angled plate
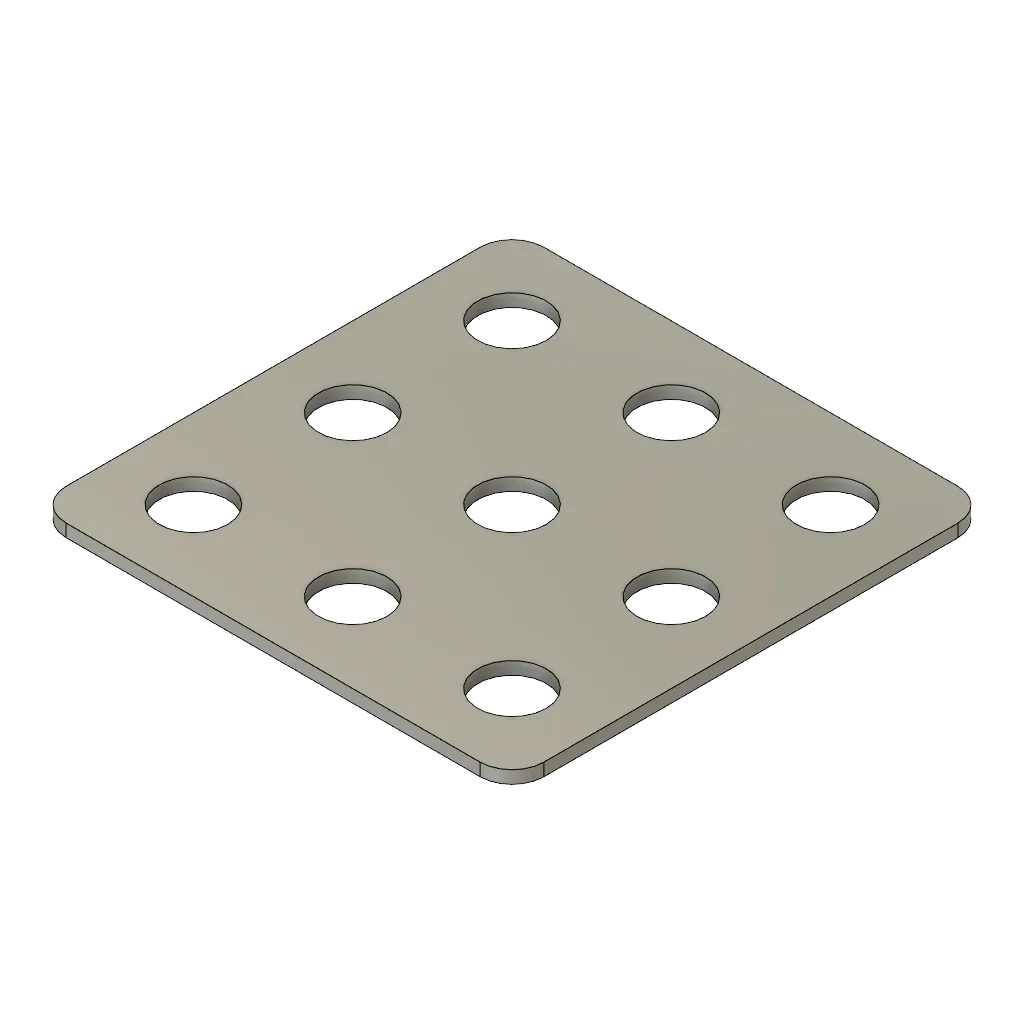
- https://eitecheg.com/products/platte-3x3-loch-zweiseitig-abgewinkelt-3bf5659e535256eab3317683-1568785Plate 3x3-hole, angled on both sides: A metal construction component from the eitech Manufaktur line, SKU 01114, Standard variant, angled on both sides. A smaller double-angled plate is useful for narrow corners where a 5x5 plate would overhang. Keep a few on hand for tight joints and internal bracing.
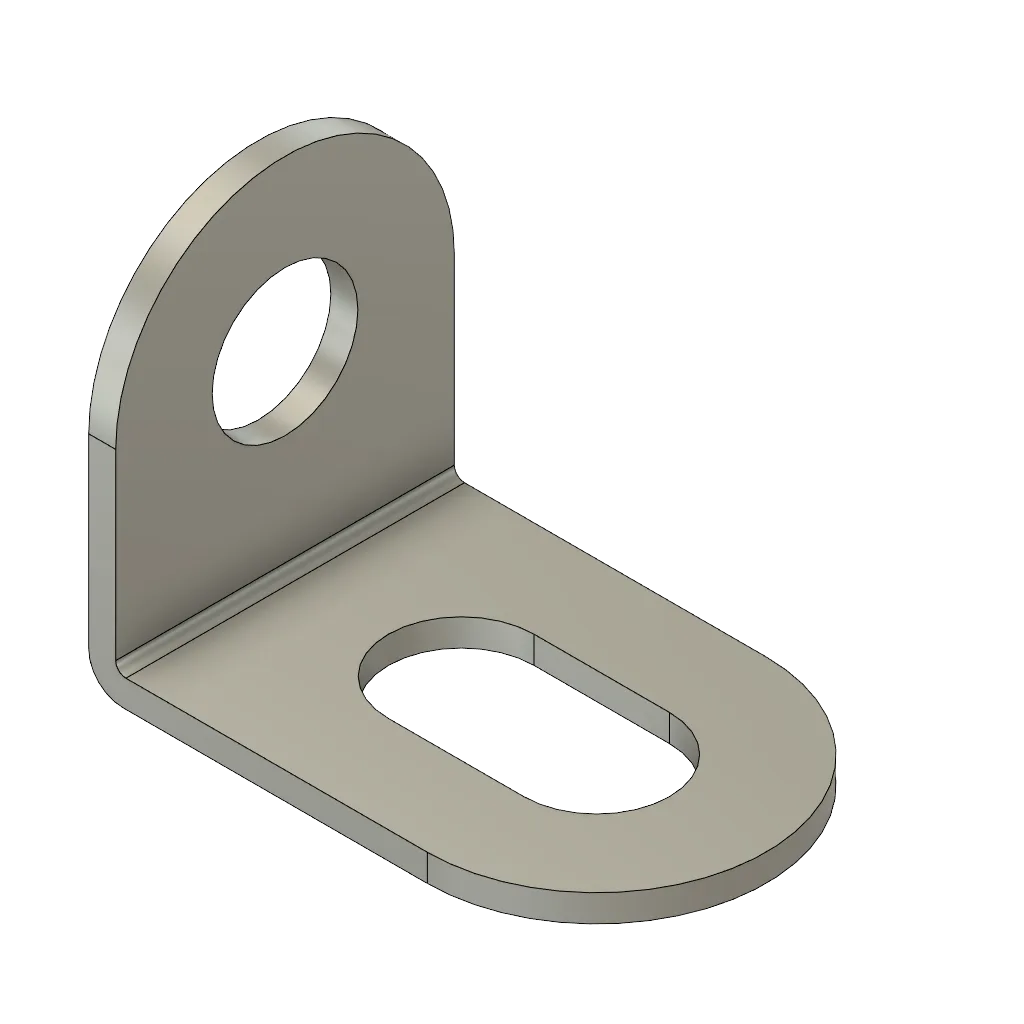
- Angle 1x1 hole (1x round hole, 1x long hole): Manufaktur component, SKU 01251, with one round hole and one long hole for angled connection and adjustable positioning. The long hole gives you slack when a hole does not line up perfectly. Use it as a shim-like connector before committing to a larger angled plate.
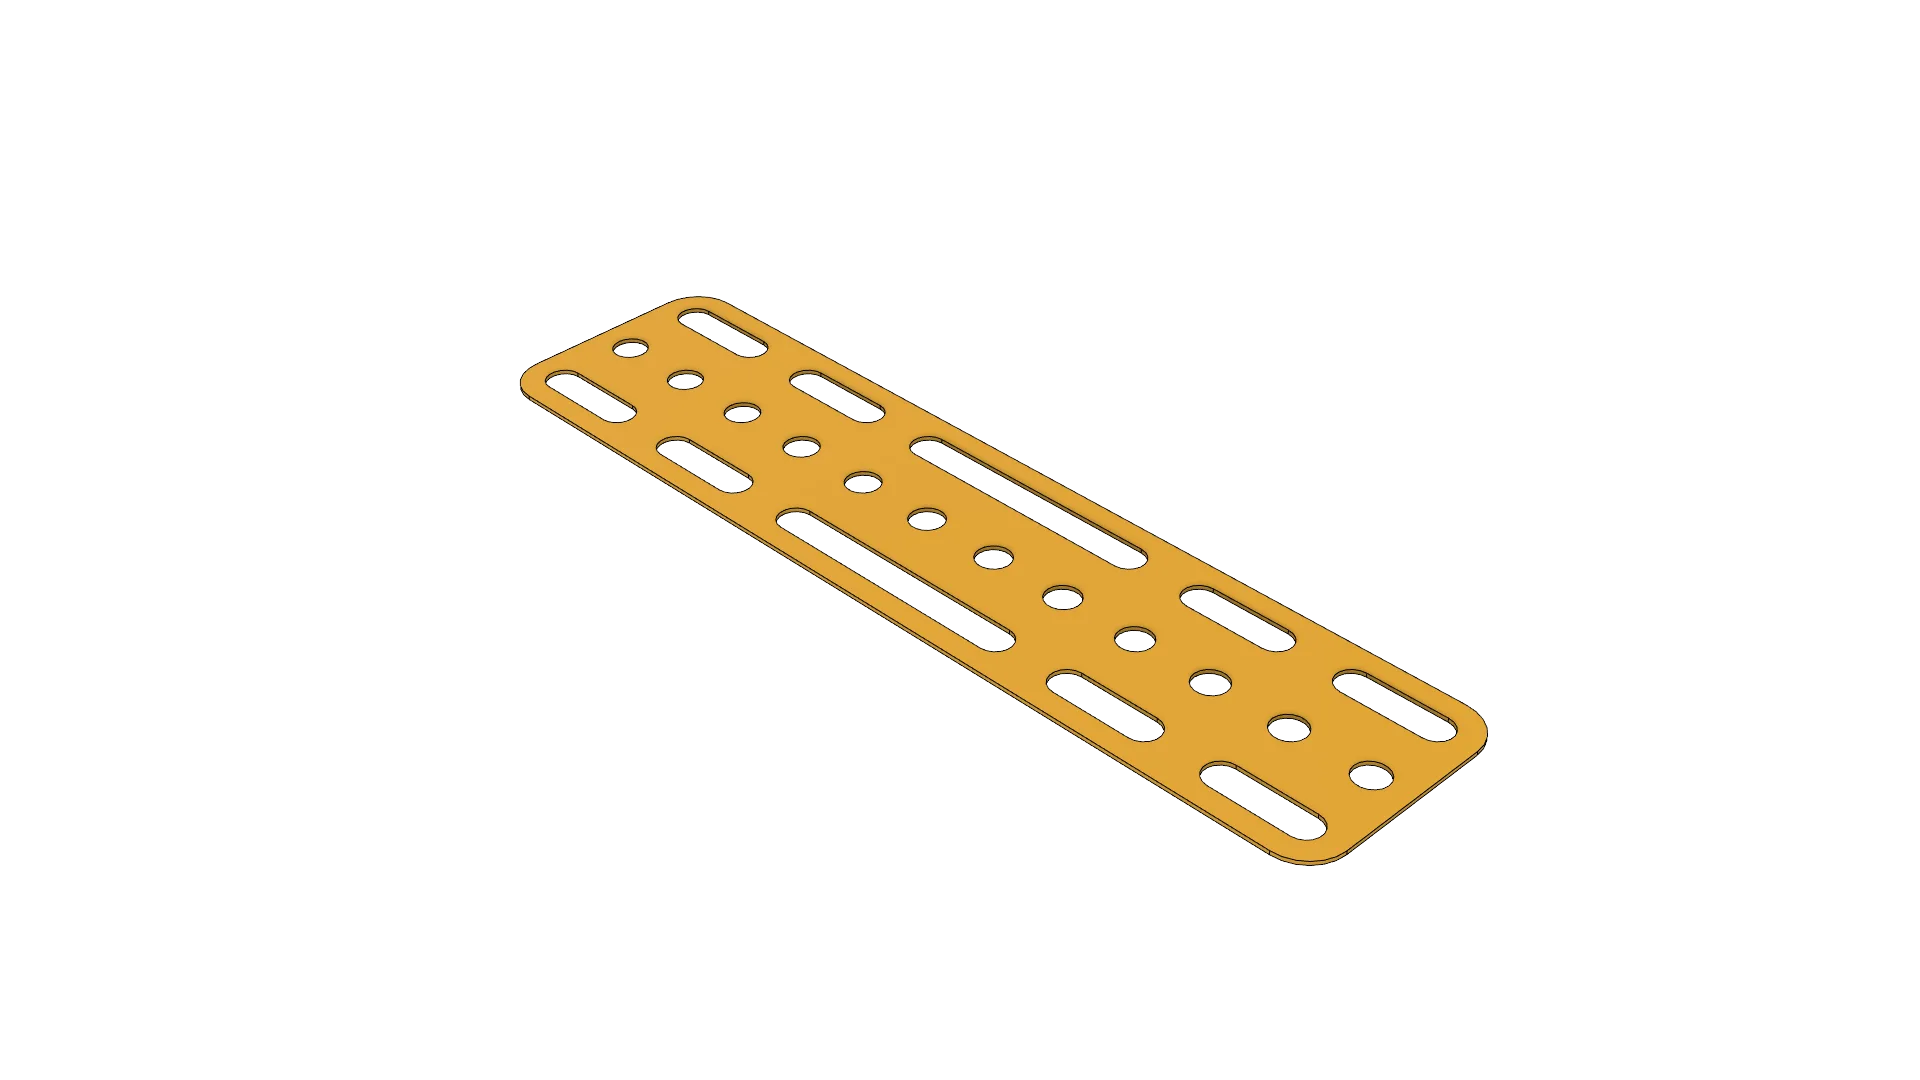
- Cladding plate 12x3-hole, yellow: Yellow Manufaktur cladding plate, SKU 01134 GELB, Standard variant, intended to help complete the outer surfaces of a model. Use cladding plates for the visible sides and save angled plates for load-bearing corners. This keeps weight down and the finish clean.
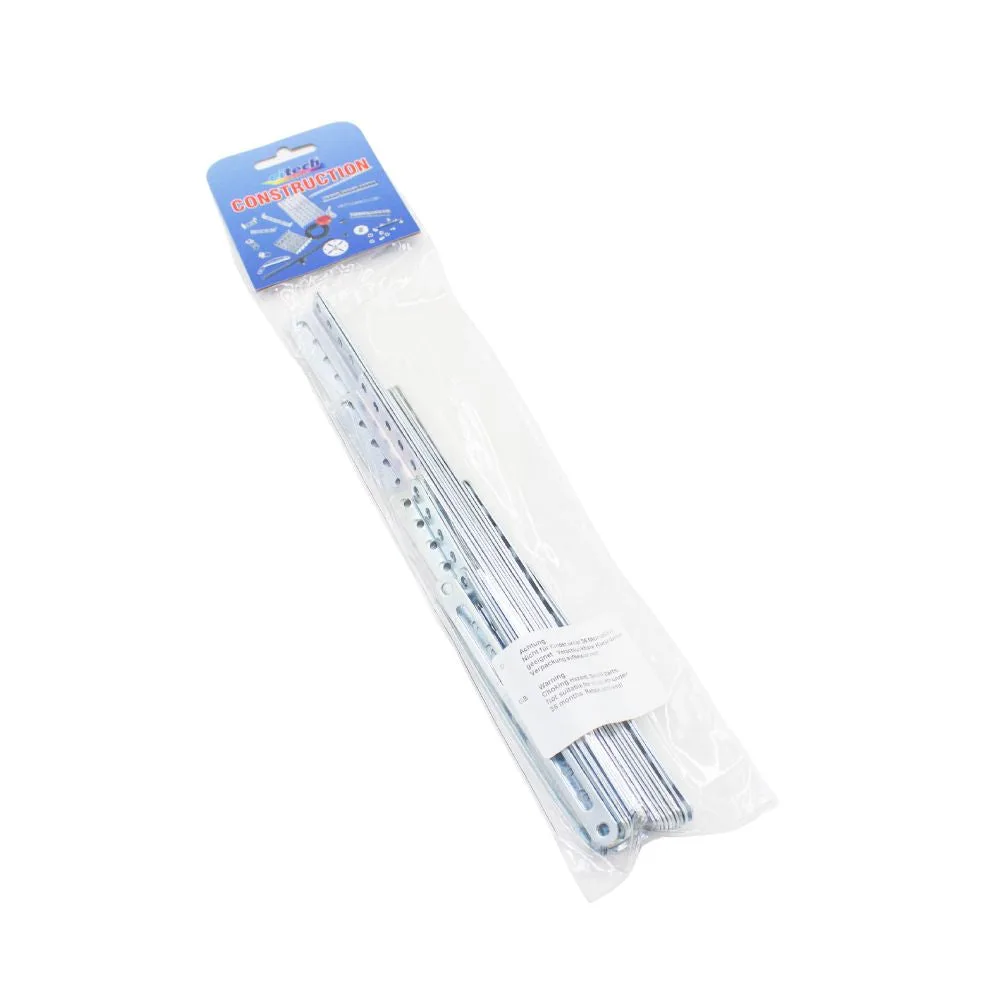
- Supplementary bag 11-25 holes, angle: Accessory set with 14 flat rods (11-25 holes) and 8 angle bars (11-25 holes) for extending your own constructions. If you are planning a larger frame, this bag gives you the long runs that angled plates connect. Buy it when your corner problem is really a span problem.
Who should buy an angled 5x5-hole plate
Best for
- Builders adding rigid corners to a box, frame, or vehicle body
- Anyone reinforcing a joint that flexes when the model is lifted
- Manufaktur users who already work with 5x5 hole spacing
Not for
- Closing flat outer surfaces where a cladding plate is lighter and cheaper
- Single adjustable connections where a 1x1 angle with a long hole is enough
- Very small models where a 3x3 double-angled plate fits the corner better
An angled 5x5-hole plate is a corner and edge part, not a general panel. Buy it when a joint needs to resist folding, match it to the hole spacing you already use, and keep a spare or two for the corners that only reveal themselves after the first test lift. If your problem is a flat surface or a single adjustable hole, a cladding plate or a small angle will do the job with less weight and less cost.