Quick answer
For most beginners, iron-on is the fastest way to attach an anime patch to a jacket or bag, but sewing gives a more secure hold on thick fabrics. If you want to keep patches pristine, display them in a frame or on a pin board instead of attaching them. Start with iron-on for simple cotton items, and switch to sewing for heavy denim or items you wash often.
Why patch backing and fabric type matter
Anime patches usually come with a heat-activated glue backing or no backing at all. The backing determines whether you can iron it on directly or need to sew. Fabric type matters too: cotton and canvas take heat well, while nylon, leather, and waterproof synthetics can melt or scorch. Always test your iron on an inside seam first. If the patch has no adhesive, you must sew it. If you are unsure, check the product description or feel the back: a shiny, slightly tacky surface usually means iron-on.
How to iron on an anime patch without ruining it
Set your iron to the temperature recommended for the fabric, usually medium for cotton. Place the patch where you want it, cover it with a thin cotton cloth or parchment paper, and press firmly for 20–30 seconds. Do not slide the iron; lift and press. Let it cool completely before testing the edges. If any corner lifts, repeat with a few more seconds. A common mistake is using steam or moving the iron, which can shift the patch or burn the adhesive. For patches like the Ouran High School Host Club SD Haruhi patch, which is about 3 inches, a small craft iron works well for precise placement.
When and how to sew a patch for a stronger hold
Sewing is better for patches on items that get heavy use, like backpacks or denim jackets, or for patches without adhesive backing. Use a needle and thread that match the patch border or the fabric. A whip stitch around the edge is simple and secure. Start from the inside of the garment so knots are hidden. Don’t sew through the front of the patch if you want to preserve the design; instead, stitch just around the border. For thick materials like leather, pre-punch holes with an awl. Expect sewing to take 10–15 minutes per patch.
Displaying patches without attaching them
If you want to keep patches in mint condition, display them in a shadow box, on a corkboard with pins, or in a binder with clear sleeves. This is ideal for collectible patches like the Sailor Moon Cosmic Heart Compact patch, which measures about 4 inches high by 3.75 inches wide. Use acid-free backing if you frame them to prevent yellowing. Rotate your display away from direct sunlight to avoid fading. A fabric-covered bulletin board lets you rearrange patches easily without damage.
Step-by-step: Attaching and displaying anime patches
- Step 1: Check the patch backing and fabric: Look at the back of the patch. If it has a shiny, heat-activated glue layer, you can iron it. If not, you must sew. Test your iron on an inside seam of the garment to find a safe temperature. Checkpoint: If the fabric is nylon, leather, or waterproof, do not iron directly. Sew instead.
- Step 2: Position and iron (if applicable): Place the patch where you want it. Cover with a thin cotton cloth or parchment paper. Press with a medium-hot iron for 20–30 seconds, lifting and pressing rather than sliding. Let cool, then check edges. Common mistake: Using steam or moving the iron can shift the patch or burn the adhesive. If edges lift, press again for 10 seconds.
- Step 3: Sew for extra security (optional but recommended for heavy use): Thread a needle with matching thread. Whip stitch around the border, starting from the inside of the garment to hide knots. Keep stitches close together for a clean look. Checkpoint: If the patch will be washed frequently, sewing is essential. Iron-on alone may peel over time.
- Step 4: Display patches without attaching: For mint-condition patches, use a shadow box, corkboard, or binder with acid-free sleeves. Keep out of direct sunlight to prevent fading. Next step: Rotate your display every few months to avoid dust buildup and sun damage.
Product facts
- Ouran High School Host Club: Patch - SD Haruhi #2(105061285) - Entertainment Hobby Shop Jungle: Manufacturer: GE Animation; Release Year: 2023; Box Size (Approximately): 2.5 x 3.5 inches; Item/Figure Size (Approximately): 3 inches. This patch is small and lightweight, making it easy to iron onto a jacket or bag without adding bulk. The compact size also works well for display in small frames.
- Sailor Moon: Patch - Cosmic Heart Compact Patch(101000053963) - Entertainment Hobby Shop Jungle: Measures approximately 4 inches high by 3.75 inches wide; manufactured by GE Animation. Its larger size gives more surface area for iron-on adhesion, but also means it may need extra pressing time. The detailed design makes it a good candidate for display rather than heavy wear.
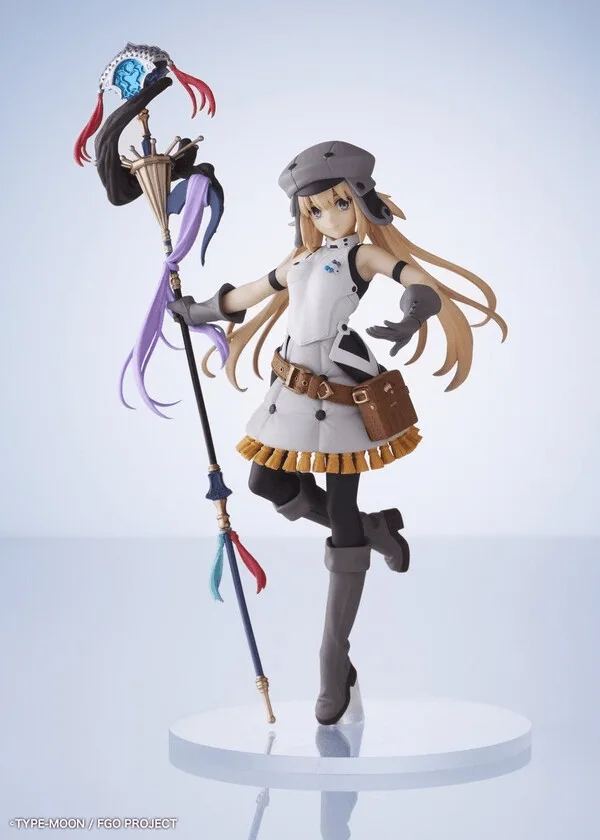
- Fate/Grand Order: Figure - Saber/Altria Pendragon Dress Ver. 1/7 Scale(105077622) - Entertainment Hobby Shop Jungle: Manufacturer: Alter; Release Year: 2021; Box Size (Approximately): 10.5 in x 11.5 in x 10 in; Item/Figure Size (Approximately): 8.97 in; Slight Box Damage; Pre-Owned Merchandise. This is a scale figure, not a patch, but it shows that collectibles can vary widely in size and condition. If you collect patches alongside figures, store them separately to avoid scratches.