Quick Answer
Start with the band, not the cup: it should feel firm and level all the way around. Then scoop all breast tissue into the cup, check that the center gore sits close to your chest, and adjust the straps so they stay put without digging. If the gore floats or you spill over the top, change the size or cup before blaming the plunge shape.
A plunge bra is cut low in the center so it disappears under V-necks, wrap dresses, and button-downs. That lower cut means fit matters more than usual: a band that rides up or a cup that gapes will show in a deep neckline, even if the same size works in another style.
This guide walks through the checks in the order that solves problems fastest, from the band to the gore to the neckline. It uses real fit mechanics rather than guesswork, and it applies whether you are shopping for an Anita plunge bra or comparing a plunge with a balconette.
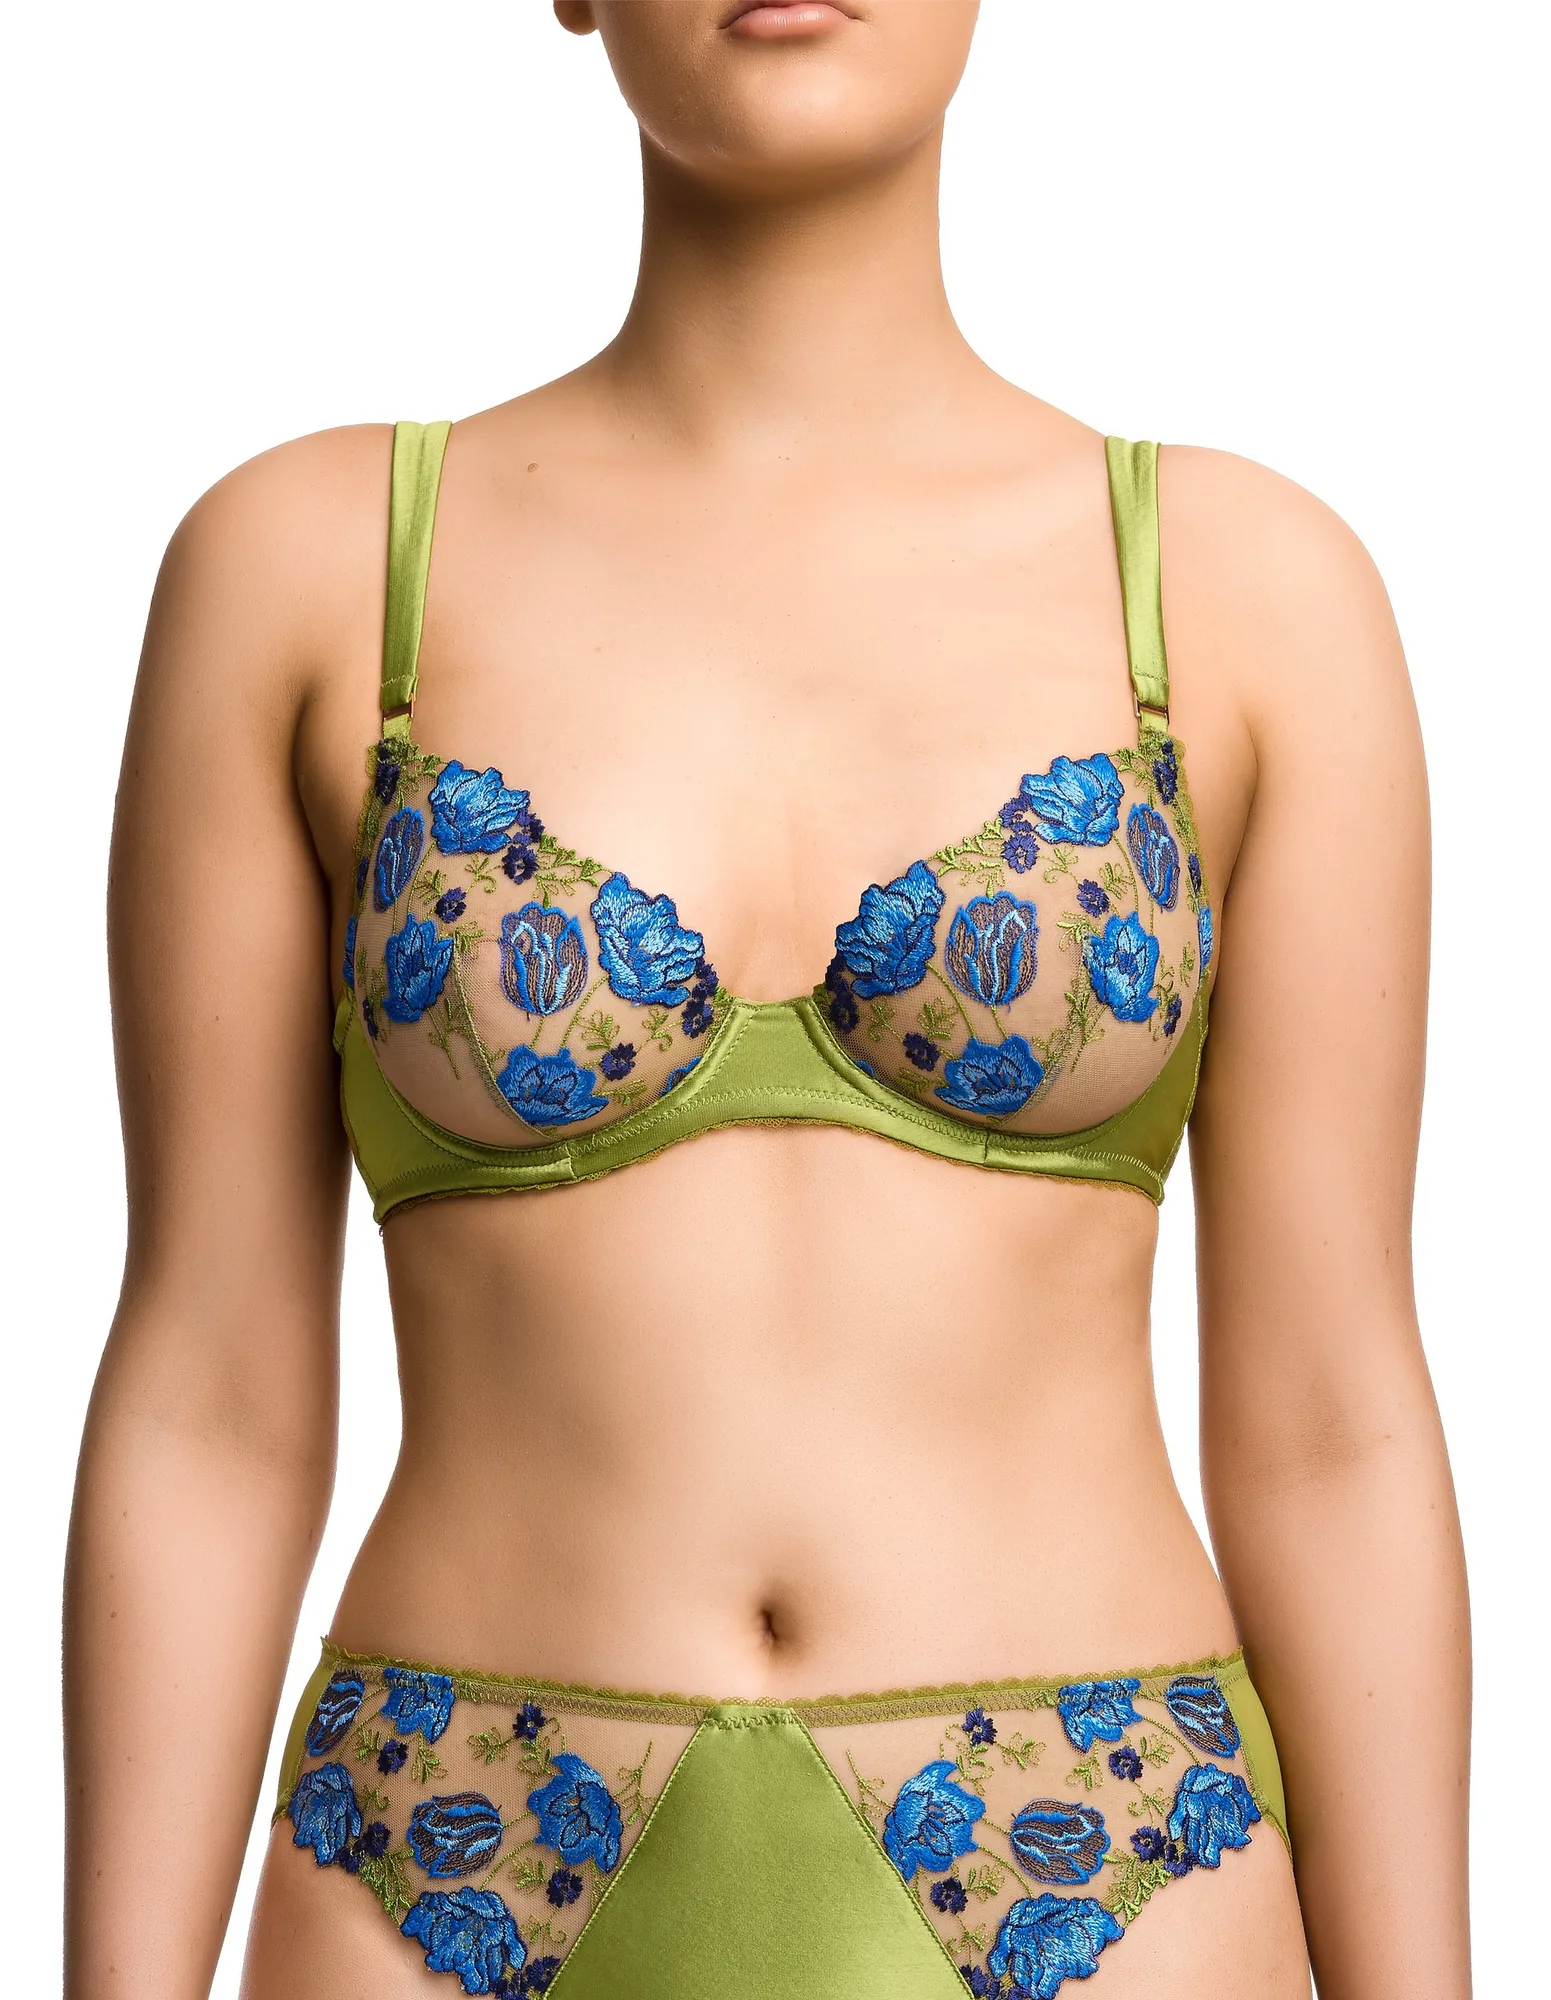
Anita plunge bra
Why Plunge Fit Is Different
A plunge bra has a lower center front, so the cups are angled inward and the wires sit farther apart than on a full-coverage bra. That design creates the deep V, but it also means the band and the side wires do more of the supporting work. If the band is too loose, the whole bra slides down and the low center starts to gap.
Coverage on a plunge bra is not about covering the whole chest. It is about the cup edge lying flat against your breast tissue without cutting in. A little natural cleavage is expected. Spilling over the top edge or seeing the wire press into tissue is not a coverage style preference, it is a size signal.
- Plunge bras suit deep necklines, wrap tops, and open shirts.
- If you want more coverage by design, a balconette or full-cup bra will feel more secure.
Start With the Band and Underband
Fasten the bra on the loosest hook and check the band in a mirror. It should sit level at the front and back, snug enough that you can slide two fingers under it but not so loose that it lifts when you raise your arms. Most support in a plunge comes from this band, so a loose band undermines every other adjustment.
Once the band is level, adjust the straps. Tighten them just until they stay on your shoulders without pressing grooves into the skin. Straps should not be doing the lifting, and over-tightening them is the most common reason a plunge bra feels uncomfortable by mid-afternoon.
- Common mistake: starting on the tightest hook, which leaves no room to adjust as the band relaxes.
Check the Cups and the Center Gore
Lean forward slightly and scoop all breast tissue into the cups, then stand up and smooth the cup edge. The center gore, the small piece between the cups, should sit close to your chest rather than floating away. If it floats, the band is likely too loose or the cup is too small.
Look for the wire sitting flat against your ribcage under the breast, not on top of breast tissue. If the wire presses into the side or the cup edge cuts across the top, try a larger cup size before changing band size. Plunge cups run shallow in some styles, so a cup size up can solve top-edge spill without changing the band.
- Common mistake: judging cup fit while standing still. Move, reach, and bend to see how the cup edge behaves.
Coverage Checks for Fuller Busts
If you have a fuller bust, plunge bras can still work well, but the cup needs enough depth and the band needs to be firm. A shallow cup will push tissue up and out, which looks like a coverage problem but is really a depth problem. Look for cups with a multi-piece or seamed construction, because seams add shape and help hold the cup edge flat.
A plunge bra with a wider underband and adjustable straps gives you more room to fine-tune support. If you are between sizes, size up in the cup and keep the band snug rather than sizing up in the band and accepting a loose fit.
- Common mistake: buying a band size up to fix cup spill. That usually makes the gore float and the band ride up.
Match the Bra to the Neckline
A plunge bra is a tool for a specific job: deep V-necks, wrap dresses, open cardigans, and shirts with the top buttons undone. For those necklines, the low center is the point. For high-neck tops or full-coverage days, a balconette or full-cup style will feel more supportive and sit more comfortably.
If you want a plunge look with more structure, a sheer balconette with embroidered cups can give you a similar low-profile line with a bit more cup coverage. Match the bra to the outfit first, then fine-tune the fit.
- Common mistake: wearing a plunge bra under a high-neck top and judging it as unsupportive when a different style would suit the outfit better.
Your Step-by-Step Plunge Bra Fit Check
- 1. Fasten on the loosest hook and level the band: The band should sit level front and back and stay put when you raise your arms. You should be able to slide two fingers under it. Checkpoint: if the band rides up, go down a band size before adjusting anything else.
- 2. Scoop and smooth the cups: Lean forward, scoop all breast tissue into the cup, then stand and smooth the cup edge flat against your skin. Checkpoint: if the cup edge cuts in or you spill over the top, try one cup size up.
- 3. Check the center gore: The gore between the cups should sit close to your chest. A floating gore usually means the band is too loose or the cup is too small. Checkpoint: if the gore floats, fix the band first, then reassess the cup.
- 4. Adjust the straps last: Tighten straps just until they stay on your shoulders without digging. They should not be doing the lifting. Checkpoint: if straps dig in, loosen them and rely on the band for support.
- 5. Move, reach, and bend: Do a real-life test: reach overhead, bend forward, and sit down. The cup edge and gore should stay in place. Checkpoint: if the bra shifts during movement, the band is too loose or the cup is too shallow.
- 6. Match the bra to the neckline: Wear the plunge for deep V-necks and wrap tops. Switch to a balconette or full-cup bra for high-neck outfits. Checkpoint: if a plunge feels unsupportive under a high-neck top, the style is wrong for the outfit, not the size.
Fit-Friendly Styles to Compare
- Hope Non Padded Plunge Bra - Black: Sheer stretch lace cups with adjustable straps and a non-padded plunge shape. The stretch lace follows your natural shape, so it suits deep necklines where you want a soft, low-profile line rather than a molded cup.
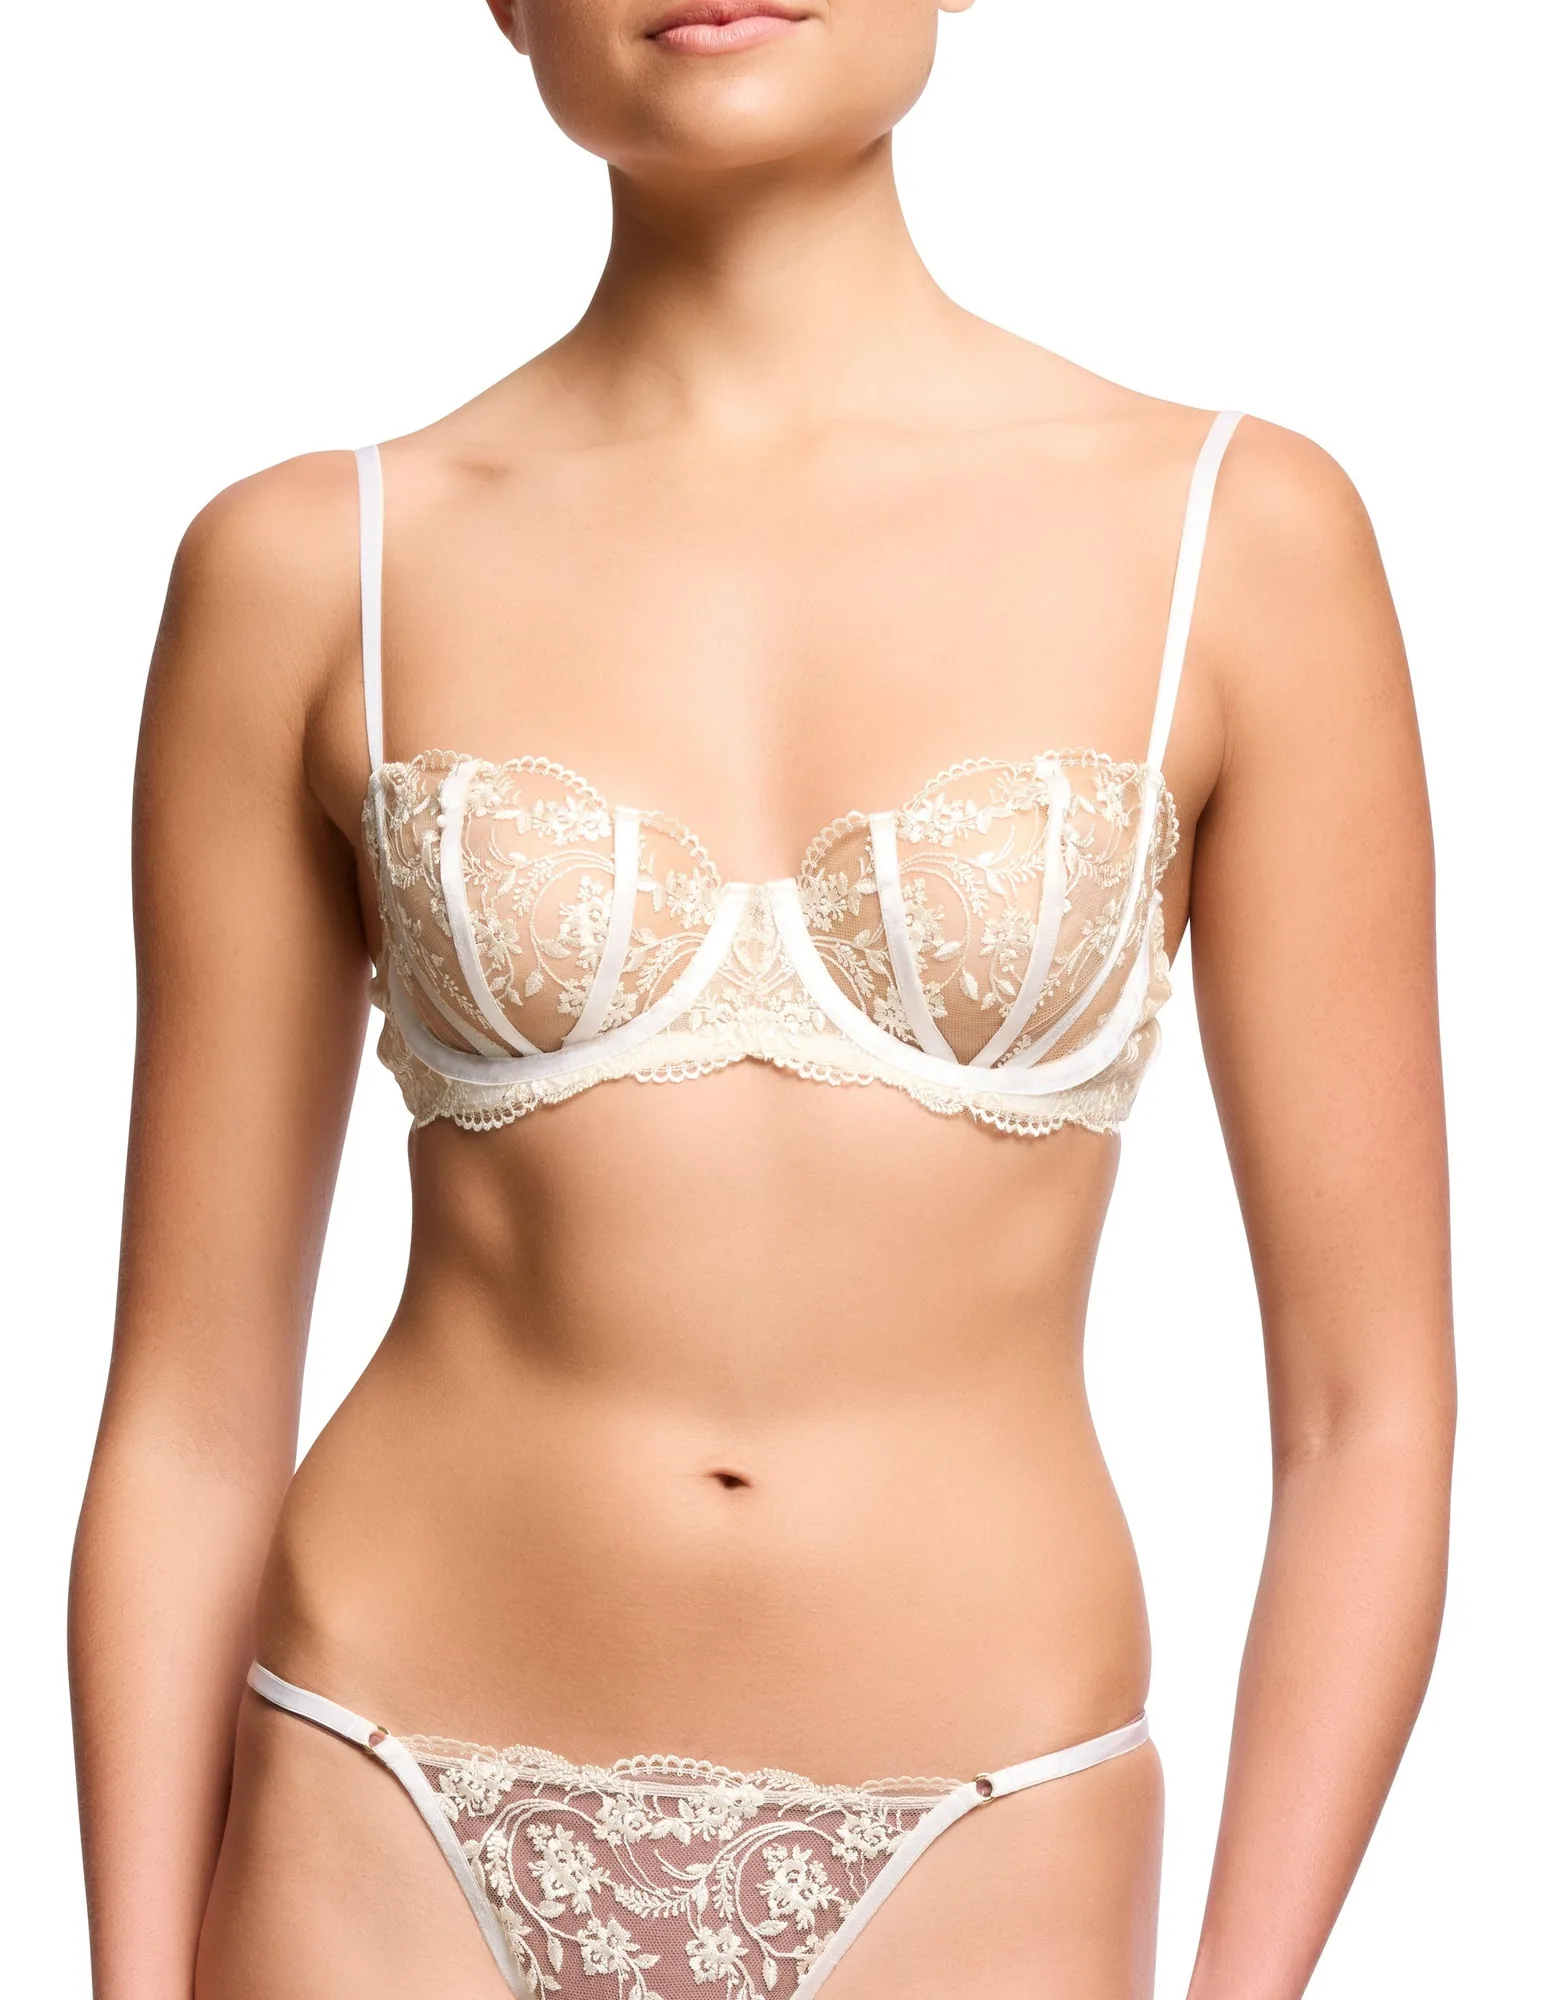
- Arianna Balconette Bra - Ivory: Sheer, embroidered cups with ribbon detail and a 3 piece design for added shape, with adjustable straps. The 3 piece cup construction adds shape and support, making it a useful comparison if you want more coverage than a plunge but still a low neckline.
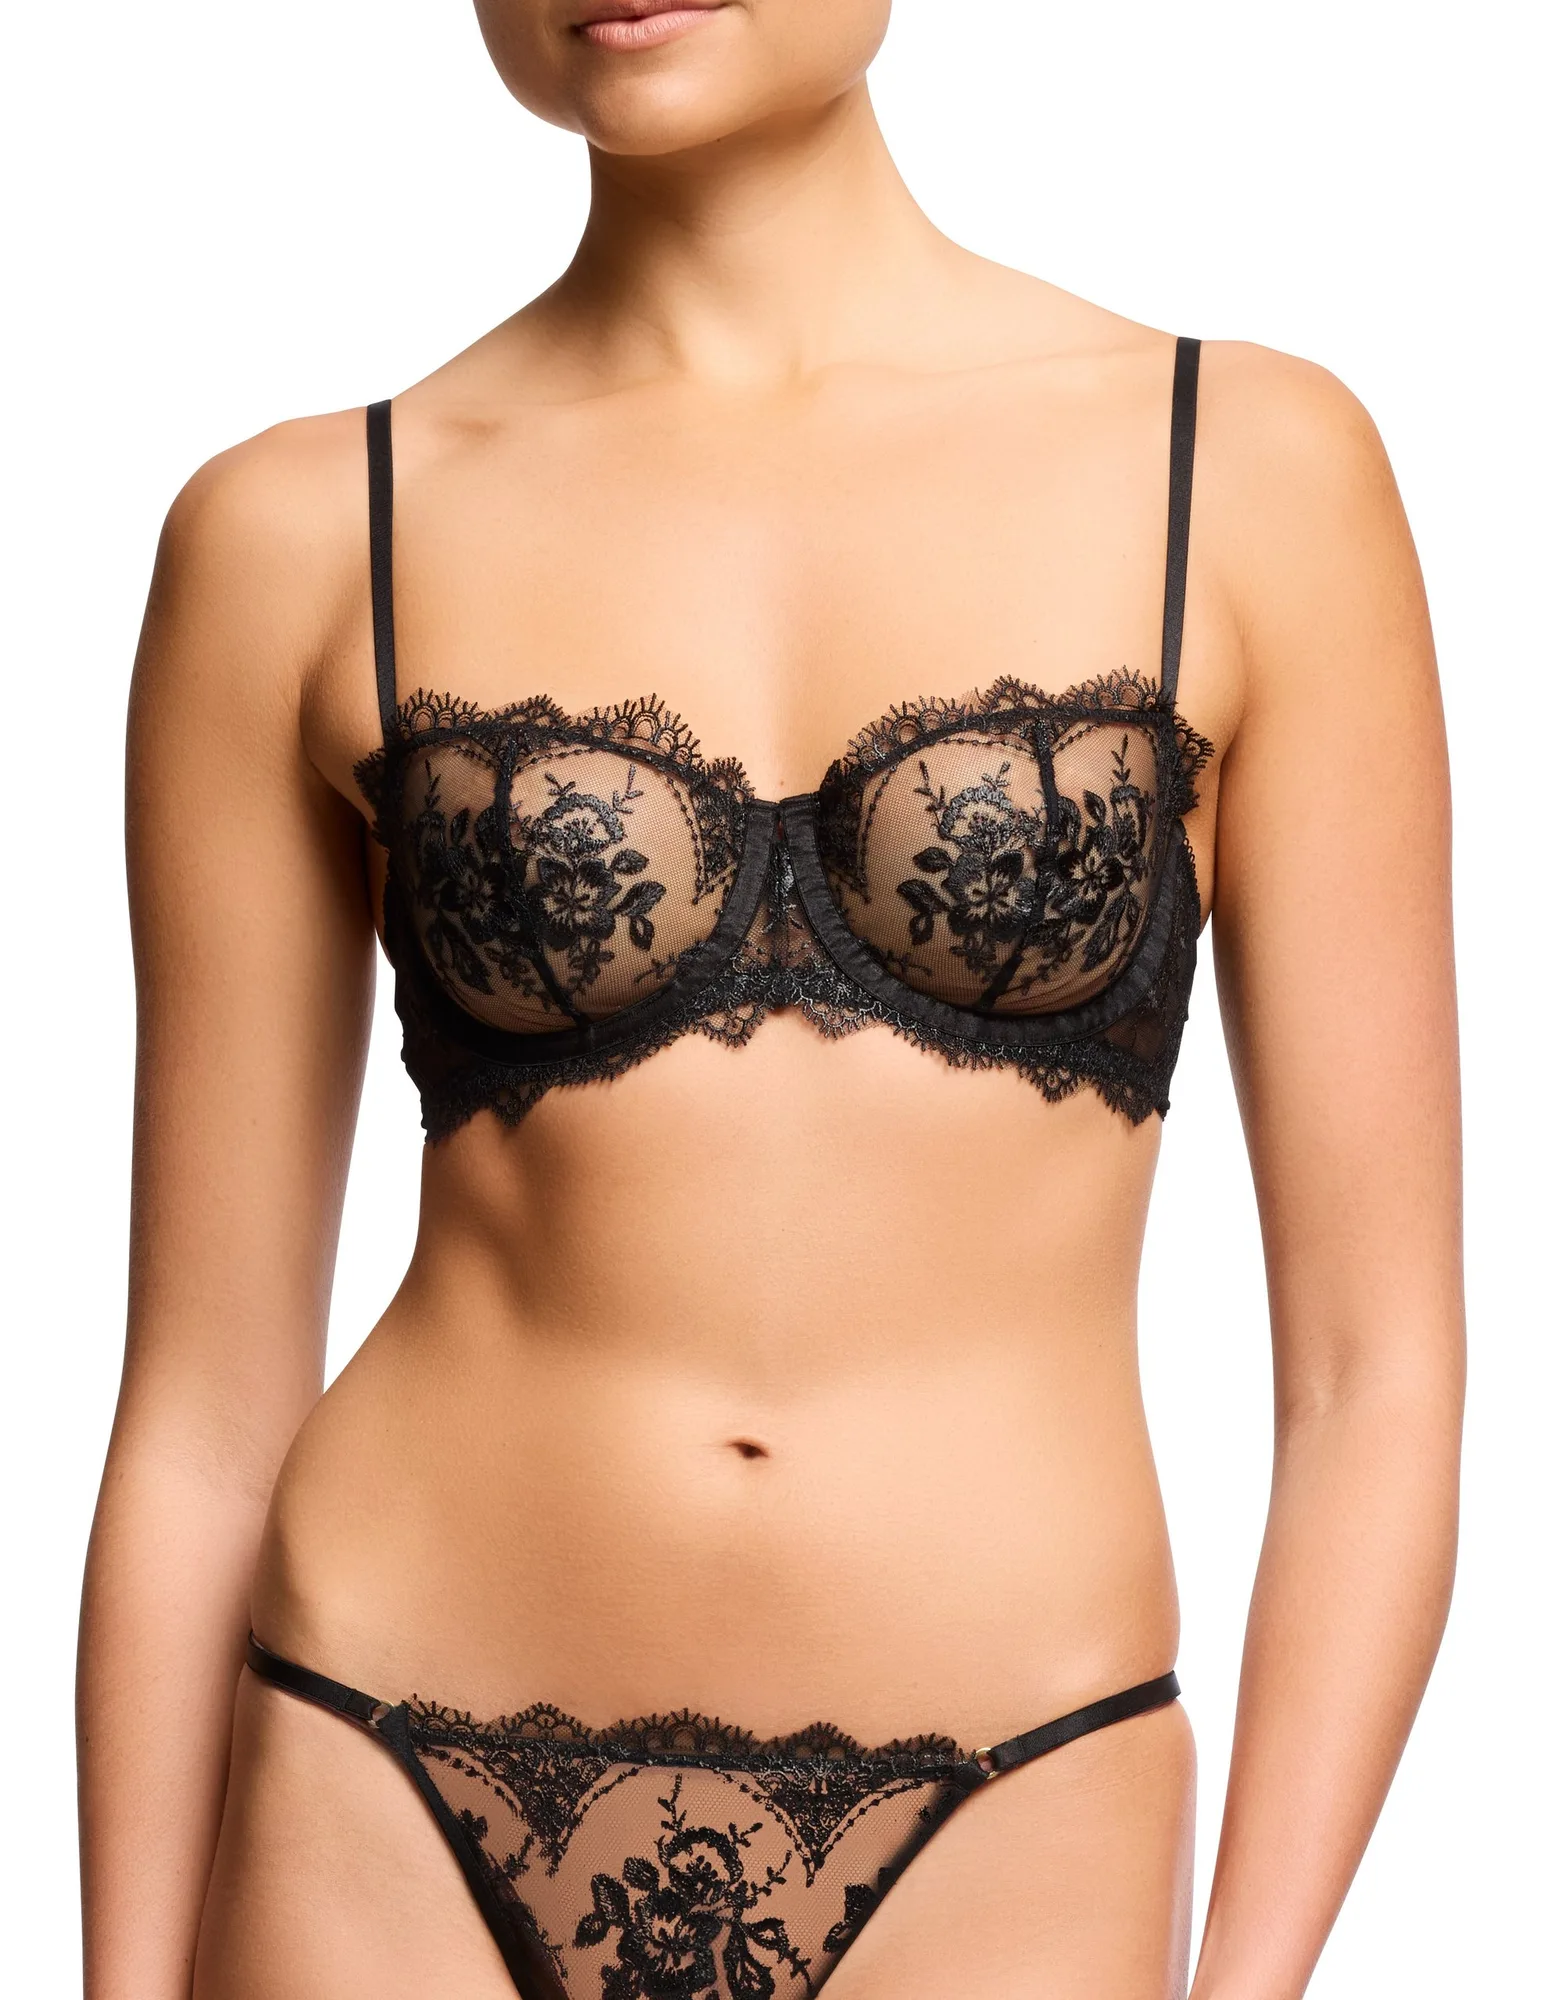
- Valencia Balconette Bra - Black: Non padded balconette with floral embroidery on soft, sheer tulle and adjustable straps. A non padded balconette gives a different cup edge than a plunge, so it is worth trying if plunge cups tend to cut in at the top.
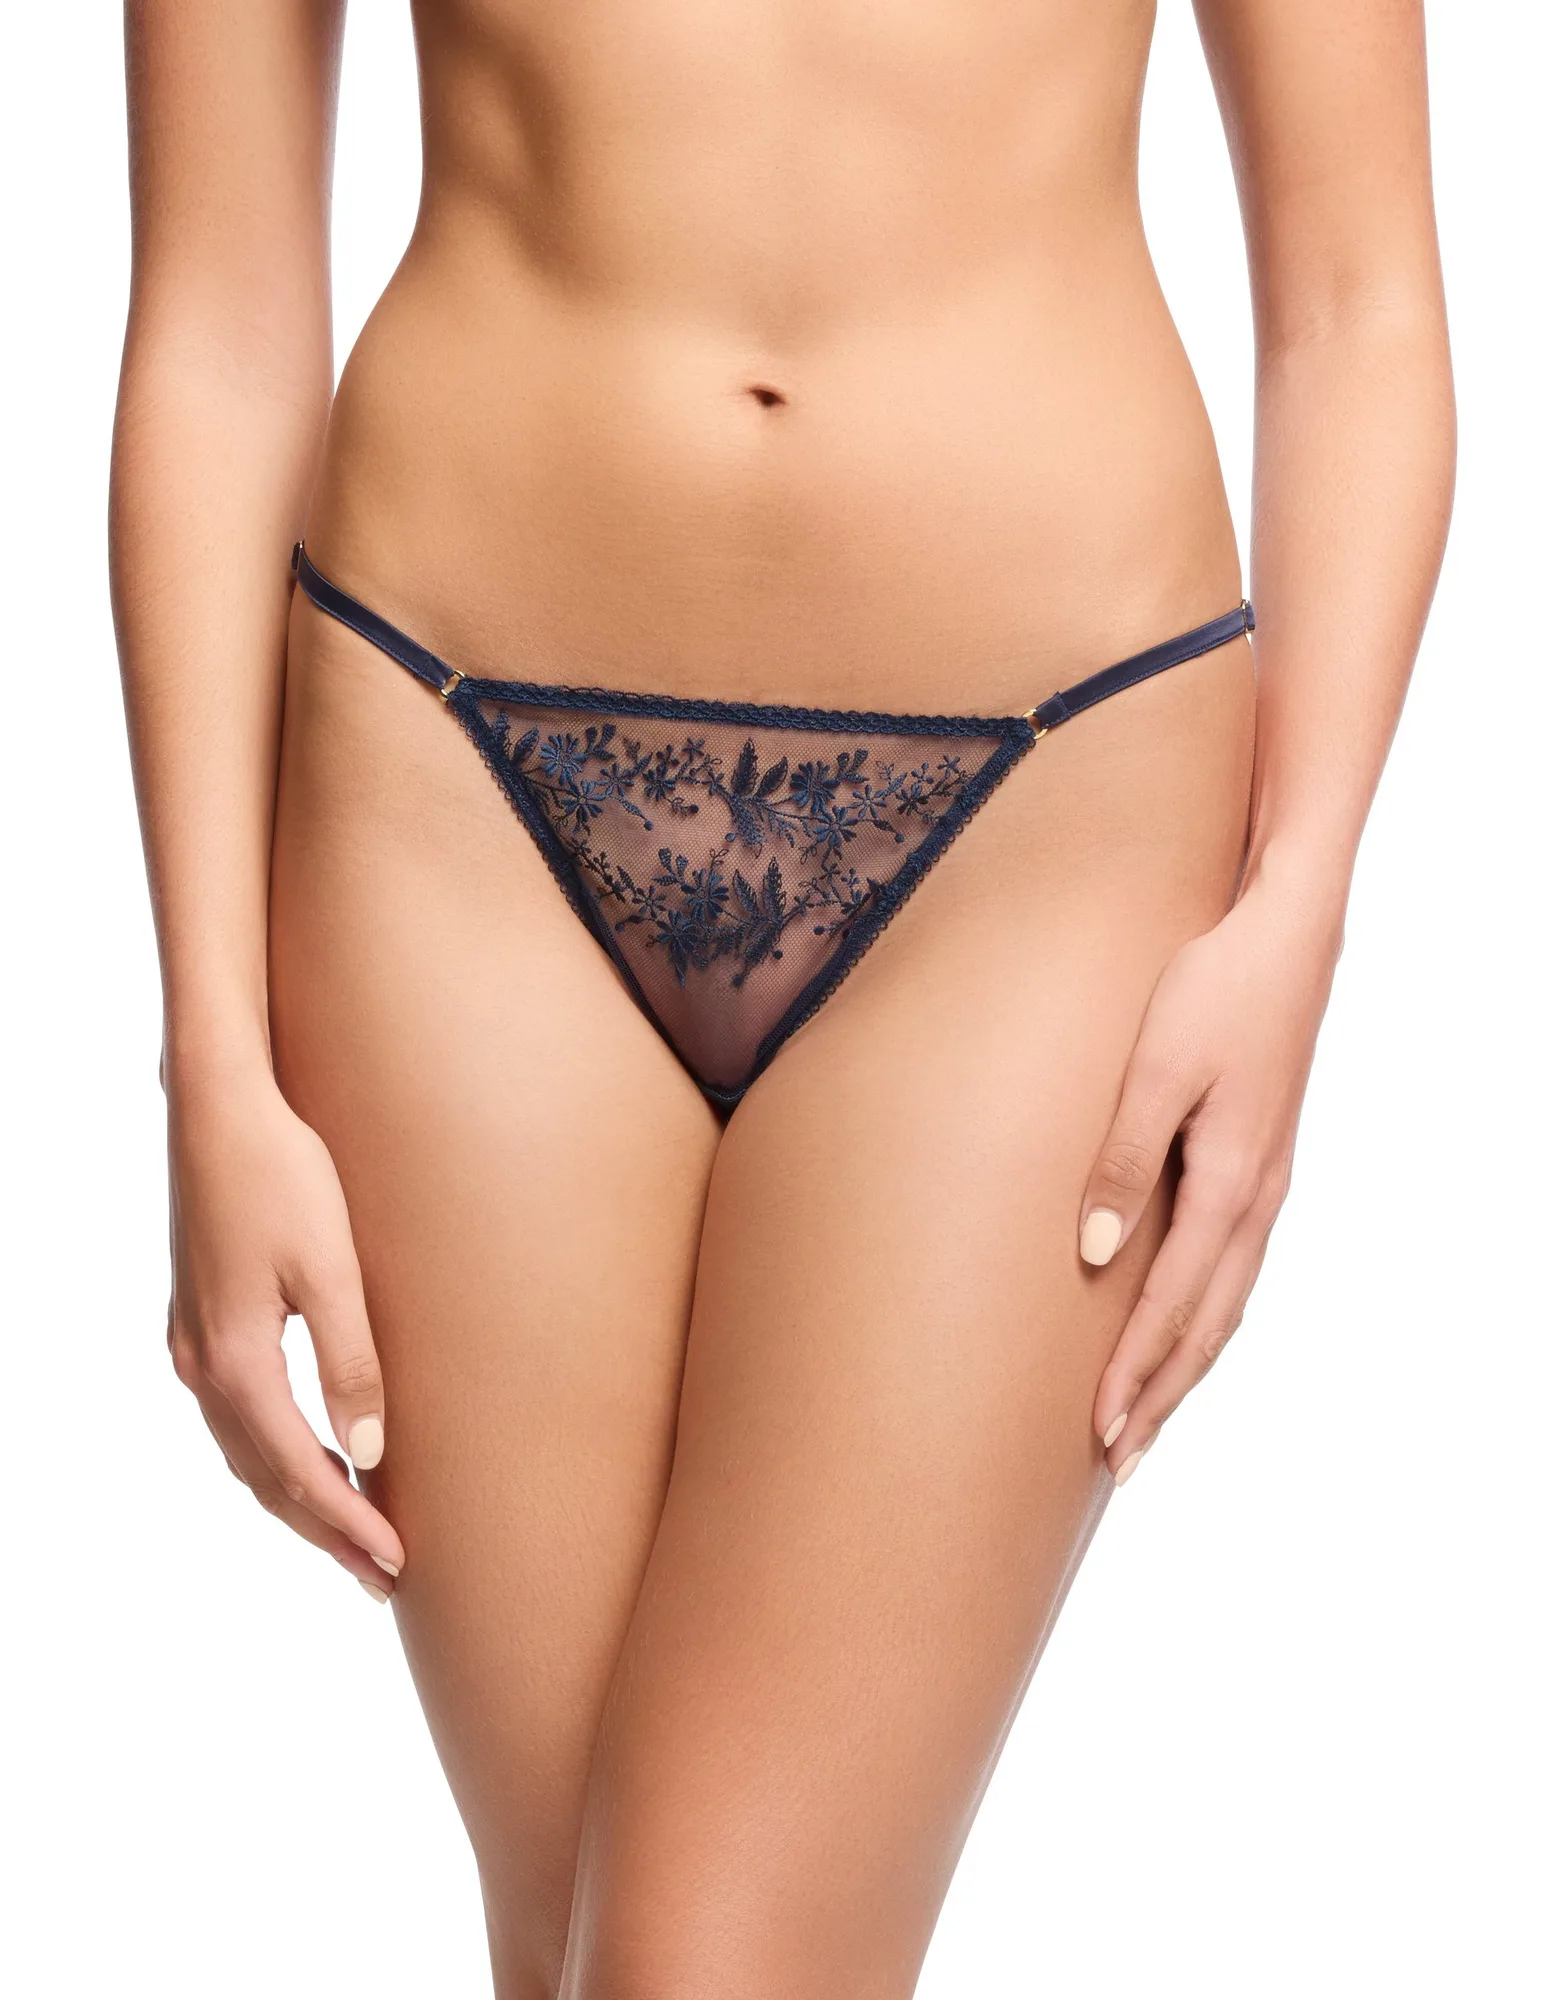
- Lilianna Tanga - Navy: Flirty, tiny knicker with delicate embroidery on sheer mesh at the front and soft spot mesh at the back. A low-profile bottom pairs well with a plunge bra when you want a matching set that stays invisible under fitted clothing.
A plunge bra fits well when the band is firm, the gore sits close, and the cup edge lies flat without cutting in. Work through the checks in order, and if the cup still spills, try one cup size up before changing the band. Compare a plunge with a balconette for the necklines you wear most, and you will get both the look and the comfort you want.