Start With the Diopter, Then Illumination
Before you touch the illumination dial or turrets, set the diopter so the reticle is sharp to your eye. A correct diopter makes the illuminated reticle appear crisp and reduces the need to over-adjust brightness later. The supplied Zenith record confirms an illuminated reticle for low-light visibility but does not specify diopter adjustment steps, so follow the manufacturer’s instructions for the exact procedure.
Once the reticle is sharp, use the lowest illumination setting that remains visible against your target. The Zenith’s illuminated reticle is intended to enhance aiming in low light; there is no supplied evidence for battery life or runtime, so avoid leaving illumination on unnecessarily and carry a spare battery if your setup uses one.
Practical Setup Sequence for the Zenith
- Confirm eye relief and mounting position: The supplied record describes the Zenith as compact and lightweight with a 30 mm tube, but does not list a specific eye relief distance. Set the scope so the full field of view is visible at 1.2× without crowding your eye, then verify at 6×.
- Adjust the diopter for reticle sharpness: Look at a distant, featureless background and turn the diopter until the reticle is crisp. Recheck at both 1.2× and 6×. The supplied information does not include a diopter adjustment procedure, so use the manufacturer’s guidance.
- Set illumination to the lowest usable level: Begin at the lowest setting that makes the reticle visible in your current light. Increase only if the reticle washes out against the target. The Zenith has an illuminated reticle for low-light conditions.
- Zero with the 1/4 MOA turrets: The Zenith uses intuitive windage and elevation turrets with 1/4 MOA clicks. Make adjustments in small increments and confirm impact after each change. No specific zero distance or click value beyond 1/4 MOA is supplied.
- Recheck brightness after changing magnification: At 6× the reticle may appear brighter or dimmer depending on the scene. Adjust illumination as needed for the magnification you are using.
Zenith Features That Affect Setup
-
Apollo Zenith 1.2-6×24 LPVO: 1.2–6× magnification range with a wide field of view at low power. The wide view at 1.2× helps with quick target acquisition; illumination should be set low enough not to obscure that view.
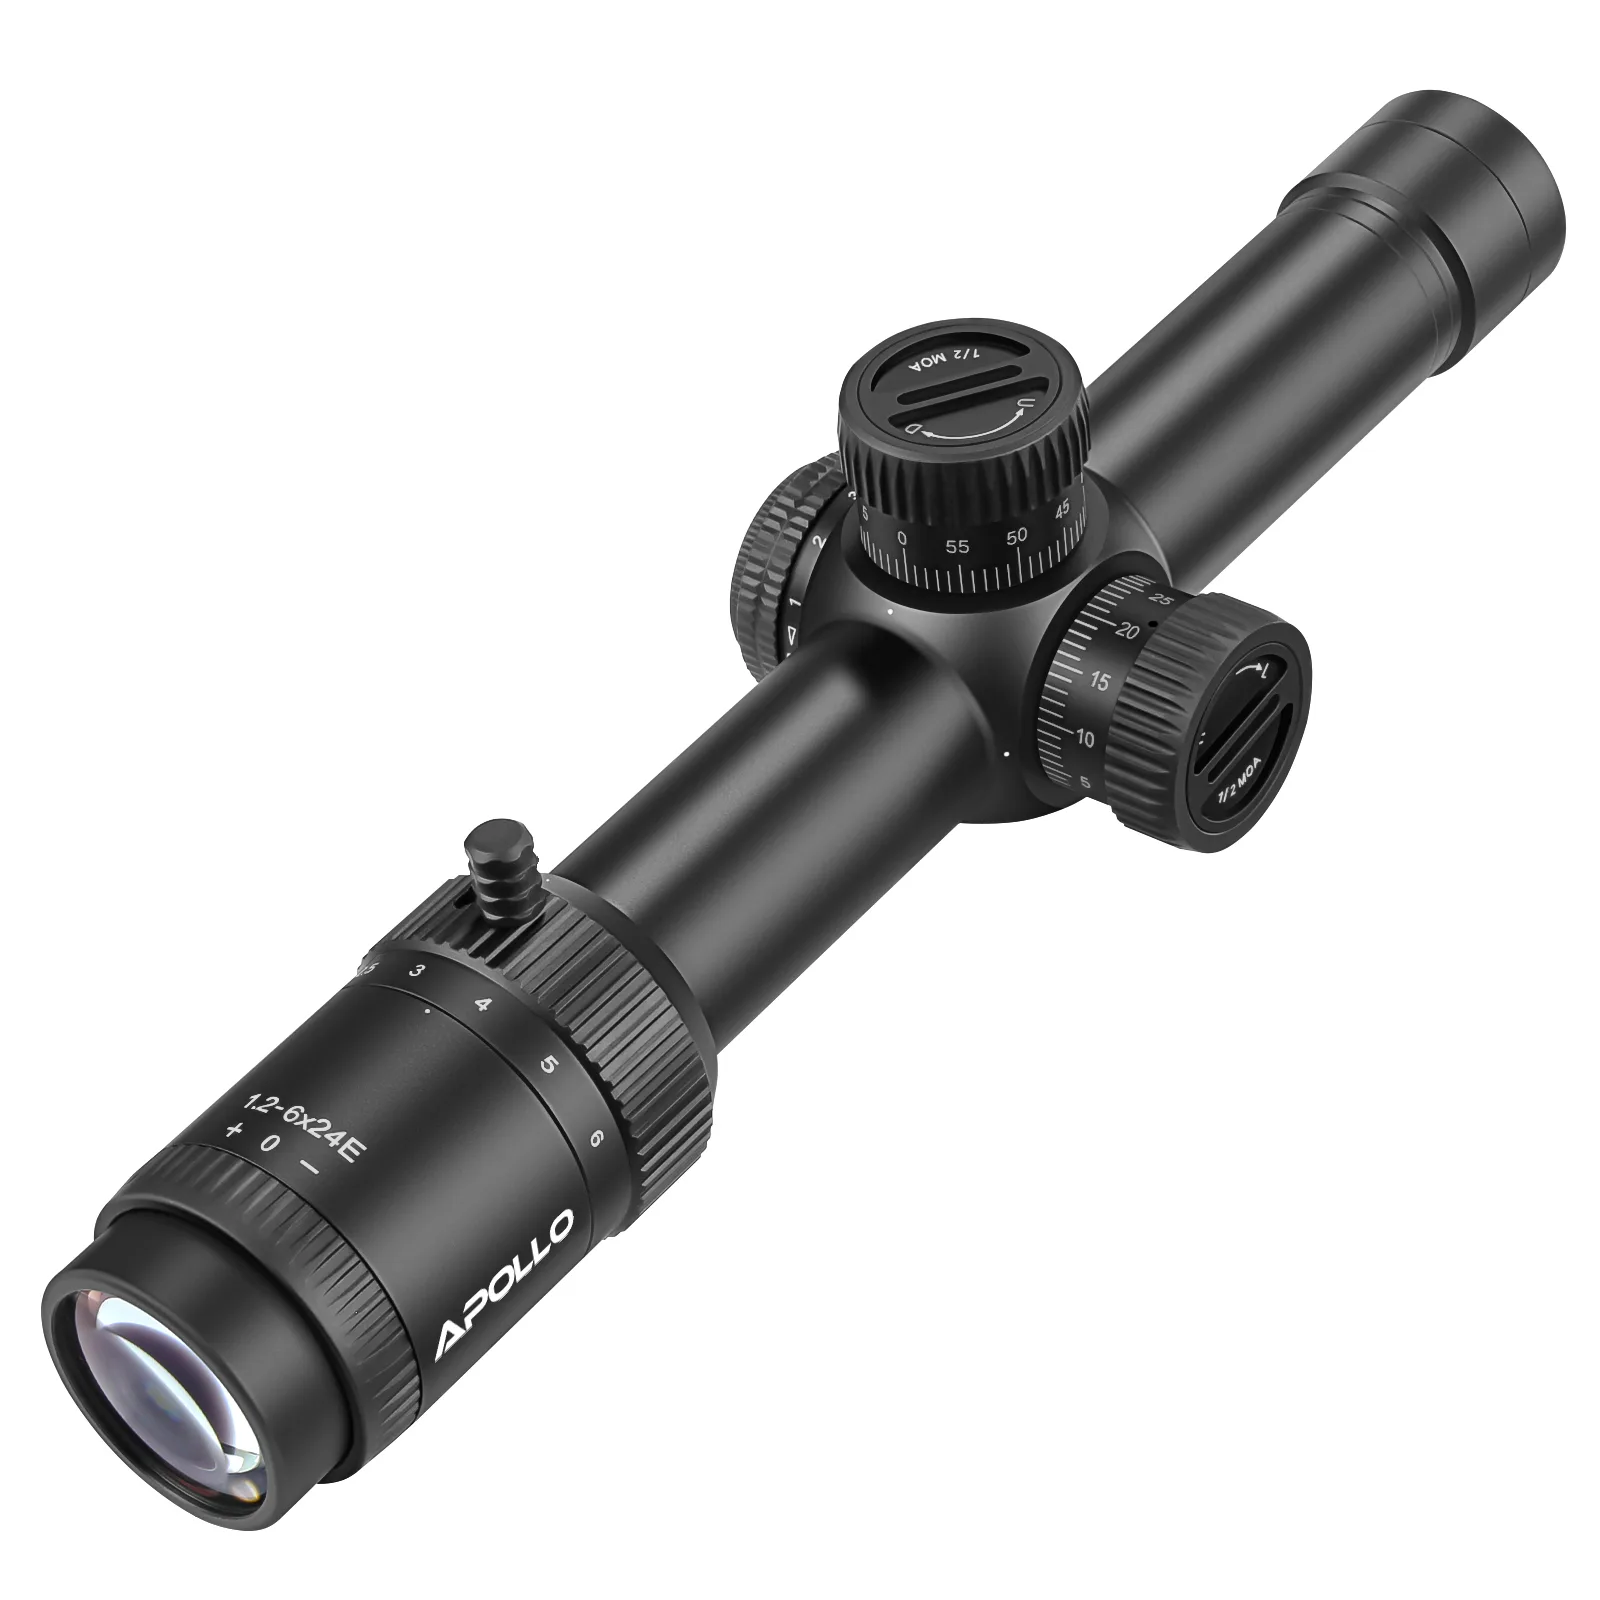
Apollo Zenith 1.2-6×24 LPVO
-
Apollo Zenith 1.2-6×24 LPVO: Illuminated reticle for enhanced aiming visibility in low-light conditions. Use illumination as a low-light aid, not as a substitute for proper diopter focus.
-
Apollo Zenith 1.2-6×24 LPVO: Windage and elevation turrets with 1/4 MOA clicks. These clicks give you a defined adjustment increment; the supplied record does not state total travel or zero-stop features.
-
Apollo Zenith 1.2-6×24 LPVO: 30 mm tube, compact and lightweight package. The 30 mm tube is a mounting consideration; confirm your rings or mount are compatible before installation.
Illumination Settings for Different Light
In bright daylight, illumination is often unnecessary unless the reticle is difficult to see against a dark target. In overcast or shaded conditions, a low setting usually balances visibility and battery conservation. At dusk or indoors, raise brightness only until the reticle stands out without blooming or distracting from the target.
The supplied Zenith record does not list the number of illumination settings, battery type, or runtime. Treat any brightness level as a starting point and adjust based on what you see through the optic. If the reticle appears fuzzy even at low brightness, revisit the diopter before increasing illumination.
Reticle Focus and Eye Relief Checks
Eye relief is not specified in the supplied Zenith information, so you cannot rely on a published number to set mount position. Instead, mount the scope so you can see the full field of view at 1.2× and 6× without moving your head. If you see shadows or a reduced view, adjust the mount position or your cheek weld.
The Zenith is described as shockproof, nitrogen-filled, waterproof, and fogproof. These features support use in varied conditions, but they do not replace correct mounting and diopter setup. After any mount change, recheck diopter and illumination.
What the Supplied Information Confirms and What It Does Not
- Confirmed: 1.2–6× magnification, illuminated reticle, 1/4 MOA turrets, 30 mm tube, multi-coated optics, shockproof, nitrogen-filled, waterproof, and fogproof construction.
- Not confirmed in the supplied record: Specific eye relief distance, diopter adjustment procedure, battery type, illumination settings count, runtime, reticle subtensions, and total turret travel. Do not assume these details; check the manufacturer’s documentation for your unit.