Quick Answer
Start with a clean, smooth surface, press the sticker firmly using a credit card, and if you need to remove it, warm the adhesive with a hair dryer and peel gently while supporting the backing with a soft cloth.
Matte vinyl stickers add personality to laptops, water bottles, and journals, but improper handling can leave sticky residue or damage the underlying material. This guide walks you through the best practices for both applying and removing these stickers so your items stay pristine.
Whether you’re a first‑time sticker enthusiast or a seasoned collector, the steps below cover preparation, installation, and safe removal, highlighting common pitfalls to avoid.
Prepare Your Surface
Begin by selecting a flat, non‑porous area. Wipe the spot with a lint‑free cloth dampened with isopropyl alcohol to eliminate dust, oil, or fingerprints. Allow the surface to dry completely; any lingering moisture can cause bubbles or reduce adhesion, leading to premature peeling.
A common mistake is skipping the drying time. Even a faint film of alcohol can trap air under the sticker, creating unsightly blisters that are hard to smooth out later.
- Test a small hidden area first if you’re unsure how a material will react to alcohol.
Apply the Sticker Correctly
Peel the backing paper slowly, exposing only a small edge of the sticker at a time. Align the sticker with your target area and use a credit card or a squeegee to press from the center outward, pushing out any air pockets. Work gradually to keep the sticker from shifting.
Mistake to watch for: applying too much pressure too quickly can stretch the vinyl, especially on larger designs, resulting in creases that are difficult to correct.
- If bubbles appear, lift the edge gently and re‑smooth; the matte finish helps hide minor imperfections.
Remove Without Damage
When removal is needed, warm the sticker with a hair dryer on low heat for 20‑30 seconds. The heat softens the adhesive, allowing you to peel the sticker back slowly at a 45‑degree angle. Use a soft cloth or a piece of tape to catch any residue as you go.
A frequent error is pulling the sticker off cold or too fast, which can tear the vinyl or leave adhesive behind. Patience and gentle heat keep both the sticker and the surface intact.
- For stubborn residue, apply a small amount of adhesive remover on a cloth and rub lightly; the matte vinyl’s waterproof coating tolerates mild cleaners.
Step‑by‑Step Checklist
- Clean Surface: Wipe the target area with isopropyl alcohol, let it dry fully, and verify the surface is smooth and free of debris. Checkpoint: No visible dust or oil; surface feels dry to the touch.
- Apply Sticker: Peel backing gradually, align, and press from center outward with a credit card, smoothing out bubbles as you go. Mistake to avoid: Rushing the peel, which can cause the sticker to stretch or misalign.
- Remove Sticker: Warm with a hair dryer, peel at a 45° angle while supporting the backing, and clean any residue with a mild adhesive remover. Checkpoint: Sticker lifts cleanly without tearing; surface remains residue‑free.
Product Examples That Follow These Practices
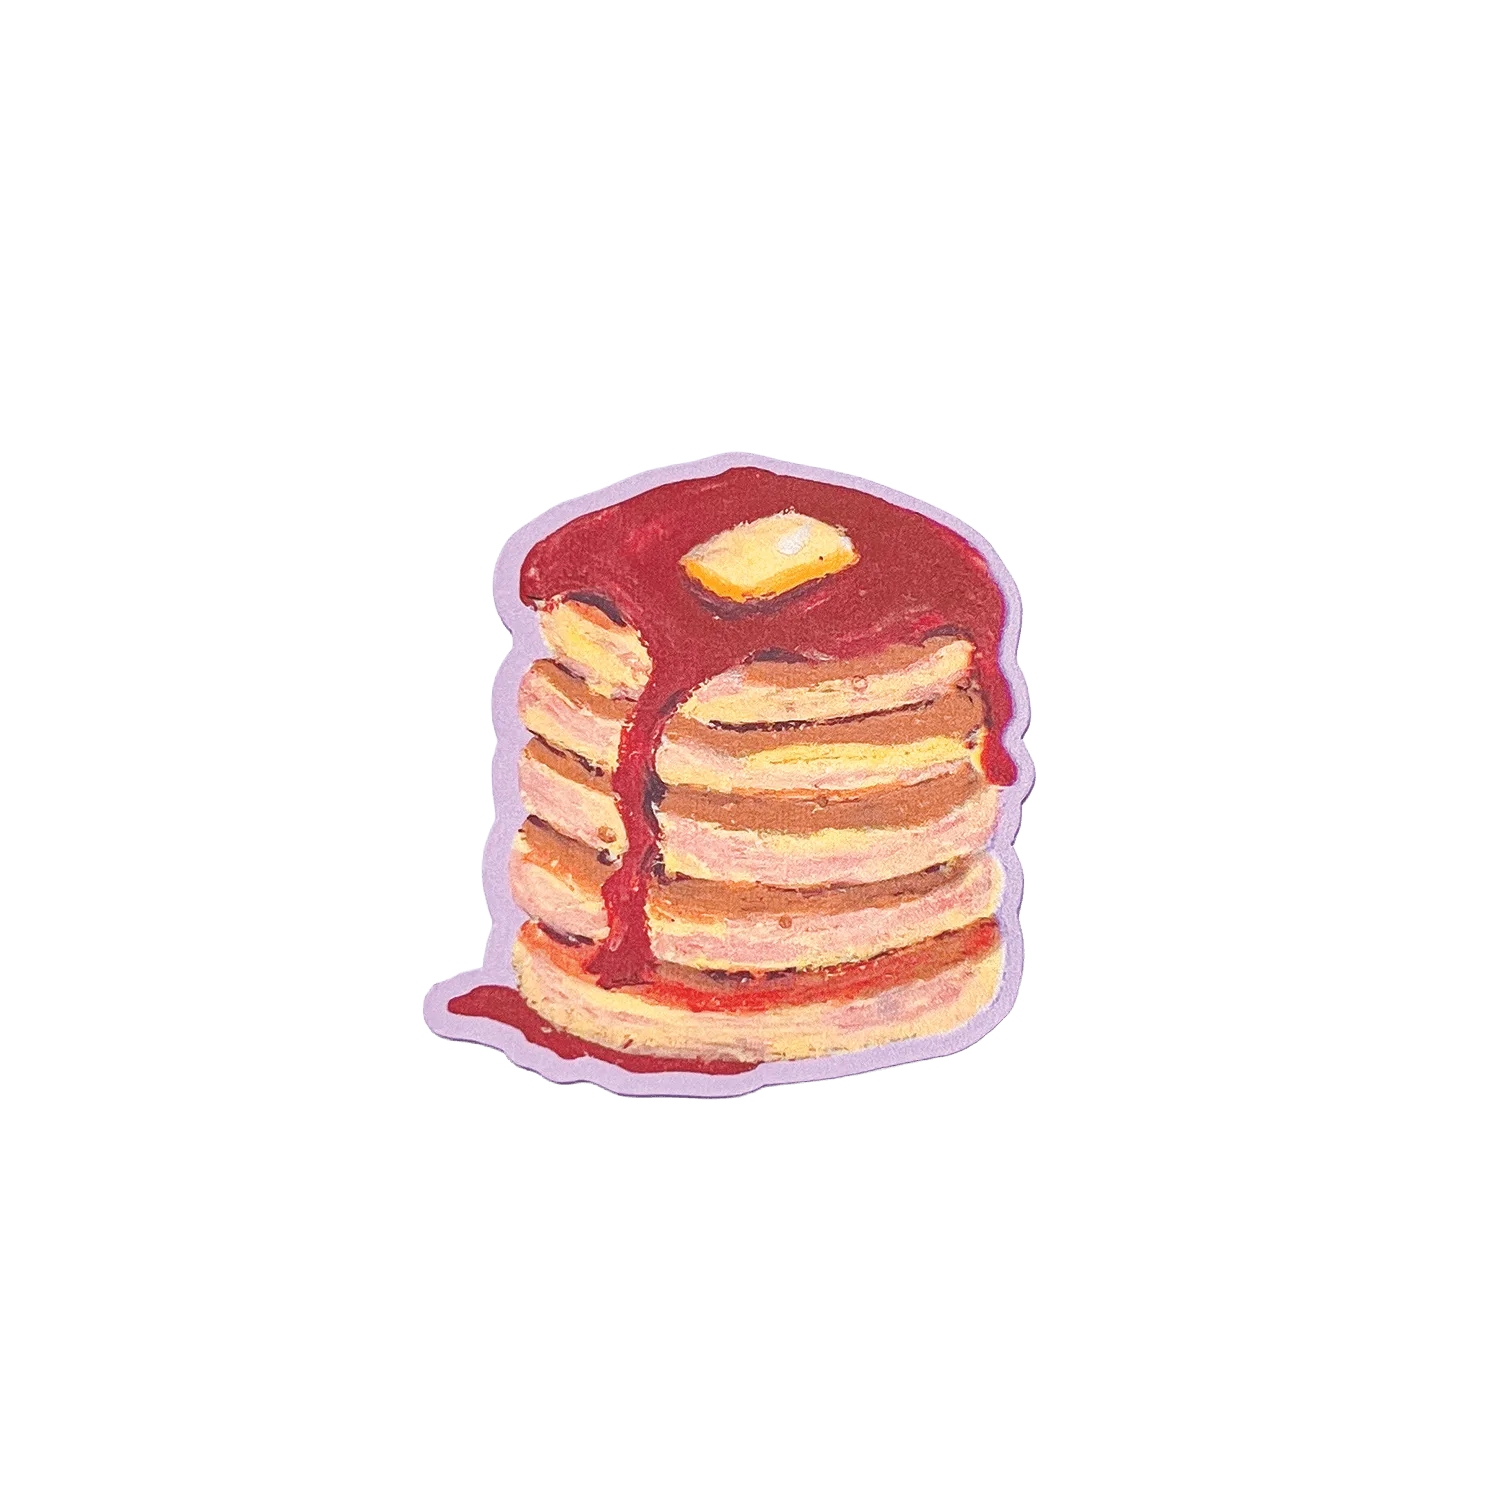
- Pancake Stack | Matte Vinyl Sticker: Printed on durable, weatherproof vinyl and laminated with a smooth matte finish; measures about 2" X 2"; waterproof & scratch resistant; illustrated with oil pastels; Made in Canada. The weatherproof vinyl resists water and scratches, making it easy to clean before application and forgiving if you need to reposition or remove it later.
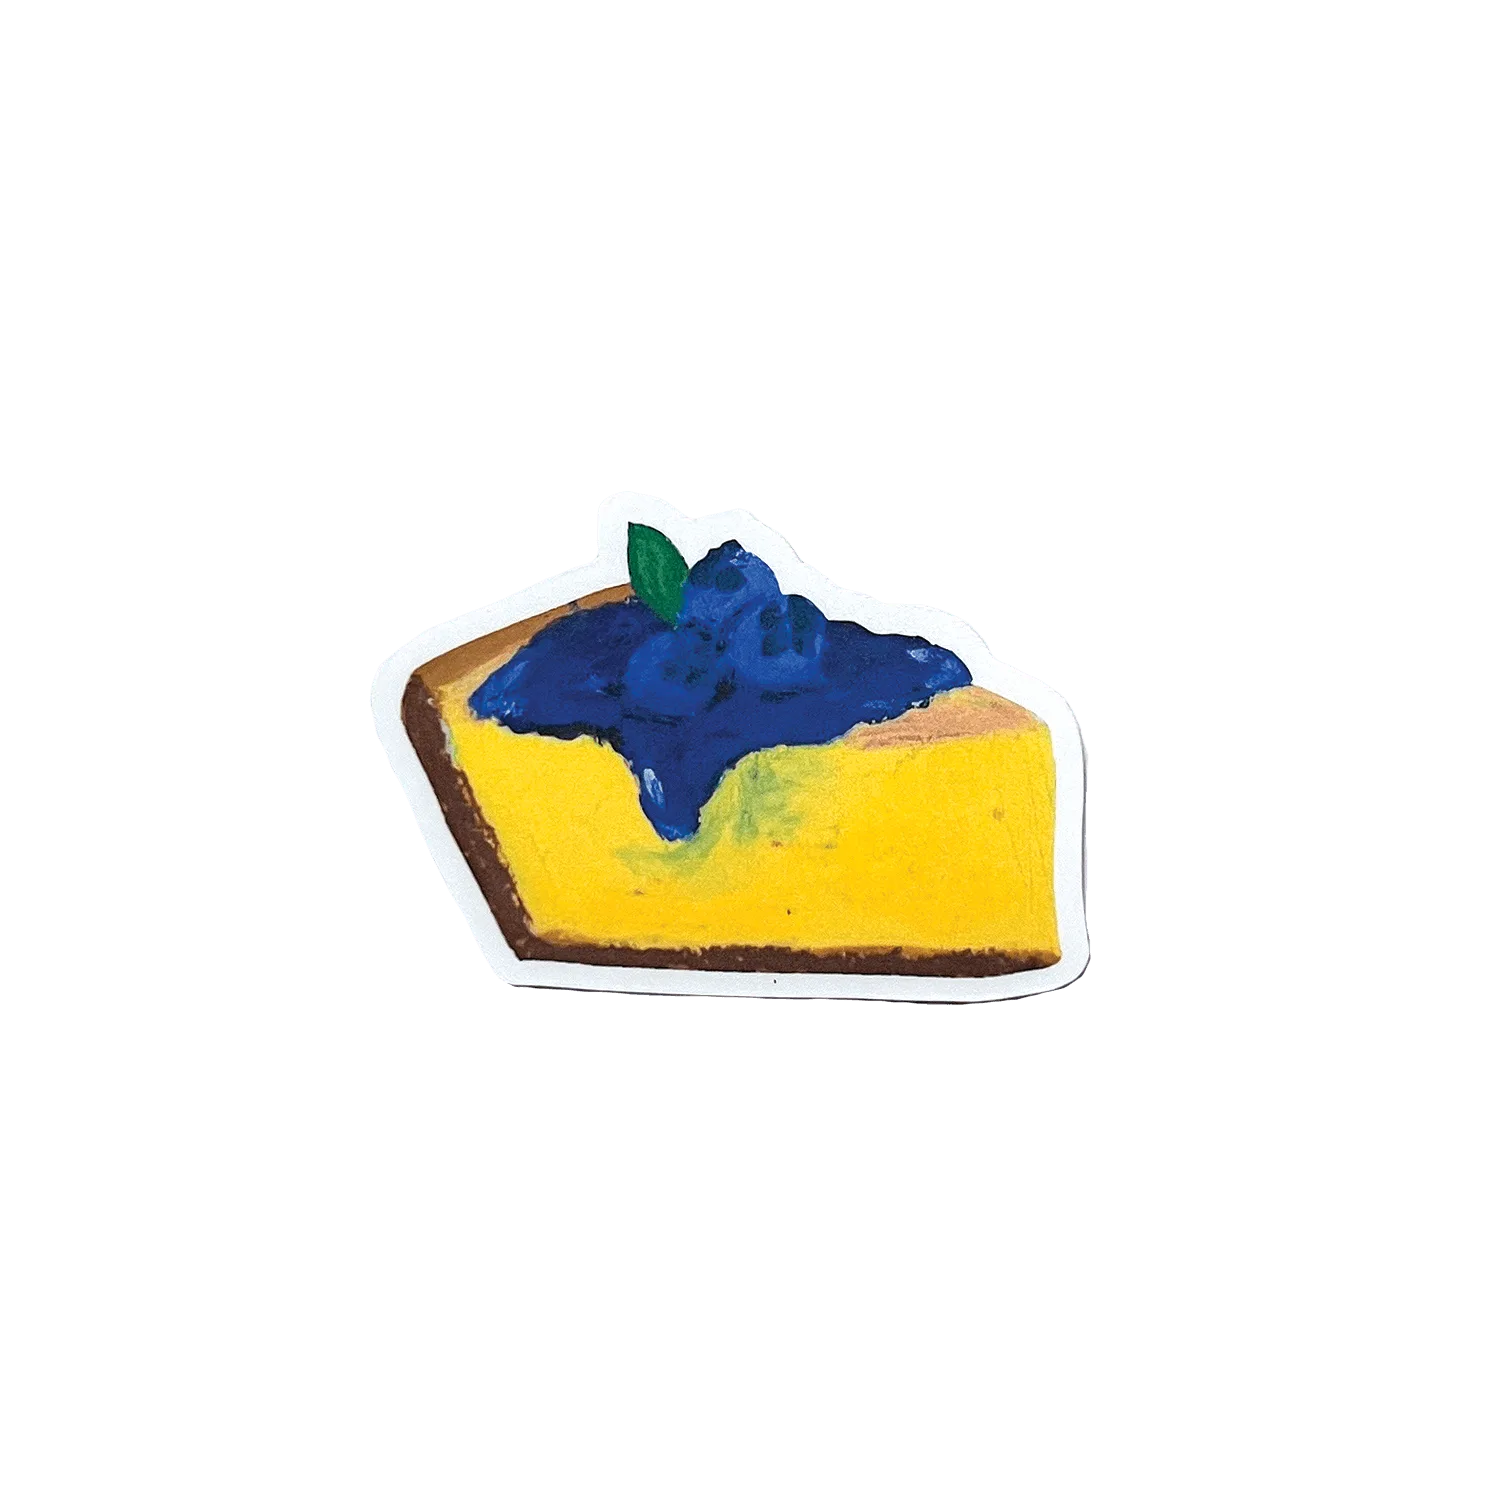
- Blueberry Cheesecake | Matte Vinyl Sticker: Printed on durable, waterproof vinyl and laminated with a smooth matte finish; measures about 2.25" X 1.5"; illustrated with oil pastels; Made in Canada. Its waterproof laminate protects the artwork during cleaning and ensures the adhesive stays stable, reducing the risk of residue when you peel it off.
By preparing the surface, applying with steady pressure, and using gentle heat for removal, you can enjoy your matte vinyl stickers for years without compromising the look or integrity of your belongings.