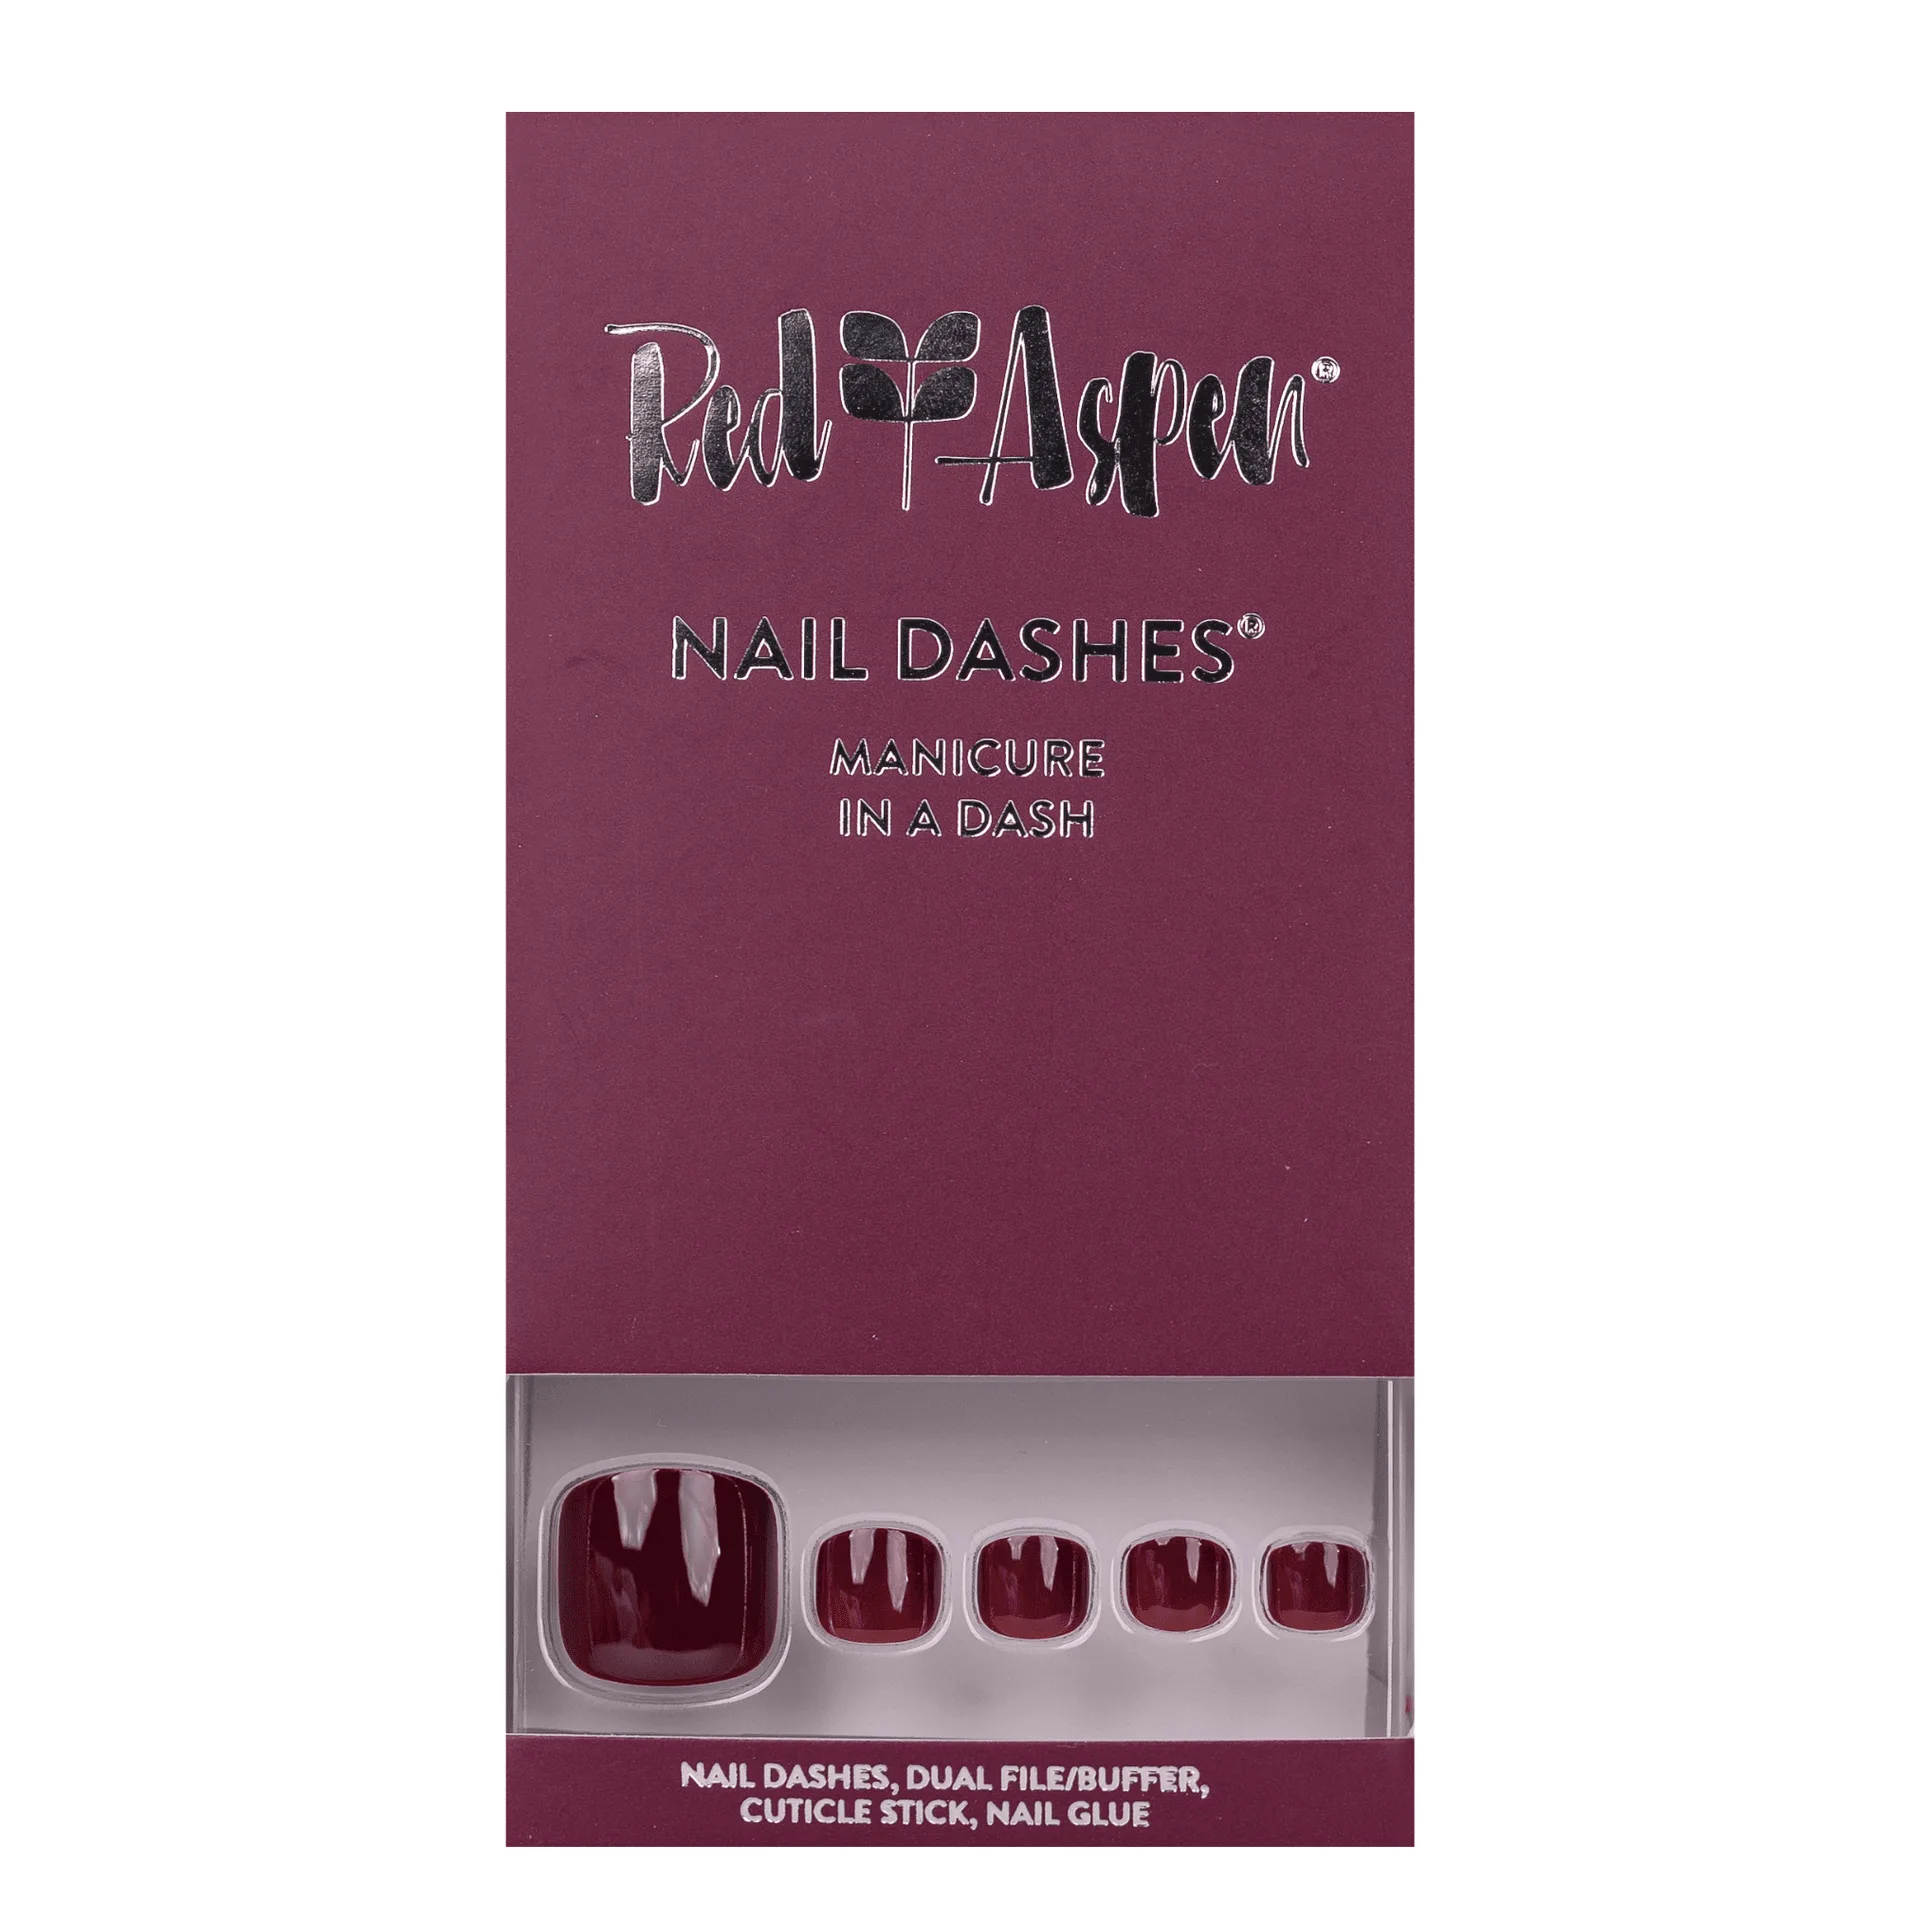
Who doesn't love the feeling of freshly polished toes? A salon pedicure is a treat, but it can be time-consuming and expensive. With Red Aspen Pedi nails, you can achieve that same professional look from the comfort of your home, saving both time and money. Whether you're preparing for a special occasion or just want to pamper yourself, this tutorial will walk you through every step to ensure your pedi nails look flawless and last for weeks.
Red Aspen Pedi nails are designed specifically for your feet, with a curved shape that fits the natural contour of your toenails. They come in a variety of stunning shades and patterns, from bold neutrals to playful prints. In this guide, we'll cover everything from prepping your nails to applying them with the right glue, plus tips for making them last. Let's get started on your journey to salon-quality feet at home.
Why Choose Red Aspen Pedi Nails?
Red Aspen Pedi nails are more than just nail stickers—they're a complete pedicure solution. Made with high-quality materials, they offer a durable, chip-resistant finish that can withstand daily wear, including sandals, sneakers, and even a day at the beach. Unlike traditional nail polish that can smudge or peel, these pedi nails provide a smooth, glossy look that stays vibrant for up to two weeks or more with proper application.
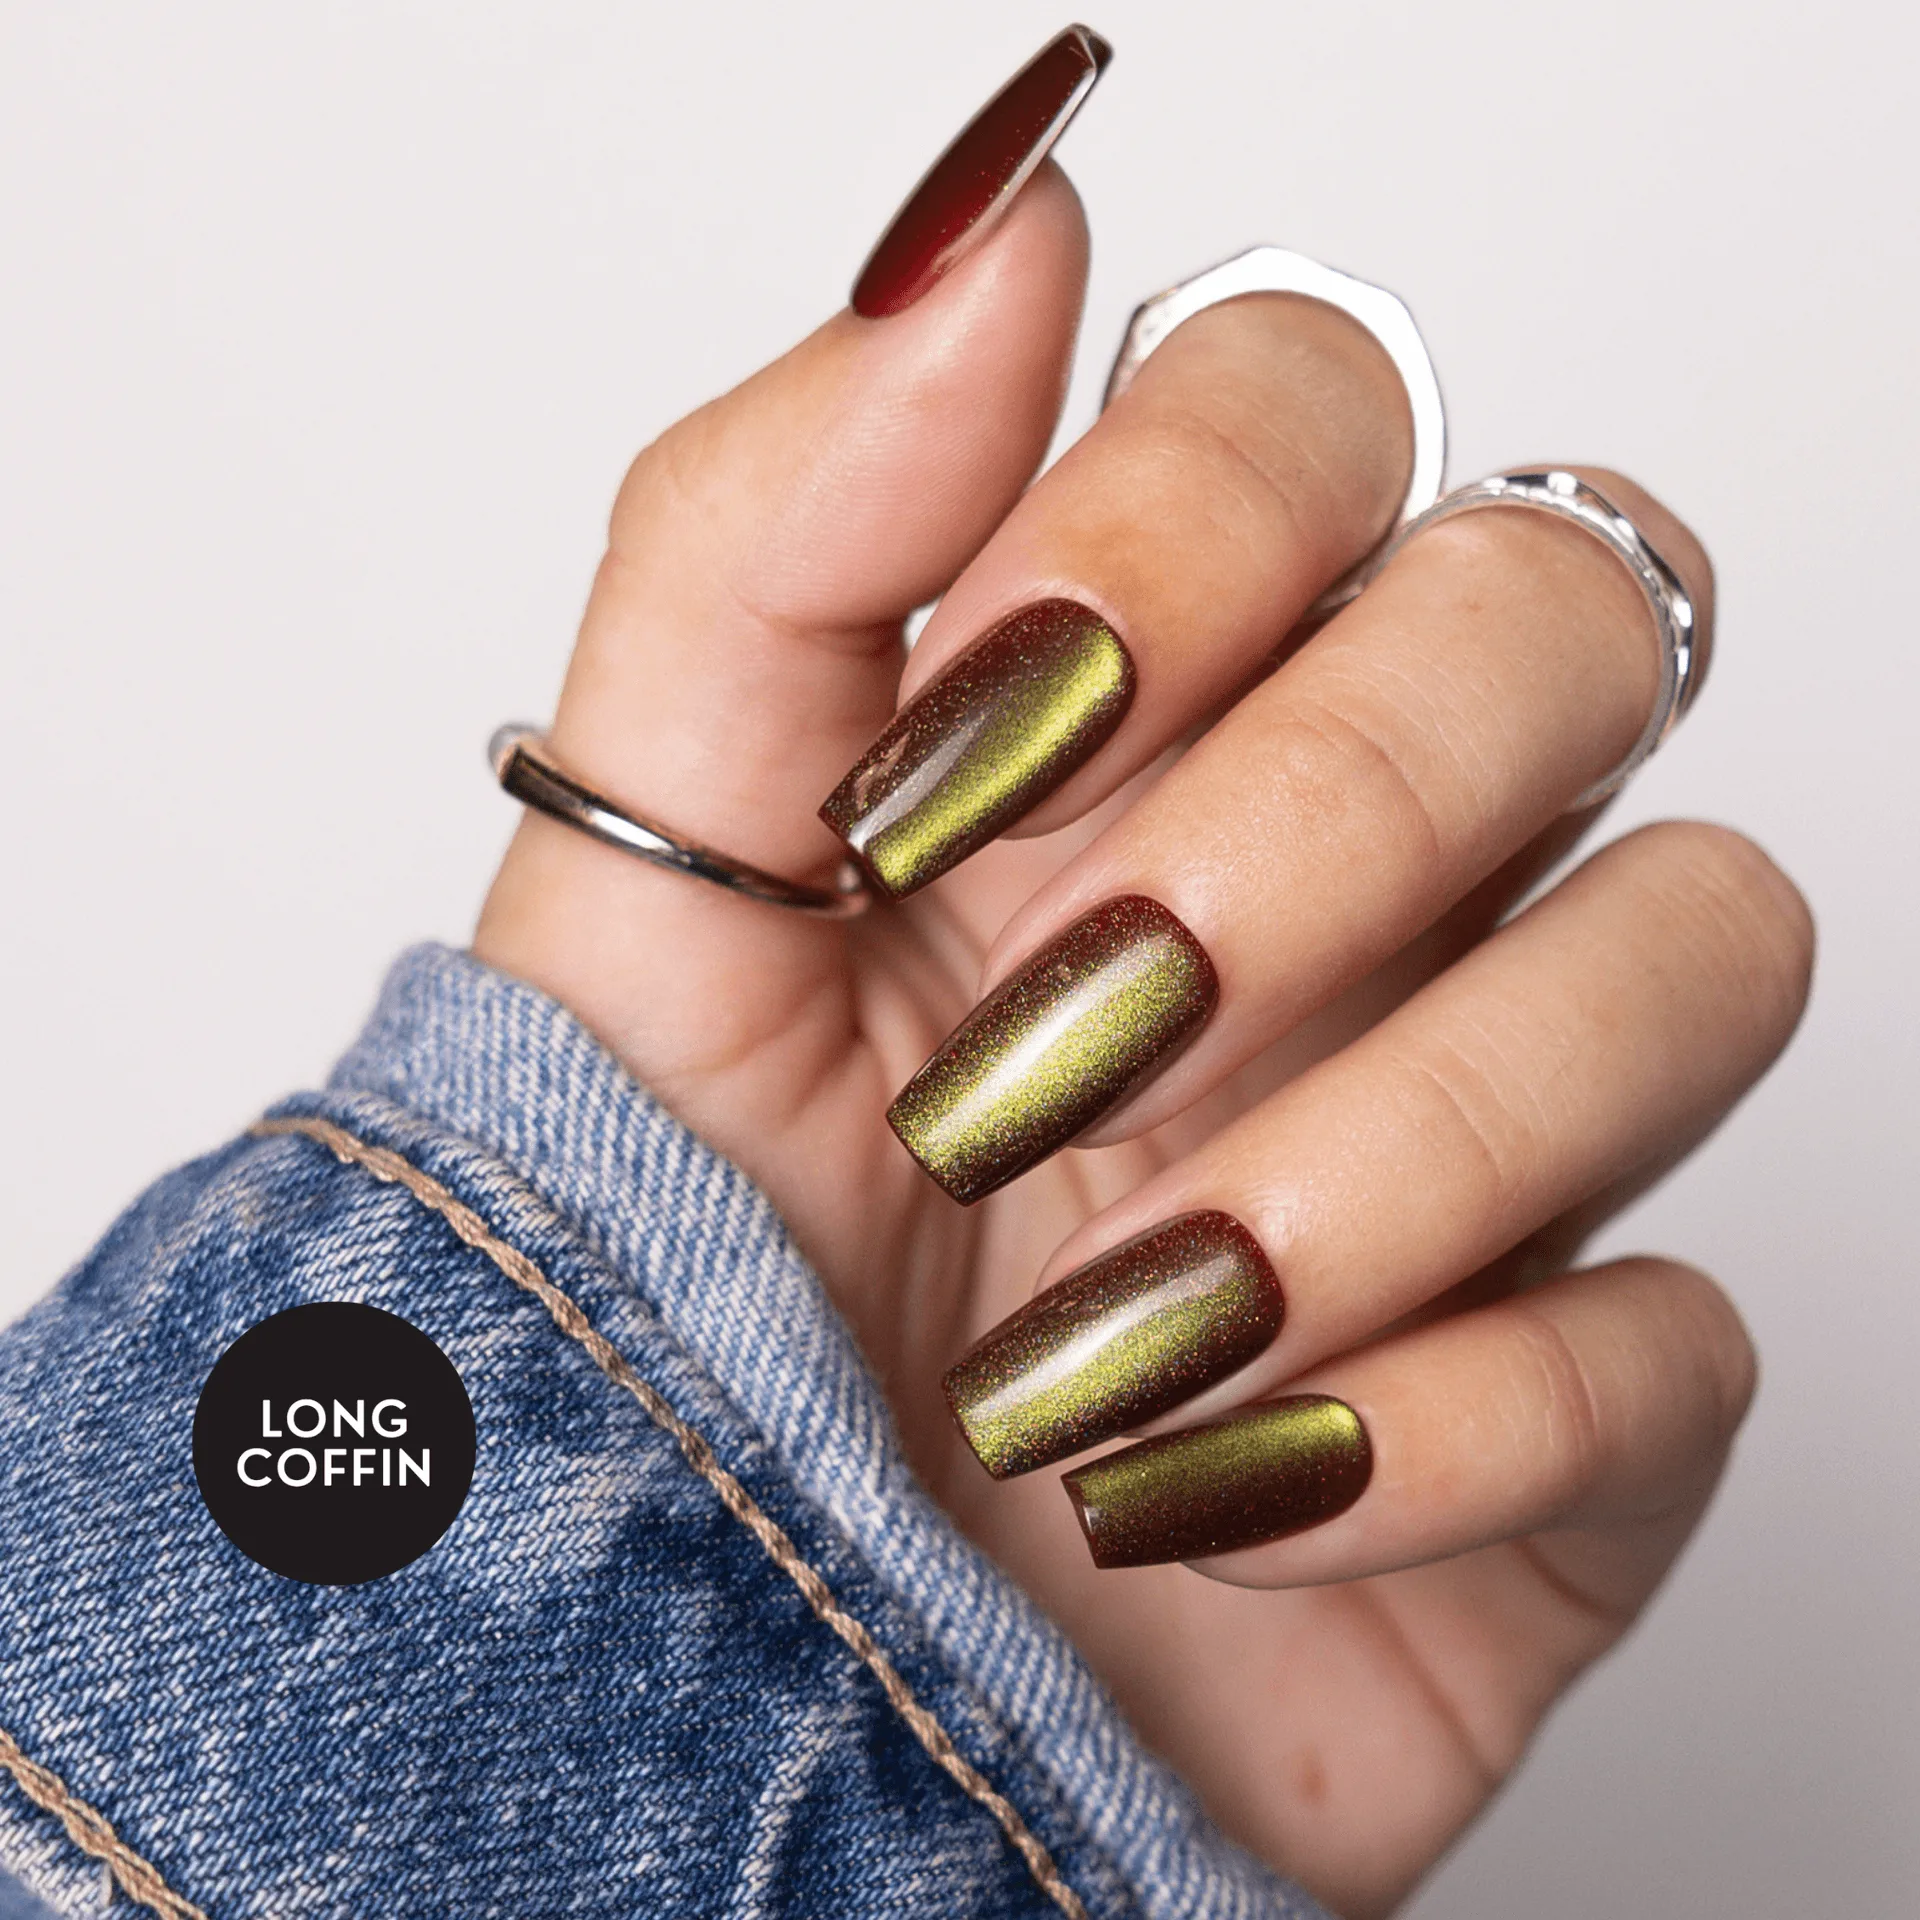
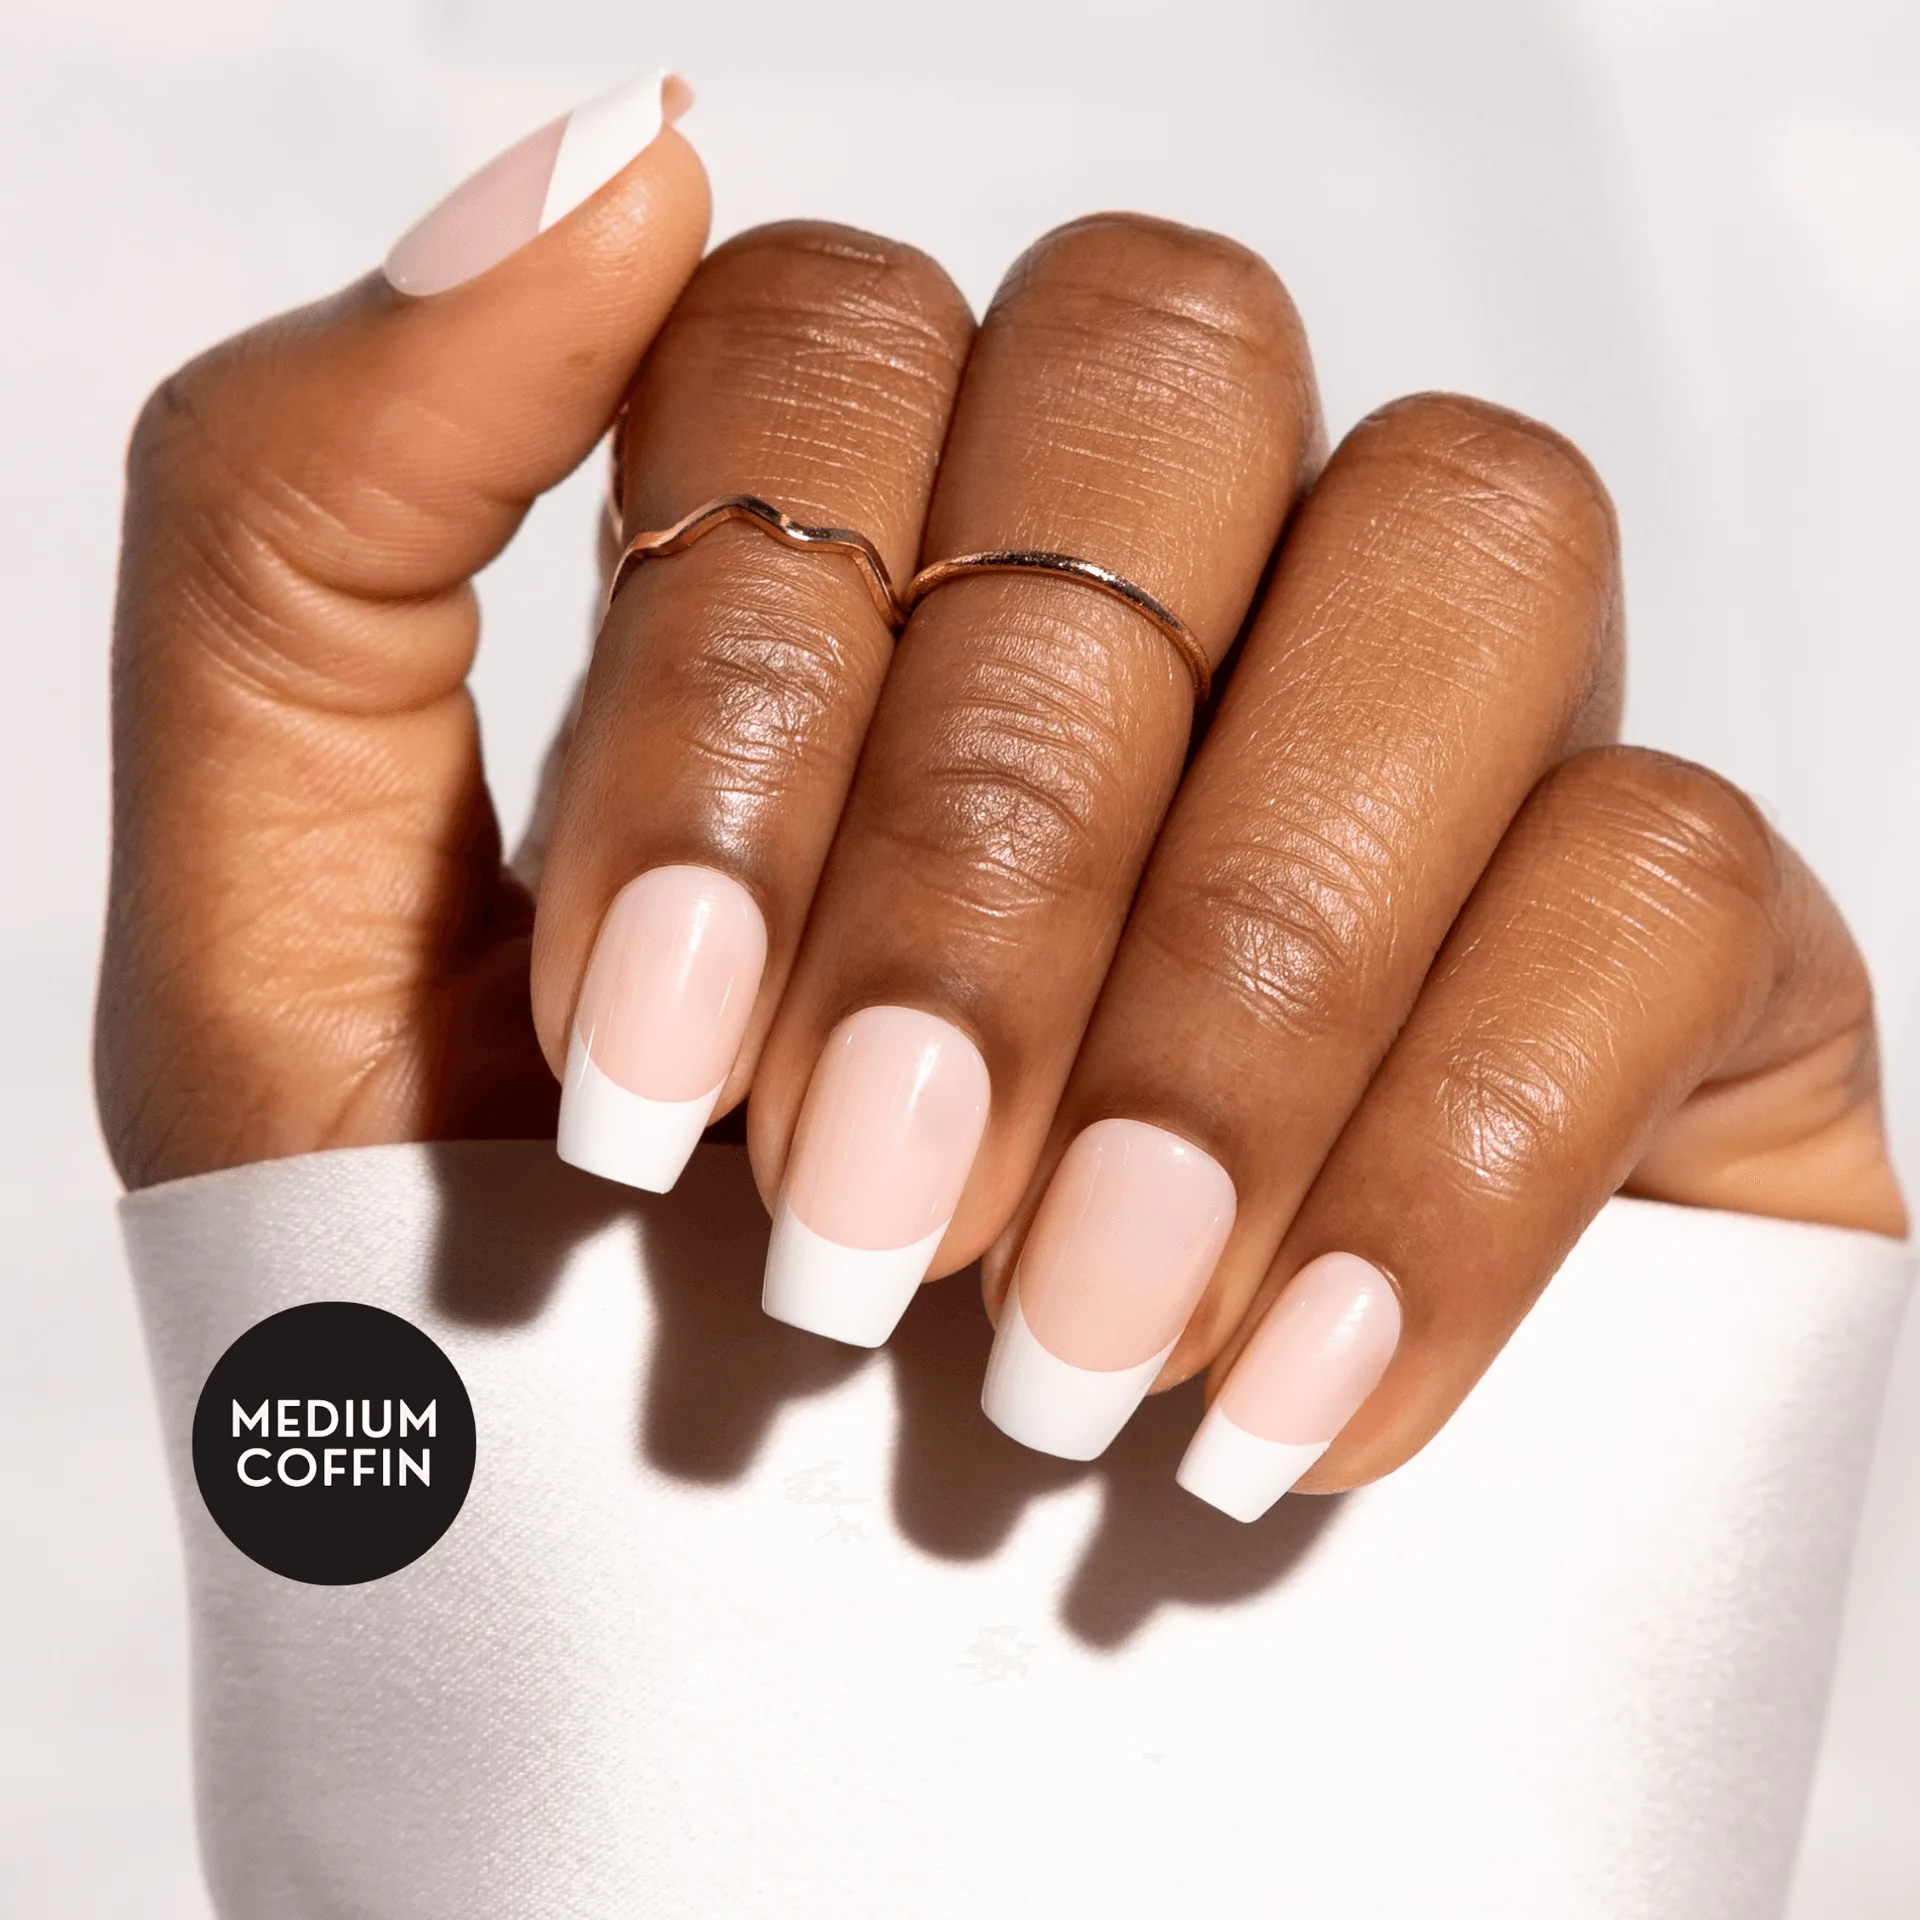
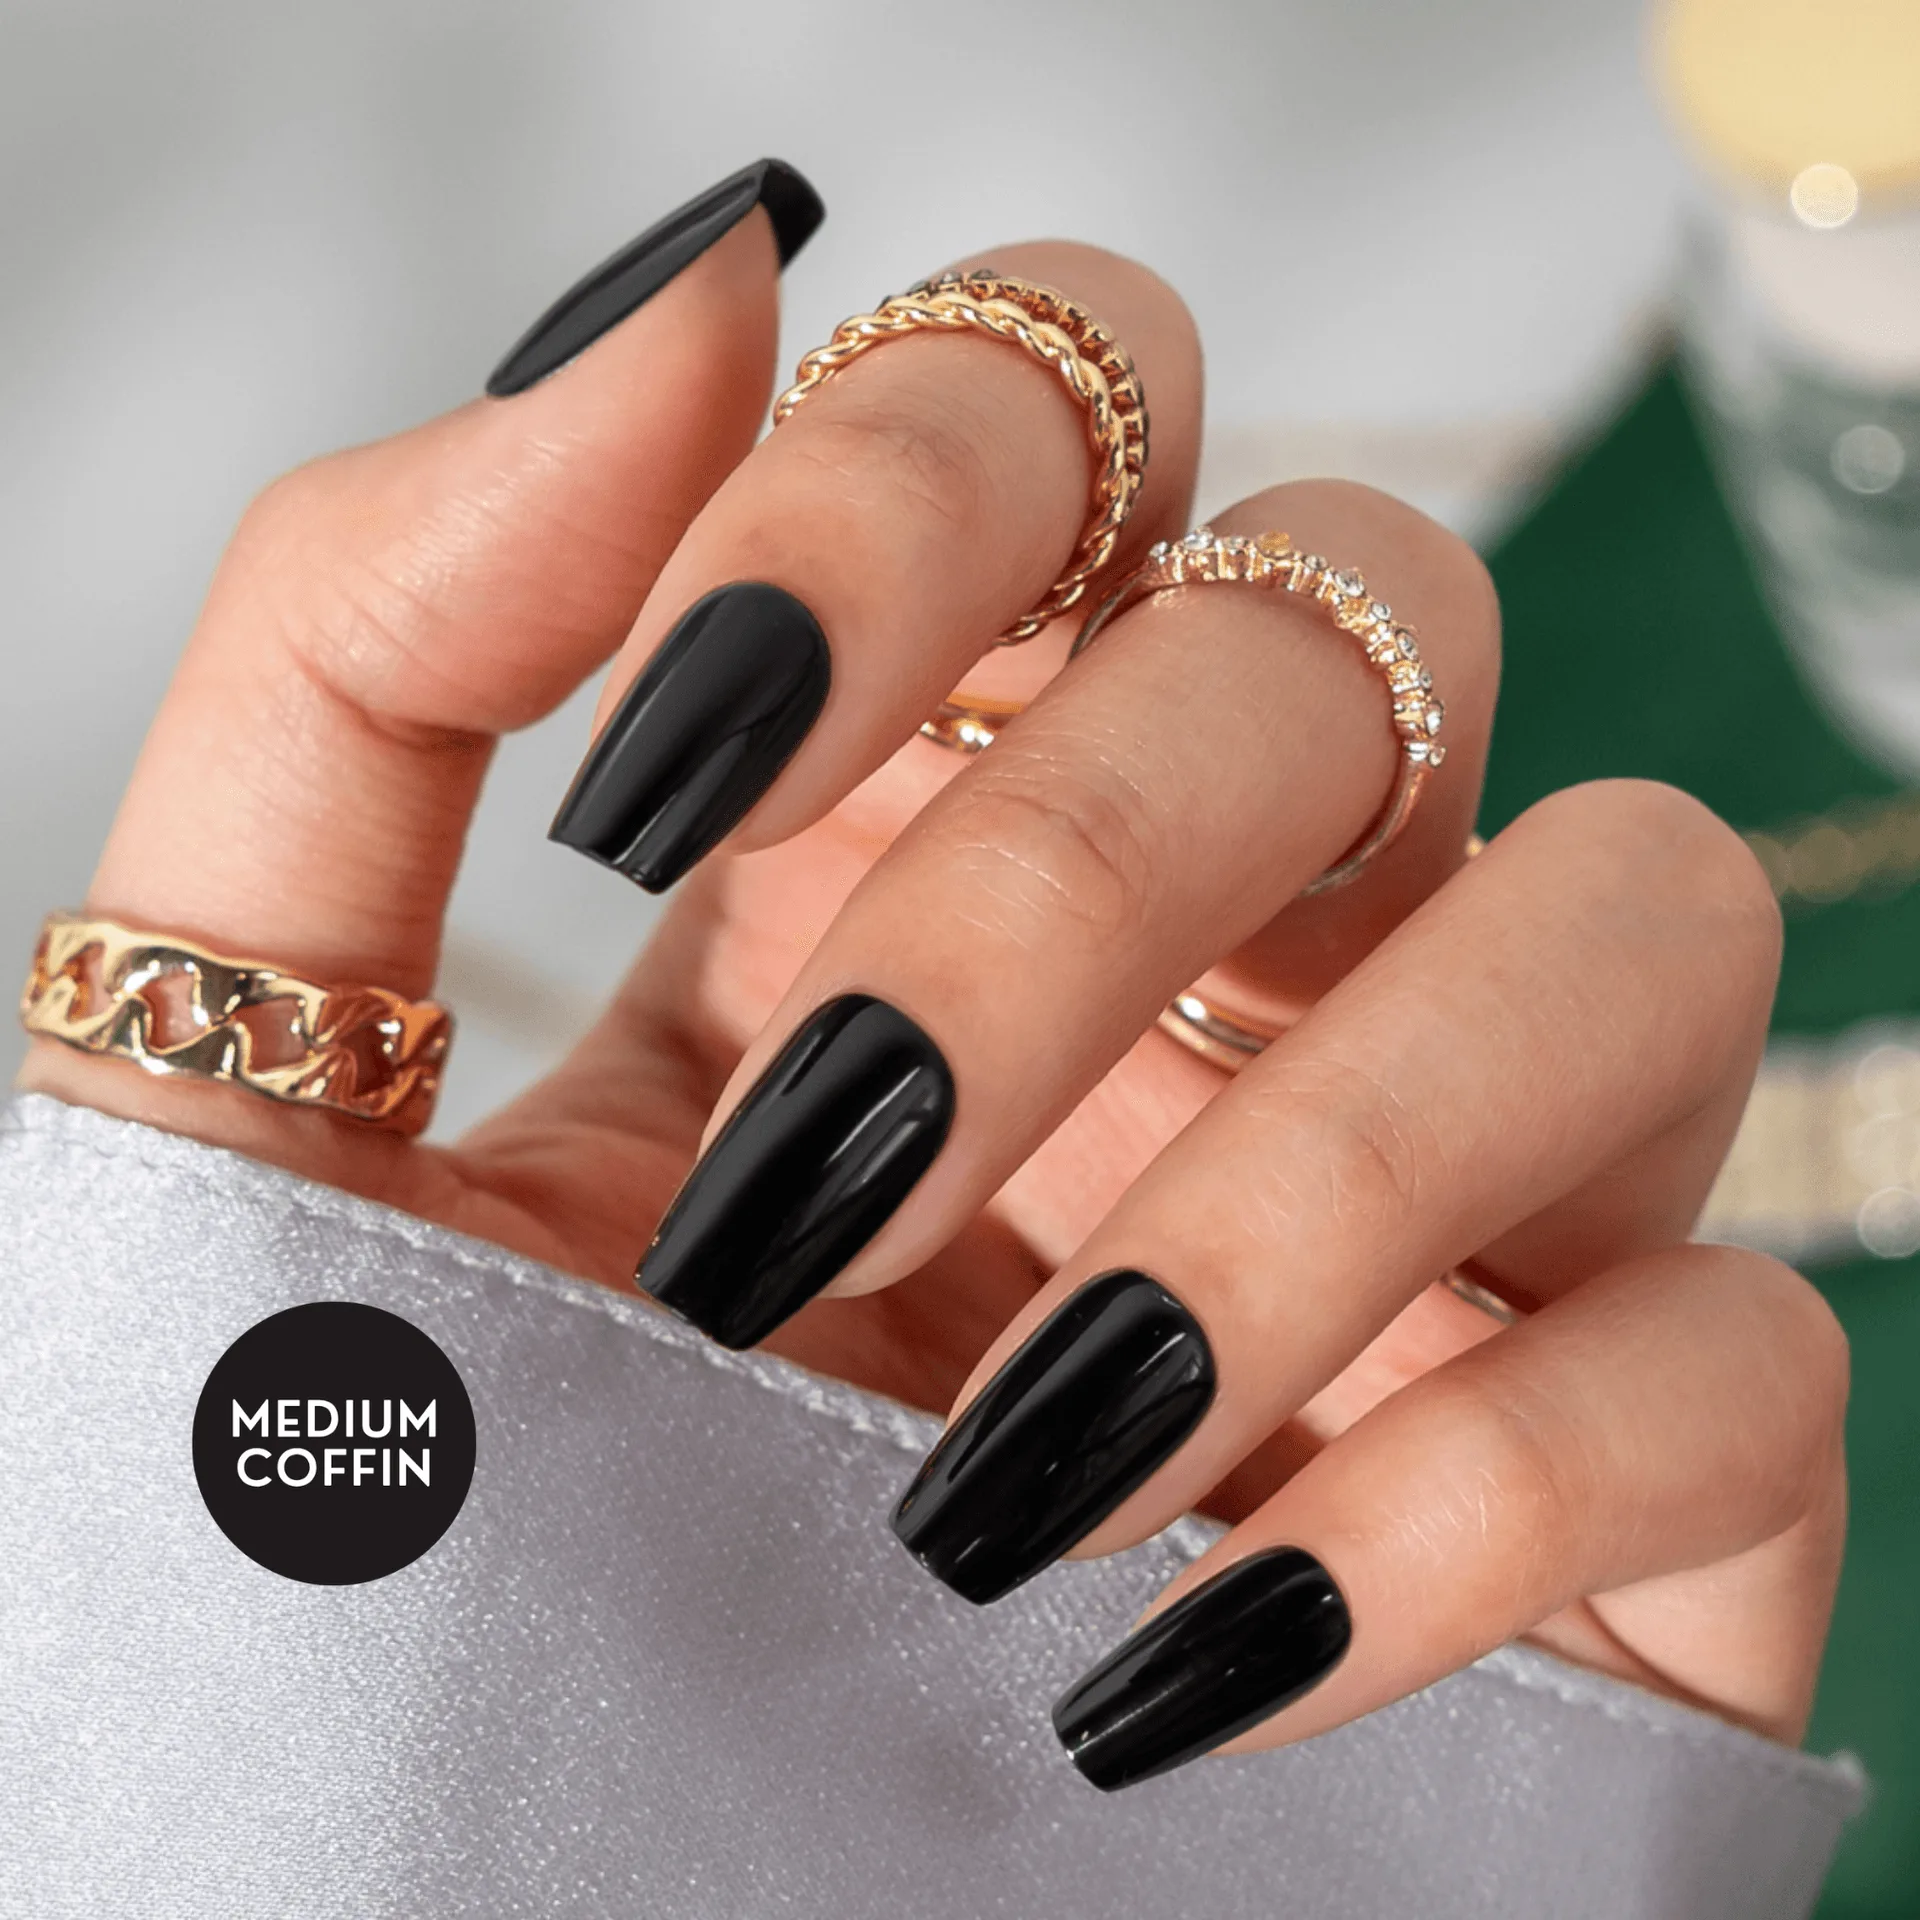
Another reason to love them is the variety. Whether you prefer a classic nude, a vibrant pop of color, or a trendy pattern like the playful "Mommy-Rex" design, there's a set for every mood and occasion. Plus, they're easy to remove without damaging your natural nails. For best results, pair them with the Brush On Nail Dash Glue, which offers a precise application and strong hold without the mess.
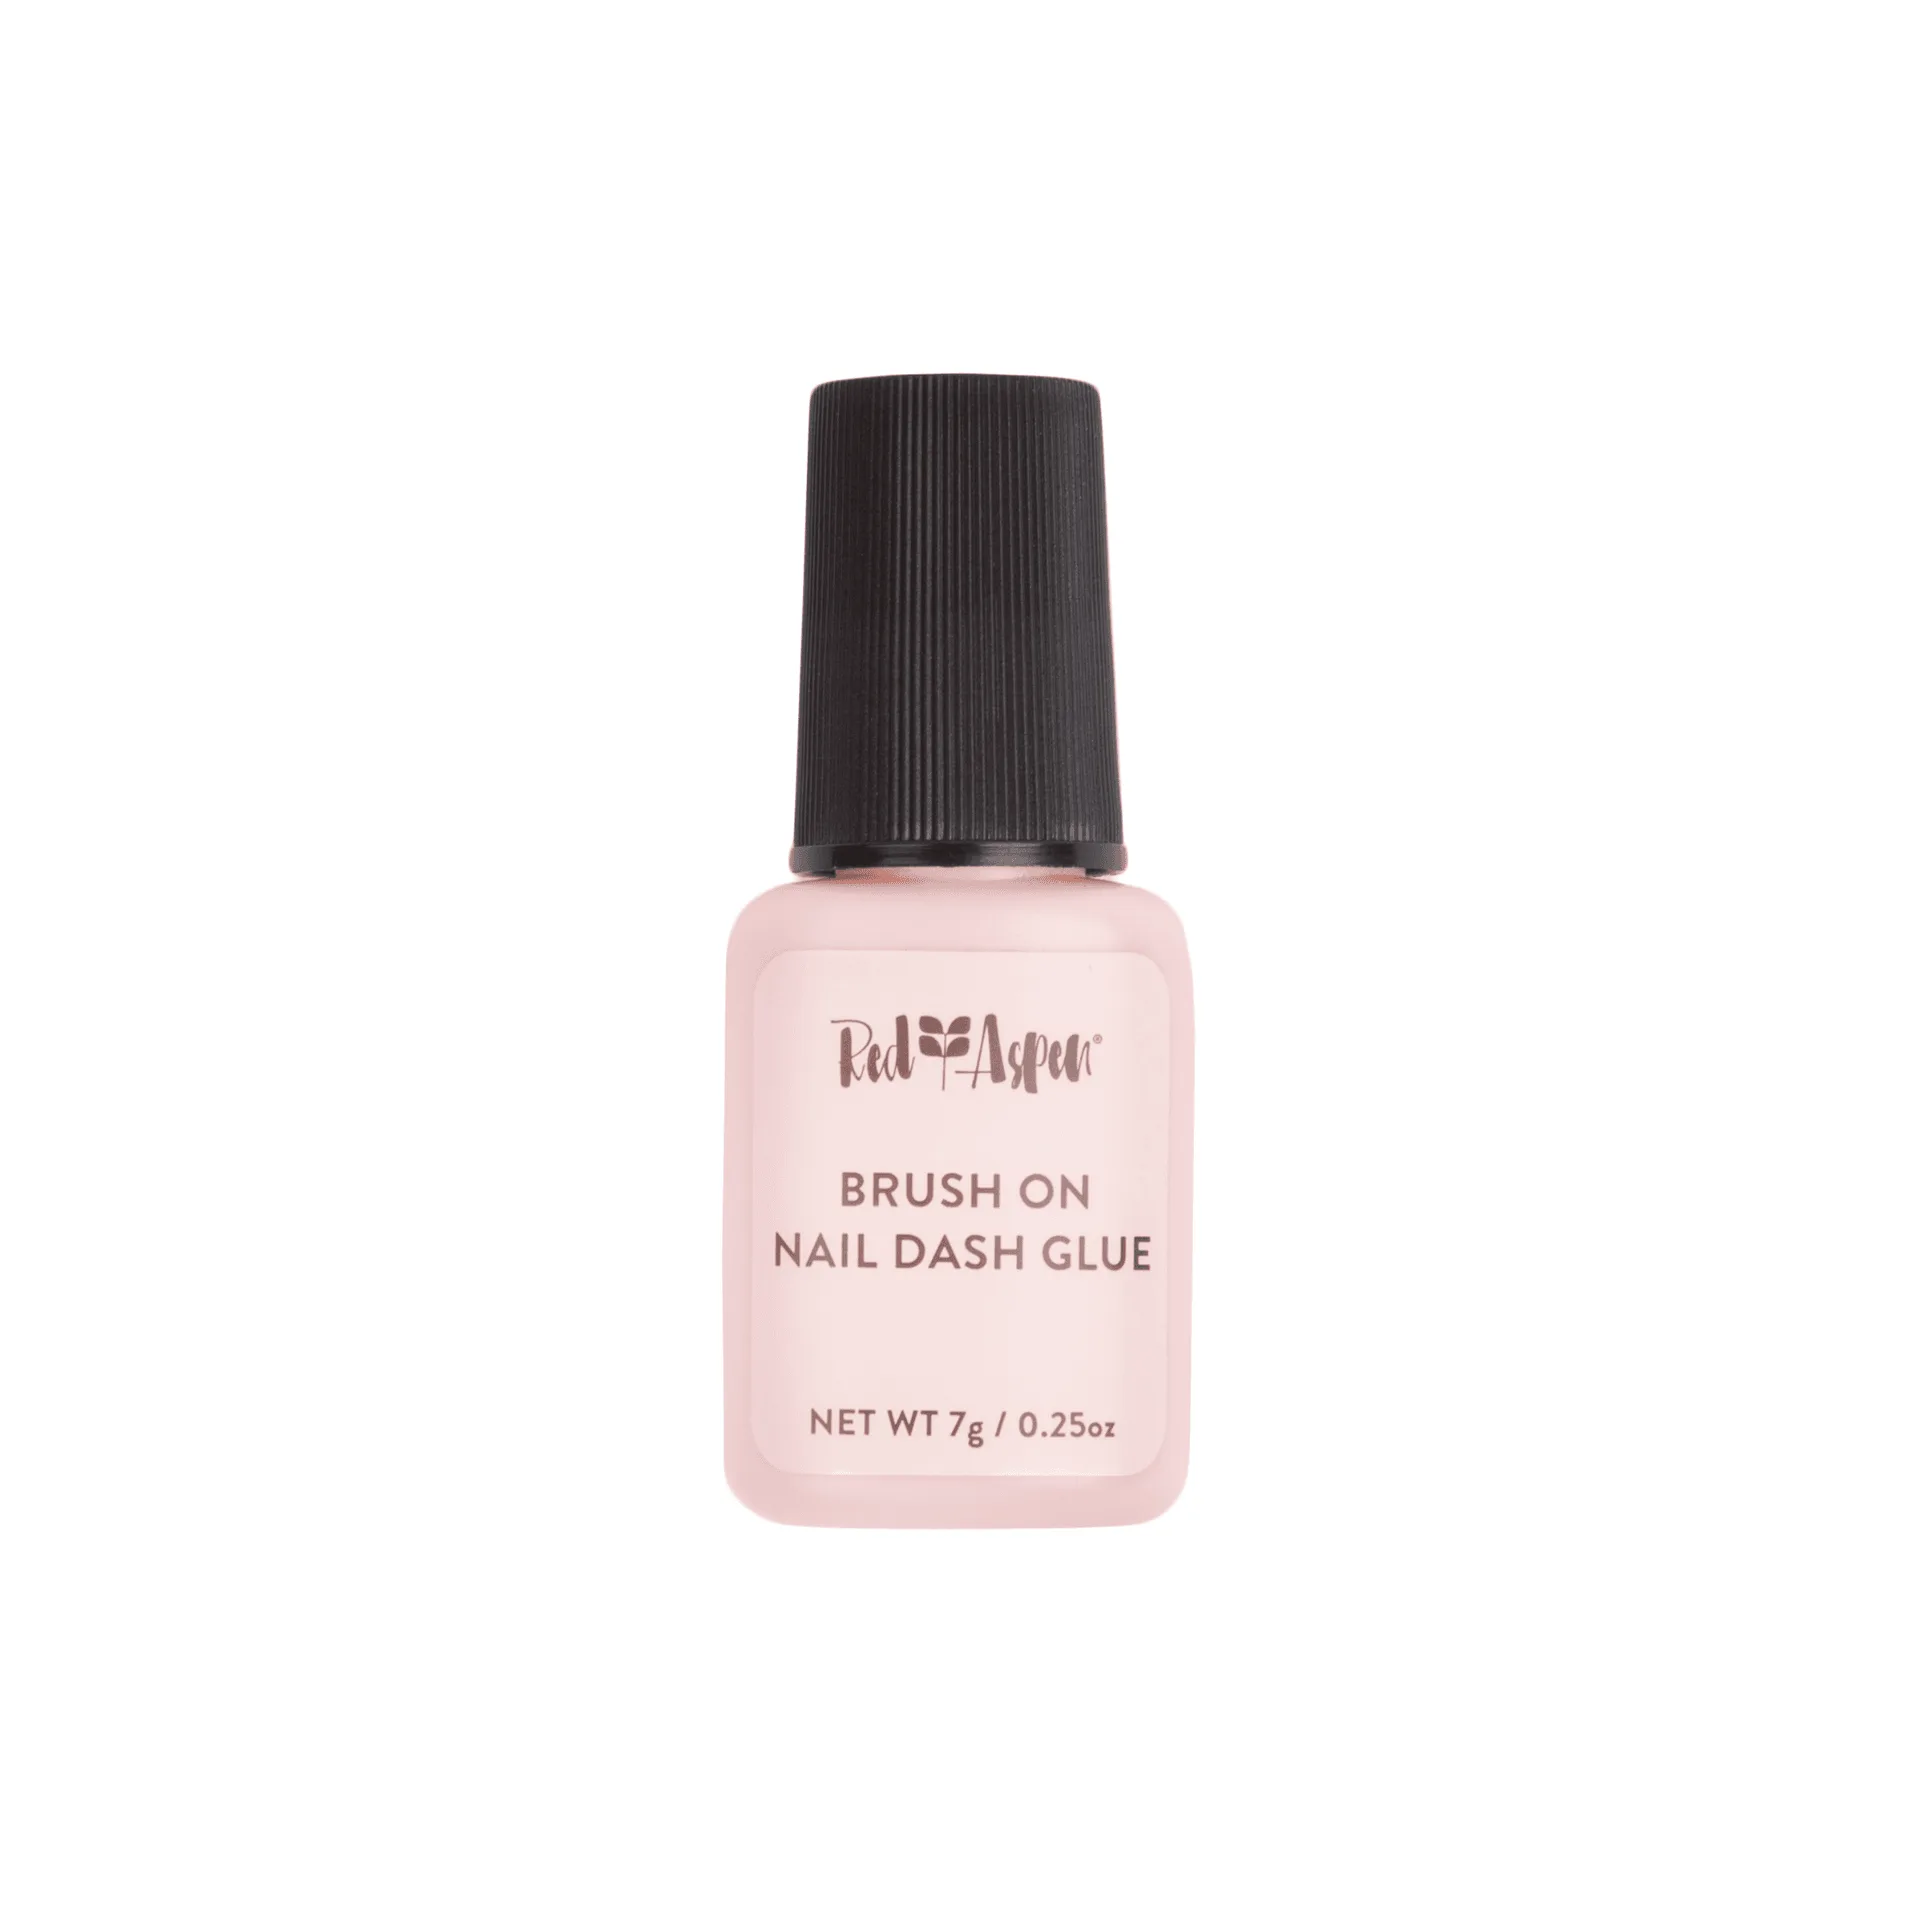
Brush On Nail Dash Glue
- Durable and chip-resistant for long-lasting wear
- Wide range of colors and patterns to suit any style
- Easy to apply and remove without damaging natural nails
- Designed specifically for the natural curve of toenails
Step 1: Prepare Your Toenails
Proper preparation is the key to a long-lasting pedicure. Start by removing any old polish with a gentle, acetone-free remover. Then, soak your feet in warm water for 5–10 minutes to soften the skin and cuticles. Use a cuticle pusher or an orange stick to gently push back your cuticles—do not cut them, as this can lead to infection. Next, file your toenails to your desired shape, keeping them straight across to prevent ingrown nails.
After shaping, lightly buff the surface of each toenail with a fine-grit buffer. This creates a slightly rough texture that helps the glue adhere better. Rinse your feet with clean water and dry them thoroughly, making sure there's no moisture or lotion left. For extra adhesion, wipe each nail with a lint-free pad soaked in rubbing alcohol to remove any oils. This step is crucial for preventing lifting.
- Soak feet to soften cuticles, then push them back gently
- File nails straight across to avoid ingrown nails
- Lightly buff the nail surface for better glue adhesion
- Clean nails with rubbing alcohol to remove oils
Step 2: Select and Size Your Pedi Nails
Red Aspen Pedi nails come in a variety of sizes to fit different toenails. Before applying, lay out all the nails and match them to your toes. Start with the big toe, which typically requires the largest size, and work your way down to the pinky toe. If a nail is slightly too wide, you can file the edges gently to narrow it, but avoid filing the cuticle area to maintain the natural curve.
For a cohesive look, you can mix and match sets. For example, pair a bold pattern like "Funky Korbyn" on your big toes with a solid neutral on the others for a trendy accent effect. Alternatively, go for a full set of a single design for a uniform, polished appearance. Once you've selected your sizes, set them aside in order so you can grab them quickly during application.
- Match each pedi nail to the corresponding toe size
- File edges gently if needed, but avoid the cuticle area
- Mix and match designs for a custom look
- Arrange nails in order for easy application
Step 3: Apply the Glue and Pedi Nails
Now it's time to apply. Start with the big toe. Apply a thin, even layer of Brush On Nail Dash Glue to your natural nail, avoiding the cuticle and skin. The brush applicator allows for precise control, so you won't waste any glue. Press the pedi nail onto your toe at a 45-degree angle, starting at the cuticle line, then gently roll it down toward the tip. This technique helps prevent air bubbles.
Hold the nail in place for 10–15 seconds with firm, even pressure. Repeat this process for each toe, working one at a time. If you get any glue on your skin, wipe it away immediately with a cotton swab dipped in acetone. Once all nails are applied, avoid getting your feet wet for at least an hour to allow the glue to fully cure. For extra security, you can apply a thin top coat over the pedi nails, but this is optional.
- Apply a thin, even layer of glue to the natural nail
- Press the pedi nail at a 45-degree angle to avoid bubbles
- Hold for 10–15 seconds for a secure bond
- Avoid water for at least one hour after application
Step 4: Finishing Touches and Aftercare
Once all nails are applied, take a moment to admire your work. If any edges feel rough, you can gently file them with a fine-grit file to smooth them out. For a glossy, salon-quality finish, apply a quick-dry top coat over the entire nail. This not only adds shine but also seals the edges to prevent lifting. You can also use a cuticle oil around the nails to keep your skin hydrated.
To make your pedi nails last as long as possible, follow a few simple aftercare tips. Avoid soaking your feet in hot water for extended periods, such as long baths or hot tubs. Wear open-toed shoes when possible to reduce friction. If you notice a nail starting to lift, apply a tiny drop of glue under the edge and press it down. With proper care, your Red Aspen Pedi nails can stay beautiful for up to two weeks or more.
- Smooth rough edges with a fine-grit file
- Apply a top coat for extra shine and protection
- Use cuticle oil to keep skin healthy
- Avoid prolonged soaking and wear open shoes for longevity
Troubleshooting Common Issues
Even with careful application, you might encounter a few hiccups. If a pedi nail doesn't fit perfectly, it may lift at the edges. This often happens if the nail is too large or if there's oil on the natural nail. To fix it, remove the nail, clean your toe with alcohol, and reapply with a fresh pedi nail. If you experience bubbling, it's usually due to applying the nail at the wrong angle or pressing too quickly. Take your time and roll the nail on slowly.
Another common issue is the nail popping off after a day or two. This is usually caused by insufficient drying time or not pressing firmly enough. Make sure you hold each nail for the full 15 seconds and avoid water for at least an hour. If you're prone to oily nail beds, use a dehydrator or rubbing alcohol before applying the glue. With these tips, you'll enjoy a flawless, long-lasting pedicure every time.
- Lifting? Remove, clean, and reapply with fresh nail
- Bubbles? Apply at a 45-degree angle and roll slowly
- Popping off? Press firmly and avoid water for an hour
- Oily nails? Use a dehydrator or alcohol before glue
Ready to give your feet the salon treatment they deserve? With Red Aspen Pedi nails and the right technique, you can achieve a gorgeous, long-lasting pedicure at home. Start with a set that speaks to your style—whether it's a playful pattern like Mommy-Rex or a chic neutral, you'll love the results. Explore the full collection and find your perfect match today!