Quick answer
Start with one anchor planter, then build outward using no more than three height levels and a consistent color family. Keep at least 4 to 6 inches of breathing room between pots, and group planters in odd numbers so the arrangement reads as intentional rather than scattered.
Choose a focal point before you move any pot
Clutter usually starts when every planter competes for attention. Pick one anchor piece first, place it where your eye naturally lands when you step onto the patio, then treat everything else as support. A tall entryway planter works well as that anchor because it fills vertical space without needing a wide footprint.
If your patio is narrow, the anchor should sit slightly off-center rather than dead center. Centering a single large pot in a tight space splits the usable area and makes the arrangement feel like an obstacle course.
Work in three height levels, not five
Height contrast is what separates a designed grouping from a plant sale. Aim for a tall element, a mid-height element, and a low element, then repeat that rhythm around the patio. More than three levels starts to look accidental.
You can create height with the planter itself or with what you plant in it. A low bowl holding a tall grass reads differently than a tall pot holding a low mounded plant, and mixing both approaches keeps the layout from feeling like a staircase.
Space planters by function, not by equal distance
Even spacing is the fastest route to a cluttered look because it removes hierarchy. Group planters tightly in twos or threes where you want a moment of density, then leave a genuine gap before the next cluster. Walkways need the widest gaps, while corners can take tighter groupings.
As a working rule, keep 4 to 6 inches between pots in the same cluster and 18 inches or more between separate clusters on a small patio. On a larger patio, scale those gaps up rather than adding more pots.
Repeat a color and material palette
A patio planter layout looks calm when the pots share a finish or a clay body. Terracotta, earthen stoneware, and glazed ceramics each carry a different visual weight, so mixing all three in one view tends to read as noise. Pick one dominant material and let a second appear only once as an accent.
Plant color follows the same logic. Two or three plant tones repeated across the arrangement will look more deliberate than a different flower in every pot.
Check sightlines from inside and from the patio edge
Stand at your door and look out, then walk to the far edge and look back. Planters that block the view of a seating area or hide a step are the ones that make a patio feel crowded, even when the pot count is low. Move those pieces to the perimeter.
This is also the moment to confirm that tall planters are not creating a wind tunnel or a tipping risk. Heavier stoneware belongs in exposed spots; lighter bowls are better tucked into corners or against a wall.
Seven steps to a clutter-free patio planter arrangement
- 1. Clear the patio completely: Remove every planter, then put back only the pieces you actively want to see. Starting from an empty space stops you from inheriting last season's accidental layout. Common mistake: rearranging around pots you no longer like.
- 2. Place the anchor planter first: Set your tallest or most sculptural planter at the visual focal point, usually near the entry, a corner, or the end of a sightline. Leave it there for the rest of the process. Checkpoint: if the anchor looks wrong alone, no amount of surrounding pots will fix it.
- 3. Add one mid-height planter beside it: Position a medium planter so its rim sits clearly below the anchor's rim. Offset it slightly rather than lining the two up edge to edge. Common mistake: matching rim heights, which flattens the grouping.
- 4. Finish the cluster with a low bowl: Tuck a low bowl in front or to the side to complete the three-level rhythm. This is the layer that hides bare soil and softens the base of taller pots. Checkpoint: each cluster should read as tall, medium, low from at least one viewing angle.
- 5. Repeat the cluster on the opposite side: Mirror the rhythm, not the exact plants. A second grouping with the same height pattern and finish ties the patio together without looking like a copy. Common mistake: using identical plants on both sides, which can look stiff.
- 6. Set your spacing gaps: Keep 4 to 6 inches between pots inside a cluster and at least 18 inches between clusters on a small patio. Widen the gaps rather than adding more pots if the space feels full. Checkpoint: you should be able to walk the main path without turning sideways.
- 7. Review from three viewpoints: Look from the door, from the seating area, and from the patio edge. Move any planter that blocks a step, a view, or a walking line. Common mistake: judging the layout only from the doorway.
Planters that make grouping easier
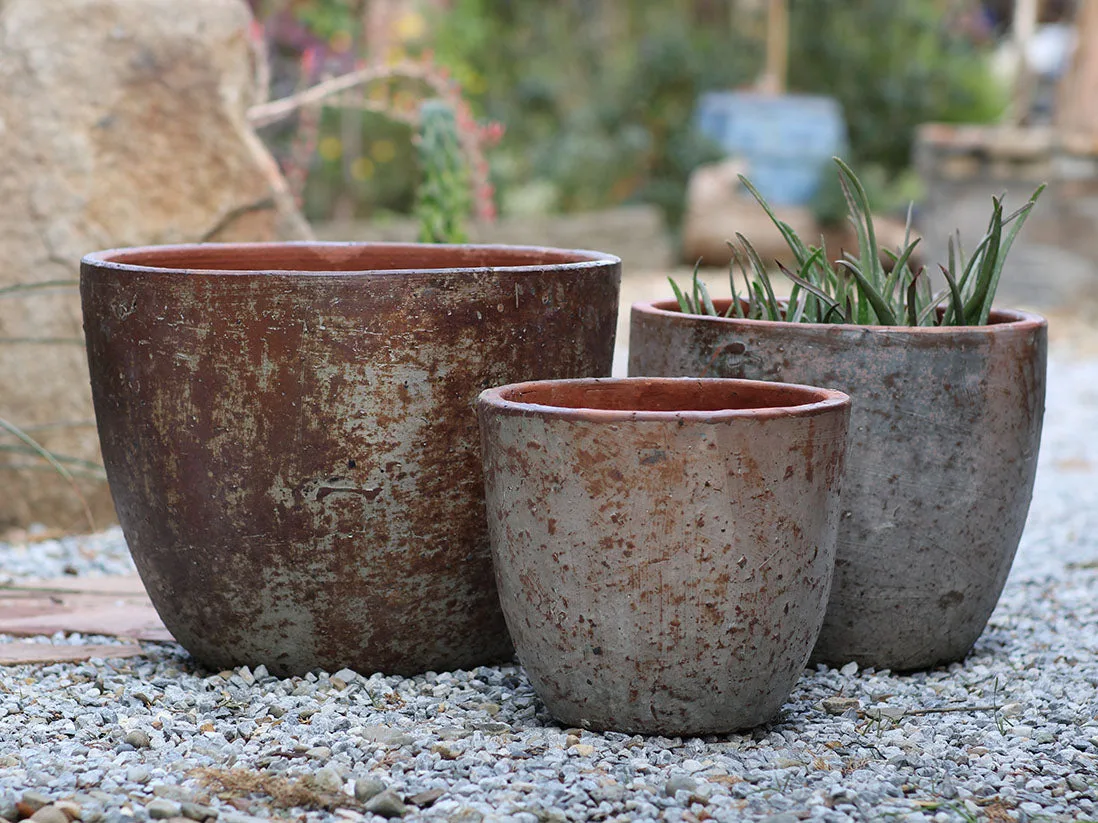
- Rimless Parco Planter By Plantatorem: Rimless Parco Planter by Plantatorem is a set of three rimless planters in graduated sizes: 18.5 inches wide by 15.5 inches tall, 15 inches by 13.5 inches, and 11.5 inches by 10.5 inches. A graduated set gives you the three height levels this layout depends on without hunting for matching pots in separate sizes.
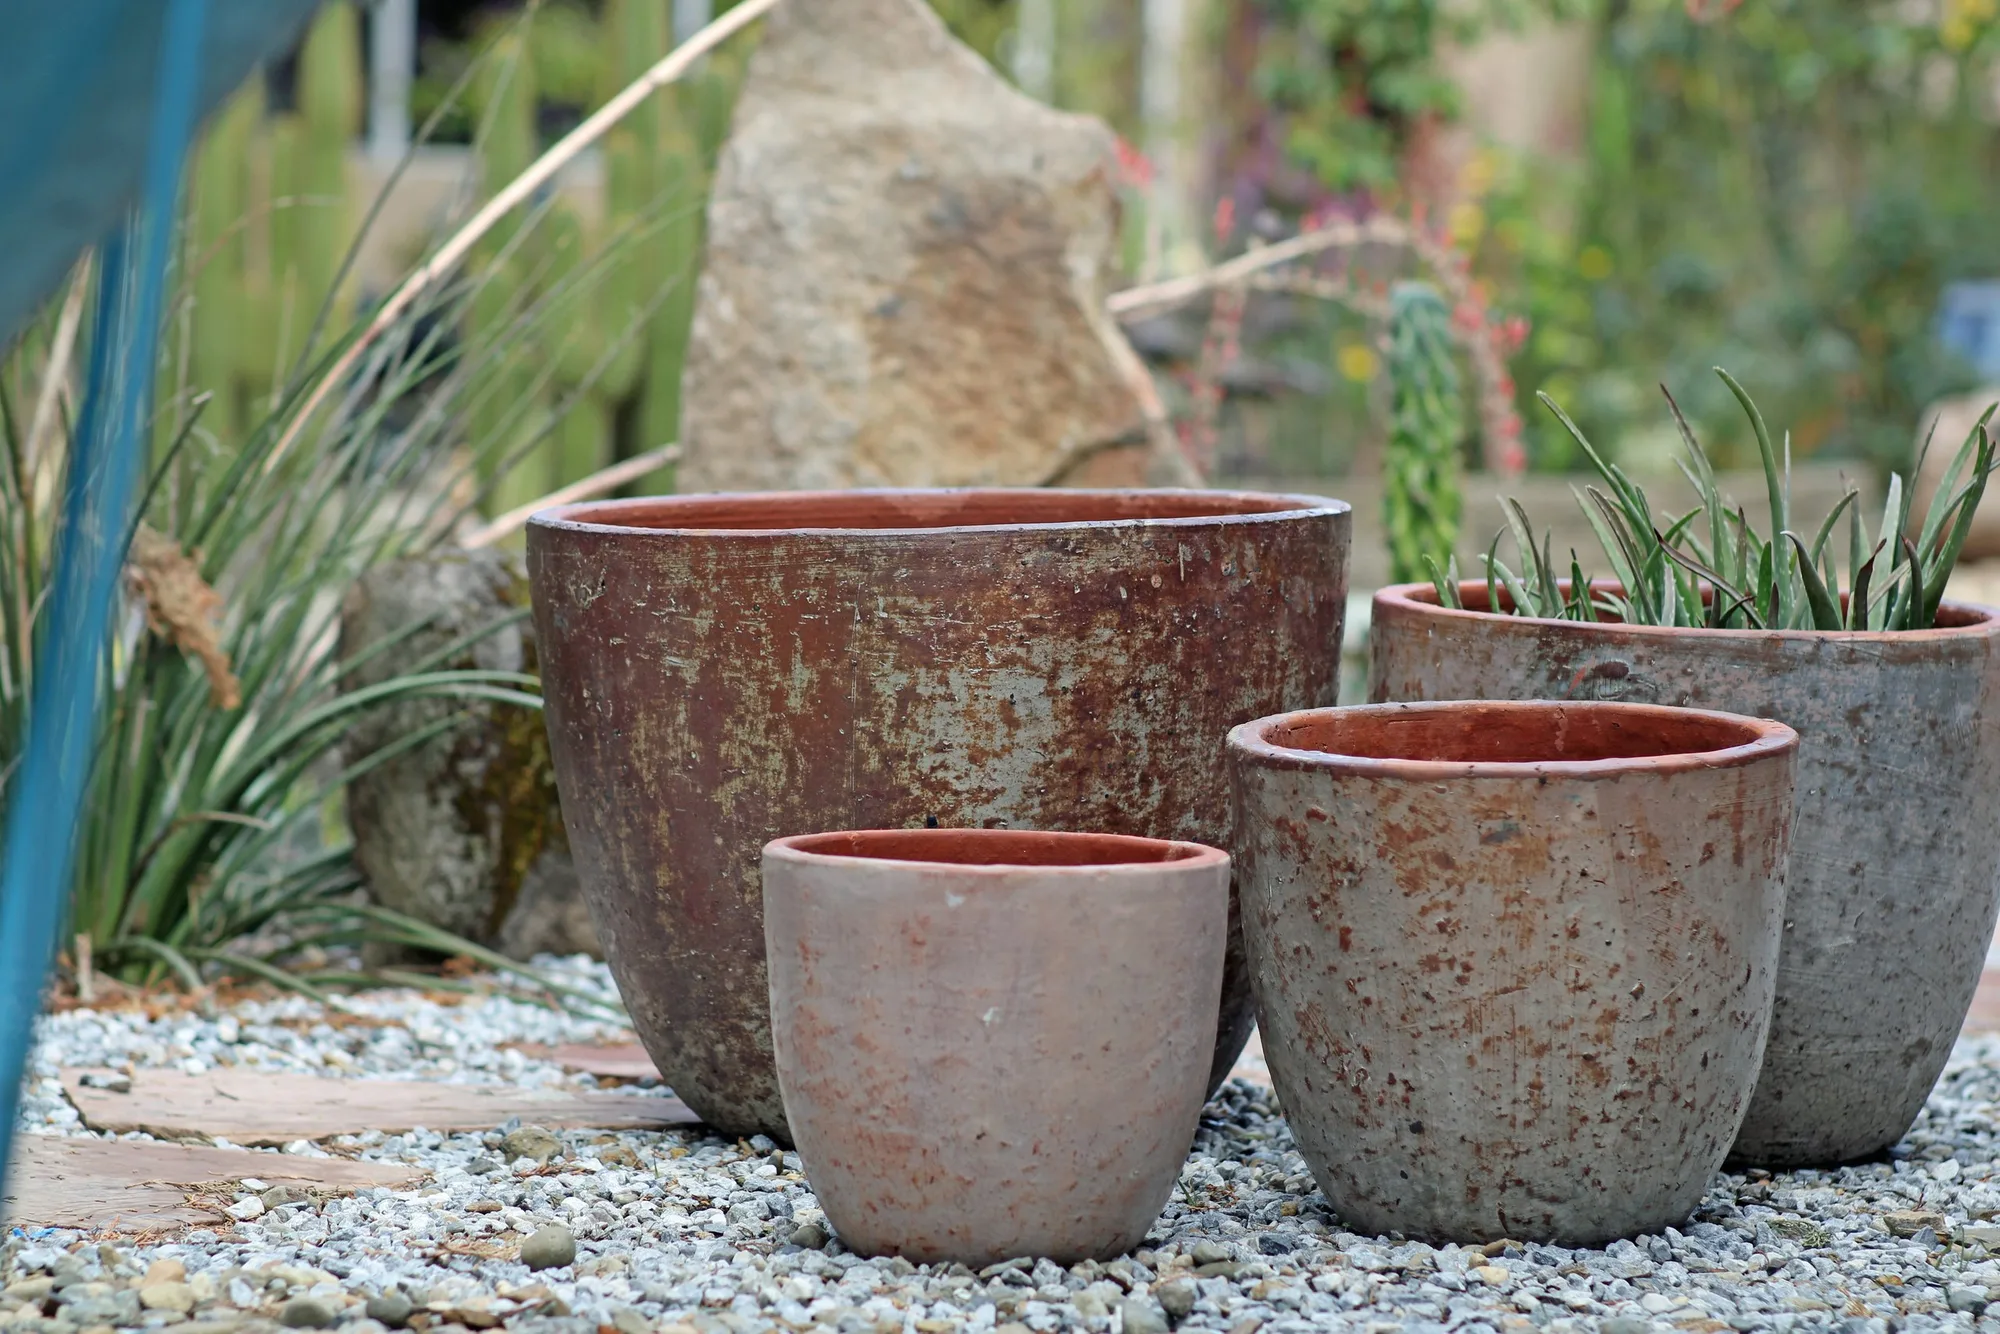
Rimless Parco Planter by Plantatorem
- Tuscan Hand Thrown Smooth Bowls By Plantatorem: Tuscan Hand Thrown Smooth Bowls by Plantatorem is a set of four hand-thrown terracotta bowls with a Mediterranean look, available in multiple colors and sizes. Low bowls are the easiest way to add the bottom layer of a grouping, and a set of four lets you repeat the same finish across several clusters.
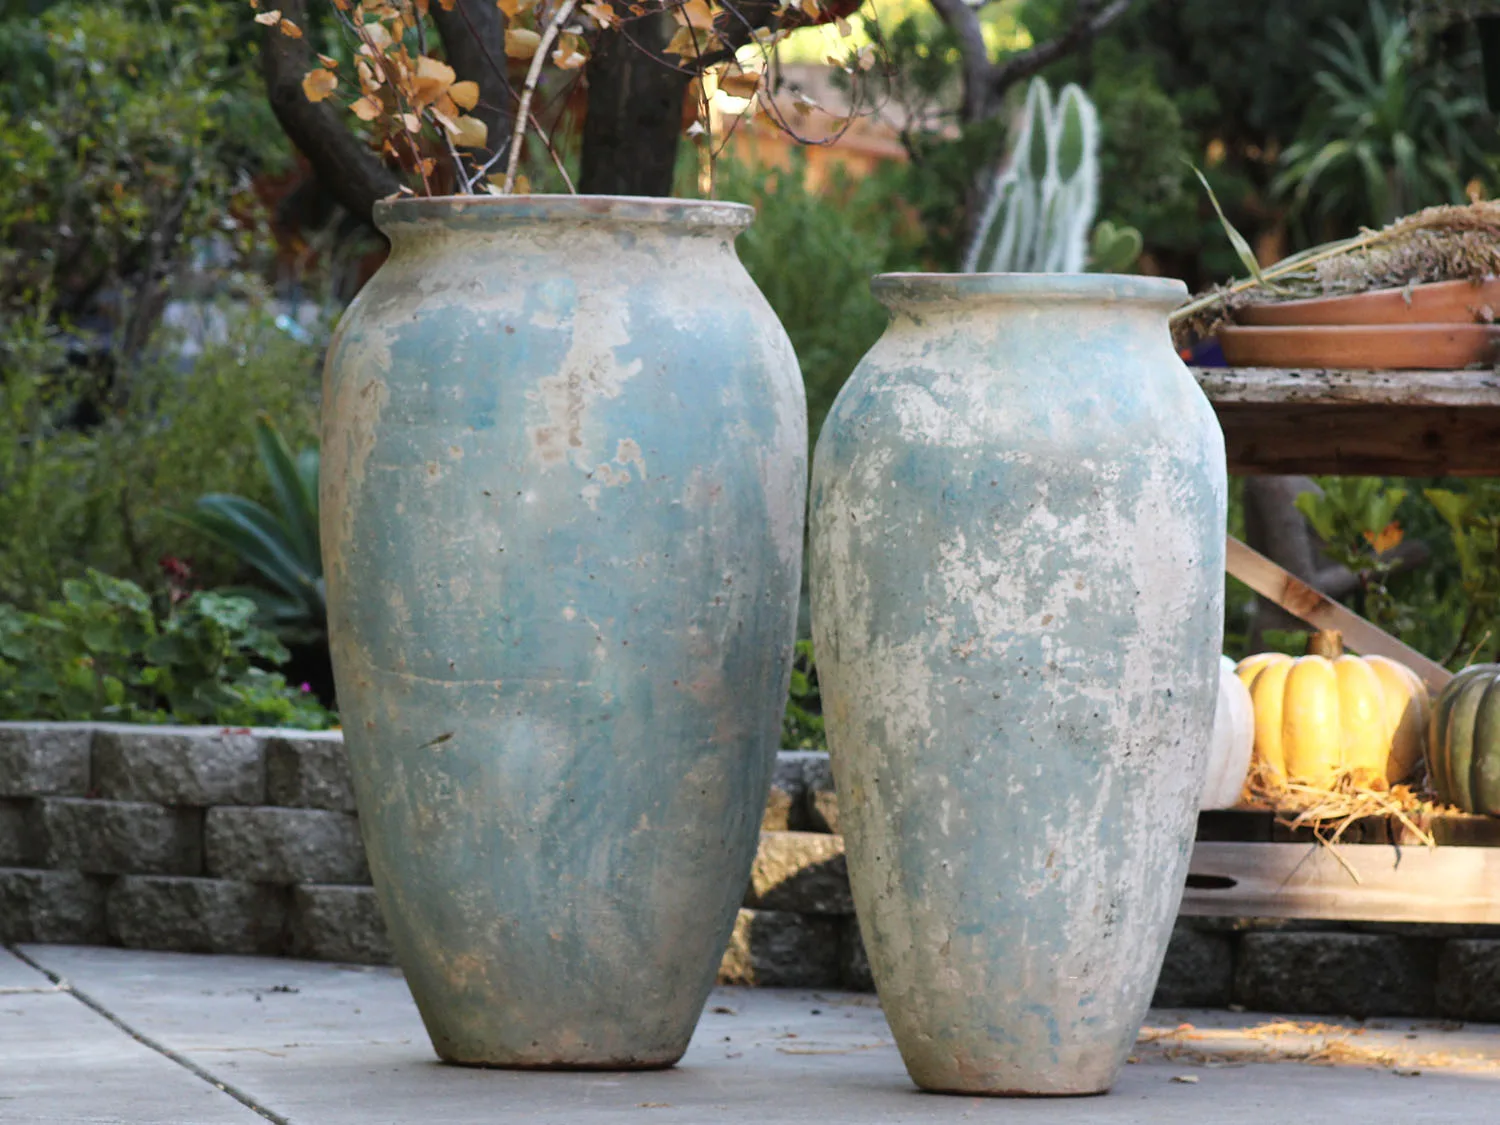
- Jar del Portal By Plantatorem: Jar del Portal by Plantatorem is a tall outdoor planter designed for entryways and suited to palms, fig trees, and ferns; it is made from earthen stoneware fired in a wooden kiln at 2200 degrees Fahrenheit, and no two pieces are alike due to the clay and hand-glazing process. This is a natural anchor piece for a patio or entry grouping, and the handmade variation means you should place it where its individual character can be seen rather than hidden behind smaller pots.