Journaling has evolved far beyond simple writing. Today, it's a canvas for creativity, where every page is an opportunity to express your unique style. Among the most versatile tools in a journaler's arsenal are stamps and stencils. While each can stand alone, combining them unlocks a new level of artistic possibility. In this guide, we'll explore the art of melding engraved wooden stamps with stencil sets, offering techniques that will transform your bullet journal into a masterpiece.
Whether you're a seasoned planner or a curious beginner, understanding how to layer these tools will add depth, texture, and personality to your pages. We'll cover everything from basic methods to advanced tips, ensuring you have the knowledge to create stunning layouts. Plus, we'll highlight some must-have products from NotebookTherapy to get you started.
Why Combine Stamps and Stencils?
Stamps and stencils serve different purposes in journaling. Stamps provide crisp, detailed images with a single press, while stencils offer flexible, reusable shapes that can be colored, shaded, or outlined. When used together, they create a dynamic interplay of form and texture. For instance, you can use a stencil to create a background pattern, then stamp a focal image on top, resulting in a layered, professional look.
Combining these tools also saves time and effort. Instead of drawing intricate designs freehand, you can rely on the precision of stamps and the versatility of stencils. This is especially beneficial for those who want consistent results without sacrificing creativity. Moreover, mixing mediums adds visual interest, making your pages more engaging and memorable.
- Use stencils for backgrounds and borders, stamps for focal points.
- Experiment with layering to create depth and dimension.
- Combine different ink colors to match your theme.
Essential Techniques for Combining Stamps and Stencils
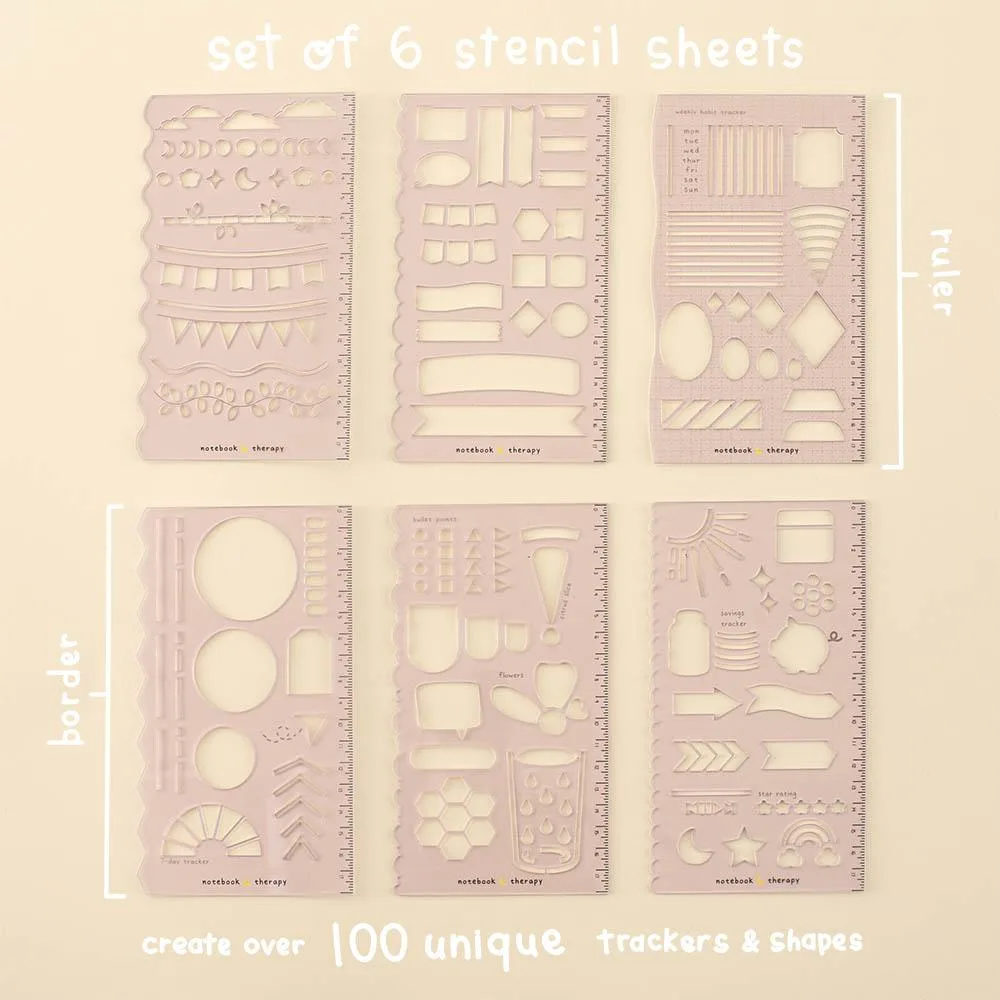
One effective technique is stencil masking. Place a stencil over your page and apply ink or paint. Once dry, remove the stencil and stamp over the area with a complementary design. This creates a cohesive look where the stamped image appears to be part of the stenciled pattern. For example, use the Tsuki Bullet Journal Stencil Set to create geometric shapes, then stamp a floral or celestial image within them.
Another method is to use stencils to create a frame, then fill the center with stamped elements. This is perfect for title pages or section dividers. You can also use stencils to add subtle texture, like dots or waves, and then stamp a bold quote or icon on top. The key is to balance the visual weight—if your stencil pattern is busy, keep the stamp simple, and vice versa.
- Start with light stencil colors, then add darker stamp inks.
- Practice on scrap paper to perfect placement.
- Use a stamping platform for precise alignment.
Choosing the Right Tools: Stamps and Stencils from NotebookTherapy
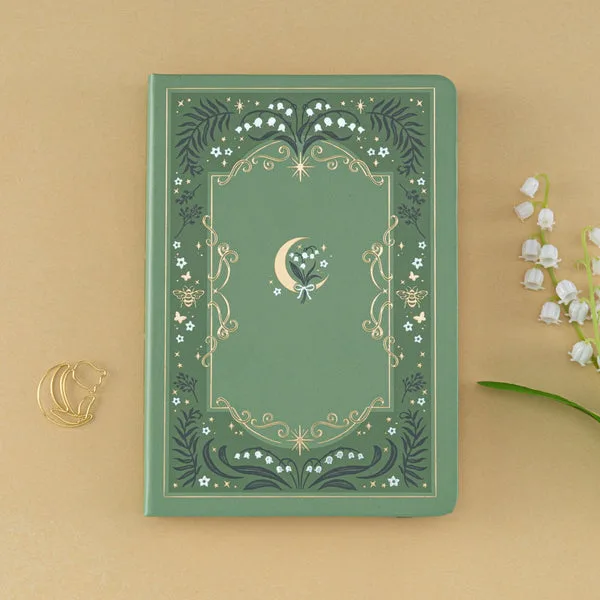
NotebookTherapy offers a range of high-quality stamps and stencils that are perfect for this creative process. The Tsuki ‘Vintage Academia’ Bullet Journal Stamp features intricate engravings that add an elegant, scholarly touch to any page. Pair it with the Tsuki Bullet Journal Stencil Set, which includes versatile shapes like circles, arrows, and frames, to create sophisticated layouts.
For a more whimsical approach, consider the Hinoki - ‘Into the Spring’ PET Decorative Tape. While not a stamp, this tape can be used alongside stamps and stencils to add borders and accents. Its translucent nature allows it to blend seamlessly with your designs. When selecting tools, look for ones that complement your style—whether it's minimalist, floral, or geometric.
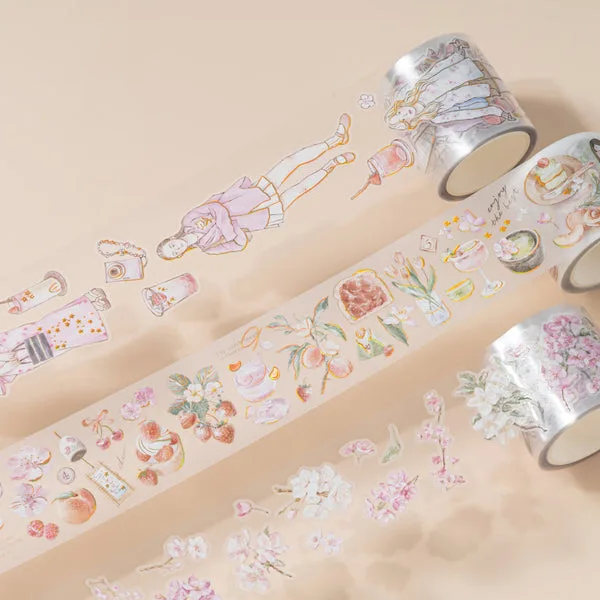
Hinoki - ‘Into the Spring’ PET Decorative Tape
- Choose stamps with fine details for elegant looks.
- Opt for stencils with multiple shapes for versatility.
- Consider themed sets to keep your journal cohesive.
Step-by-Step: Creating a Layered Journal Spread
Let's walk through a simple project. Start by selecting a stencil pattern for your background. Place the stencil on your page and apply a light wash of ink using a blending tool. Once dry, remove the stencil. Next, choose a stamp that complements the pattern. For instance, if you used a floral stencil, a butterfly or leaf stamp would work well. Ink the stamp and press it firmly onto the page, aligning it within the stenciled area.
To add more depth, you can stamp a second image slightly offset from the first, using a different color. Finally, use a fine liner to add hand-drawn details, such as connecting lines or small dots. This combination of stenciled background, stamped focal points, and hand embellishments creates a rich, textured spread that feels both polished and personal.
- Always let layers dry completely before adding the next.
- Use a light hand when applying stencil ink to avoid bleeding.
- Experiment with different color palettes for varied moods.
Advanced Tips for Perfecting Your Journaling with Stamps
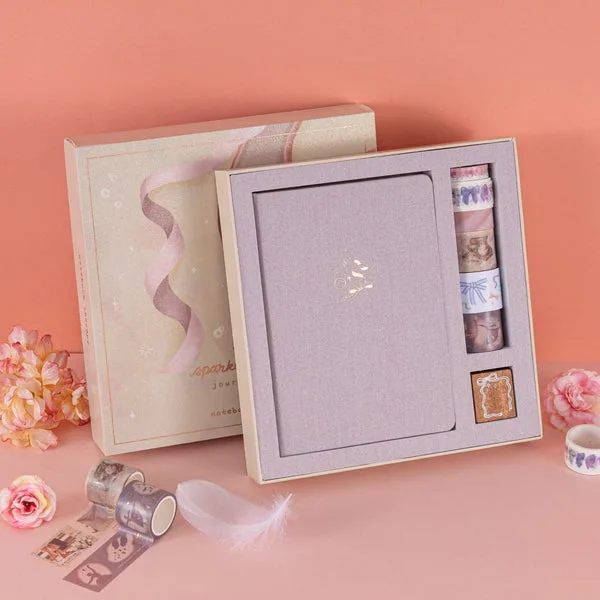
Once you're comfortable with the basics, try incorporating other elements like washi tape, stickers, or even pressed flowers. The Tsuki ‘Sparkle + Dance’ Limited Edition Bullet Journal Set includes a variety of accessories that can enhance your stamped designs. You can also use stencils to create custom washi tape by coloring the stencil pattern directly onto the tape.
Another advanced technique is heat embossing with stamps. Apply embossing ink, sprinkle embossing powder, and heat it to create a raised, glossy effect. This works beautifully with stenciled backgrounds, adding a tactile dimension. Remember to clean your stamps and stencils regularly to maintain their quality and ensure crisp impressions every time.
- Use a craft mat to protect your workspace.
- Invest in good quality ink pads that are fade-resistant.
- Store stamps and stencils flat to prevent warping.
Combining engraved wooden stamps with stencil sets is a rewarding way to elevate your journaling practice. With the techniques and product recommendations above, you're well-equipped to create stunning, layered pages that reflect your unique style. Explore the Tsuki Bullet Journal Stencil Set and the Tsuki ‘Vintage Academia’ Bullet Journal Stamp to start your creative journey today.