Quick answer
Set up the AllPondSolutions Auto-PFC-8000 by placing it below pond water level, connecting the pump to the inlet and the return to the outlet, checking the UV clarifier, then running the auto-clean dial before normal operation. The most common mistake is skipping the water-level check, which prevents the self-cleaning mechanism from working.
Why placement and water level matter more than plumbing
The Auto-PFC-8000 relies on gravity and water pressure to drive its self-cleaning cycle. If the filter sits above the pond’s water line, the auto-clean dial may not flush properly, leaving waste trapped. Position the unit on a stable, level surface beside or behind the pond, ideally in a spot with shade to protect the UV clarifier from overheating. Also leave enough clearance around the filter to turn the cleaning dial and access the inlet and outlet without straining the hoses.
When the auto-clean feature is not enough
The self-cleaning dial reduces maintenance, but it does not eliminate it. For ponds up to 8,000 litres, you still need to check the filter media and the UV lamp periodically. If your pond has heavy fish loads or lots of debris, the auto-clean cycle may need to run more often than the standard interval. The filter’s built-in UV clarifier also requires replacement according to the manufacturer’s schedule, which is not specified in the catalog—check the manual for the exact interval.
Auto-PFC-8000 setup steps
- Position the filter: Place the Auto-PFC-8000 on a firm, level base next to the pond, below the water level. Ensure the cleaning dial and hose connections are easily reachable. Check that the top of the filter is at least 10 cm below the pond’s normal water line—if it sits higher, the auto-clean cycle may not work.
- Connect the inlet hose: Attach the hose from your pond pump to the filter’s inlet port. Use a hose clamp to secure it and avoid kinks that restrict flow. A common mistake is forgetting the clamp—a loose hose can slip off under pressure and drain the pond.
- Connect the outlet hose: Run the outlet hose back to the pond, ideally at the opposite end to create circulation. Secure with a clamp and ensure the hose slopes gently downward to avoid air traps. If the outlet hose runs uphill, water may not flow freely; keep it as level as possible.
- Check the UV clarifier: Before filling, inspect the UV lamp for damage and make sure it is seated correctly. Do not plug it in yet. The UV lamp is fragile—handle it by the ends and never touch the glass with bare fingers.
- Fill and prime the filter: Open the air release valve if present, then fill the filter with pond water until it overflows, and close the valve. Start the pump and let water run through for a few minutes. Never run the pump dry; prime the filter first to avoid damaging the pump.
- Run the auto-clean dial: Turn the cleaning dial through its full cycle as described in the manual. This flushes the filter body and confirms the mechanism moves freely. If the dial feels stiff, do not force it—check for debris or incorrect assembly.
- Plug in the UV and set a schedule: Once water is flowing steadily, plug in the UV clarifier. Plan to run the auto-clean cycle regularly, and inspect the media monthly. Mark your calendar for the first UV lamp replacement—refer to the manual for the recommended interval, as it is not listed in the product details.
Product facts
-
AllPondSolutions Auto Cleaning Pressurised Pond Filter AUTO-PFC-8000: For ponds up to 8,000 litres, with a built-in UV clarifier and self-cleaning filter body. This capacity suits medium-sized ponds where waste builds up quickly, and the UV clarifier helps control green water without a separate unit.
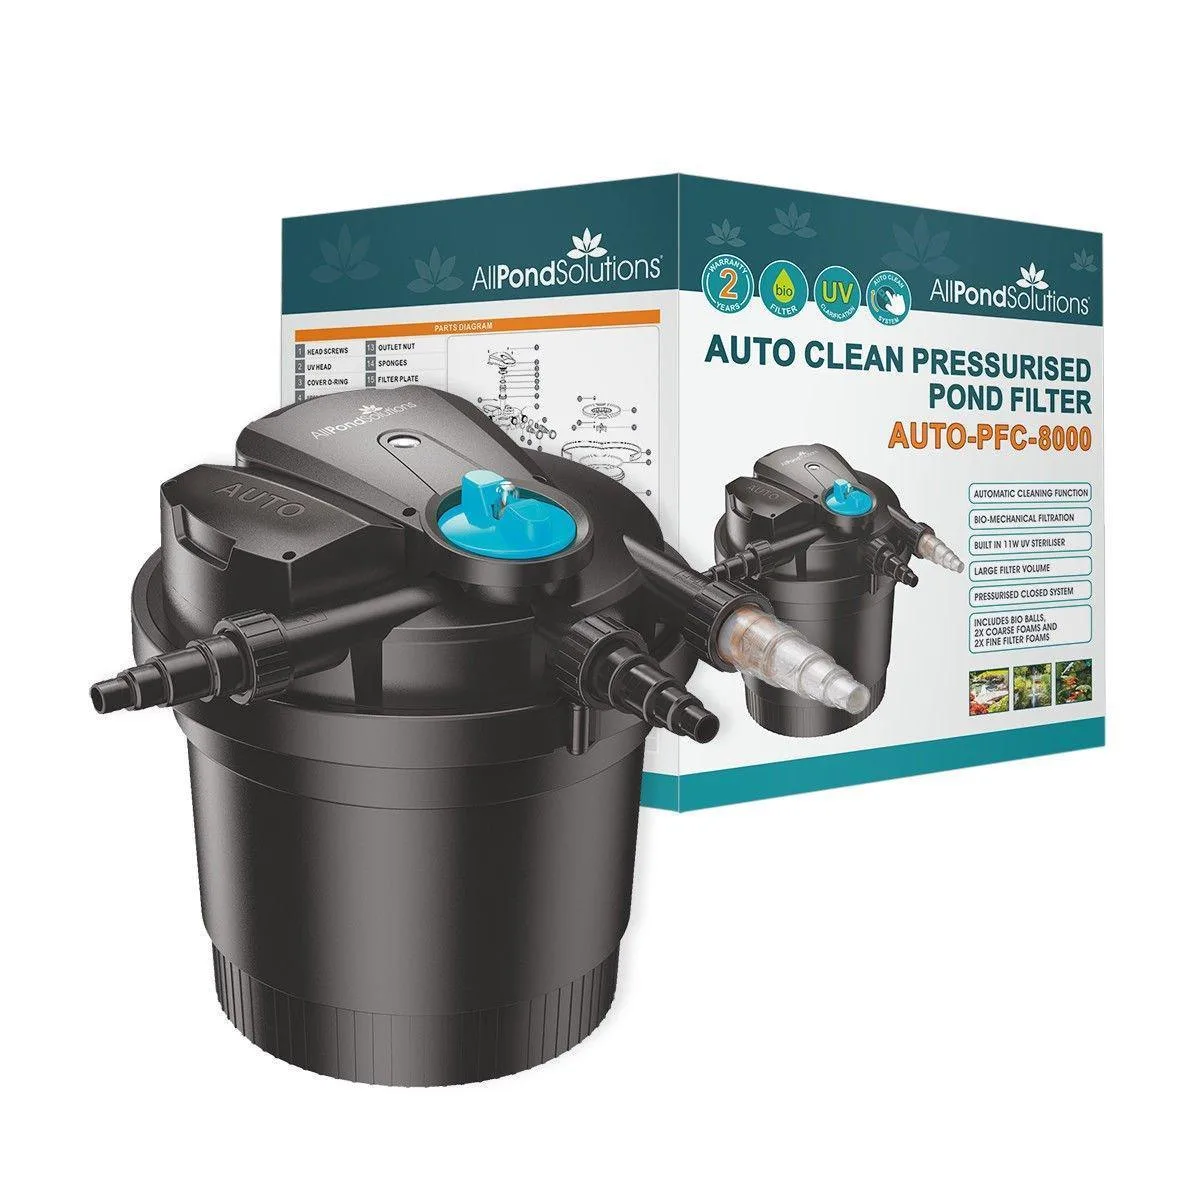
AllPondSolutions Auto Cleaning Pressurised Pond Filter AUTO-PFC-8000