Quick answer
Build the column from the base up: set and weight the metal stand first, then attach balloons in rows from the bottom, keeping the heaviest clusters low and checking upright balance as you go. A 1.8 m stand gives you a tall column, so the base and weighting decide whether it stays standing.
Why the stand base matters more than the balloons
A balloon column is top-heavy by design. The taller the stand, the more leverage any lean or bump creates at the base, so the base and its weighting do the real stability work. If you are also using a baby shower balloon arch kit elsewhere in the room, treat the column as a separate structure with its own footprint and keep guests from brushing past it.
The 1.8 m height is useful for entrances and photo backdrops, but it also means you should not stack the largest clusters at the very top. Keep visual weight lower and let the top row stay lighter.
When a metal stand is the wrong choice
A freestanding metal column is best when you need a defined vertical display and have floor space for a base. If your venue has no floor clearance, a low table edge, or a tight doorway, a wall-mounted or tabletop arrangement may suit better. Also check the venue's rules on floor-standing decor and whether the floor is level; a sloped or carpeted surface changes how you weight the base.
Step-by-step column setup
- Choose and clear the spot: Place the stand where guests will not brush it and where the floor is level. Mark the base footprint before you inflate anything. Check the venue allows floor-standing decor before setup day.
- Assemble and weight the base: Fit the pole into the base and add weight to the base before any balloons go on. A light base is the most common reason a tall column tips. Test a gentle nudge: if the base shifts, add weight before continuing.
- Plan balloon sizes and rows: Sort balloons into small, medium, and large groups and decide how many rows will cover the 1.8 m height. Keep the largest clusters in the lower half. Inflate a few balloons first to check the look before committing to the full set.
- Attach from the bottom up: Fix the lowest row first, then work upward, checking the pole stays vertical after each row. Do not load the top before the lower rows are secure. Recheck upright balance after every two rows.
- Finish the top last: Keep the top row lighter than the lower rows and secure it so it does not pull the pole. Step back to check the silhouette from the guest viewpoint. If the column leans, fix the base or lower rows rather than adding weight at the top.
- Do a final stability check: Walk around the column, check the base is still covered or weighted, and confirm no balloon is pressing against a wall or doorway. Keep the base clear of trip hazards. Assign one person to check the column before guests arrive and once mid-event.
Product facts
-
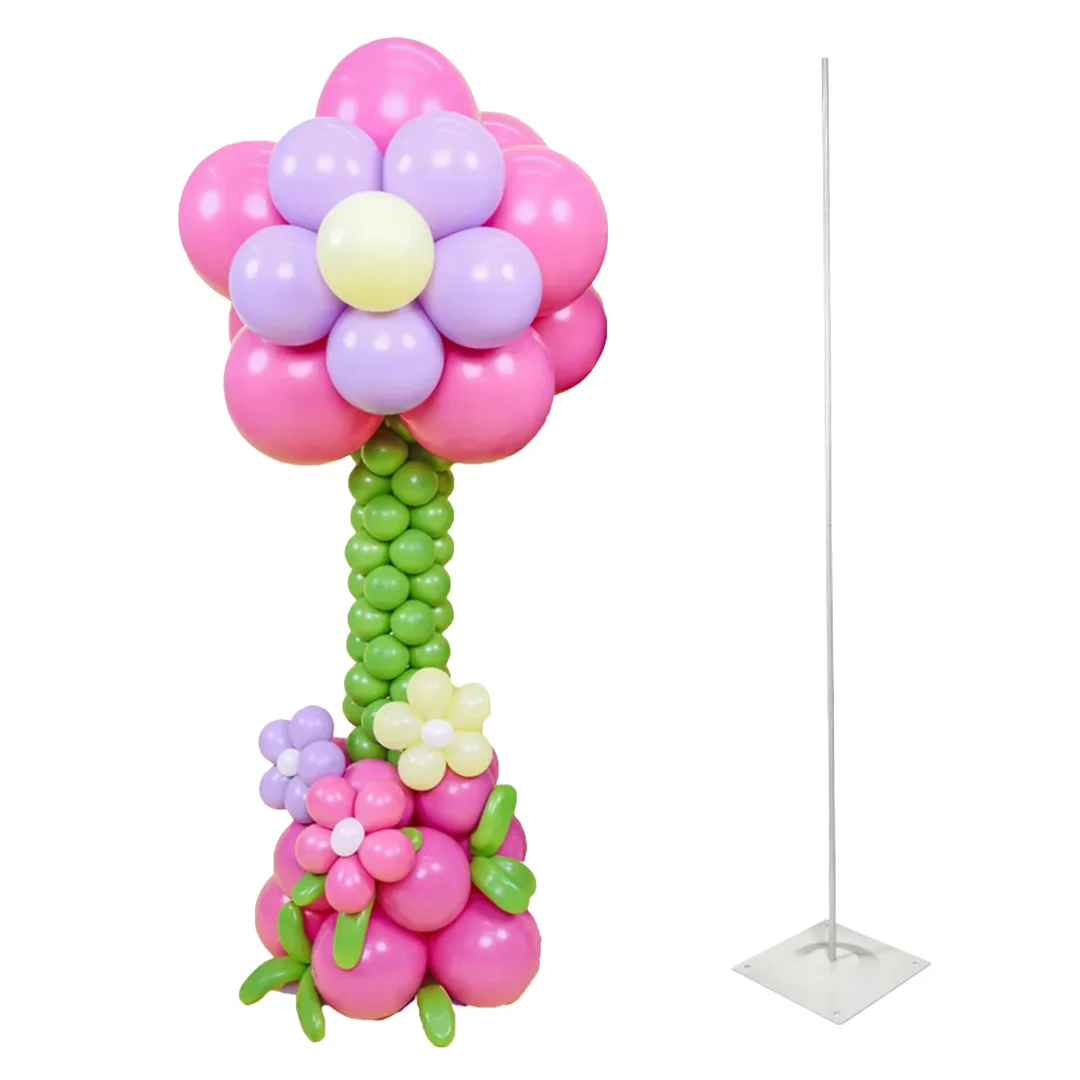
Balloon Column Metal Stand with Base 1.8 m: This balloon column metal stand with base is 1.8 m tall and is designed to hold balloon arrangements securely. The height sets your column's final look, so plan balloon rows to fill the full 1.8 m rather than clustering only at the top.
Balloon Column Metal Stand with Base 1.8 m