Start with the surface, not the shape
The Majesty set is built for a flat, firm surface, so the first step is choosing a clear area of floor rather than a rug that bunches or a slope that shifts underfoot. Clear away small toys and furniture legs, and leave a buffer around the whole layout so a wobble does not end against a table edge.
The supplied product information does not give a minimum room size or a recommended clearance distance. Treat the floor space as your own judgment call: lay out the pieces you plan to use, walk the perimeter, and confirm your child can step off any beam end onto clear floor.
A simple indoor setup sequence
- Unpack and count the pieces: The set includes 6 balancing beams, 6 stepping stones and 6 connectors. Check that all pieces are present before you start arranging a layout.
- Choose a flat, firm area: The product record specifies a flat, firm surface. Avoid soft rugs, uneven floorboards or anything that rocks under a stepping stone.
- Connect a short first layout: Use the connectors to join beams and stepping stones into a shape your child can complete. The connectors are what let you redesign the beam to suit your child's preferences.
- Walk the route yourself: Step the full path before your child does. Check that each piece sits flat, that connectors are seated, and that no beam end points into a wall or sharp corner.
- Reset after play: Because the pieces are loose and connector-based, the set stores as separate parts. Disconnect and stack or bag the beams, stones and connectors so the floor returns to normal.
What the Majesty record confirms
-
Majesty | Balance Beam & Stepping Stones: Crafted from premium birch wood, each piece is sanded smooth with rounded edges and finished with natural beeswax. Smooth, rounded edges matter on a floor-level set where children step, kneel and sometimes fall against the pieces.
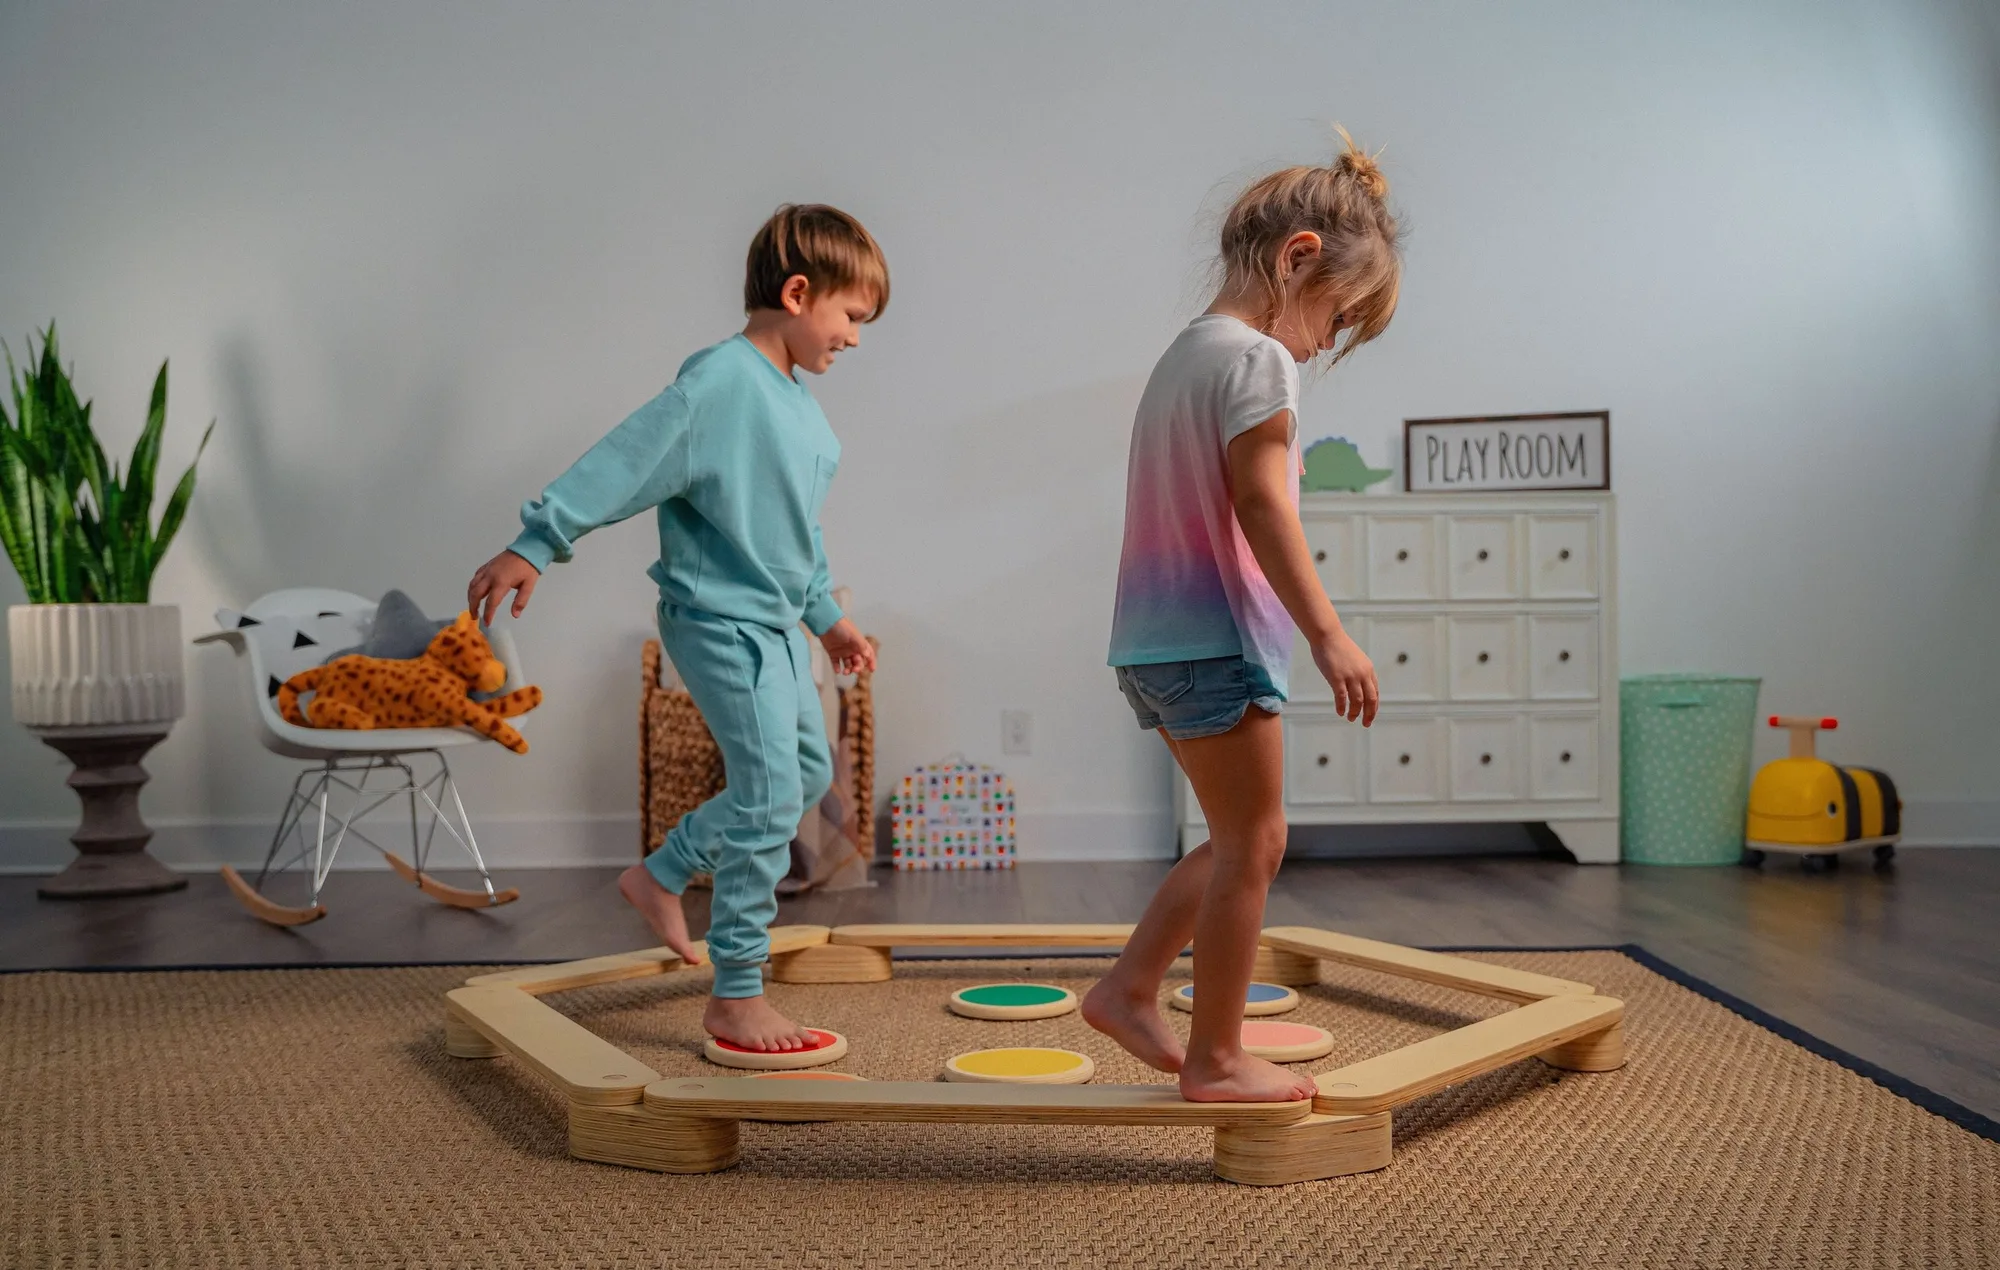
Majesty | Balance Beam & Stepping Stones
-
Majesty | Balance Beam & Stepping Stones: The set is designed for any flat, firm surface. This is the placement rule to follow when choosing a room or a spot on the floor.
-
Majesty | Balance Beam & Stepping Stones: Assembly couldn't be easier; no professional installation is needed. You can set up, change and pack away the layout yourself without tools or a fitter.
-
Majesty | Balance Beam & Stepping Stones: The set includes 6 balancing beams, 6 stepping stones and 6 connectors, and comes with a 5-year warranty. Knowing the piece count helps you plan a layout and check nothing is missing before play.
Spacing and non-slip placement on smooth floors
The supplied record does not include a non-slip rating, a recommended gap between stepping stones, or a maximum beam length. That means you should not rely on the set gripping a glossy floor by itself. Test each piece by pressing it with your foot before your child uses it, and keep the layout on a surface where the wood sits stable.
For spacing, build the route your child can actually step. A short gap between stones keeps the game moving; a long gap turns it into a jump and raises the chance of a slip. Start with a compact loop, then extend it only when your child completes the first version comfortably.
Indoor balance play setup tips that hold up
- Keep the route away from hard edges: Place the layout so a misstep lands on open floor, not on a radiator, shelf or door frame.
- Build one shape at a time: The connectors let you reshape the beam, but a single clear route is easier to supervise than a sprawling network.
- Use the stones as rest points: Alternating beams and stepping stones gives children a natural pause and makes the route easier to read.
- Set a play boundary: Agree where the set starts and ends so pieces do not drift across the room during play.
Balance beam storage ideas for a shared room
The Majesty set is not described as foldable in the supplied information, so plan storage around loose pieces rather than a single folded unit. Disconnect the beams and stack them flat, keep the stepping stones in one crate or basket, and bag the six connectors so they do not get lost between sessions.
A low shelf or a labelled storage bin near the play area makes the reset quick enough that the set actually gets put away. If the room is shared with adults, choose a storage spot that does not require lifting the beams overhead.
Where the supplied information stops
The product record does not give a weight limit, an age recommendation, a maximum number of children, or a cleaning method for the beeswax finish. It also does not confirm a non-slip base or a recommended spacing between pieces. For those details, check the product page or the manufacturer's documentation rather than guessing from the set's appearance.
What the record does support is straightforward: birch wood, smooth rounded edges, a beeswax finish, a flat firm surface, connector-based layouts, no professional installation, and a 5-year warranty. Build your setup around those confirmed points and keep the layout modest until you know how your child uses it.