Quick answer
Take the Balboa Leather Belt Bag Online Class if you want a guided path through leather construction rather than a pattern-only purchase. The class teaches a minimalist belt bag you can wear several ways or convert to a clutch by removing the strap.
Why this class suits leather beginners better than a pattern alone
A leather belt bag sewing class gives you the order of operations, which matters more with leather than with fabric. You need to know when to punch holes, when to set the strap, and when to close the bag so you are not wrestling a stiff piece through a machine at the wrong stage.
The Balboa project is deliberately restrained: a minimalist body, a strap that adjusts for several wearing positions, and a removable strap for clutch use. That narrow scope means you spend your practice time on the skills that transfer to other leather projects, not on decorative details.
What to have ready before the first lesson
The class listing does not specify a materials kit or a required tool list, so check the class materials before you buy leather. Treat the missing supply list as a planning step, not a reason to delay: confirm what the class asks for, then source leather, thread, and hardware to match.
Where the class stops and your own judgment starts
The class covers the Balboa design, not every belt bag variation. If you want a different closure, a lined body, or a wider strap, you will be adapting the method on your own. That is normal for a fanny pack sewing class format, but it means the class is a foundation rather than a full pattern-drafting course.
How to work through the Balboa class step by step
- Watch the full class once before cutting leather: Play the lessons start to finish without touching your tools. Note where the instructor punches holes, sets the strap, and closes the bag so you understand the sequence before any irreversible cut. Leather cannot be un-punched, so previewing the sequence protects your material.
- Confirm the class supply list and match your leather: Write down the leather weight, thread, and hardware the class specifies, then compare your materials to that list. If the class does not state a weight, choose a leather you can fold and stitch without cracking. A supply mismatch usually shows up as skipped stitches or a strap that will not lie flat.
- Cut the body and strap pieces, then label them: Cut slowly with a sharp blade and mark the wrong side of each piece. Keep the strap separate from the body until the class reaches strap assembly. Labeling pieces prevents the common mistake of sewing the strap to the wrong edge.
- Punch holes only after test-fitting the strap: Hold the strap against your body in each wearing position before punching adjustment holes. Mark the spots with a scratch awl, then punch. Test-fit first; a hole punched too high cannot be moved.
- Sew the body with a consistent seam allowance: Follow the class order for closing the bag and keep your seam allowance steady at corners. Slow the machine at curves rather than forcing the leather. Check the seam allowance after the first side before sewing the second.
- Attach the removable strap hardware and test the clutch conversion: Install the strap attachment exactly as demonstrated, then remove the strap and check that the bag reads as a clutch. Adjust hardware placement before your final stitching if the balance feels off. The bag should look finished with and without the strap, so test both before you close the last seam.
Class at a glance
-
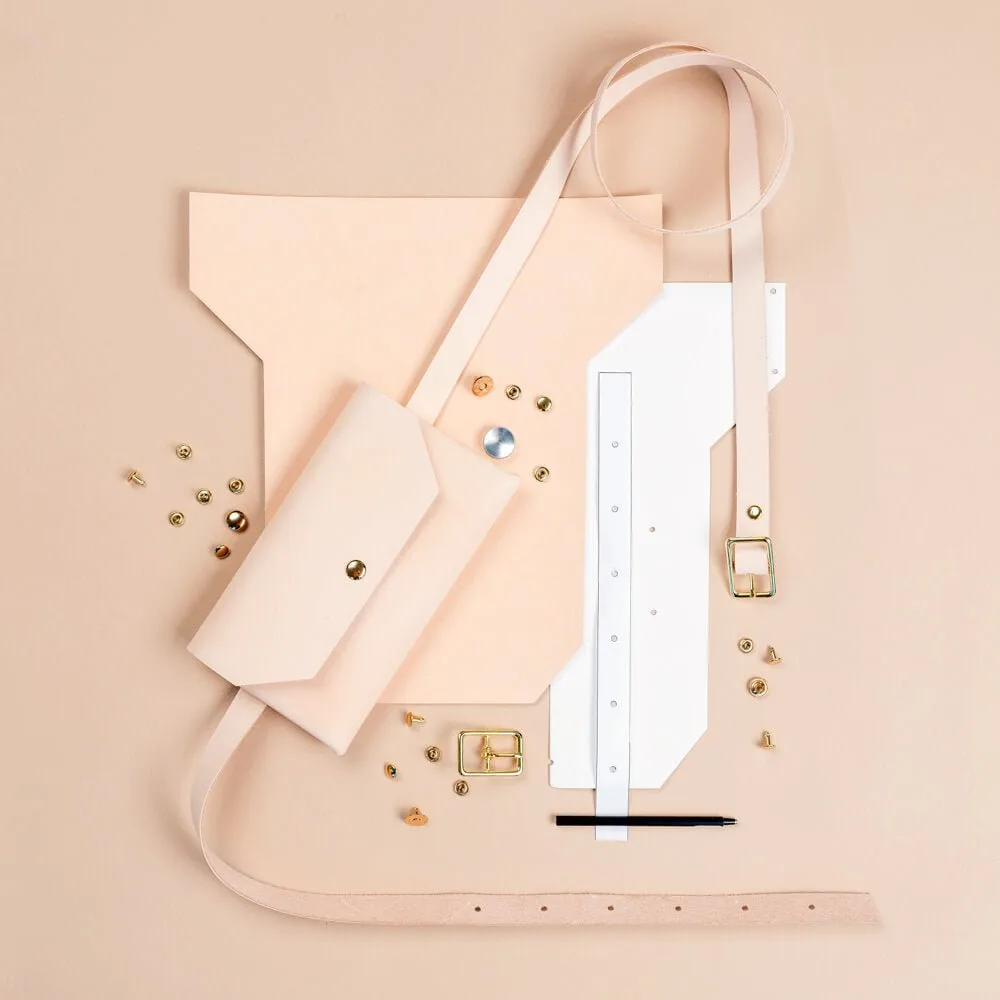
Balboa | Leather Belt Bag - Online Class: The Balboa class project is a minimalist leather belt bag with an adjustable strap that can be worn several ways or removed to make a clutch. One project gives you practice with strap fitting and a clean strap-removal finish, both useful on later leather bags.
Balboa | Leather Belt Bag - Online Class