Quick answer
Use a flat end mill for roughing and clearing large areas quickly, then switch to a ball nose end mill for the finishing pass to eliminate stair-stepping and produce smooth 3D contours. For deep reliefs, a long-reach or extra-long ball nose bit may be needed to reach the full depth without deflection.
Why the tool shape changes the cut
A flat end mill has a square cutting tip that leaves a flat bottom and sharp interior corners. It removes material efficiently and is ideal for pocketing, facing, and roughing out the bulk of a 3D carve. However, when used on curved surfaces, the flat tip creates a series of terraces—stair-stepping—that require extensive sanding to remove.
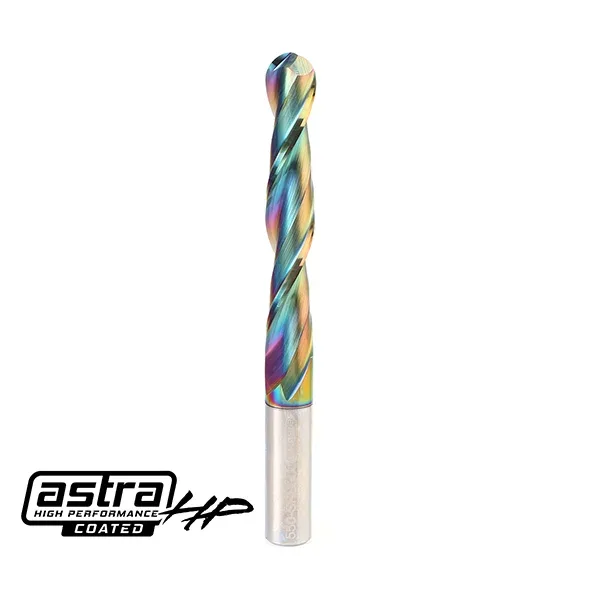
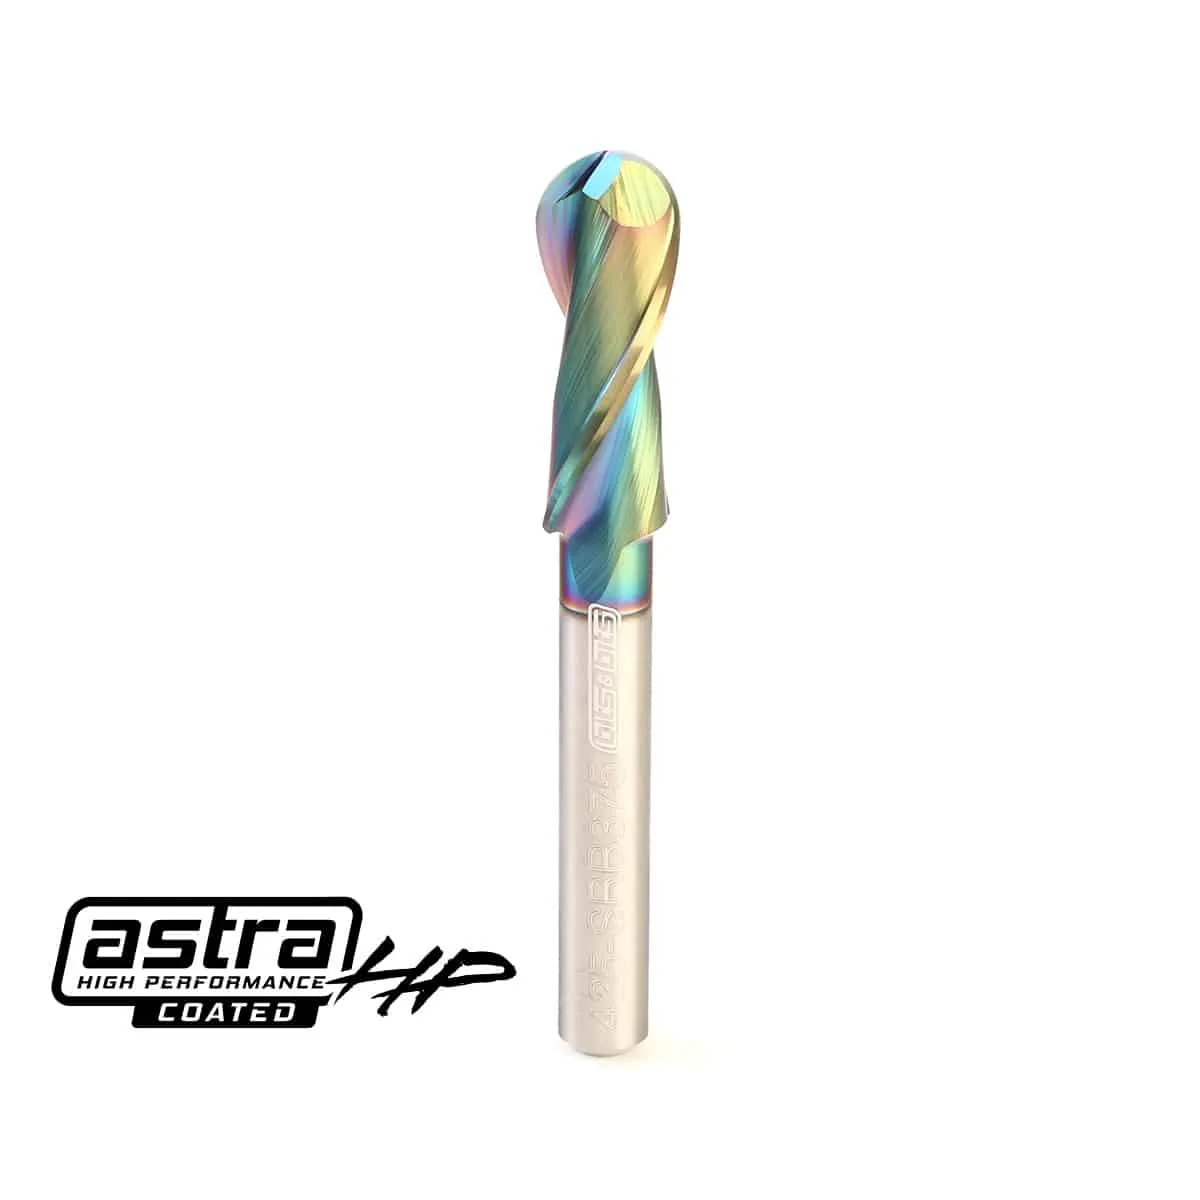
A ball nose end mill has a rounded tip that matches the curvature of 3D models. It leaves a scalloped but smooth surface that blends adjacent passes, making it the standard choice for finishing passes on reliefs, rounded slopes, and organic shapes. The trade-off is that ball nose bits remove material more slowly and are less efficient for bulk clearing.
Roughing vs finishing: a two-bit workflow
Most CNC 3D carving projects use a two-stage approach: rough with a flat end mill, then finish with a ball nose. The roughing pass clears the majority of waste, leaving a small amount of material for the finishing pass. This saves time and extends the life of your finishing bits.
For the finishing pass, choose a ball nose bit with a tip diameter appropriate for the detail level. Smaller tips (e.g., 1.2mm) capture fine details but require more passes; larger tips (e.g., 1/2″) cover area faster but may miss small features. The stepover—how far the bit moves sideways between passes—determines the scallop height. A common rule is to use a stepover of 8–12% of the bit diameter for a smooth finish.
When flat end mills still make sense for 3D work
Flat end mills are not obsolete for 3D carving. They excel at clearing large flat areas, cutting straight walls, and creating sharp internal corners that a ball nose cannot reach. Some carvers use a flat end mill for the entire roughing phase and even for certain finishing passes on models with flat facets or geometric designs.
If your 3D model has both flat and curved regions, you may need to use both bit types. A flat end mill can handle the flat sections, while a ball nose handles the curves. This hybrid approach minimizes sanding and produces cleaner results.
Reach and rigidity: the hidden trade-off
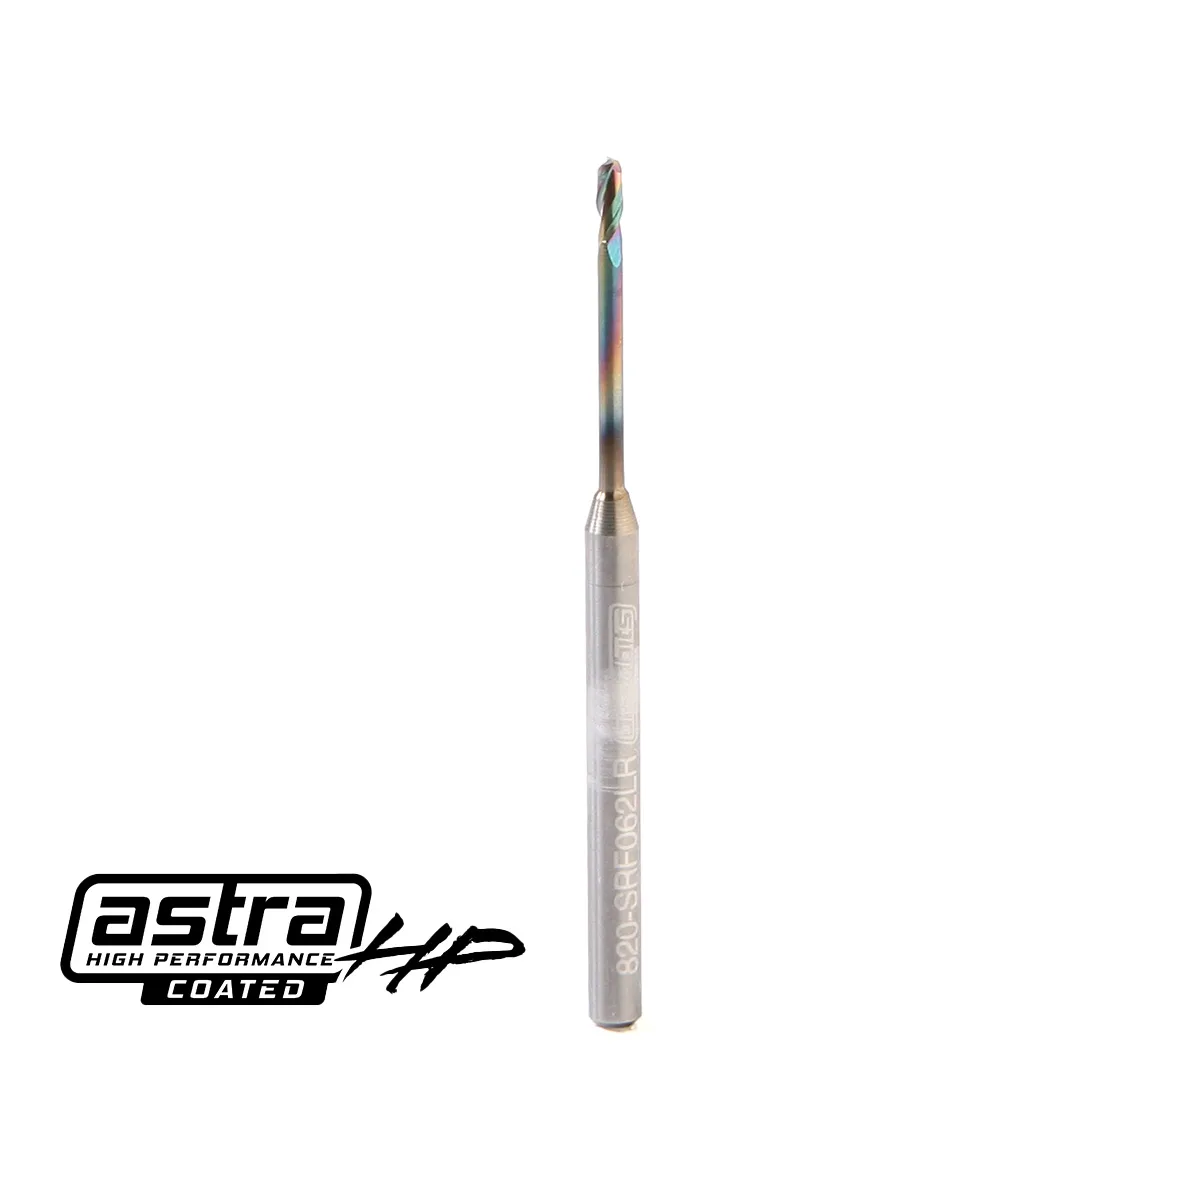
Deep 3D carvings often require a bit with extra reach to avoid the collet hitting the workpiece. Long-reach bits are available in both flat and ball nose styles, but they are more prone to deflection. A 1/16″ long-reach up-cut spiral bit, for example, has a 3/4″ reach but requires a lower feed rate to prevent breakage.
For ball nose bits, extra-long designs like a 1/2″ extra-long ball nose end mill with a 3″ cut length provide the reach needed for deep contours while maintaining rigidity through a redesigned shorter overall length. Always check the maximum depth of cut and adjust feed rates accordingly—longer bits demand lighter passes.
Down-cut vs up-cut: does it matter for 3D carving?
The spiral direction affects edge quality on the top surface. Down-cut bits push fibers down, reducing tear-out on plywood, melamine, and laminates. Up-cut bits pull chips up and are better for deep pockets where chip evacuation is critical. For 3D finishing, the choice depends on your material: down-cut for clean top edges, up-cut for efficient chip removal in deep cuts.
Some carvers use a down-cut ball nose for the final pass on laminated materials to avoid fuzzing. However, down-cut bits can pack chips in the cut, so they are less ideal for deep roughing. Match the spiral to the task: down-cut for finishing visible surfaces, up-cut for roughing and deep cavities.
Trade-offs at a glance
- Flat end mill: speed vs surface finish: Flat end mills remove material quickly and leave a flat bottom, making them ideal for roughing and flat areas. However, on curved surfaces they leave stair-stepping that requires sanding or a finishing pass. Use for roughing and flat features; switch to ball nose for curves.
- Ball nose: finish quality vs material removal rate: Ball nose bits produce smooth 3D contours and require less sanding, but they remove material more slowly and are less efficient for bulk clearing. Reserve ball nose for finishing passes to save time and bit life.
- Long reach: depth vs rigidity: Extra-long bits let you carve deep reliefs, but they are more prone to deflection. A 1/16″ long-reach up-cut bit needs a lower feed rate than a standard 1/16″ bit. Reduce feed rate and depth of cut when using long-reach bits.
- Down-cut vs up-cut: edge quality vs chip evacuation: Down-cut bits keep top edges clean on laminates but can pack chips; up-cut bits evacuate chips efficiently but may tear out top fibers. Choose down-cut for finishing visible surfaces, up-cut for deep roughing.
Product facts
- 1/2″ Extra-Long Ball Nose End Mill – 3″ Cut – 5″ OAL: 1/2″ Extra-Long Ball Nose End Mill – 3″ Cut – 5″ OAL: redesigned with a more compact 5″ overall length while maintaining the same 3″ length of cut; used for milling rounded slopes and machining 2D/3D dimensional contours with a smooth finish; enhances rigidity, reducing deflection for precise cuts in wood, plywood, and laminates. The extra-long reach lets you carve deep 3D reliefs without the collet hitting the workpiece, while the shorter overall length improves rigidity compared to older long-reach designs.
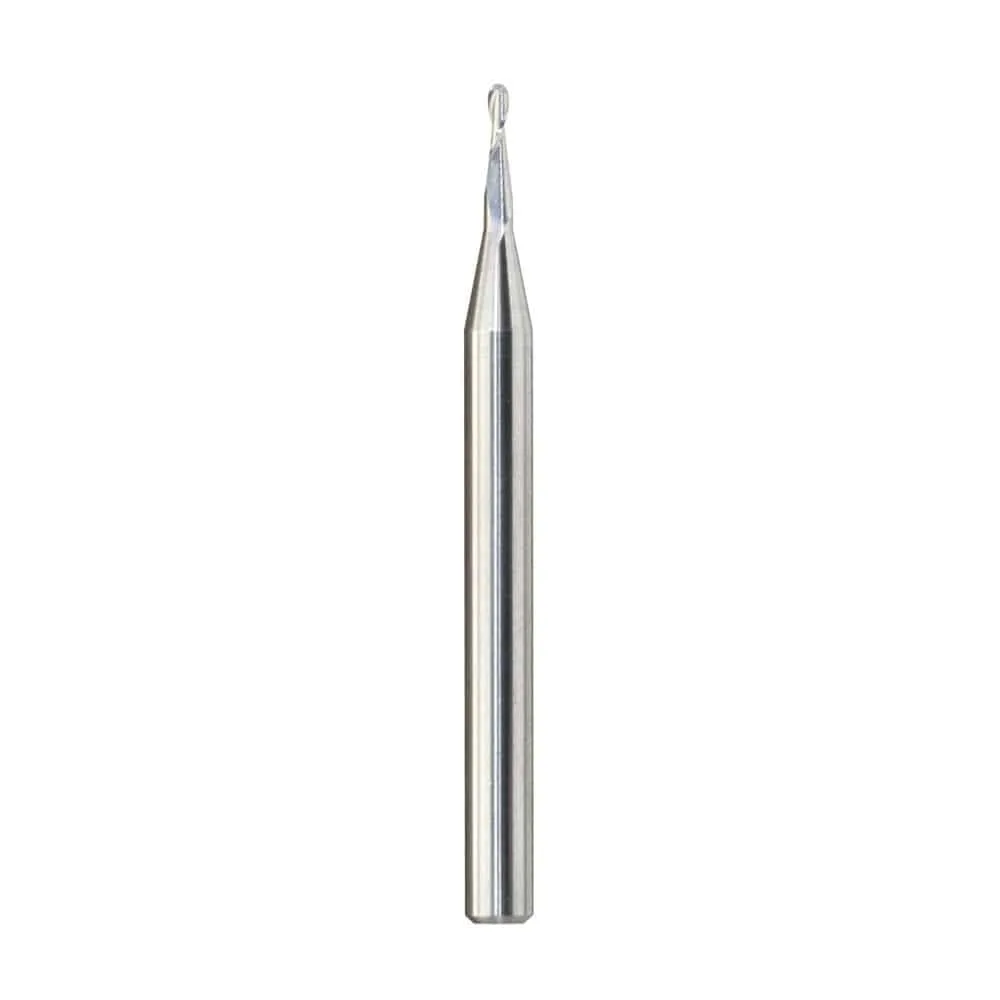
- 1.2mm Metric Ball End Mill: 1.2mm Metric Ball End Mill: solid micrograin carbide, 2 flute, 1.2mm miniature ball end mill; round tip used to machine curved details, rounded slots, slopes, and 2D/3D dimensional contours with a smooth finish; works in wood, plastic, metal; made in the USA; shank size 3mm, tool length 38mm. The small tip diameter captures fine details in miniature 3D carvings, but the 3mm shank limits it to light passes and smaller spindles.
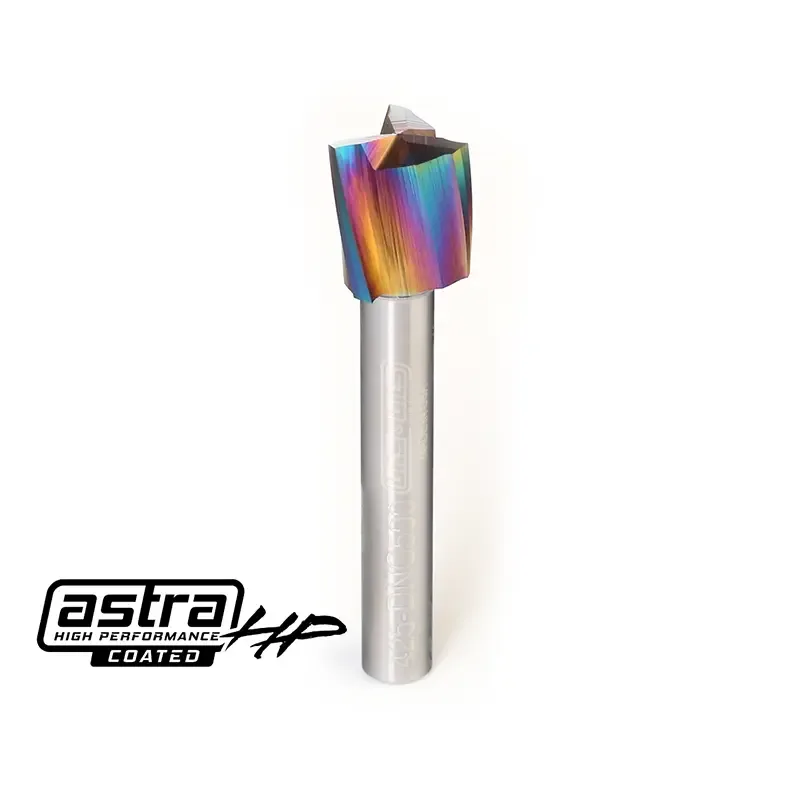
- 1/2″ Triple Flute Down-Cut Spiral Bit – 1/4″ Shank (AstraHP Coated): 1/2″ Triple Flute Down-Cut Spiral Bit – 1/4″ Shank (AstraHP Coated): large-diameter down-cut built for small spindle CNCs that need more cut width without stepping up to a 1/2″ shank; 1/2″ cut diameter with 1/4″ shank allows hobby and light-production CNC machines with Makita or Dewalt to remove more material per pass; down-cut keeps top edges clean in plywood, melamine, and laminated materials; AstraHP coating helps manage heat and extend edge life. This down-cut bit is ideal for roughing or finishing flat areas on laminated materials where top-edge tear-out is a concern, and its 1/4″ shank fits common trim routers.
- 1/16″ Long-Reach Up-Cut Spiral Bit – 1/8″ Shank (AstraHP Coated): 1/16″ Long-Reach Up-Cut Spiral Bit – 1/8″ Shank (AstraHP Coated): 1/2″ flutes plus an additional 1/4″ reach for a total reach of 3/4″; AstraHP coated solid carbide; tip diameter 1/16″, shank 1/8″, length of cut 3/16″, overall length 2″; made in USA; because of the longer reach, the recommended feed rate is lower than a standard 1/16″ bit. The extra reach allows deep detail work in 3D carving, but the lower feed rate requirement means you must slow down to avoid deflection or breakage.
Which bit should you use?
Best for
- CNC carvers who need to rough out 3D reliefs quickly and then finish with smooth contours
- Woodworkers machining plywood, melamine, or laminates who need clean top edges
- Hobbyists with small spindles (Makita, Dewalt) who want a larger cut diameter without a 1/2″ shank
Not for
- Projects that require only flat bottoms and sharp internal corners—a flat end mill alone is sufficient
- Ultra-deep carvings where a standard-length bit cannot reach and a long-reach bit would deflect excessively
- Production environments that need maximum material removal rate without a finishing pass