Quick answer
Set up your beading turret by locking the correct bead-forming tip in the turret, securing the work in a stable holder, and adjusting the height so the tip meets the metal at a shallow angle. Test on scrap before touching the stone. The biggest gains come from a rigid setup and a light, controlled touch, not from pushing harder.
Why setup decides your beading results
A beading turret is a rotating tool holder that lets you switch between bead-forming tips without changing hand position. In bezel and wire beading, the turret's value is repeatability: once the height and angle are set, each bead is formed with the same geometry. If the turret is loose, tilted, or set too high, you will raise burrs, flatten beads, or skate across the bezel. Check the turret's rotation before each stone. It should index cleanly with no wobble, and the tip should sit square to the work.
Match the tip to the bead size and metal
Beading tips are sized by the diameter of the bead they form. For bezel beading, use a tip that matches the bead you intend to raise, not the width of the whole bezel. For wire beading, the tip should cup the wire without crushing it. If you are unsure which tip to start with, test on a piece of the same metal and thickness. A tip that is too small will leave a sharp crease; one that is too large will produce a shallow, weak bead. Keep a dedicated turret loaded with your most-used sizes so you are not swapping tips mid-stone.
Secure the work before you touch the turret
The most common cause of a slipped bead is a workpiece that moves. For rings and small bezels, use a ring clamp or a bench vise with soft jaws. For flat work, a shellac stick or thermoplastic block gives you a rigid hold without marring the surface. The work should be high enough that your hand can rest on the bench while the turret tip meets the metal. If you are holding the piece in your fingers, stop and find a holder. No amount of tip control compensates for a moving workpiece.
Set the height and angle once, then repeat
Lower the turret until the tip just touches the metal, then back off a fraction. The tip should contact the bezel at a shallow angle, roughly parallel to the surface, so it pushes metal rather than digging in. Lock the height adjustment. For a run of beads, rotate the work slightly after each bead rather than moving the turret. This keeps the tip at the same height and angle for every bead. If you feel the tip grab, stop and re-check the height before continuing.
Work in passes and inspect as you go
Form beads in two or three light passes rather than one heavy push. The first pass raises the metal, the second rounds it, and the third tightens it against the stone. Between passes, check that the stone is still seated and that no bead has folded over. A loupe or optivisor helps here. If a bead looks uneven, correct it with a smaller tip before moving on. Trying to fix a bad bead with a larger tip usually makes it worse.
Clean and store the turret between jobs
Metal chips and polishing compound build up in the turret and tip seats. Brush the turret with a soft brush and wipe the tips with a dry cloth after each use. A drop of light oil on the turret's rotating mechanism keeps it indexing smoothly. Store the turret with the tips retracted or capped so they do not bump against other tools. If a tip becomes dull or chipped, replace it. A dull tip requires more pressure, which is when slips happen.
Beading turret setup steps
- Inspect and lock the turret: Rotate the turret through all positions and check for wobble. Lock it in the position you will use first. A loose turret will move during a pass and ruin the bead. Checkpoint: the turret should index with a firm click and no side-to-side play.
- Select and seat the bead-forming tip: Choose a tip that matches the bead size you want, not the bezel width. Insert it fully and tighten the set screw or collet. A partially seated tip will shift under pressure. Checkpoint: tug the tip gently; it should not move.
- Secure the workpiece: Clamp rings in a ring clamp or soft-jaw vise. Mount flat work on shellac or thermoplastic. Position the work so your hand can rest on the bench while the tip meets the metal. Checkpoint: if you can move the work with light finger pressure, it is not secure enough.
- Set height and angle on scrap: Lower the turret until the tip just touches scrap metal of the same thickness. Adjust the angle so the tip is nearly parallel to the surface. Lock the height. Make one test bead and inspect it. Checkpoint: the test bead should be round and bright, with no crease or flat spot.
- Form beads in light passes: Work around the bezel or wire in one direction. Use two or three light passes per bead rather than one heavy push. Rotate the work slightly after each bead to keep the tip at the same height. Checkpoint: if the tip grabs or chatters, stop and lower the pressure before continuing.
- Inspect and correct early: Use a loupe or optivisor to check each bead as you go. Correct uneven beads with a smaller tip before moving to the next section. Do not try to fix a bad bead with a larger tip. Next step: once the run is even, clean the turret and tips before storing.
Tools that support a stable beading setup
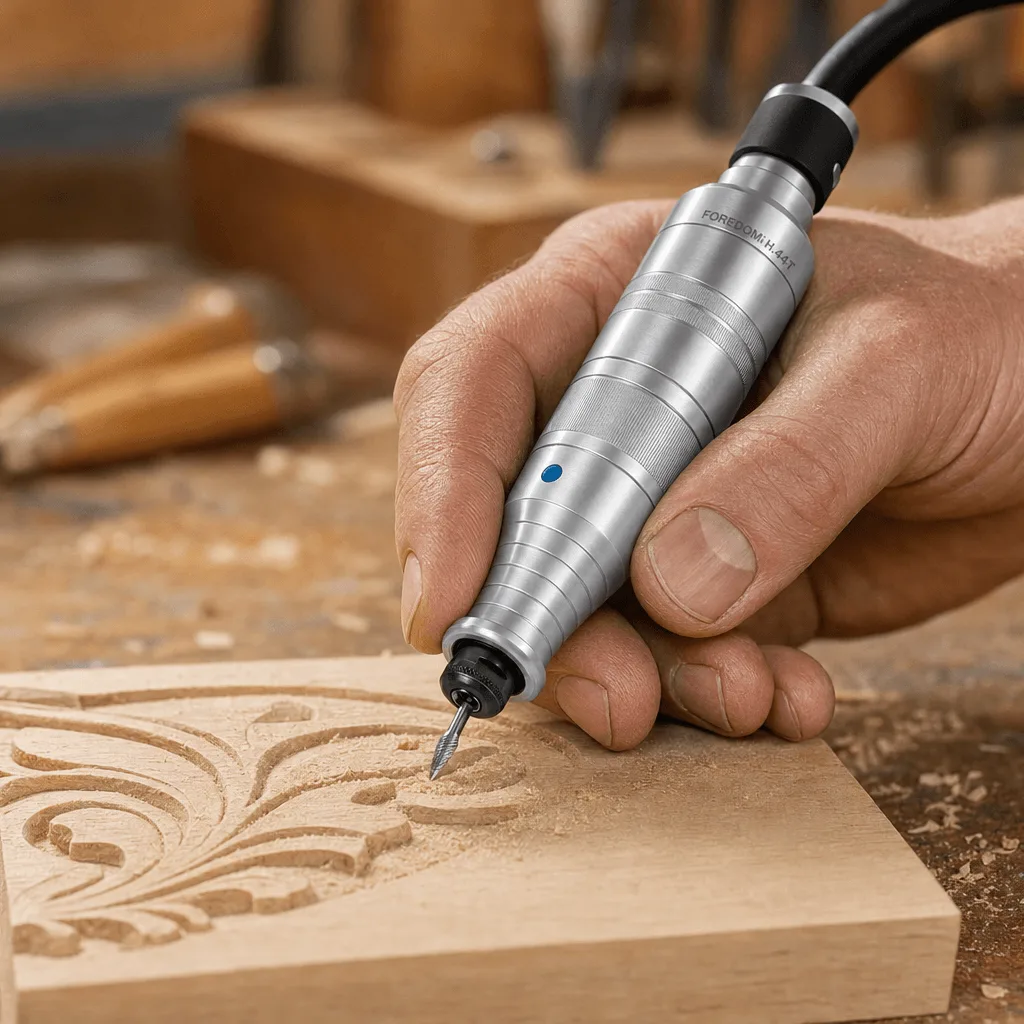
- FOREDOM Handpiece, H.44T, General Use (H.44T): The Foredom H.44T is a collet-style, key tip handpiece for use with Foredom flexible shaft machines. It accepts shanks up to 1/4" and includes three collets and a pin-and-wrench tool. It is compatible with key tip flex shafts only and will not connect to slip-joint machines. If you use a flex shaft for final cleanup or texturing around beads, this handpiece gives you a secure collet grip for large-shank burs. Check your flex shaft tip before ordering, because it will not fit slip-joint machines.
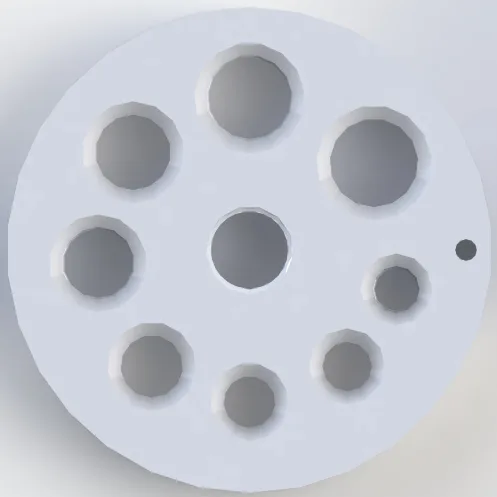
- Reducing Die & Push Rod for Ring Stretcher (DELRIN): This reducing die and push rod for the Pepetools ring stretcher features a 4.5" round solid acetal (Delrin) body, 16 countersunk holes (8 on each side), and is nearly 1" thick. It is bur-free and won't mar most materials. A rigid, non-marring holder keeps rings and bezels steady while you bead. This die is an optional add-on to the Pepetools ring stretcher, so it is only useful if you already use that stretcher.