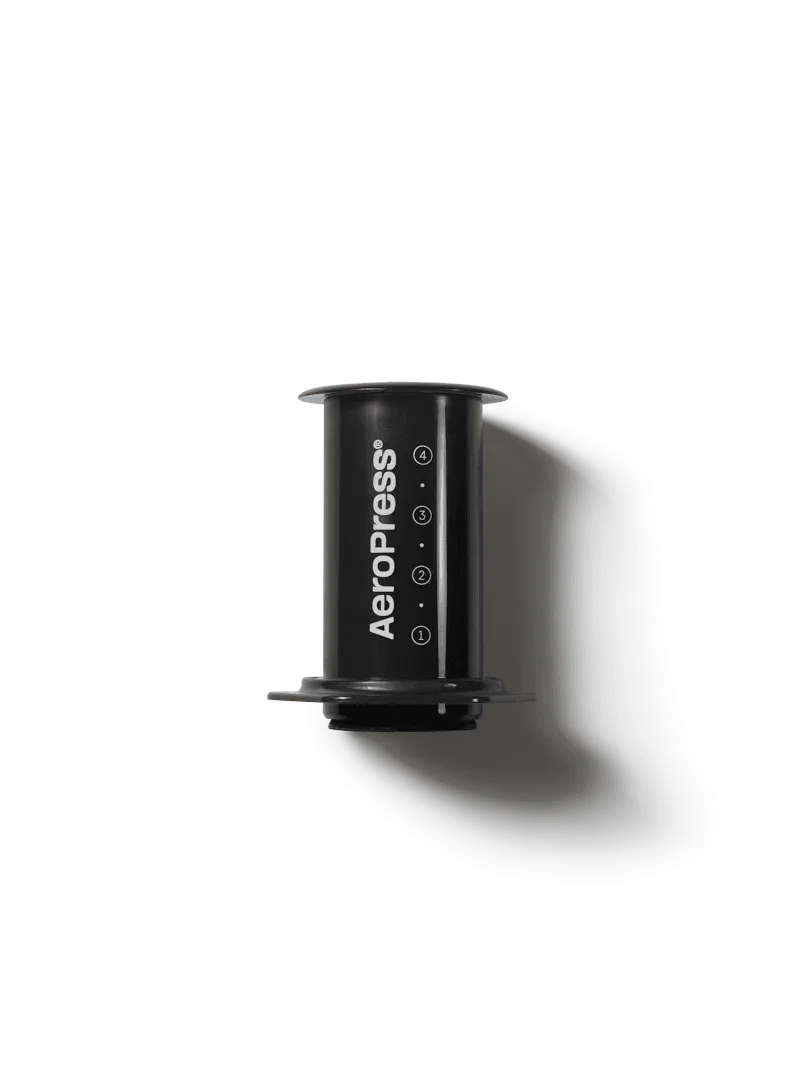
The Aeropress is one of the most versatile and beginner-friendly coffee brewing devices on the market. Invented in 2005 by Alan Adler, it combines the principles of immersion brewing and pressure to produce a clean, full-flavored cup of coffee in under two minutes. Whether you're a complete novice or a seasoned enthusiast looking for a quick brew method, the Aeropress offers endless possibilities without the steep learning curve of more complex equipment.
In this beginner's guide, we'll walk you through everything you need to know to start brewing delicious Aeropress coffee at home. From choosing the right grind size to mastering the inverted method, you'll be pulling rich, smooth cups in no time. And if you ever need to replace or upgrade your supplies, we have you covered with essentials like Aeropress Papers and the WatchHouse Comandante C40 MK4 Grinder for consistent grinds.
Why the Aeropress Is Perfect for Beginners
One of the biggest barriers to entry for specialty coffee is the complexity of equipment. Espresso machines can be intimidating, and pour-over methods require practice to master. The Aeropress, however, is designed to be forgiving. Its short brew time (typically 1–2 minutes) means you can experiment with different recipes without spending all morning. The clean-up is also a breeze—just pop out the puck and rinse.
Another reason beginners love the Aeropress is its consistency. Because the brew is fully immersed before being forced through a paper filter, you get even extraction with minimal channeling. This makes it easier to achieve a balanced cup compared to methods like a V60, where technique matters more. Plus, the Aeropress works well with both fine and medium grinds, so you can adjust based on your taste without needing a professional grinder.
- Quick brew time (under 2 minutes)
- Easy clean-up: just eject the coffee puck
- Forgiving of grind size variations
- Portable and durable for travel or camping
Essential Gear for Aeropress Brewing
To get started, you only need a few items: an Aeropress, a filter (reusable or paper), freshly roasted coffee, a kettle, and a grinder. While the Aeropress comes with its own scoop and stirrer, we recommend using a reliable grinder like the WatchHouse Comandante C40 MK4 Grinder for uniform particle size. Consistent grinding is key to avoiding over- or under-extraction, especially when using a finer grind for the standard method.
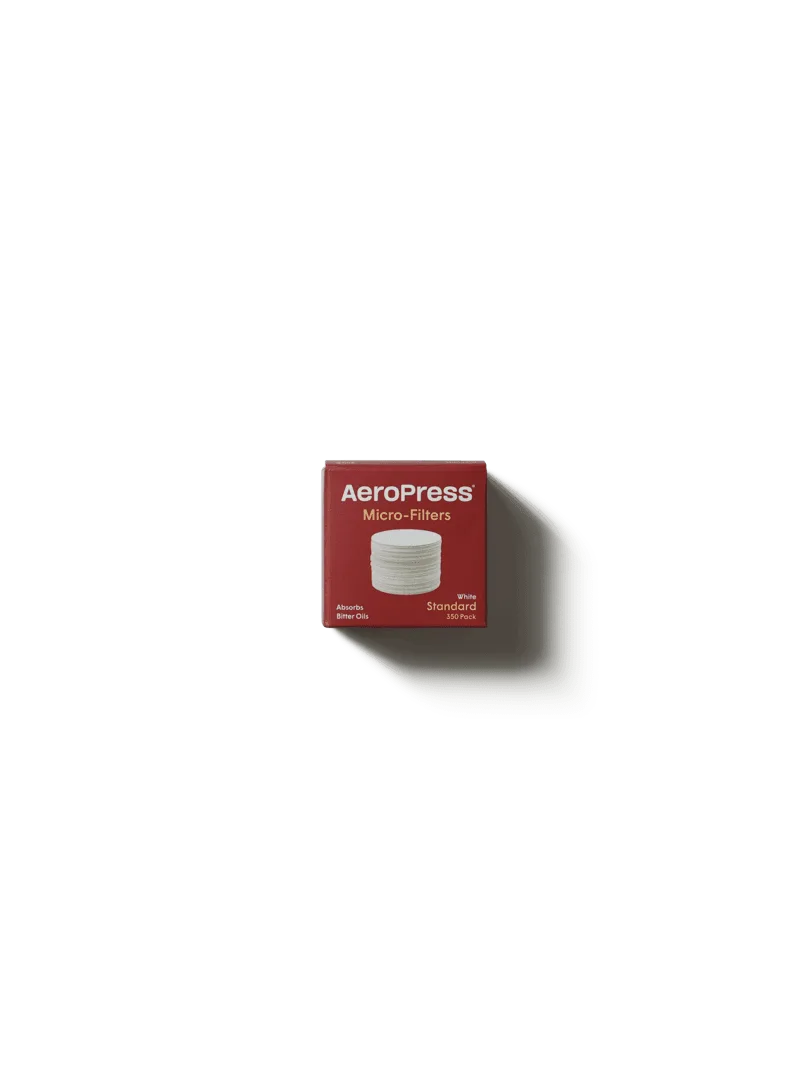
If you're using paper filters, we stock Aeropress Papers that are designed to fit perfectly and produce a clean cup with no sediment. For those who prefer a richer body, you can also experiment with metal filters. Don't forget a scale and timer—precision helps you replicate your favorite recipe. A simple gooseneck kettle isn't necessary for the Aeropress, but it does make pouring easier.
- Aeropress brewer (standard or Go model)
- Fresh coffee beans (medium roast works well)
- WatchHouse Comandante C40 MK4 Grinder for consistent grinds
- Aeropress Papers for clean, sediment-free coffee
- Kettle, scale, and timer
How to Brew with the Aeropress: Standard vs. Inverted Method
There are two main ways to brew with an Aeropress: the standard method and the inverted method. In the standard method, you place the Aeropress directly on top of your cup, add coffee and water, stir, then press. This is quick and straightforward but can lead to some drips before you're ready to press. The inverted method flips the brewer upside down, allowing you to steep the coffee without any drips, then flip it onto the cup and press. Many enthusiasts prefer the inverted method for more control over extraction.
For beginners, we recommend starting with the standard method. Use 15 grams of coffee ground medium-fine (similar to table salt), 200 grams of water at 200°F (93°C), and a brew time of 1 minute. After stirring, press gently for about 30 seconds. This yields a clean, balanced cup. Once comfortable, try the inverted method with a longer steep (2–3 minutes) for a fuller body. Experiment with ratios—start at 1:15 coffee to water and adjust from there.
- Standard method: quick and simple, place brewer on cup
- Inverted method: no drips, longer steep for richer flavor
- Beginner recipe: 15g coffee, 200g water, 1-minute steep
- Adjust grind size and steep time to taste
Troubleshooting Common Aeropress Mistakes
Even with a forgiving brewer, beginners can run into issues. If your coffee tastes sour or weak, it's likely under-extracted. Try a finer grind, hotter water, or a longer steep time. If it's bitter or harsh, you may be over-extracting—use a coarser grind, cooler water, or shorten the steep. Another common mistake is pressing too hard. The Aeropress should be pressed with steady, gentle pressure; forcing it can cause channeling and uneven extraction.
If you find the coffee too thin, consider using a metal filter or adding a second paper filter to increase body. For those who enjoy a stronger brew, try using more coffee or a finer grind. Remember, the Aeropress is all about experimentation. Keep a notebook of your recipes to track what works. And if you're ever in doubt, a subscription like the Roaster's Spotlight Subscription can bring you fresh, rotating beans to keep your practice exciting.
- Sour coffee? Use finer grind, hotter water, or longer steep
- Bitter coffee? Use coarser grind, cooler water, or shorter steep
- Press gently and steadily—don't force it
- Try different filters and coffee-to-water ratios
The Aeropress is a fantastic gateway into the world of specialty coffee. Its simplicity, speed, and versatility make it a favorite for both beginners and experts. With a little practice and the right gear—like our Aeropress Papers and the WatchHouse Comandante C40 MK4 Grinder—you'll be brewing cafe-quality coffee at home. Start your journey today and explore our full range of Aeropress accessories to elevate your morning ritual.