Quick Answer
Fit and paint your Beret Heads Female x10 by cleaning the 3D print lines, dry-fitting each head to the body, then layering skin tones and highlighting the beret for a crisp military look.
Why Beret Heads Need Extra Care
These are high-resolution 3D prints, not injection-molded plastic. You may see faint print lines on the beret or face that need gentle sanding or scraping before priming.
The beret shape sits close to the head, so there is little room to hide a neck joint. A clean cut and gap-filling step makes the difference between a seamless conversion and a visible seam.
Choosing the Right Body
These 28mm female heads work best with slim-torso bodies from Victoria Miniatures or other compatible 28mm heroic-scale ranges. Test the fit before gluing.
If the neck socket is too deep, add a small spacer of putty to raise the head so the chin clears the collar. If the socket is too shallow, trim the neck peg slightly.
Fitting & Painting Steps
- Clean the Print: Remove any support nubs with a hobby knife and smooth the neck base with fine-grit sandpaper or a file. Rinse the head in warm soapy water to remove dust and release agents. Skipping the wash can cause paint to bead or peel later.
- Dry-Fit and Trim: Place the head on the chosen body without glue. Check the angle: the beret should sit level or slightly tilted. Trim the neck peg if the head sits too high or low. A 1mm trim can change the whole posture; cut in small increments.
- Glue and Fill the Joint: Apply super glue to the neck peg and press the head into place. Use a tiny amount of green stuff or Vallejo Plastic Putty to fill any gap at the neckline. Smooth with a wet tool before it cures. Too much putty will obscure the jawline; use a toothpick to apply only where needed.
- Prime with Care: Spray a thin coat of matte primer from 15-20 cm away. Focus on the face first, then the beret. Avoid pooling in the eye sockets or under the beret brim. A heavy primer coat will soften the 3D print detail; two thin passes are safer than one thick one.
- Paint the Skin in Layers: Basecoat with a mid-tone flesh (e.g., Bugman's Glow). Layer up with a lighter skin tone on the cheeks, nose, and forehead. Use a thinned wash (Reikland Fleshshade) in the eye sockets and under the chin. Let each layer dry fully before the next; wet blending on small faces is hard to control.
- Paint the Beret: Basecoat the beret in your chosen color (red, green, or blue). Highlight the top curve with a lighter tint, and leave the shadow under the brim dark. Add a small badge or flash if desired. The beret's shape is a dome; a single edge highlight along the top ridge gives it volume without overworking.
- Finish the Eyes and Details: Paint the eyes with a fine-tipped brush: white base, then a tiny dot of black or brown. Clean up any mistakes with the skin tone. Add hair strands or ear details last. If the eyes look cross-eyed, repaint the white and recenter the pupil; it is easier than trying to fix one pupil alone.
Product Facts
-
Beret Heads Female x10: Includes 10 unique female heads sculpted by Victoria Lamb, high resolution 3D print. Each head has distinct facial features and beret angles, giving your squad natural variety without repeating sculpts.
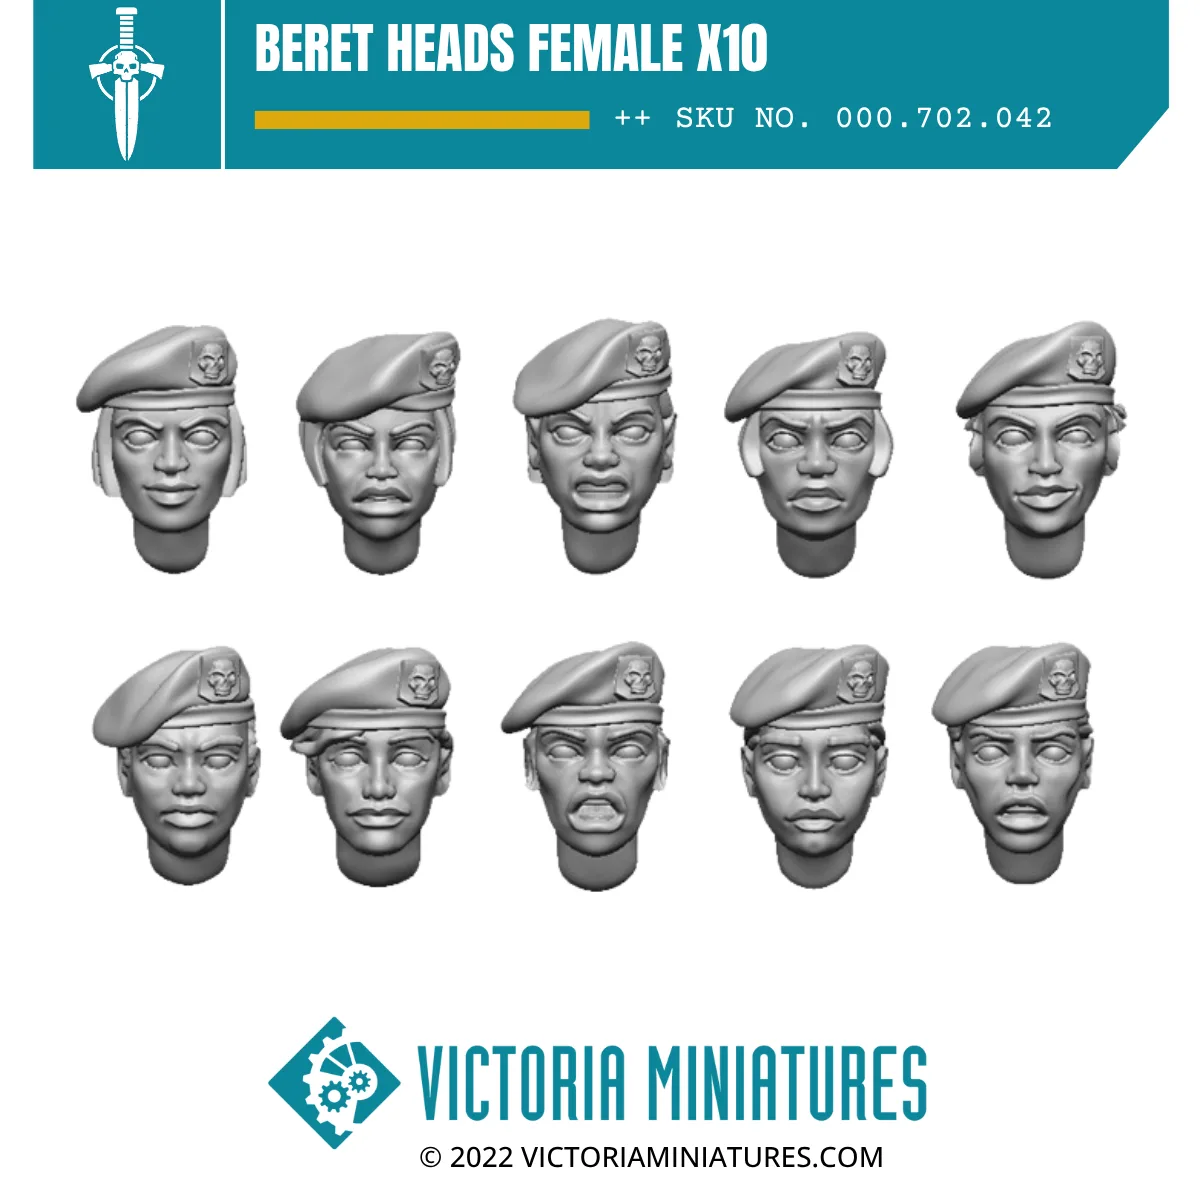
Beret Heads Female x10