Quick answer
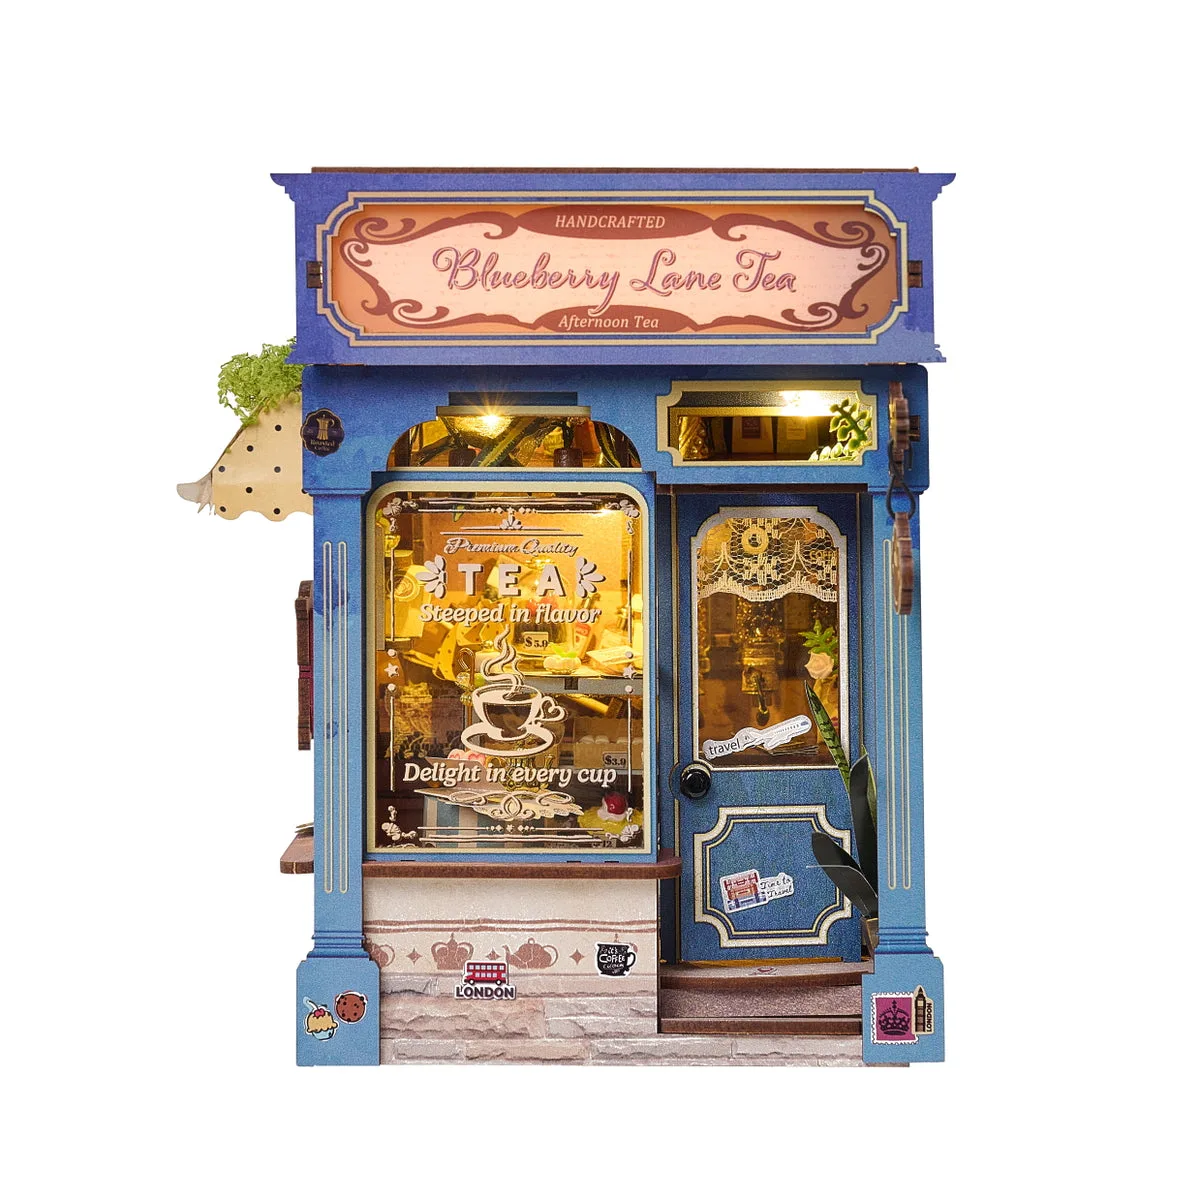
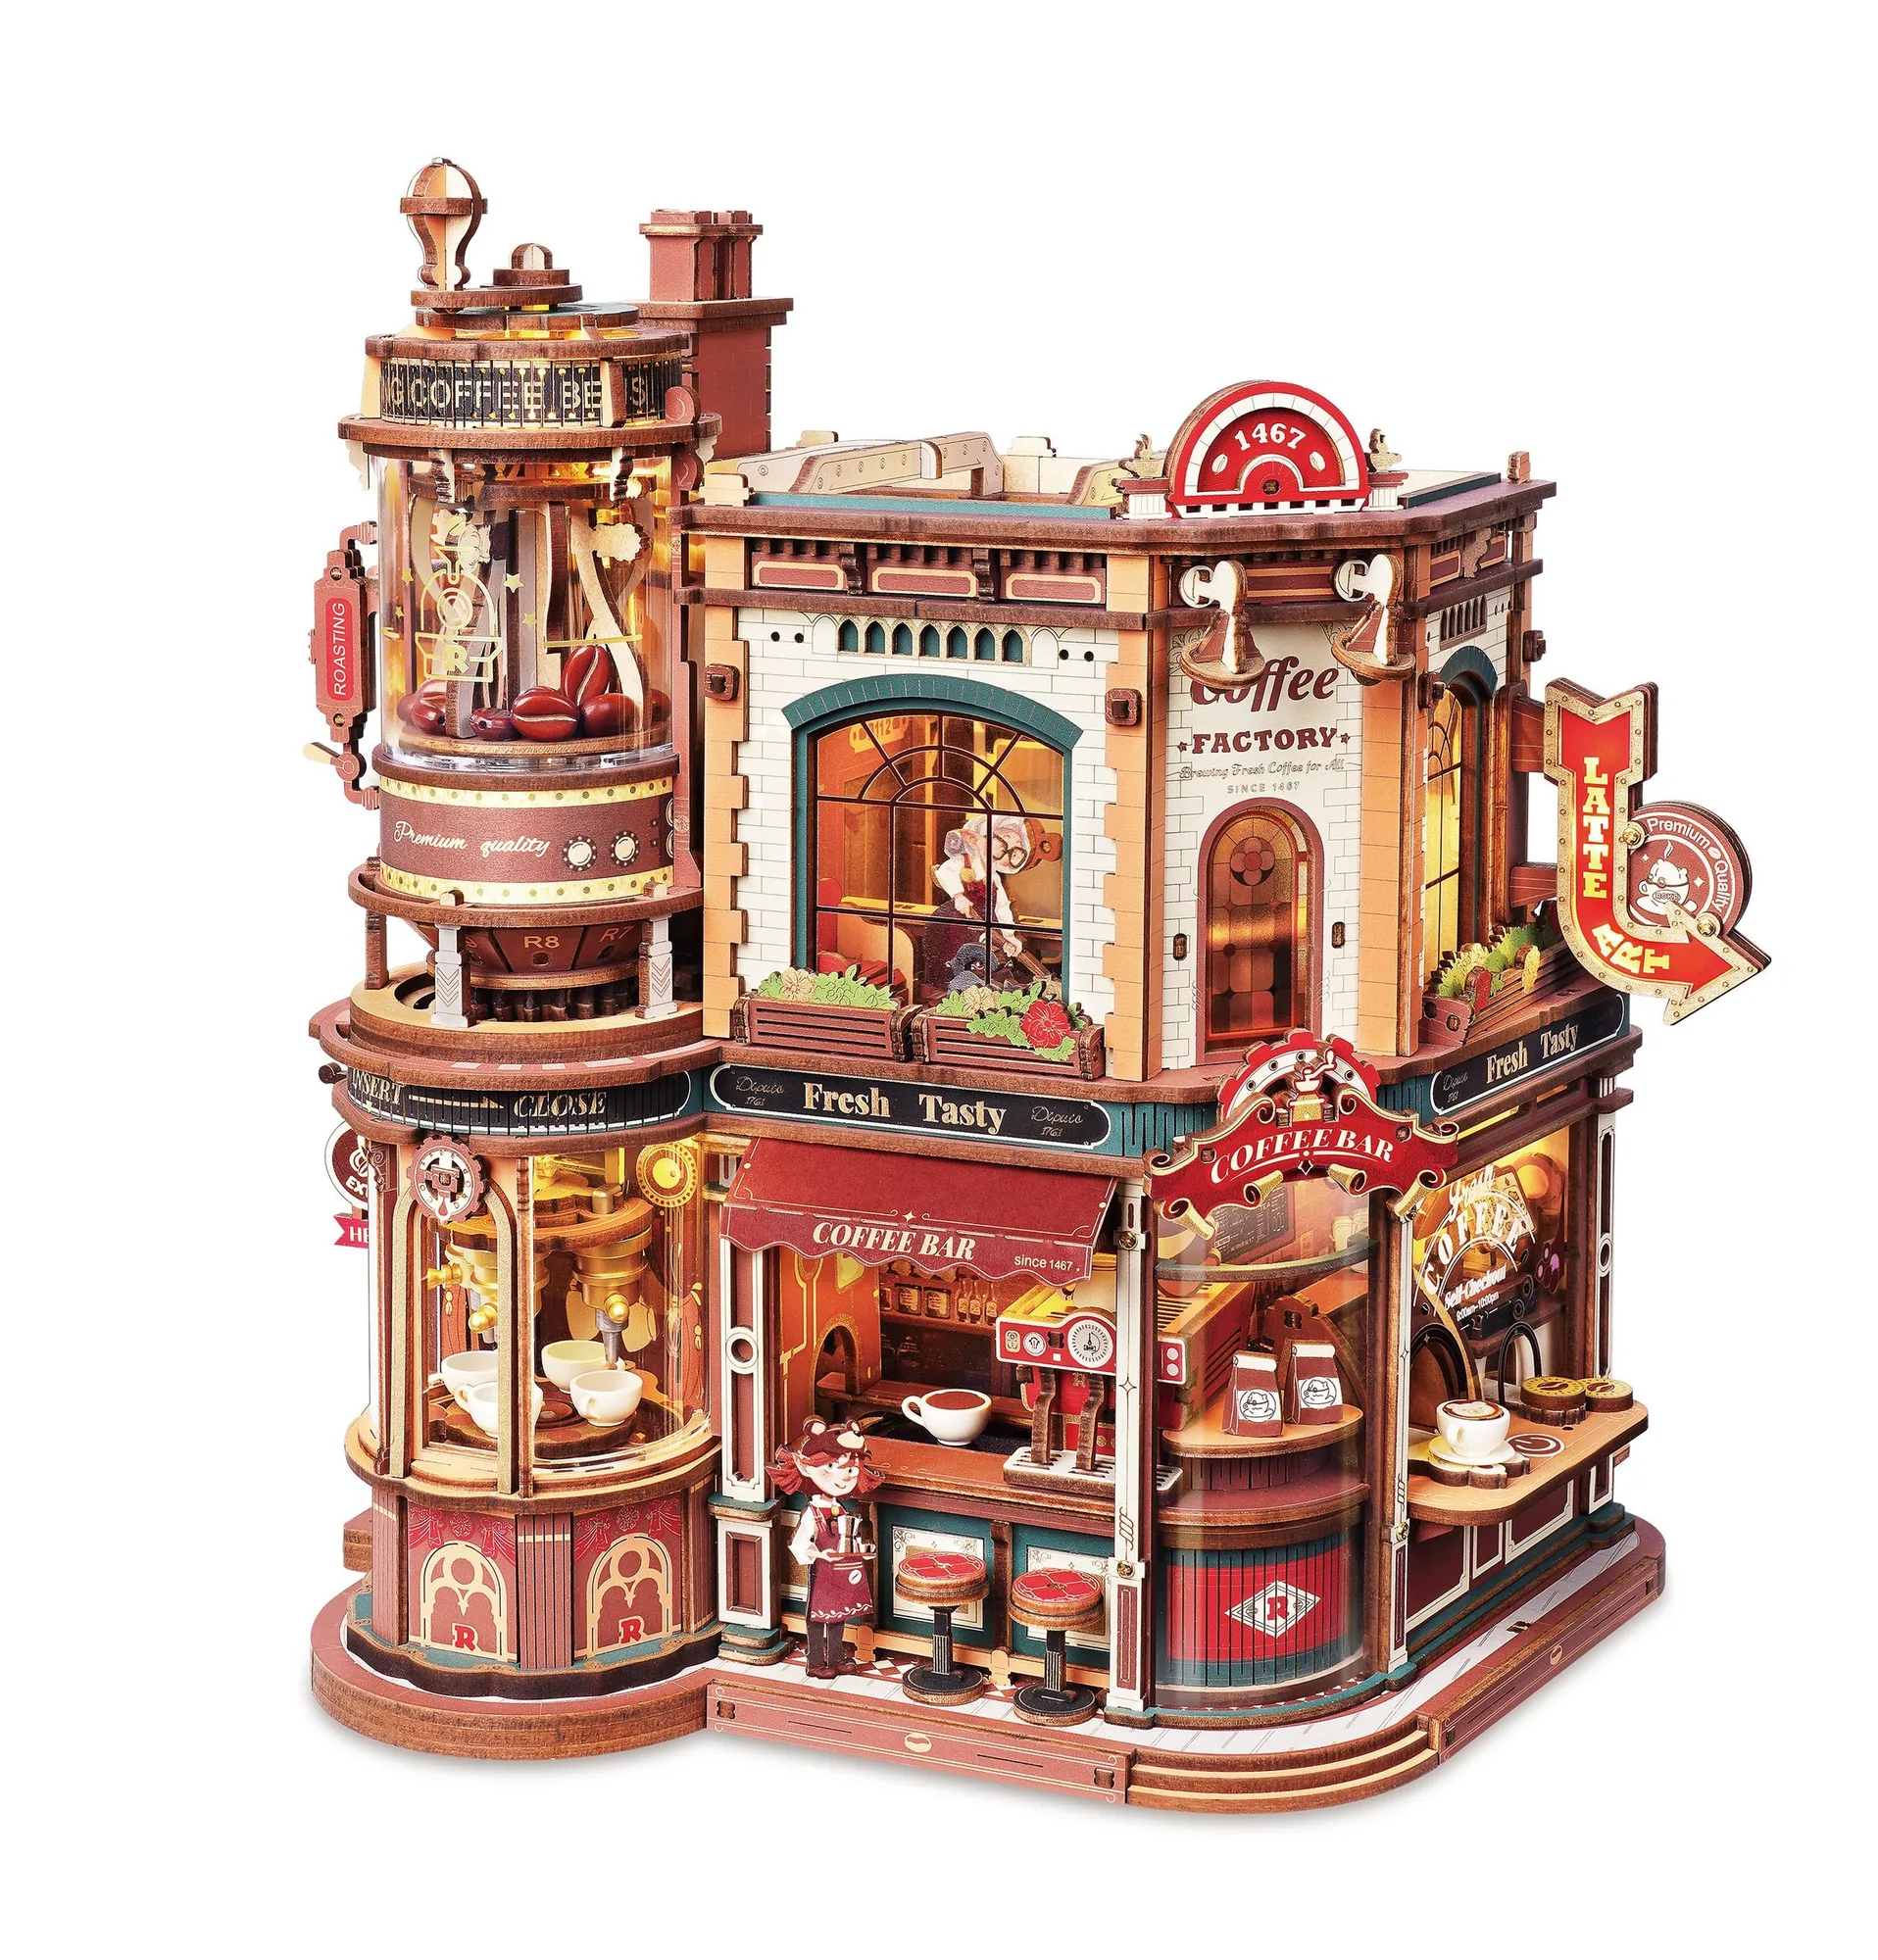
Assemble the Blooming Tea Garden in stages: sort and dry-fit first, build the base and tea-set details, then plan your vertical or horizontal stack before gluing anything permanent. The kit is designed to stack both ways, so a few minutes of layout testing saves a lot of rework.
Why dry-fitting matters more than glue choice
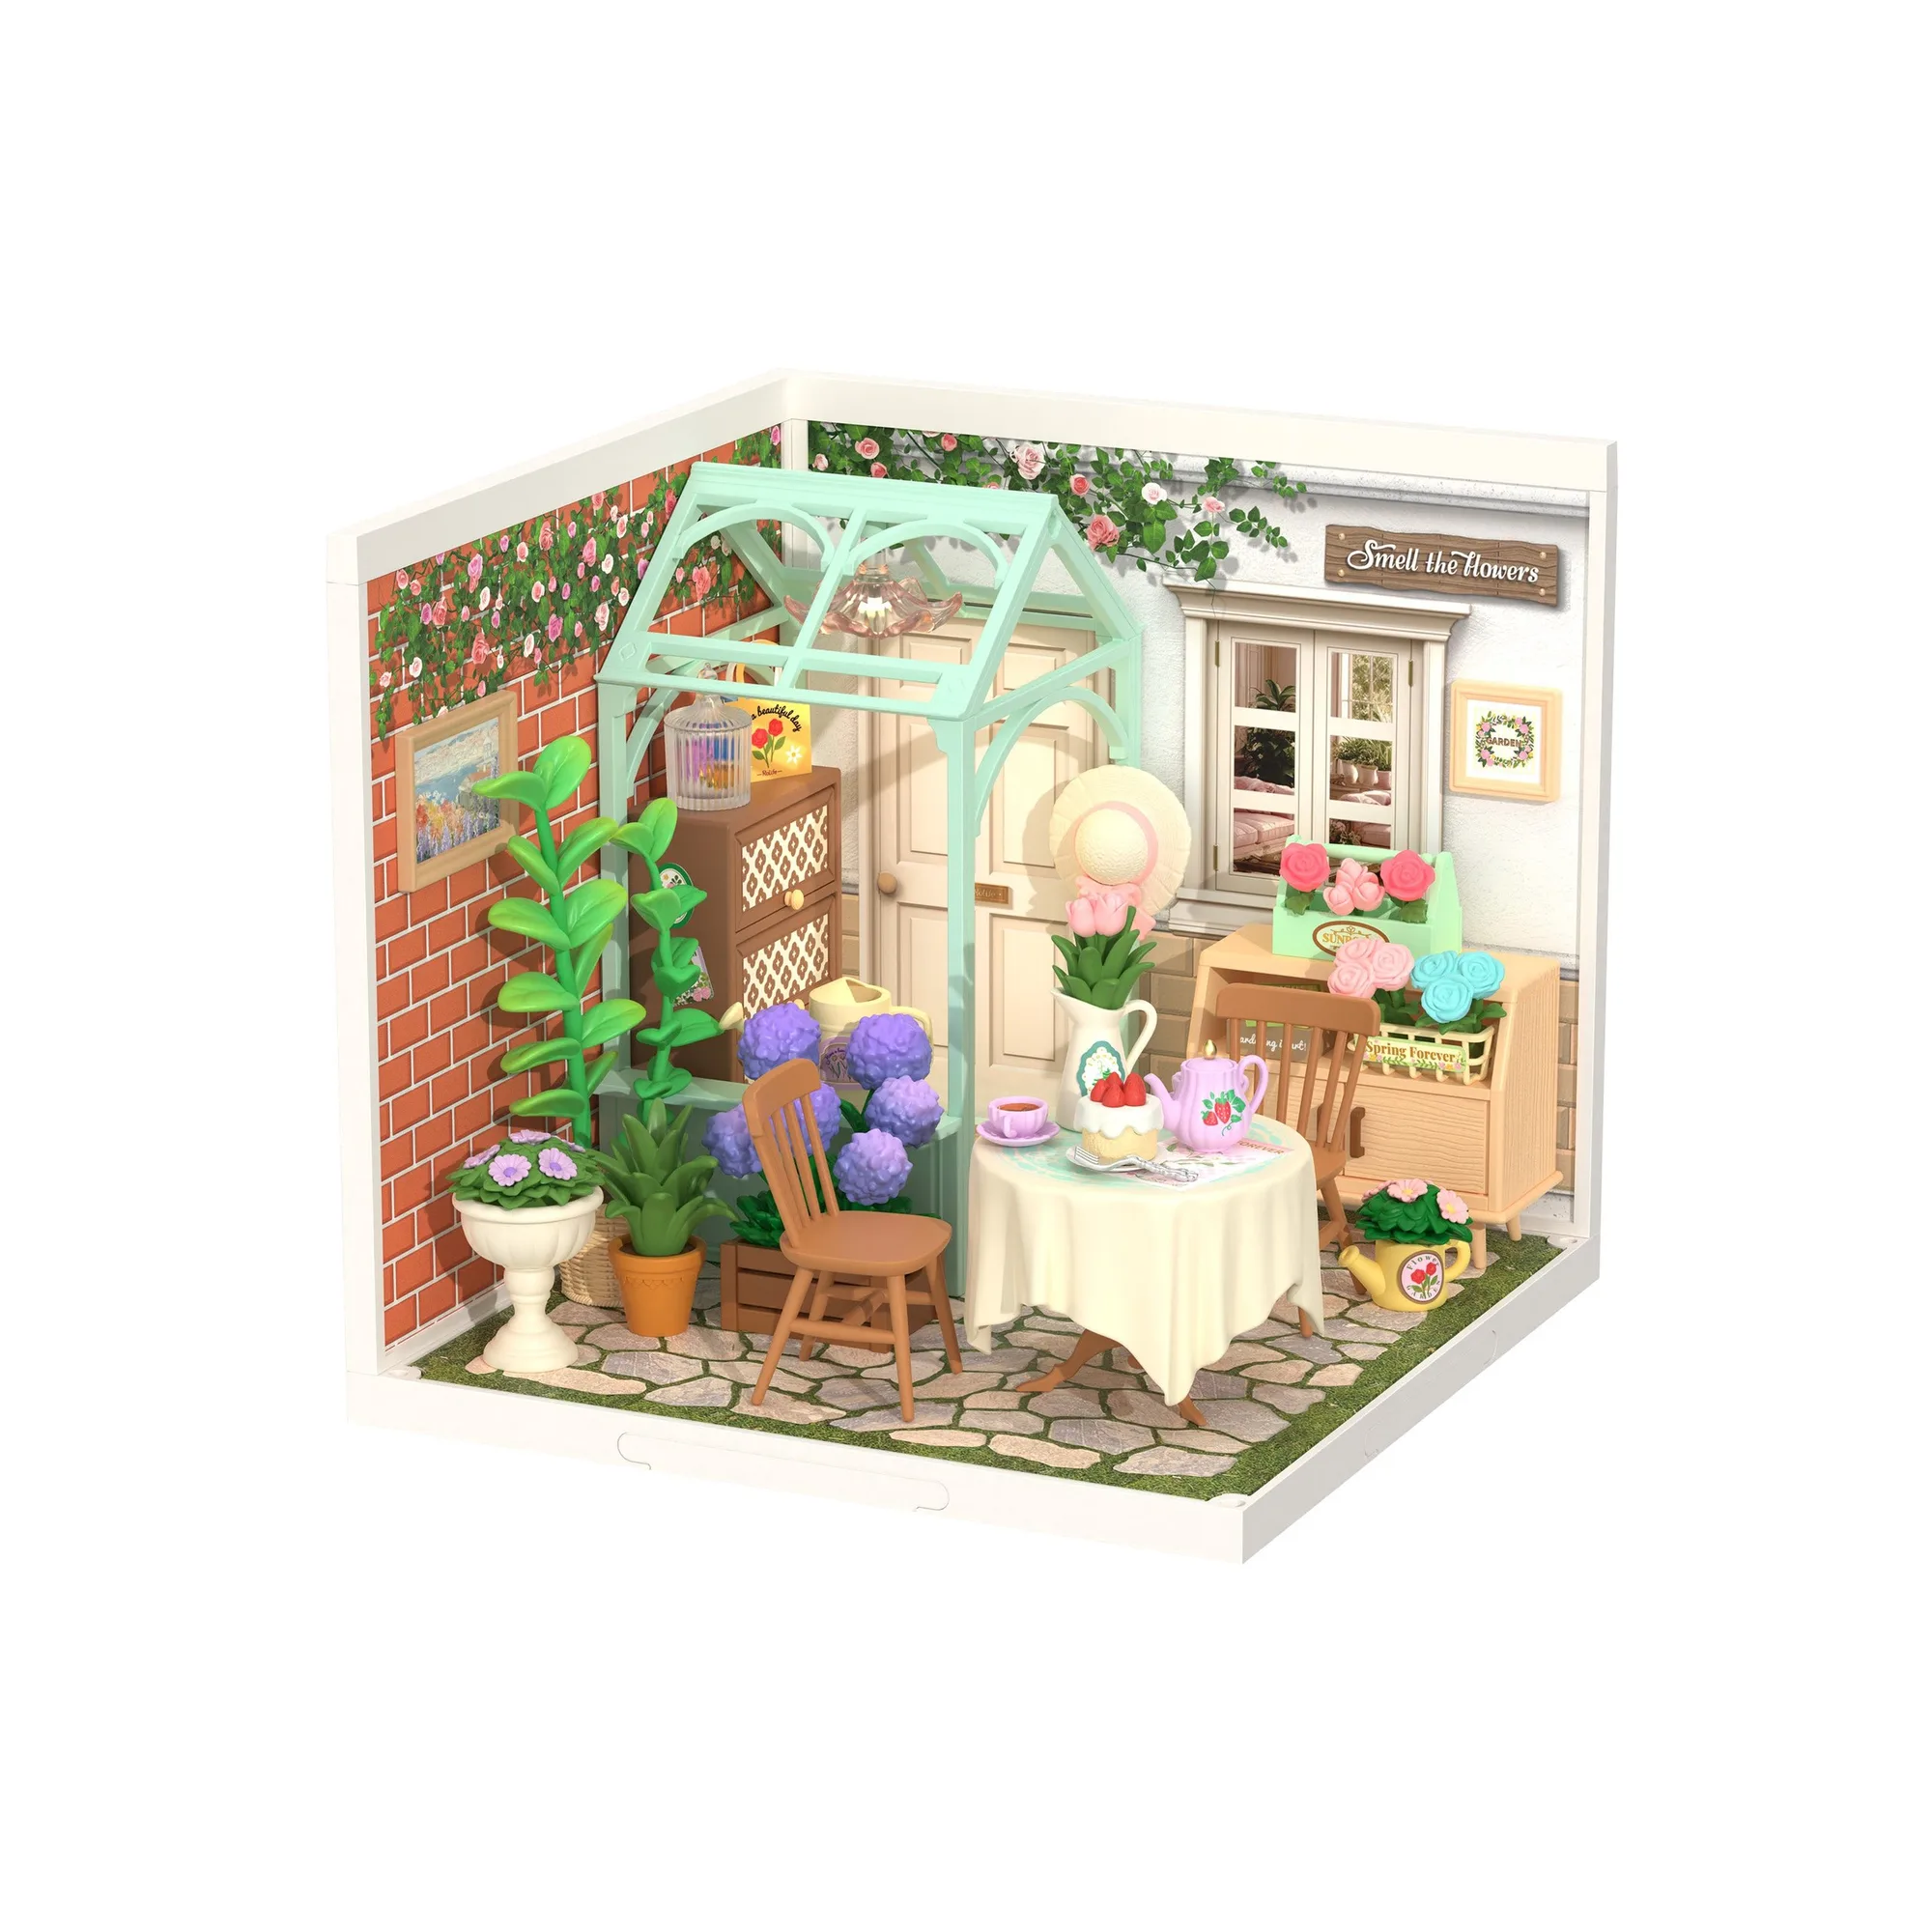
The Blooming Tea Garden includes tiny tea sets, flowers, greenery, and garden accents, and those small pieces leave little room for error once adhesive sets. Dry-fitting every subassembly before gluing lets you catch misaligned slots and tight joints while they are still easy to adjust. Work on a tray with a lip so tiny parts do not roll away, and keep pieces sorted by scene area rather than by size.
Stacking decisions change the build order
Because this kit is designed to stack vertically and horizontally, the order you assemble modules affects how easily you can connect them later. Decide early whether you want a tall vertical display or a wider horizontal arrangement, and leave the connecting faces of each module accessible until the final join. If you are unsure, build each module fully but do not attach them to each other until you have tested the overall footprint on your shelf.
When to stop and check instead of pushing ahead
Small decorative pieces can look fine individually but crowd each other once combined. After completing each module, place it next to the others and check sightlines: a tea set hidden behind greenery loses its purpose. Adjust placement before the adhesive cures rather than after. Also confirm that stacked modules sit level, since a slight tilt compounds as you add height.
Step-by-step assembly and display process
- Sort and inventory the parts: Lay out all pieces by scene area (tea set, flowers, greenery, accents) and compare against the parts list. Common mistake: mixing similar small pieces, which causes confusion later. Checkpoint: every group is complete before you open any adhesive. A full inventory now prevents mid-build substitutions.
- Dry-fit each module without glue: Press together the base and structural pieces of each module to confirm slots align. Common mistake: forcing tight joints, which can distort thin parts. Checkpoint: each module holds its shape without adhesive before you proceed. If a joint will not seat, re-check orientation rather than sanding.
- Assemble the base and tea-garden scene: Glue the base structure first, then add the tea set and larger greenery. Common mistake: placing tiny accents before the base is stable. Checkpoint: the base sits flat and does not rock. Stability of the base determines how well upper modules stack.
- Add flowers and small accents last: Place flowers and tiny garden accents after the main scene is set, checking sightlines from the front. Common mistake: overcrowding one area and hiding the tea set. Checkpoint: key details remain visible from your intended viewing angle. Step back at arm's length to judge visibility, not up close.
- Test the stack before final joining: Arrange completed modules vertically and horizontally on your shelf to compare footprints. Common mistake: committing to a stack that overhangs the shelf or hides lower details. Checkpoint: the chosen arrangement is stable and fits your space. Measure your shelf before deciding on vertical versus horizontal.
- Join modules and do a final level check: Attach modules using the intended stacking faces, then check levelness from the front and side. Common mistake: ignoring a slight tilt that grows with height. Checkpoint: the finished stack is level and all connections are secure. A small shim under one corner is easier than rebuilding.
Kit facts that affect your build
-
Hands Craft | Blooming Tea Garden: Designed to stack both vertically and horizontally for flexible display. Plan your display orientation before final assembly so you do not glue modules in a way that blocks stacking.
Hands Craft | Blooming Tea Garden