Quick Answer
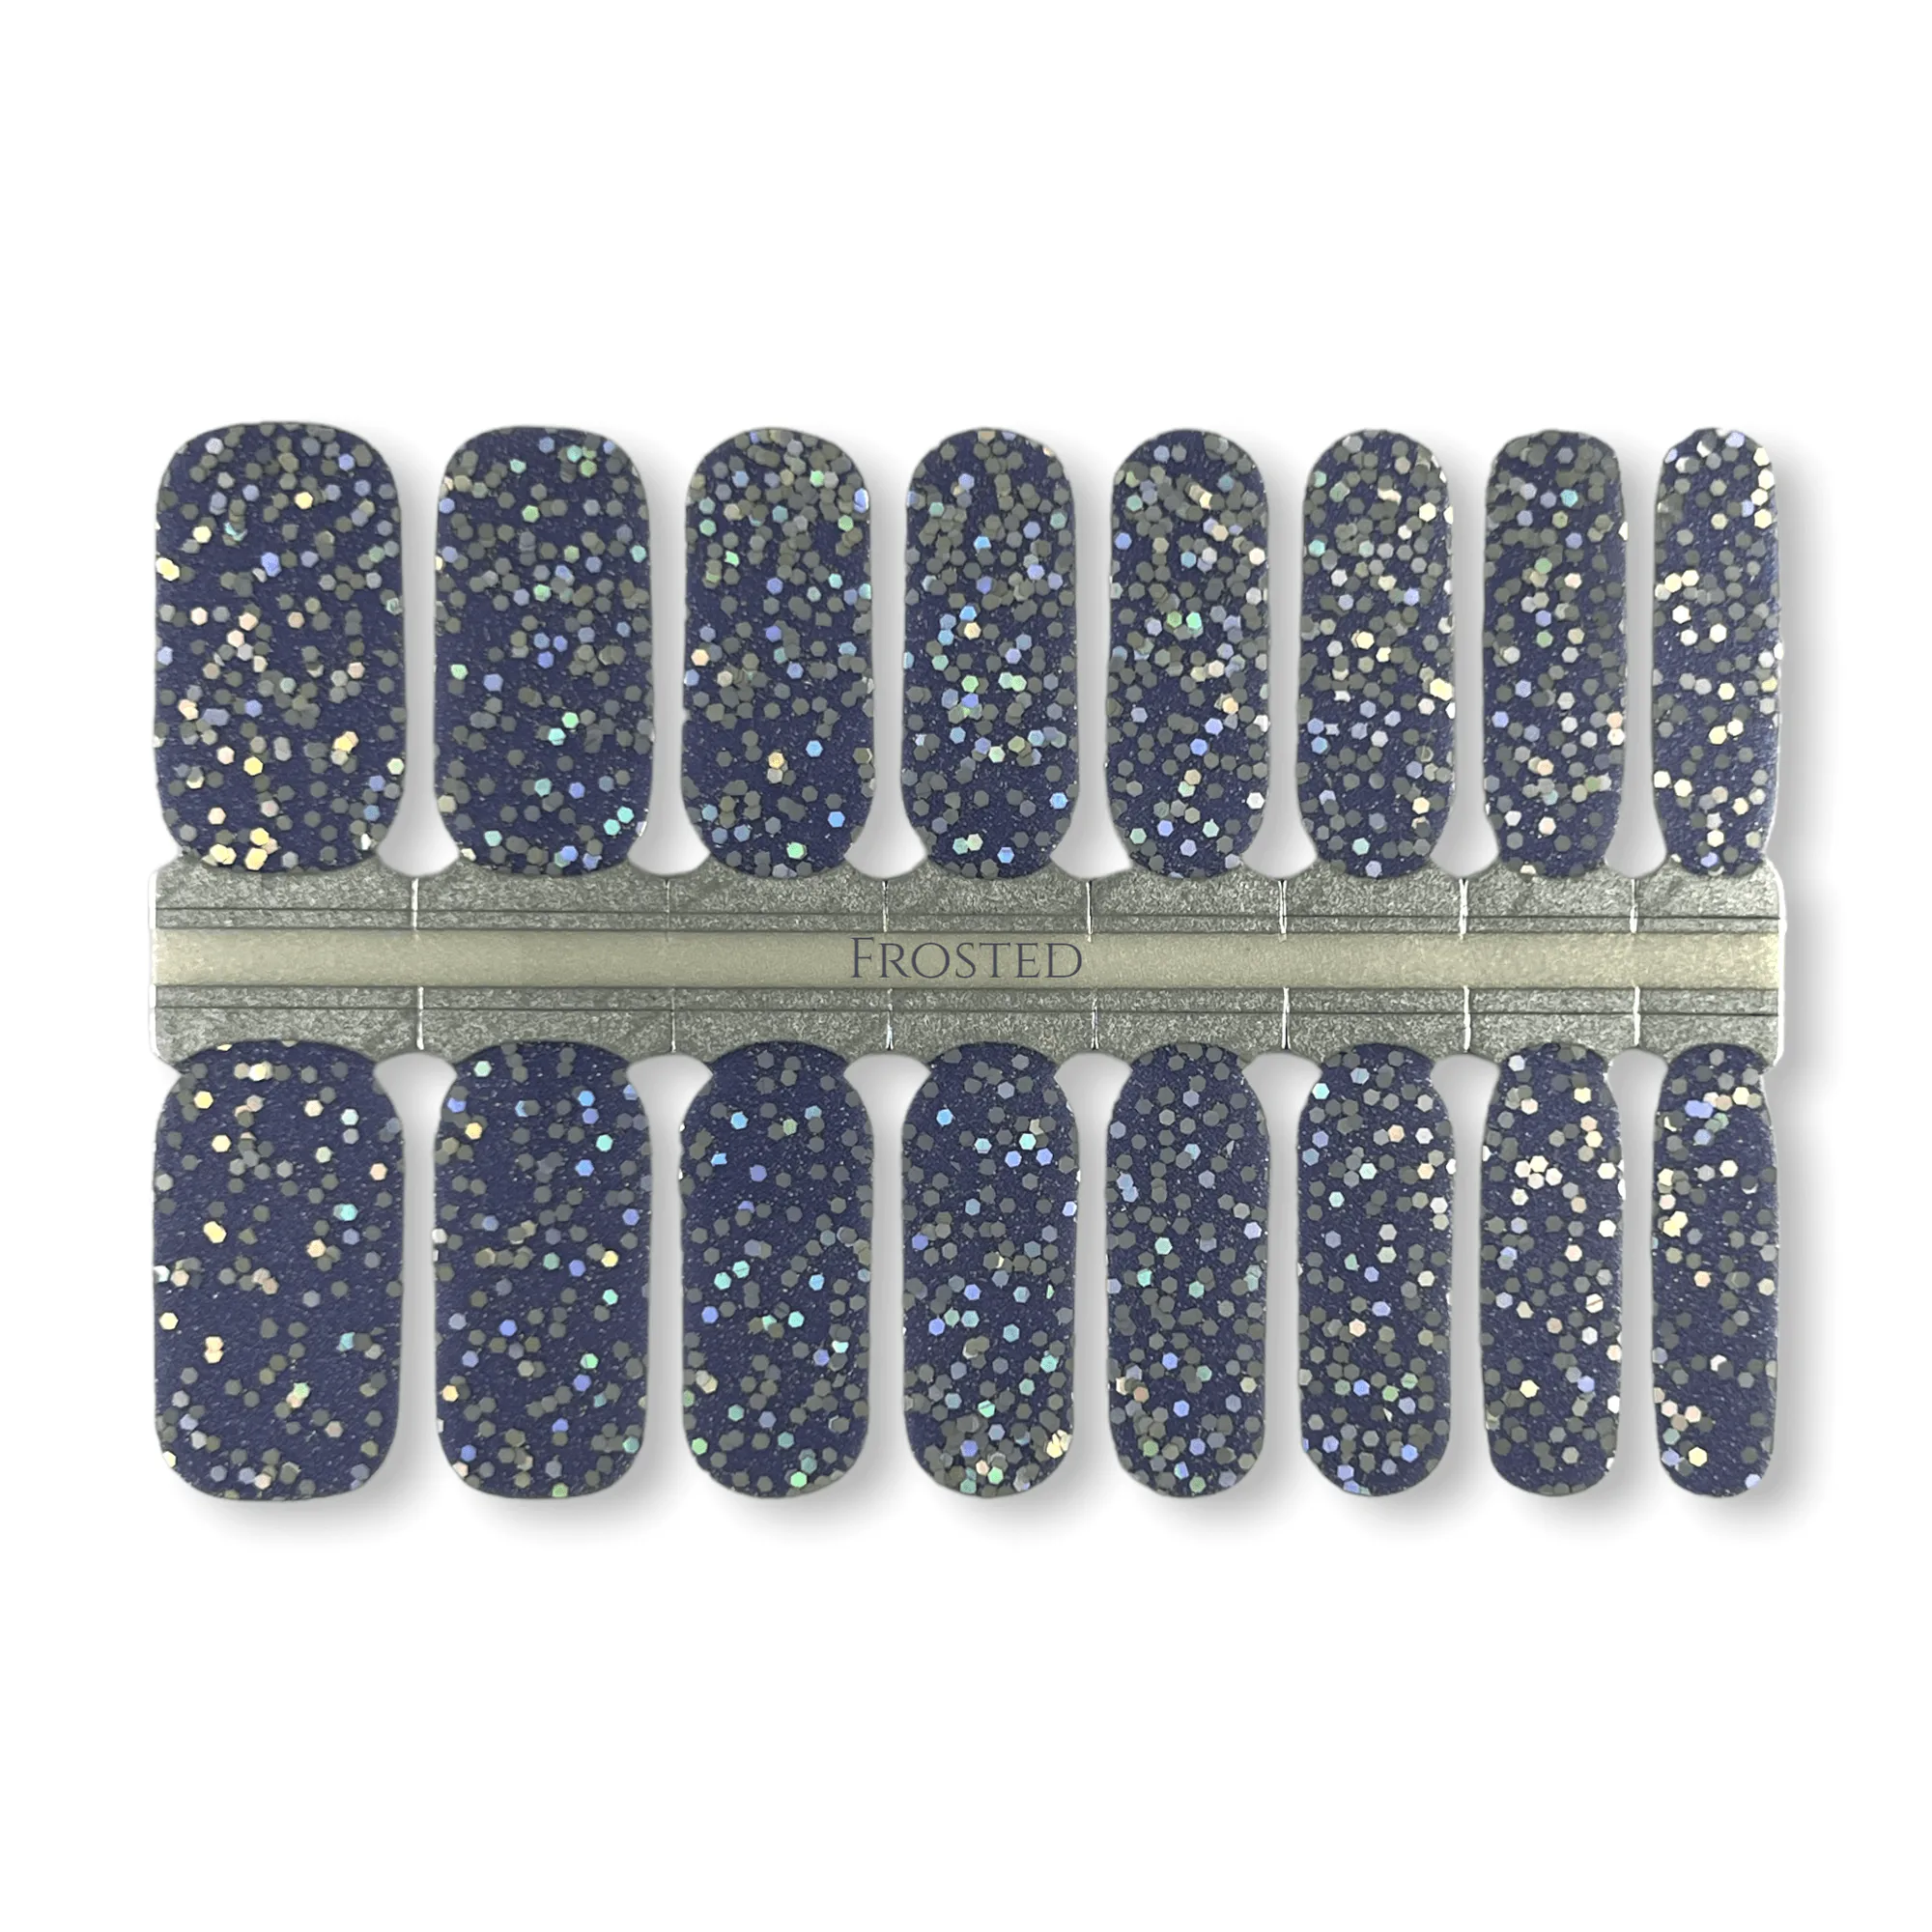
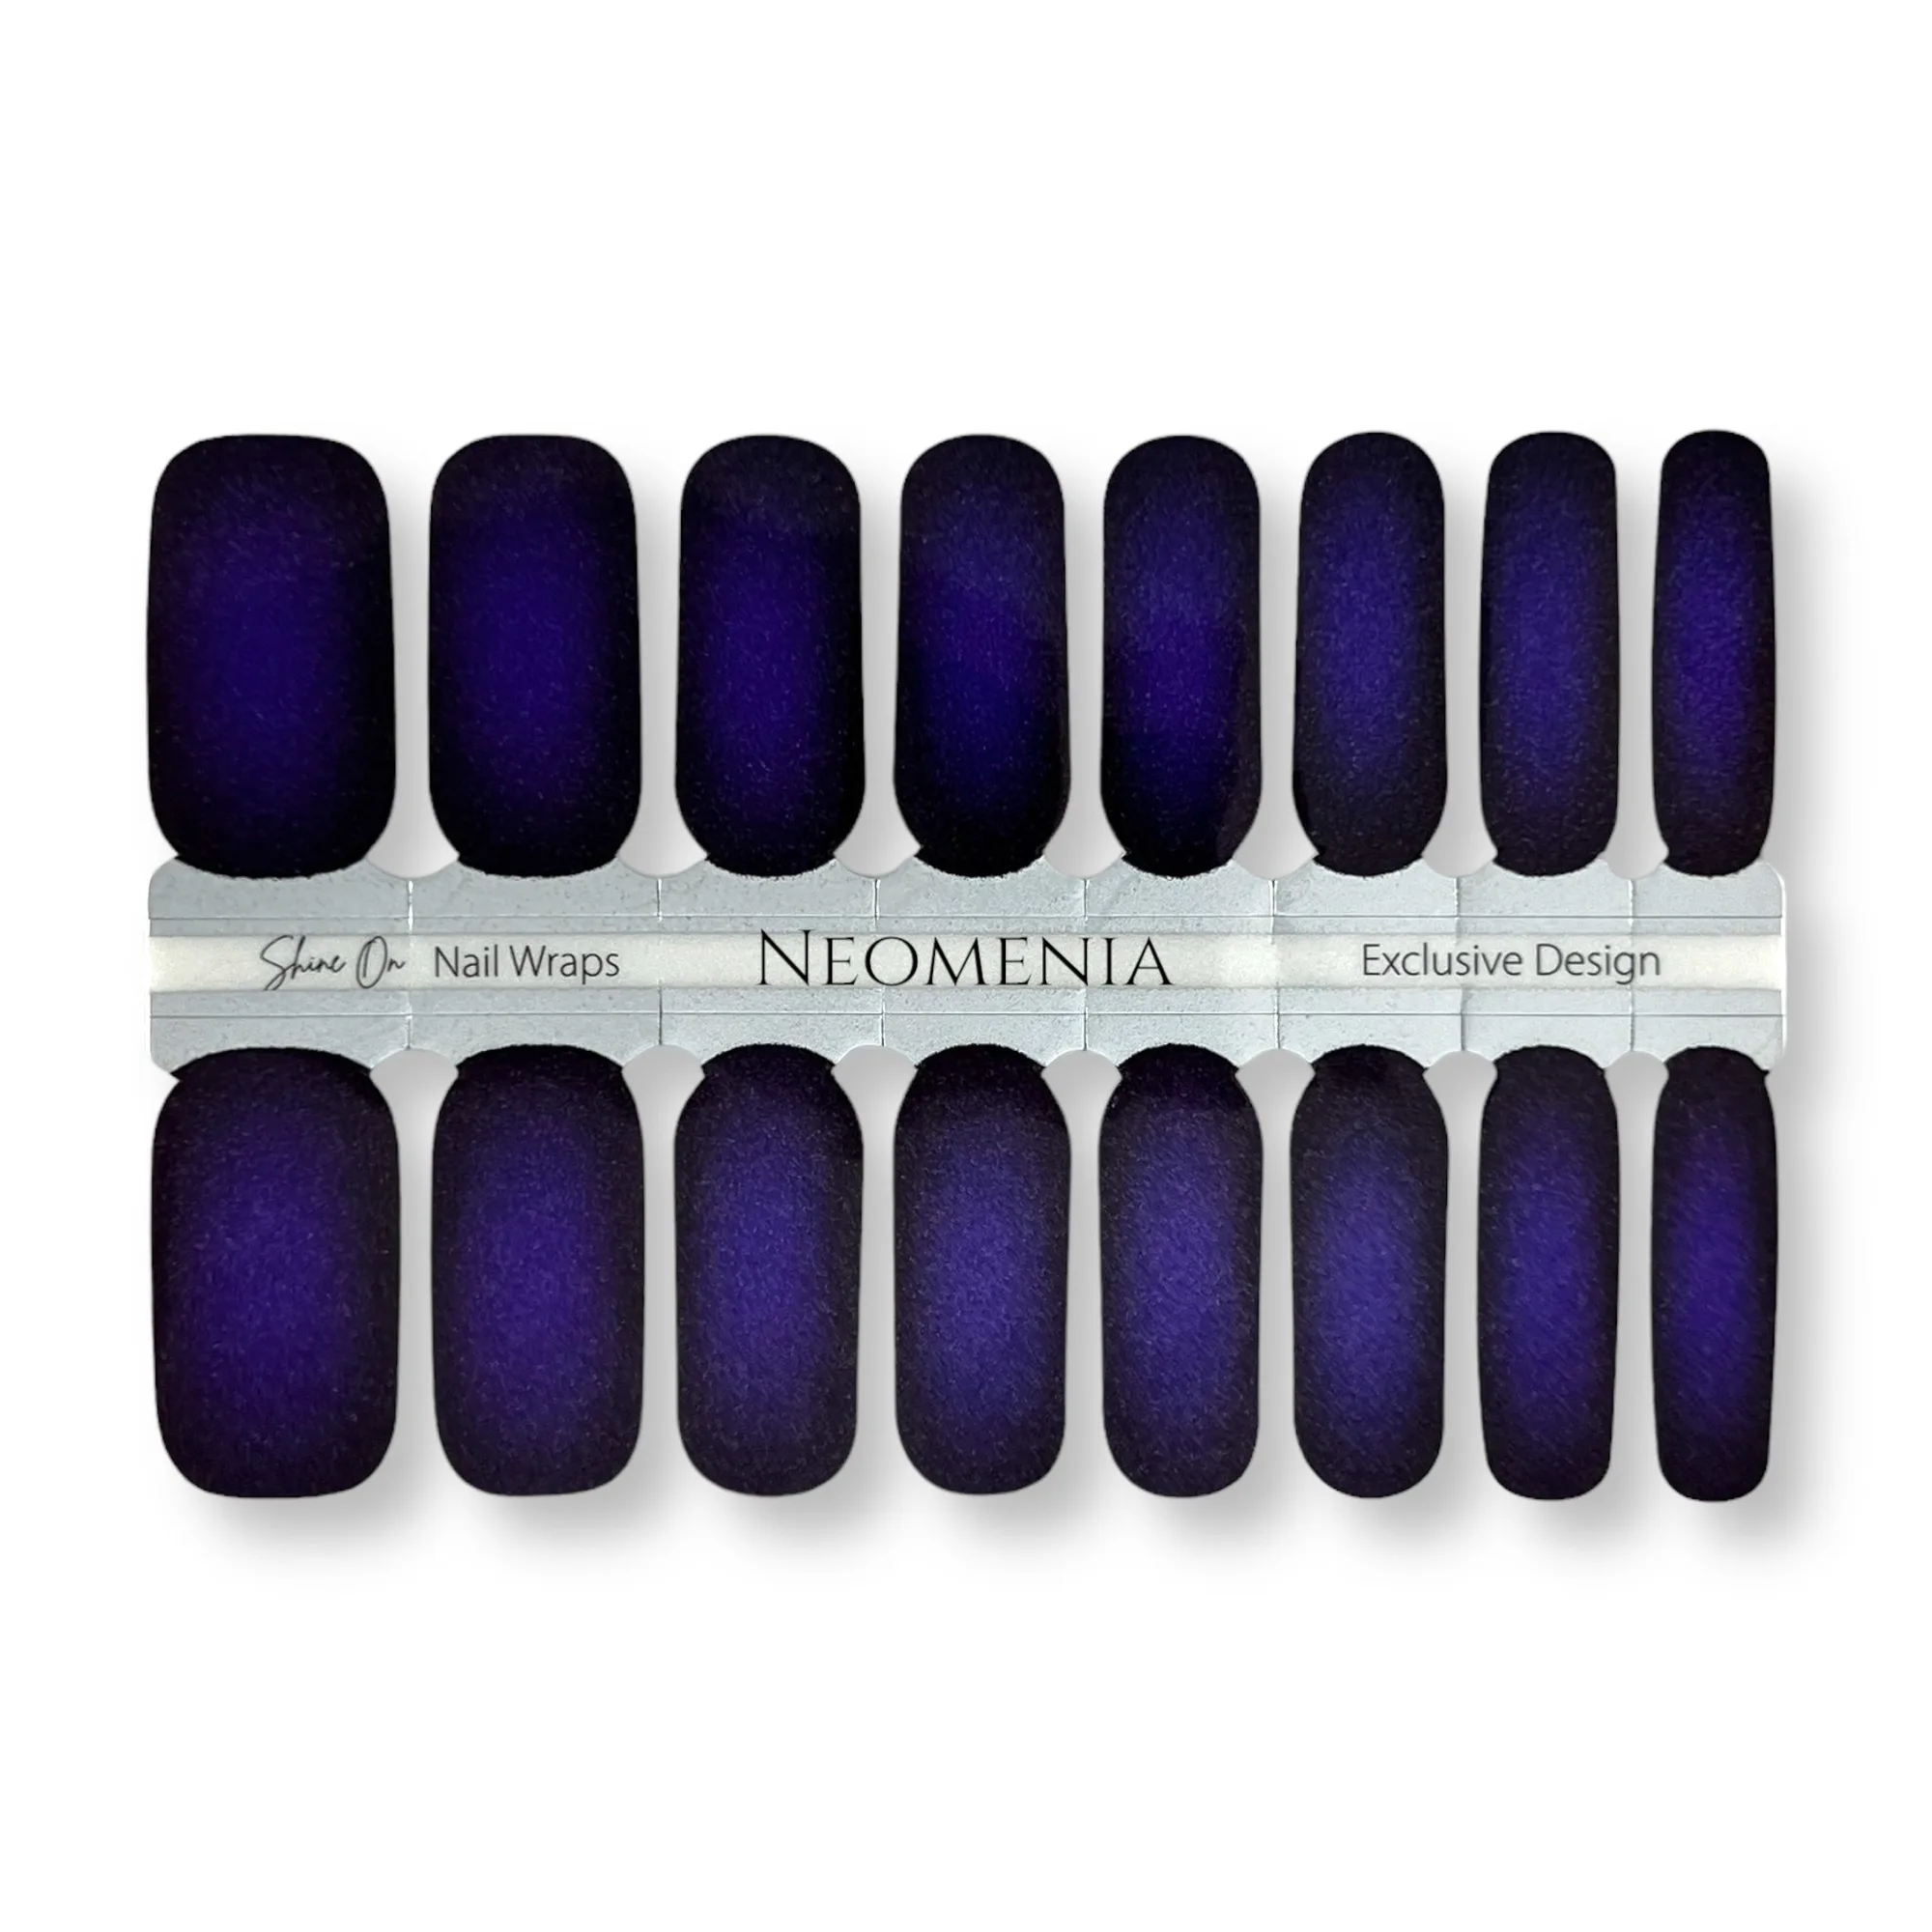
Blue pearl nail wraps work best when you keep the rest of your look simple: one pearl finish, one accent, and a clean, short-to-medium nail shape. Match the finish to the occasion, then apply with the step-by-step routine below. If you want a cool-toned sparkle, start with FROSTED; for a deeper, more formal look, try NEOMENIA.
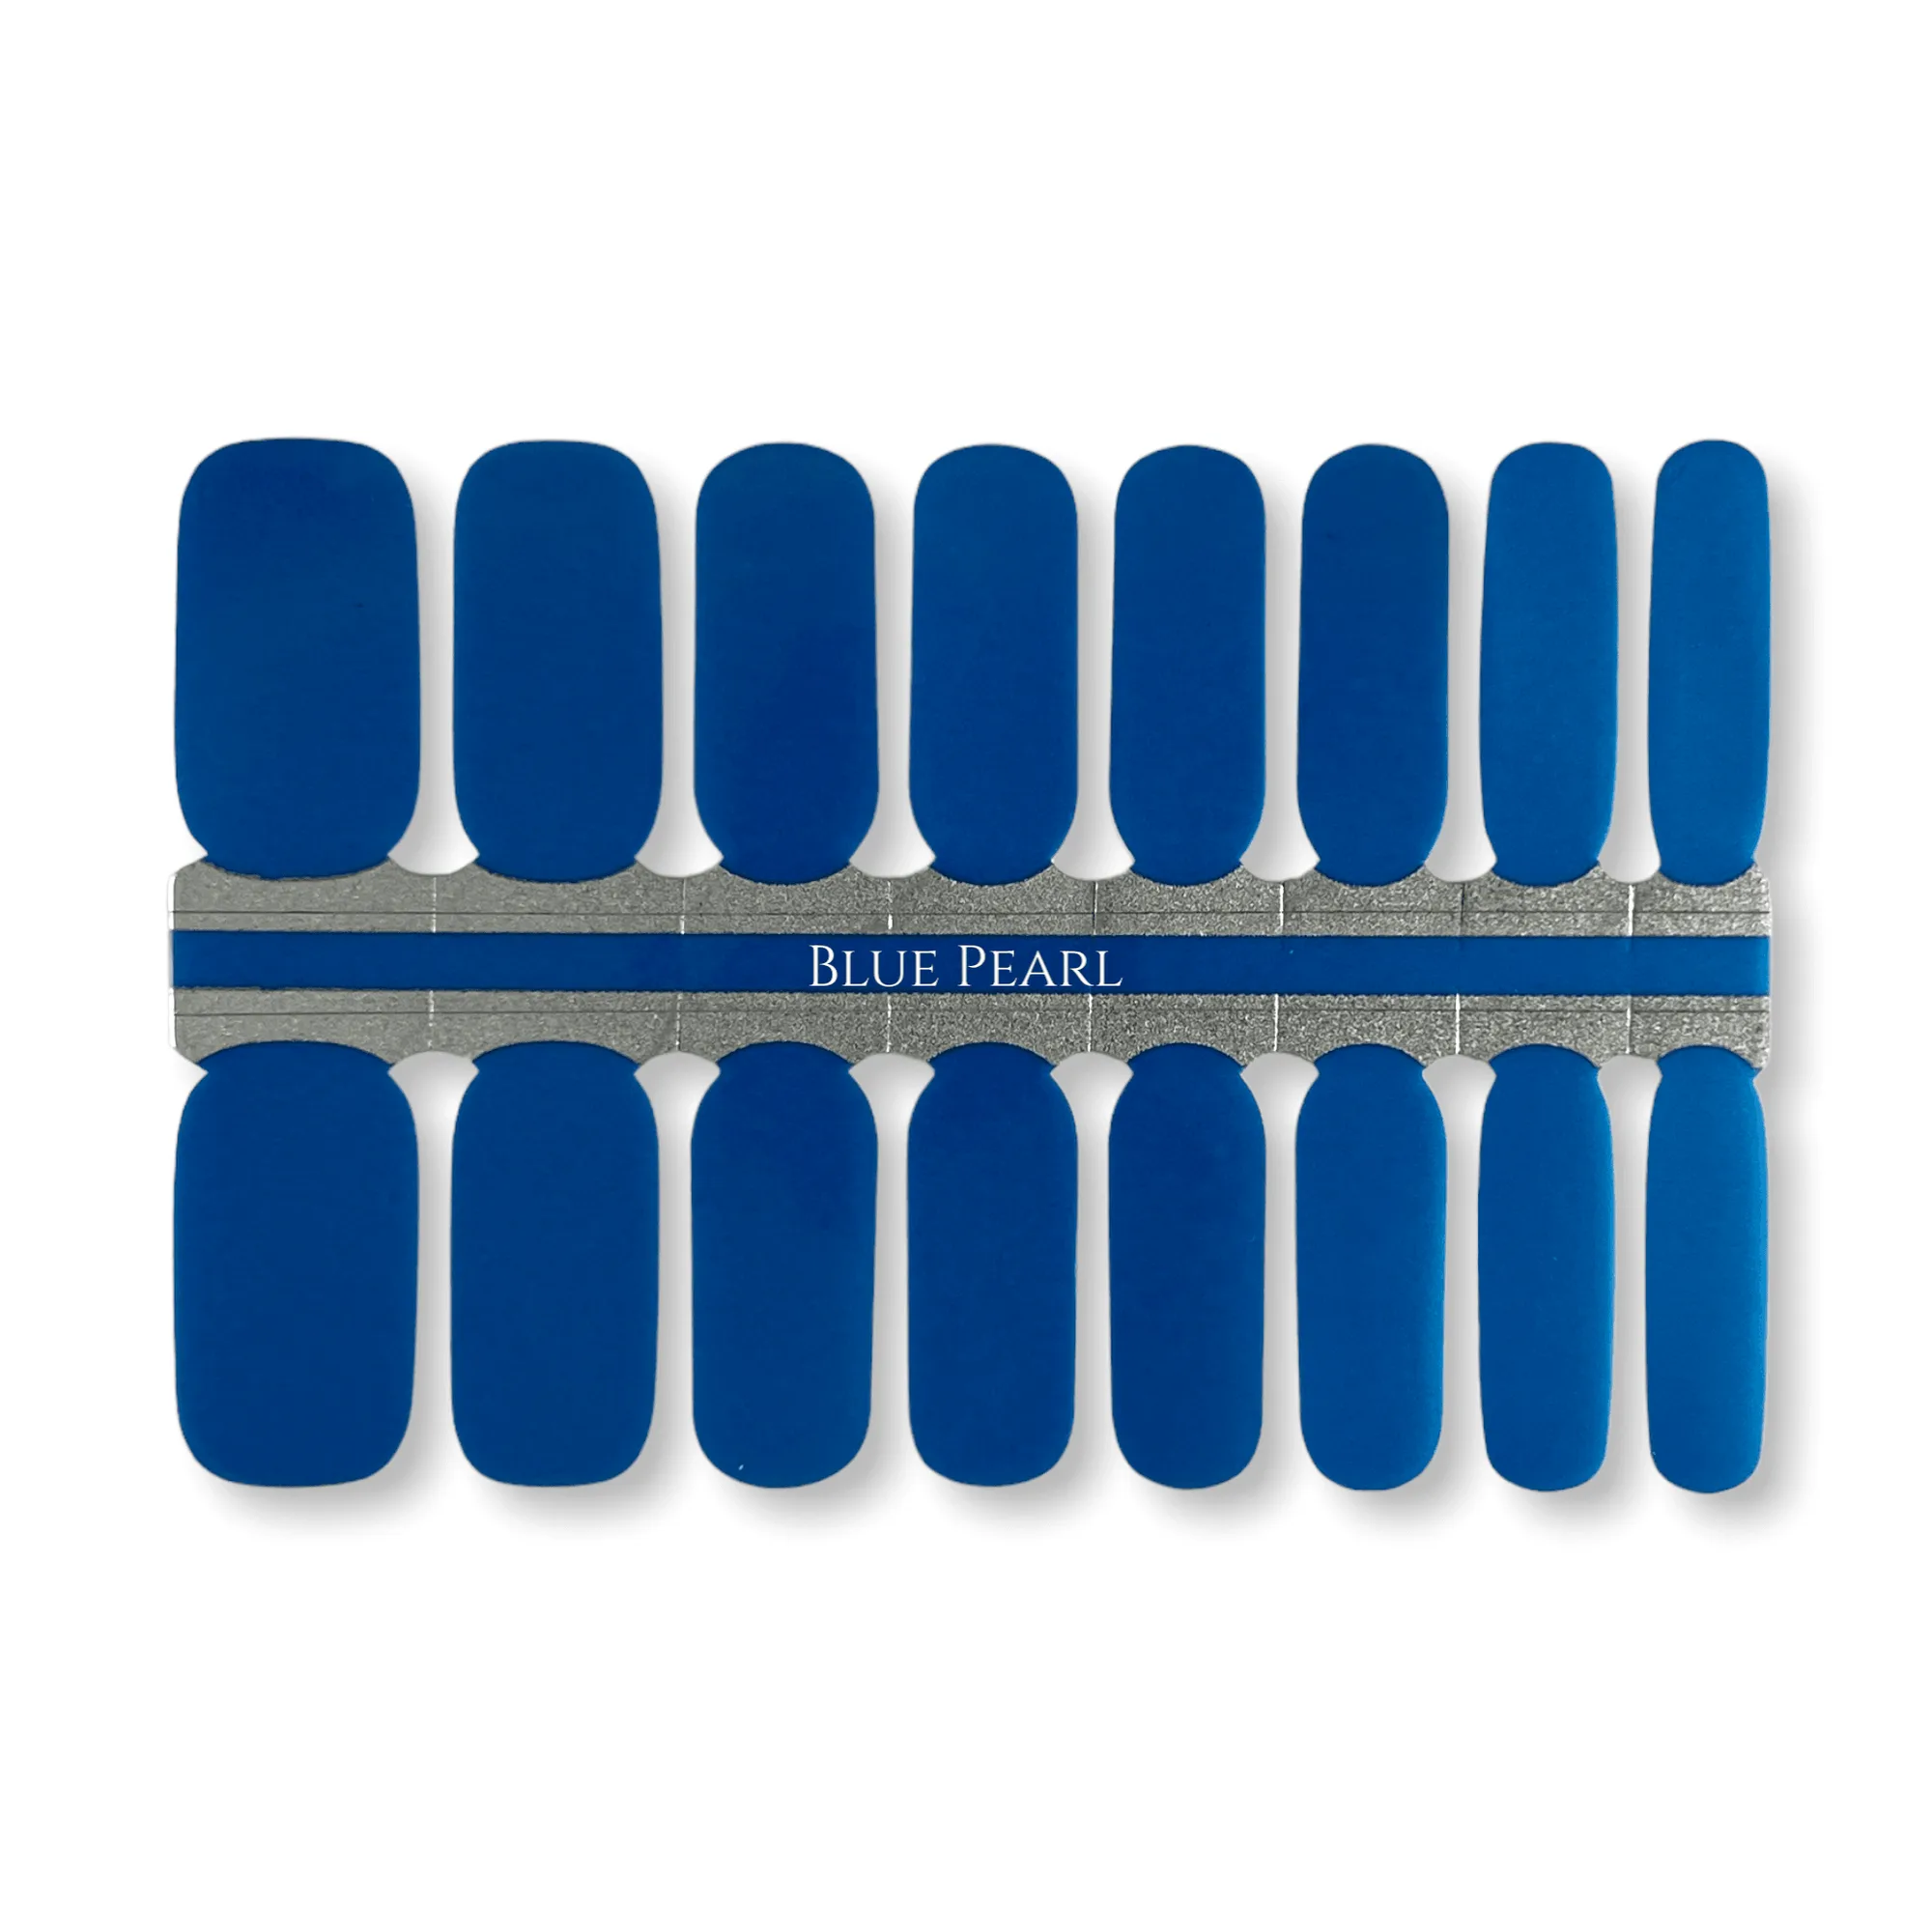
Blue pearl nail wraps are easy to wear well because the finish does most of the work. The trick is choosing the right shade for the occasion and applying the strips cleanly so the pearl reads as intentional rather than busy.
This guide walks through five practical steps, from picking a blue pearl design to finishing the tips, and includes real Shine On Nail Wraps designs you can use as your starting point.
Pick the Right Blue Pearl Finish First
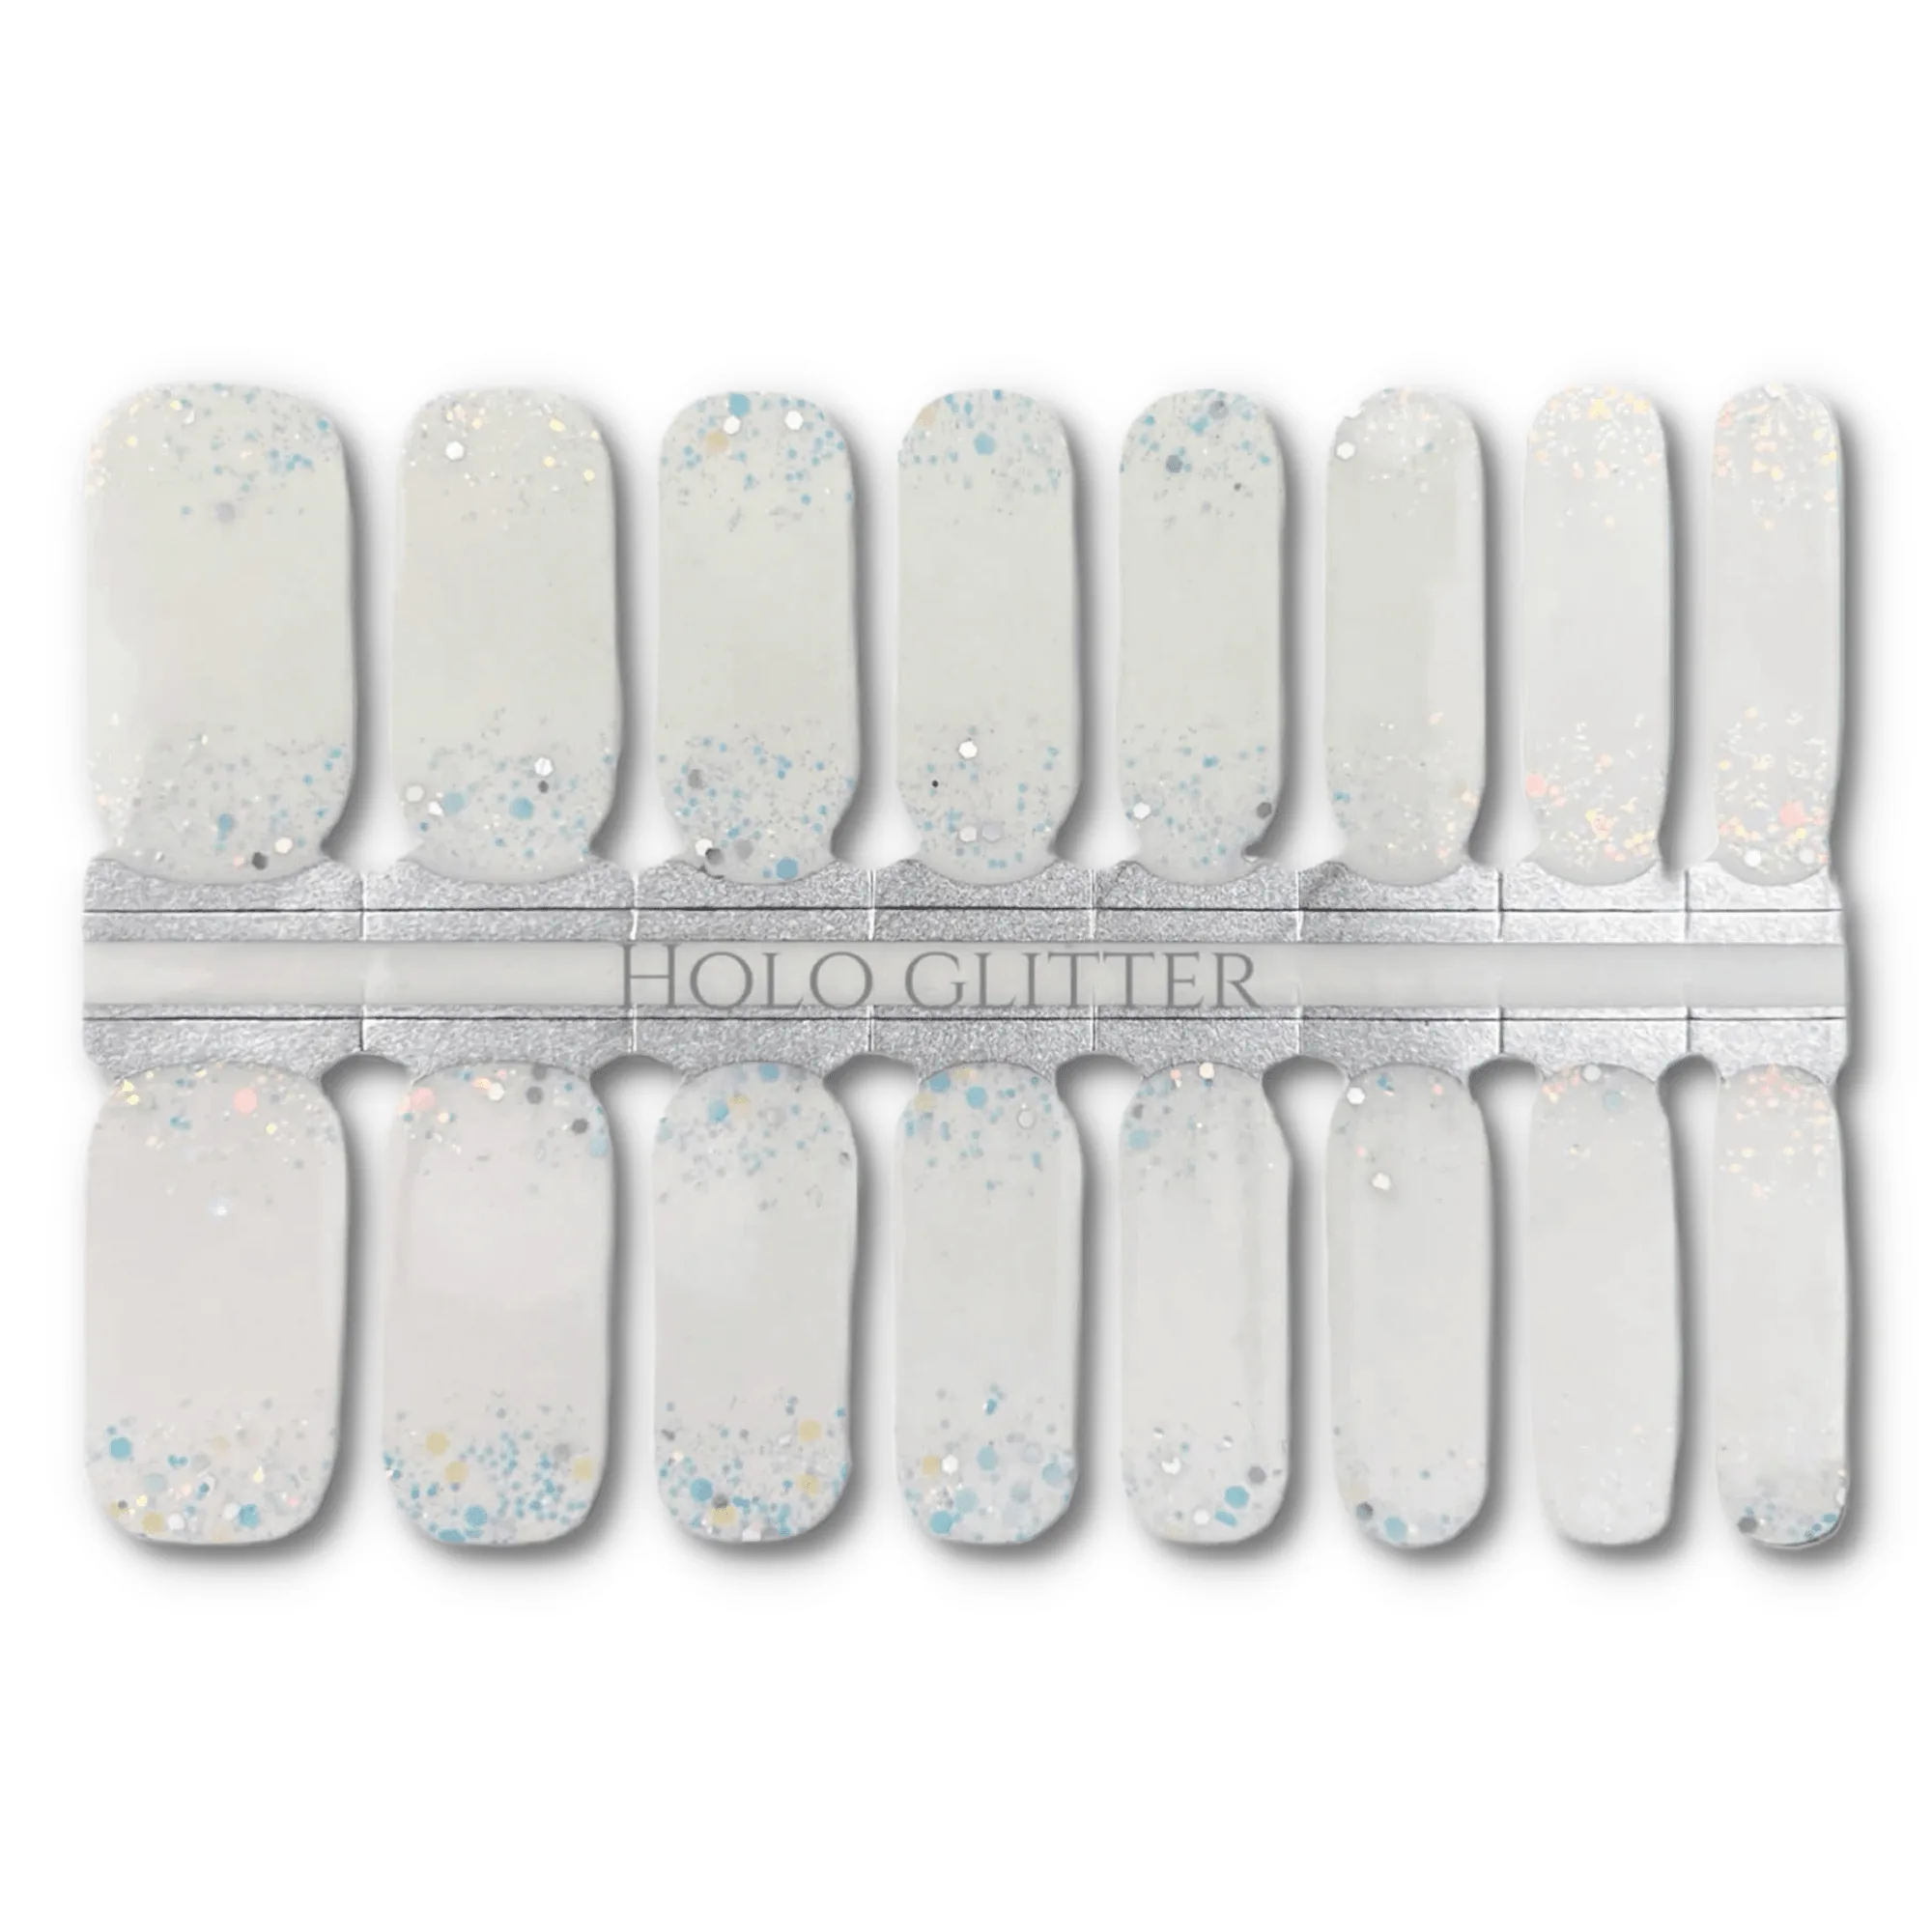
Start by deciding how much shimmer you want. A cool light blue pearl with chunky holo glitter gives a playful, party-ready effect, while a dark blue-to-black pearl ombré reads more formal and evening-appropriate. If you are choosing between designs, hold the strips against your skin in daylight; pearl finishes shift with the light, so what looks subtle indoors can look brighter outside.
For blue pearl nail wrap ideas that stay versatile, pair a pearl strip with a solid or sheer strip from the same set. This keeps the manicure from feeling like one flat color and gives your eye a place to rest. If you are unsure, a single pearl accent nail is the safest starting point.
- Checkpoint: if the design feels too busy, reduce the number of pearl strips rather than changing the whole set.
Match the Blue Pearl Look to the Occasion
Blue pearl wraps fit a wider range of occasions than most people expect. For weddings and formal events, a deeper pearl ombré works with navy, silver, or charcoal outfits. For holidays and parties, a light blue pearl with glitter catches the light in photos without competing with a bold outfit. For everyday wear, keep the nail short and choose a design with a white or sheer base so regrowth is less obvious.
If you are wearing blue pearl wraps to work, choose the least sparkly option in your set and skip the accent nail. If you are dressing for a celebration, do the opposite: use the glitter or foil strips on the ring finger and keep the rest of the hand consistent.
- Common mistake: wearing a chunky glitter pearl with an already sparkly outfit. Let one element be the focal point.
Prep Nails So the Pearl Finish Sits Smooth
Pearl finishes show texture, so prep matters more than it does with a flat cream color. Push back cuticles, buff the nail surface lightly, and wipe each nail with a lint-free pad to remove oils. Trim and file to a shape that suits the strip width; if the strip is wider than your nail, trim it before applying rather than after, so the edges stay clean.
Keep your nails dry for about 30 minutes before applying. Moisture under a wrap is one of the most common reasons a pearl strip lifts at the tip within a day or two.
- Checkpoint: if the nail surface still feels oily after wiping, repeat the wipe before you start applying strips.
Apply the Wraps With a Firm, Smooth Press
Peel the strip from the backing and place it at the cuticle line, not in the middle of the nail. Press from the center outward, then work from cuticle to tip with your thumb. Pearl and glitter finishes can hide air bubbles at first, so press slowly and look at the nail from an angle before moving on. Fold the excess over the tip and file it away in a downward motion.
If a strip wrinkles, lift it gently and reapply rather than pressing the wrinkle flat. A pressed-in crease will stay visible under a pearl finish.
- Common mistake: stretching the strip to fit. Stretching distorts the design and shortens wear time.
Seal the Tips and Style the Rest of Your Look
Once all strips are on, press the tip edge down again and add a thin top coat if you want extra wear. For blue pearl nail decals, keep jewelry and clothing in the same temperature family: silver, white gold, and cool-toned fabrics let the blue pearl stand out, while warm gold can make it look muddy. A single ring or a simple bracelet is usually enough.
For a cohesive look, repeat one blue pearl accent somewhere else, such as a scarf, bag, or eyeshadow. Avoid matching the pearl finish to a second high-shine element like a metallic dress; the two compete instead of supporting each other.
- Checkpoint: if the tips lift after a day, re-press them and add a thin top coat along the edge.
Five-Step Blue Pearl Nail Wrap Routine
- Choose the finish: Decide between a light blue pearl with glitter and a deeper blue-to-black pearl ombré based on the occasion and how much sparkle you want. Checkpoint: if you cannot decide, start with the less sparkly option and add an accent nail.
- Prep and shape: Push back cuticles, buff lightly, wipe with a lint-free pad, and file nails to a shape that matches the strip width. Checkpoint: dry nails and clean edges are what keep a pearl finish looking smooth.
- Apply from the cuticle: Place each strip at the cuticle line, press from center outward, and smooth toward the tip without stretching the strip. Common mistake: stretching the wrap to fit, which distorts the design.
- Trim and seal: Fold the excess over the tip, file downward, then re-press the tip edge and add a thin top coat if desired. Checkpoint: re-press any lifted tip before the end of the day.
- Style the look: Keep jewelry and clothing in cool tones, and repeat one blue pearl accent elsewhere in your outfit. Checkpoint: one focal point is enough; avoid pairing pearl nails with a second high-shine statement.
Blue Pearl Designs From Shine On Nail Wraps
- FROSTED: Cool light blue pearl shade with chunky holo glitter, and 16 real nail polish strips per set. Best for parties, holidays, and photos where you want visible sparkle; the chunky glitter means it is the boldest blue pearl option here.
- NEOMENIA: A Shine On Nail Wraps exclusive design with a dark blue to black oval ombré in a pearl finish, and 16 real nail polish strips per set. A more formal, evening-friendly take on blue pearl; the ombré gives depth without extra glitter, so it pairs well with navy or black outfits.
- PEARLS & POLKA DOTS: Pink pearl finish with a black rose design and black polka dots on alternating strips, and 16 real nail polish strips. A useful contrast if you want a pearl finish but not a blue one; the alternating strips show how a patterned set can be mixed rather than worn uniformly.
Blue pearl nail wraps are flexible enough for weddings, holidays, and everyday wear as long as you match the finish to the occasion and apply them cleanly. Start with one design, follow the five-step routine, and adjust the accent nail count until the look feels right for you.