Quick Answer
A bond breaker lash remover is a specially formulated adhesive remover that safely dissolves the bond between your natural lashes and extensions. To use it, apply a small amount to the lash line, wait a few minutes, and gently slide off the extensions. Always follow with a lash bath to clean and condition your natural lashes.
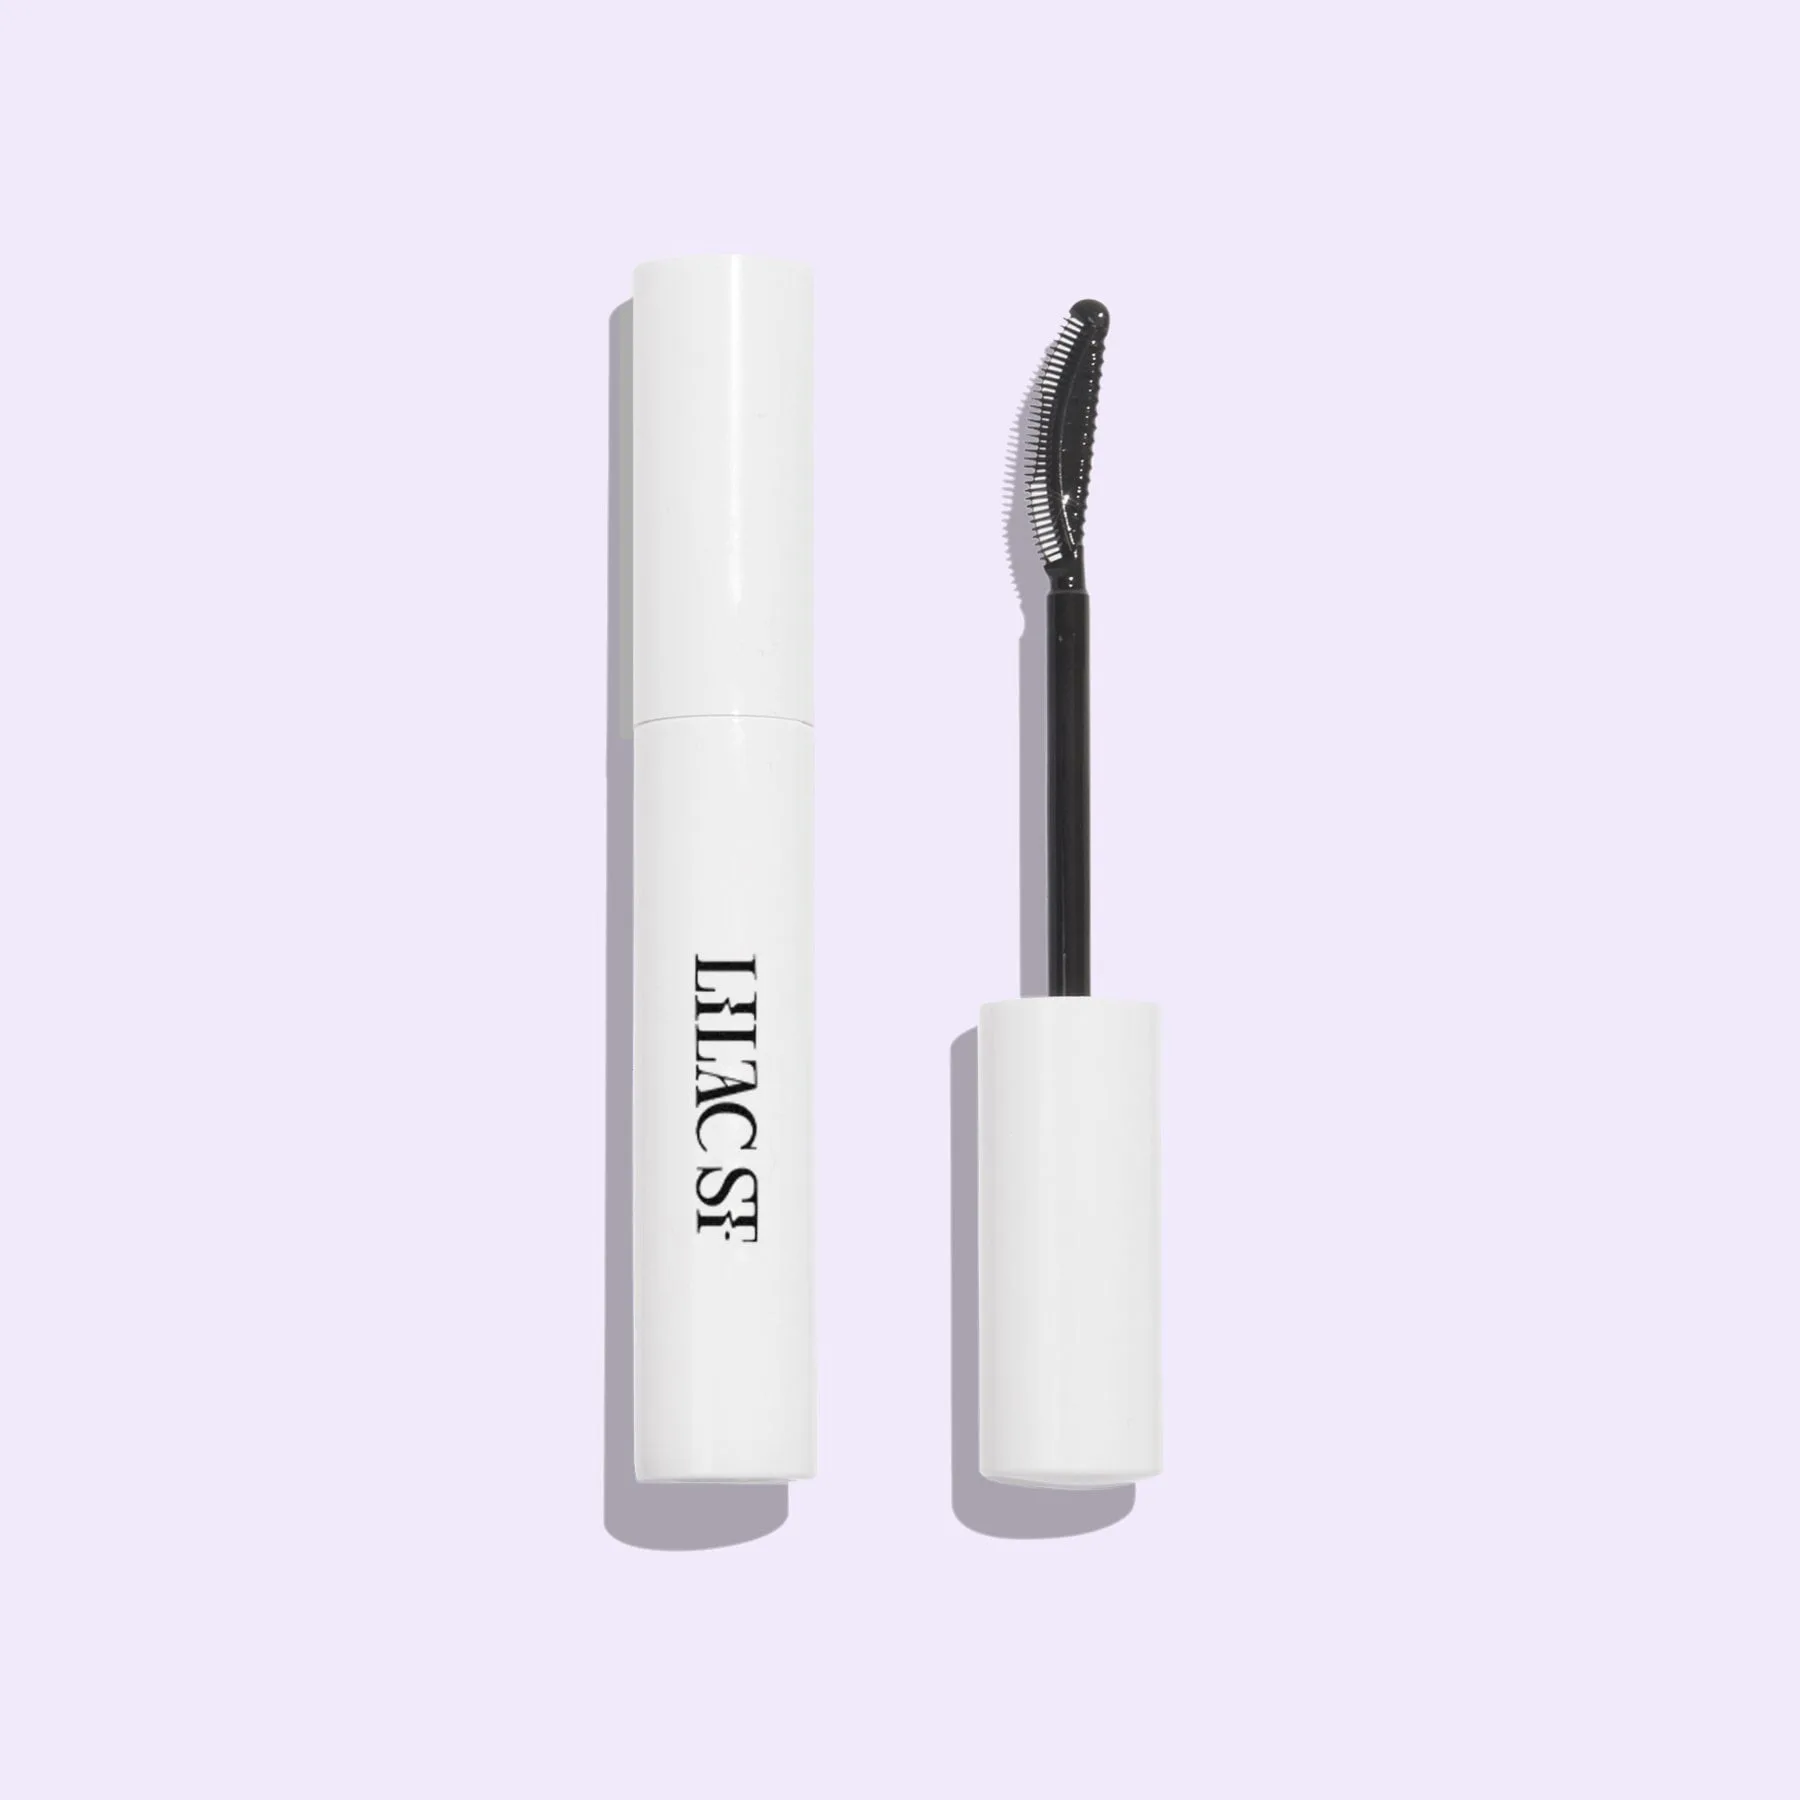
bond breaker lash remover
Removing lash extensions at home can be nerve-wracking, especially if you're worried about damaging your natural lashes. The key to a safe and comfortable removal is using a product specifically designed for the job: a bond breaker lash remover. Unlike harsh oil-based removers that can irritate your eyes, a bond breaker gently breaks down the adhesive bond, allowing extensions to slide off with minimal effort.
In this guide, we'll walk you through the step-by-step process of using a bond breaker lash remover, common mistakes to avoid, and how to care for your lashes afterward. Whether you're new to DIY lash extensions or a seasoned pro, this method will help you keep your natural lashes healthy and ready for your next set.
What Is a Bond Breaker Lash Remover?
A bond breaker is a gentle adhesive remover formulated to break down the cyanoacrylate-based glue used in lash extensions. Unlike oil-based removers, which can be messy and potentially irritate the eyes, bond breakers are designed to dissolve the bond quickly and safely. They typically come in a gel or liquid form and are applied directly to the lash line.
Using a bond breaker is essential for maintaining the health of your natural lashes. Pulling or tugging at extensions can cause breakage and permanent damage. A bond breaker ensures that the extensions come off effortlessly, without pulling on your natural lashes.
- Look for a bond breaker that is specifically labeled for lash extension removal.
- Avoid using oil-based removers, as they can break down the adhesive too quickly and cause eye irritation.
Preparing for Removal
Before you begin, gather your supplies: a bond breaker lash remover, a clean spoolie or brush, a lint-free cloth or cotton pad, and a lash bath kit for aftercare. Ensure your hands are clean and your workspace is well-lit. It's also a good idea to remove any eye makeup first, as makeup can interfere with the remover's effectiveness.
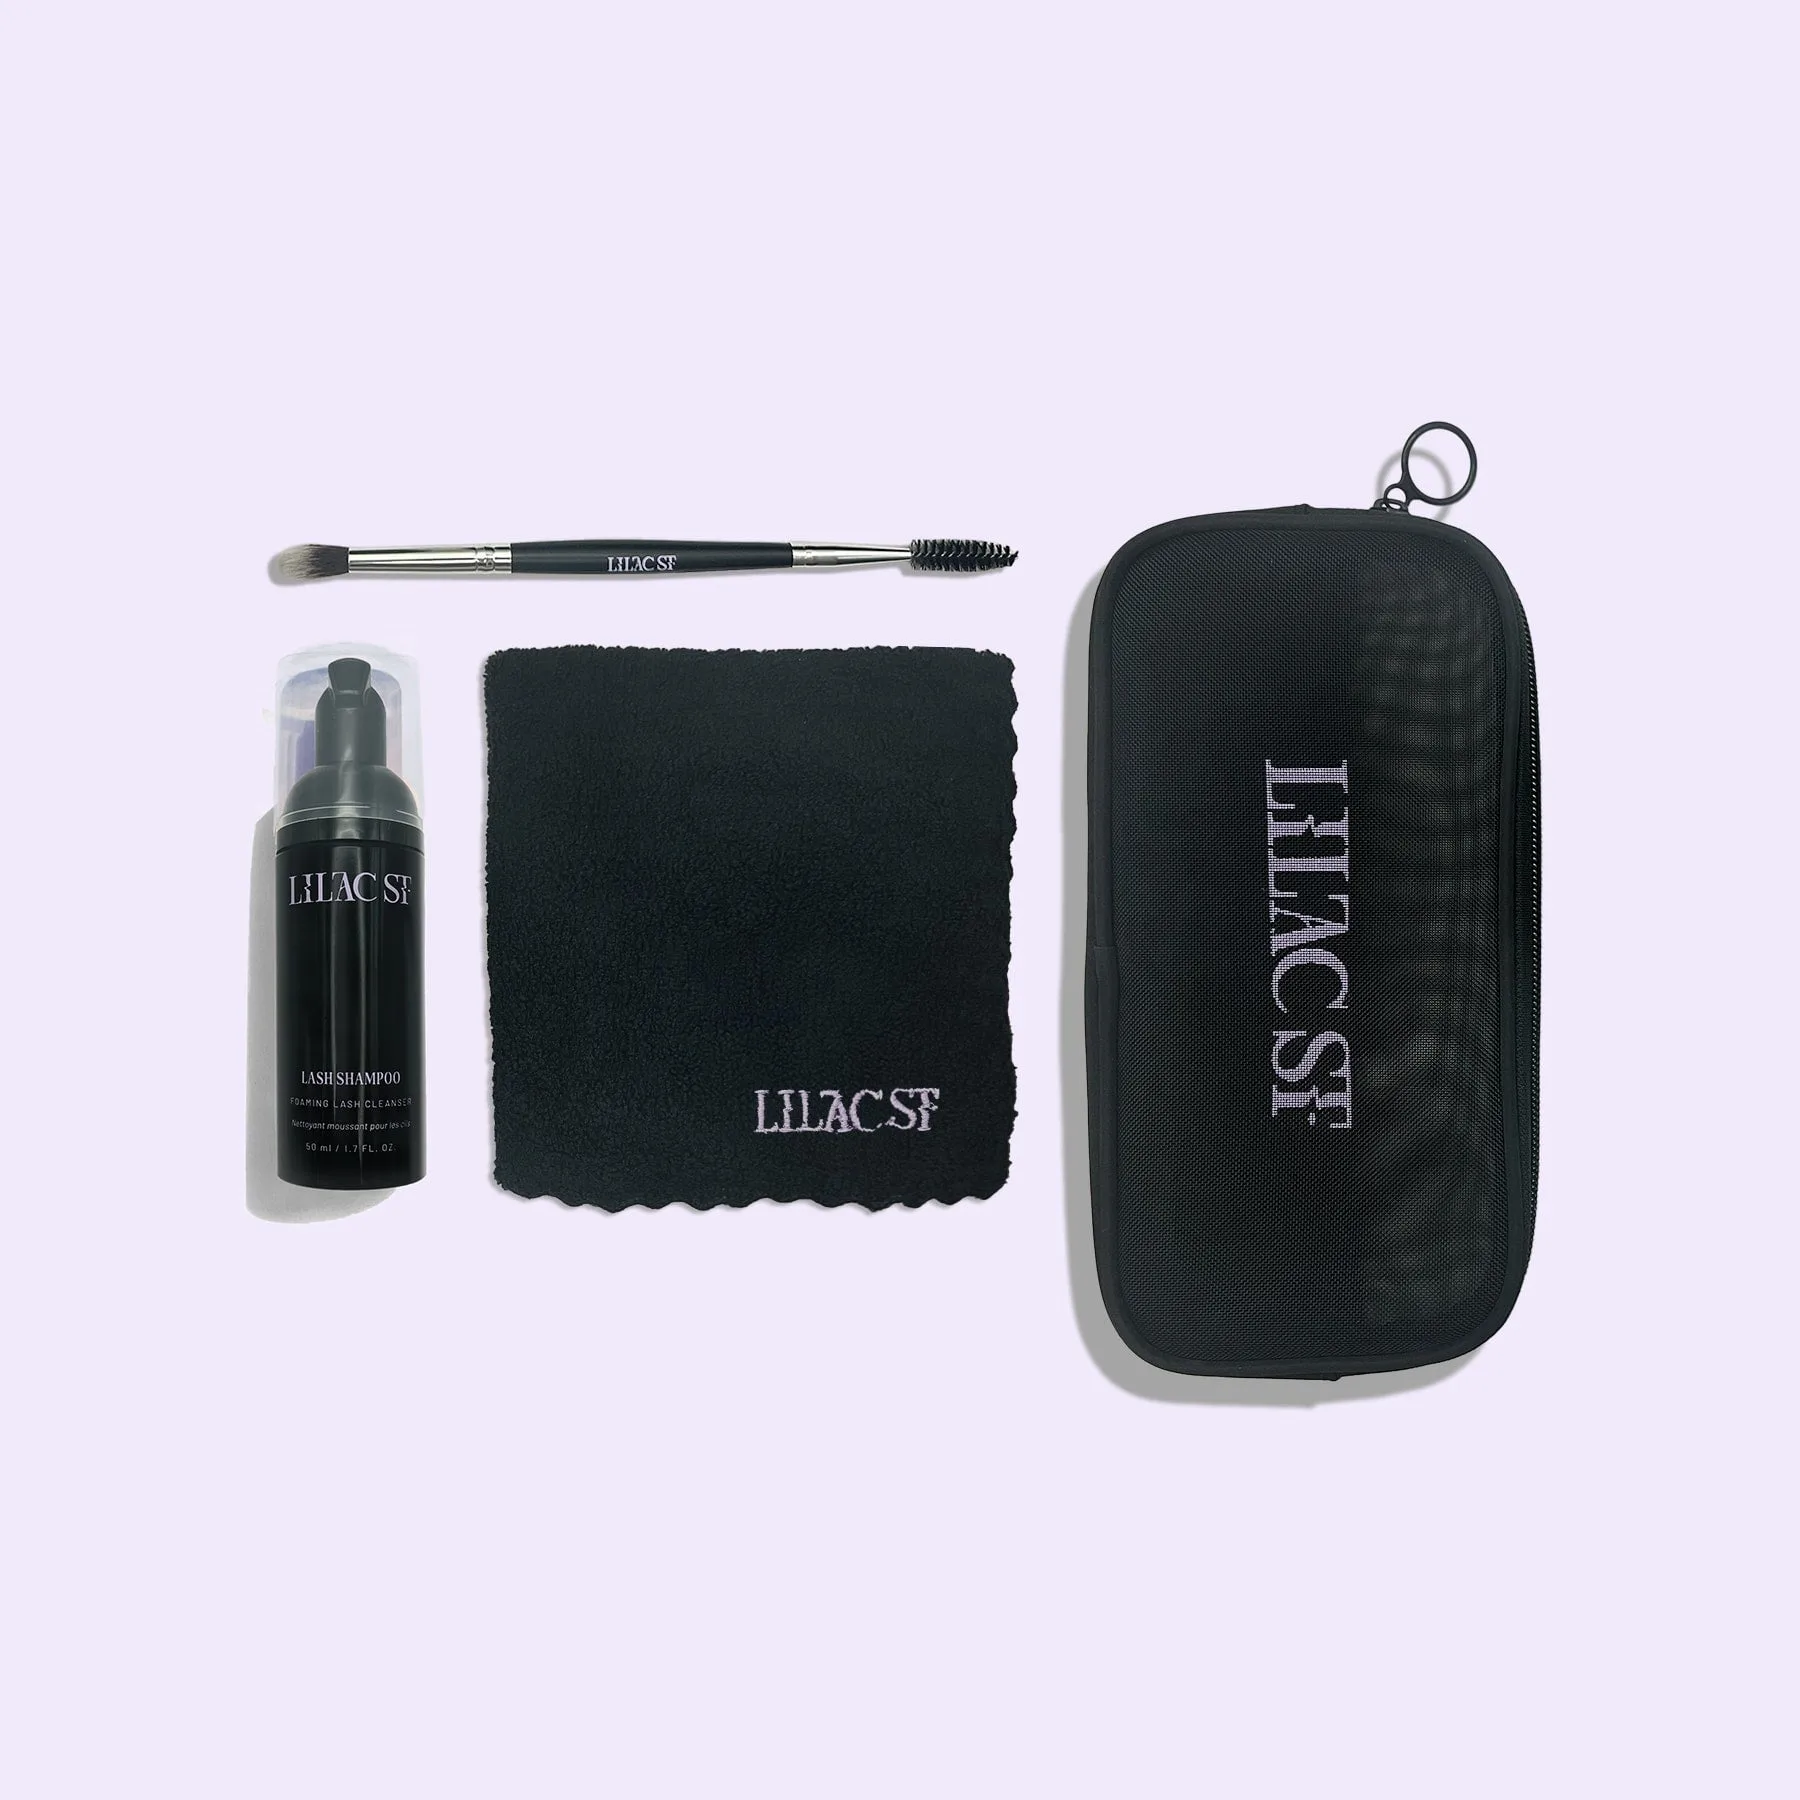
lash bath kit
Check the expiration date on your bond breaker. Expired removers may not work effectively and could cause irritation. If you have sensitive eyes, do a patch test on your inner arm before applying near your eyes.
- Have a mirror and good lighting to see exactly what you're doing.
- If you wear contact lenses, remove them before starting.
Step-by-Step Removal with Bond Breaker
Follow these steps for a safe and effective removal. Remember to be patient and gentle throughout the process.
The entire process should take about 10-15 minutes. If you feel any pain or discomfort, stop immediately and consult a professional.
- Apply the bond breaker to the lash line using the applicator or a clean spoolie.
- Wait the recommended time (usually 2-5 minutes) as per the product instructions.
- Gently slide the extension off with your fingers or a clean tweezers.
- Cleanse your lashes with a lash bath to remove any residue.
Aftercare: Caring for Your Natural Lashes
After removal, your natural lashes may feel a bit sensitive. Cleanse them with a gentle lash bath to remove any adhesive residue and condition the lashes. Avoid applying new extensions for at least 24-48 hours to give your lashes a break.
Use a lash serum or castor oil to nourish your lashes and promote healthy growth. Remember to brush your lashes daily with a clean spoolie to keep them tangle-free.
- Use a lash bath kit to thoroughly clean and condition your lashes after removal.
- Wait at least a day before applying a new set of extensions.
Step-by-Step Removal Process
- Step 1: Apply the Bond Breaker: Using the applicator or a clean spoolie, apply a small amount of bond breaker to the lash line, focusing on the base where the extension meets your natural lash. Avoid getting it in your eyes. Common mistake: applying too much product. A little goes a long way.
- Step 2: Wait for the Bond to Break: Allow the bond breaker to sit for the recommended time (usually 2-5 minutes). You may feel a slight tingling sensation, which is normal. Do not rub or touch your eyes during this time. Checkpoint: After a few minutes, test one lash by gently pulling. If it doesn't slide off easily, wait a bit longer.
- Step 3: Gently Slide Off Extensions: Using your fingers or a clean tweezers, gently slide the extension off from the base. Do not pull or tug. If you encounter resistance, reapply a small amount of bond breaker and wait again. Common mistake: pulling too hard can damage natural lashes. Always be gentle.
- Step 4: Cleanse and Condition: After all extensions are removed, cleanse your lashes with a lash bath kit to remove any adhesive residue. Follow with a nourishing lash serum or oil to condition your natural lashes. Checkpoint: Your lashes should feel clean and soft, not sticky or brittle.
Product Facts
- Lash Bath Kit: Keep your DIY lash extensions looking their best with the Lash Bath Kit from Lilac St. This kit is designed for at-home care, helping you maintain clean and refreshed lashes between applications. Complete lash bath kit for at-home use, ideal for DIY lash extension maintenance. After removing your extensions with a bond breaker, using a lash bath kit ensures all adhesive residue is gone and your natural lashes are clean and conditioned.
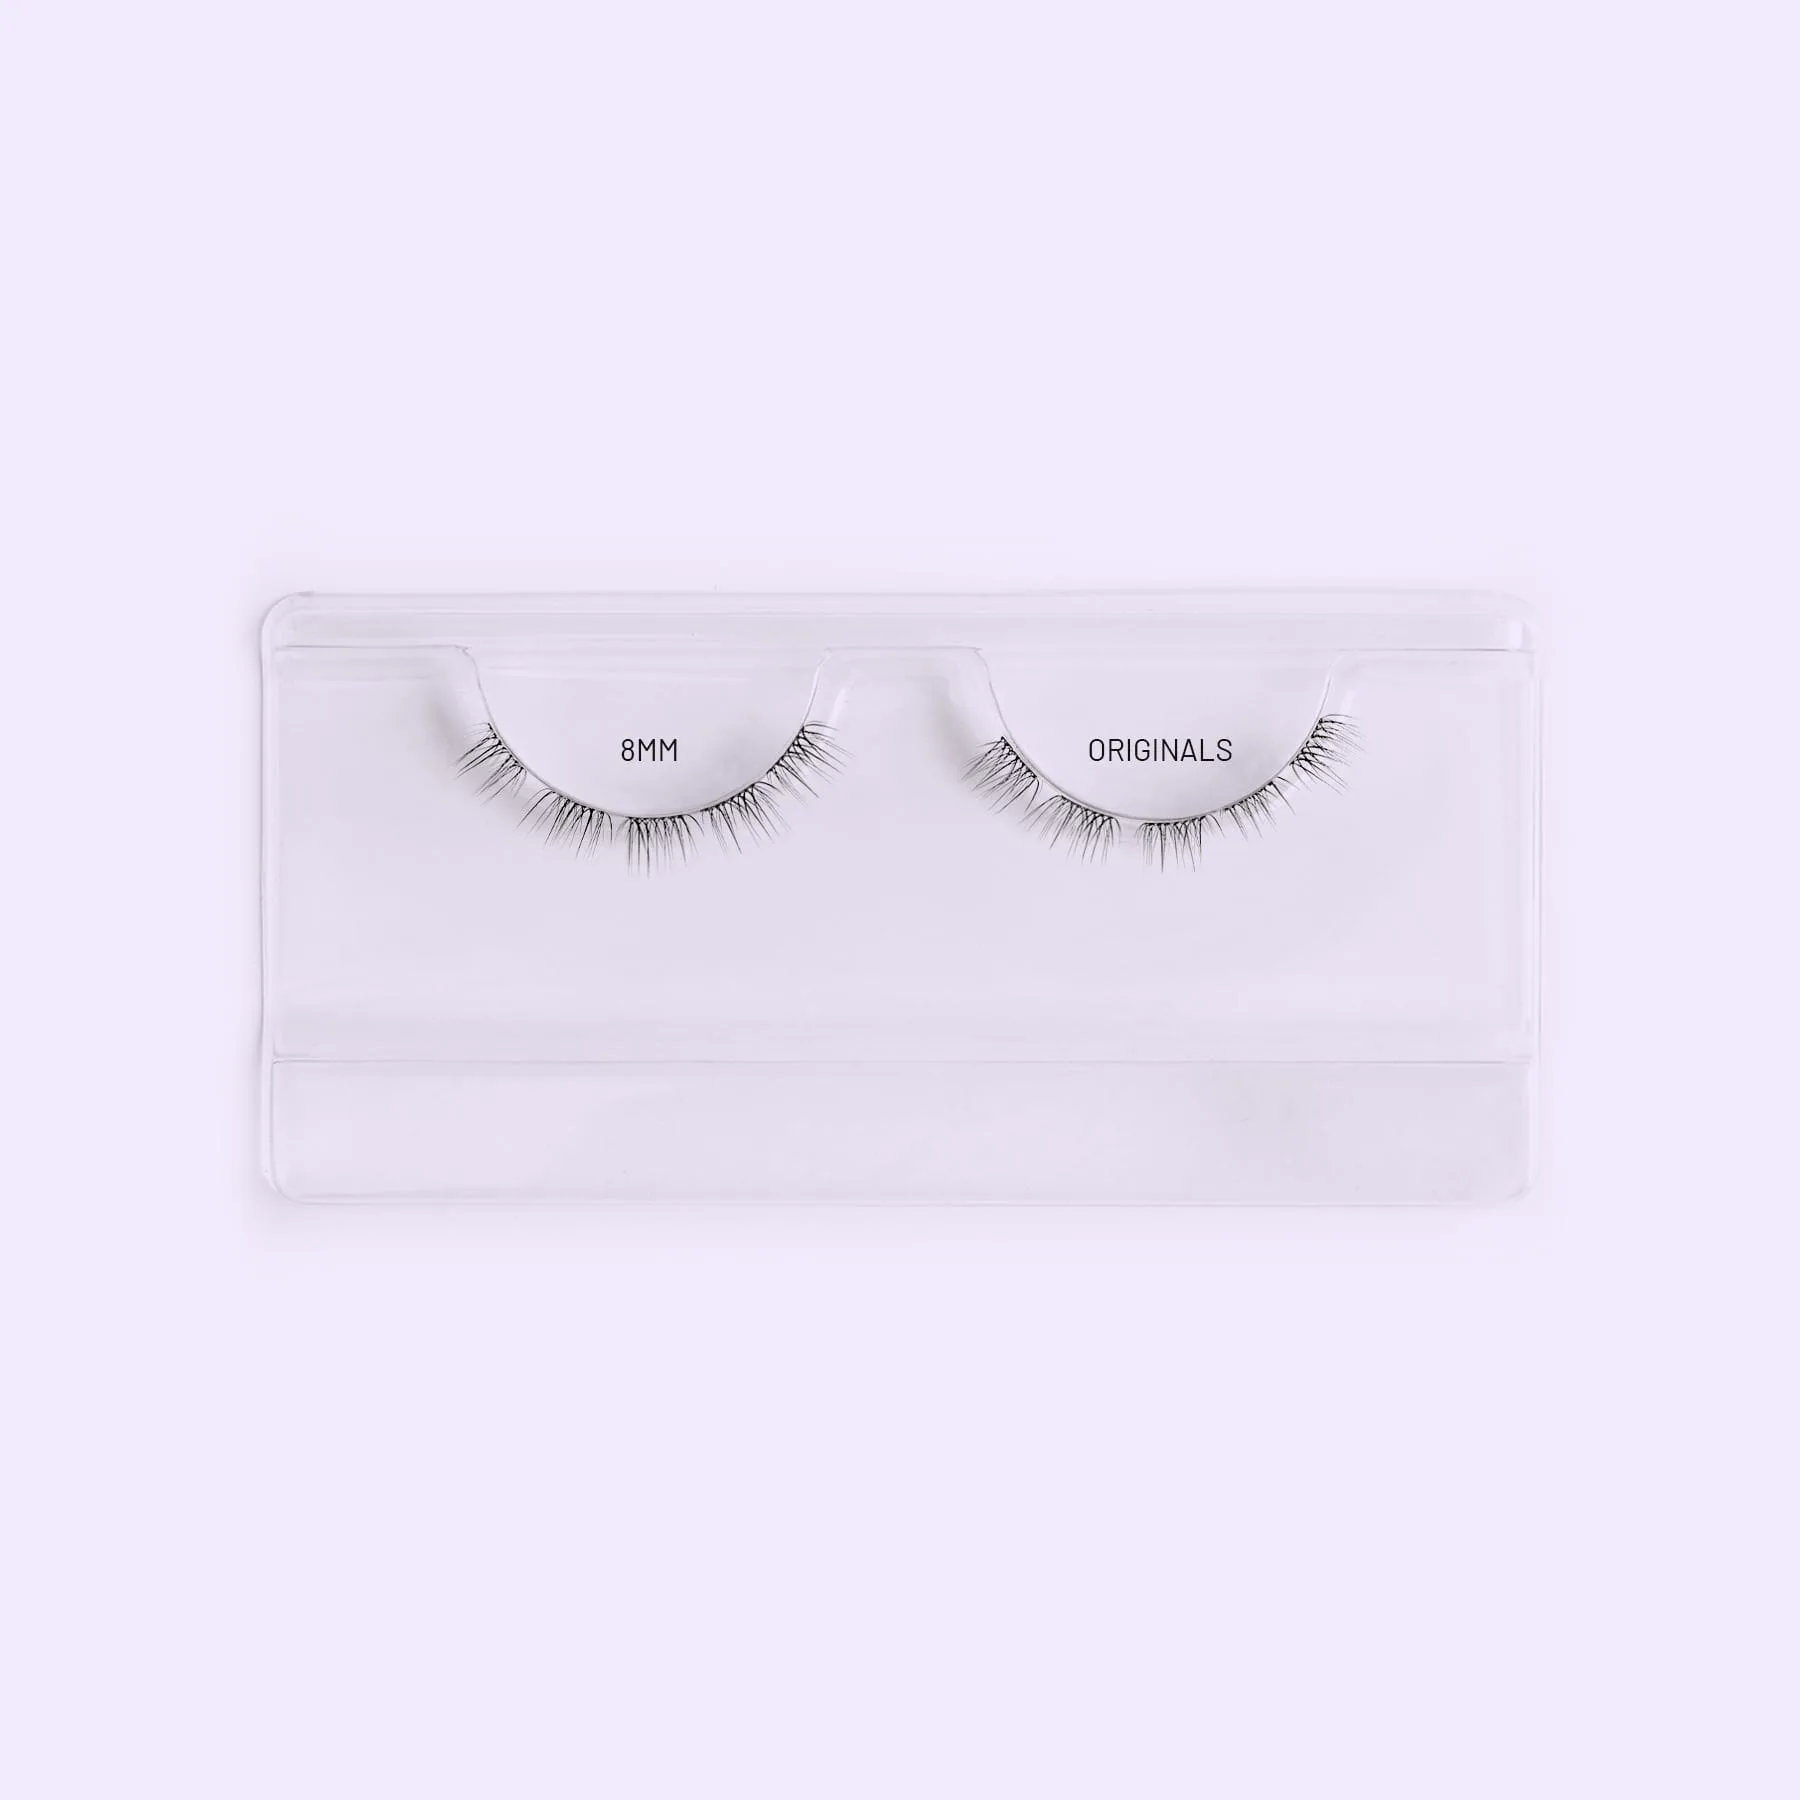
- https://lilacstop.com/products/deluxe-starter-kit-set-originals-350890https://lilacstop.com/products/deluxe-starter-kit-set-350889Deluxe Starter Kit Set - Originals: Get everything you need to start your DIY lash extension journey with the Deluxe Starter Kit Set - Originals from Lilac St. This comprehensive kit is designed for at-home use, offering a convenient and cost-effective way to achieve beautiful lashes without salon visits. If you're new to DIY lash extensions, this starter kit provides the tools and supplies you need, including the popular Originals style, making it easy to apply and remove extensions safely.
Using a bond breaker lash remover is the safest and most effective way to remove your DIY lash extensions at home. By following these steps and using quality aftercare products, you can keep your natural lashes healthy and ready for your next application. If you're looking for a complete solution, consider the Deluxe Starter Kit Set - Originals from Lilac St., which includes everything you need for beautiful lashes from start to finish.