Quick Answer
A boot retainer holds the shift boot's lower edge against the console or tunnel, and a trim ring hides that edge while adding pressure. Fit the retainer to the boot first, test the assembly dry, then tighten in a cross pattern so the boot stays seated instead of pulling loose.
A shift boot that keeps popping out of its opening is almost never a boot problem. It is usually a retainer problem: the boot's lower edge is not being held with even pressure, so every shift tugs it free. A boot retainer and trim ring solve that by clamping the boot to the console or tunnel instead of relying on friction alone.
This guide walks through the install in order, from checking fitment to the final trim ring seating. It uses the shift boot retainer, boot retainer install, and shift boot trim ring terms you will see in product listings, and it flags the mistakes that cause a boot to come loose again a week later.
What a Boot Retainer and Trim Ring Actually Do
A boot retainer is the part that grips the bottom of the shift boot and anchors it to the console or transmission tunnel. It can be a ring, a plate, or a set of clips, but the job is the same: hold the boot's lower edge with consistent pressure so shifting does not drag the fabric out of place. A trim ring sits over that edge and finishes the opening, hiding the raw fabric and any hardware.
The two parts work together. The retainer provides the grip; the trim ring provides the finish and often a second layer of pressure. If you install one without the other, you usually get a boot that either looks unfinished or works loose. For a boot like the Black Überkaro Plaid Shift Boot by Stitch Boots, which is made to order and custom fitted, the retainer is what keeps that custom fit from shifting around.

Black Überkaro Plaid Shift Boot by Stitch Boots
- Retainer = grip and anchoring; trim ring = finish and edge pressure
- A loose boot is usually an anchoring problem, not a fabric problem
- Made-to-order boots still need a retainer to stay seated
Check Fitment Before You Touch a Tool
Before installing anything, confirm the retainer matches your shifter opening and your boot's lower diameter. Boot retainer fitment depends on three things: the opening shape in your console, the boot's bottom circumference, and whether your setup uses a factory-style ring or an aftermarket one. If any of those are mismatched, no amount of tightening will keep the boot in place.
Test-fit the boot into the retainer dry, with no screws or adhesive. The boot should sit in the channel or under the lip with a small amount of compression. If it slides in with no resistance, the retainer is too large and the boot will pull free. If you have to force it, the retainer is too small and the fabric will bunch or tear at the seam.
- Dry-fit the boot in the retainer before any hardware goes in
- Slight compression is correct; zero resistance means it will slip
- Check that the retainer clears the shifter's full travel
Prep the Boot and Opening
Clean the console opening and the boot's lower edge so there is no old adhesive, grease, or loose fiber. If you are reusing a boot that was previously glued, peel the old residue off carefully; leftover adhesive creates high spots that stop the retainer from seating flat. For fabric boots, a quick pass with a soft brush is enough.
If your boot has a sewn channel or a hem, make sure it is not twisted. A twisted hem will sit unevenly in the retainer and create one loose section that pulls out first. Lay the boot flat on the bench and check that the bottom edge forms an even circle or rectangle before you install it.
- Remove old adhesive; high spots stop the retainer from seating
- Untwist the hem so the bottom edge sits evenly
- Work on a clean surface so fabric does not pick up grit
Seat the Boot in the Retainer
Work the boot's lower edge into the retainer channel or under its lip, moving around the circumference in small increments rather than forcing one side all the way in. This keeps the tension even. If your retainer uses clips, engage them in opposite pairs so the boot does not shift to one side as you go.
Once the boot is seated, run a finger around the inside edge to feel for any section that is not fully captured. A boot that is 90 percent seated will look fine and fail later. This is the checkpoint where most boot retainer install problems start, because it is easy to miss one short section at the back where you cannot see.
- Work around the circumference in small increments
- Engage clips in opposite pairs to keep tension even
- Feel the full inside edge; do not trust a visual check alone
Install the Trim Ring and Tighten Evenly
Set the trim ring over the boot edge and start all fasteners by hand before tightening any of them. Then tighten in a cross or star pattern, a little at a time, the same way you would torque a wheel. This spreads the clamping force evenly and prevents the ring from cocking to one side, which is the most common cause of a boot pulling out at one corner.
Stop when the ring is snug against the boot and console. Over-tightening crushes the fabric, distorts the ring, and can crack plastic console trim. If the ring has a gasket or foam pad, make sure it is sitting flat and not folded under the edge, since a folded gasket creates a gap the boot can slip through.
- Start all fasteners by hand before tightening any
- Tighten in a cross pattern, a little at a time
- Snug is enough; crushing the fabric causes its own problems
Test and Re-Check After Driving
Run the shifter through every gear, including reverse, and watch the boot edge. The boot should stay seated with no gap opening at the retainer. If a gap appears at one spot, loosen the fasteners, reseat that section, and tighten again in the cross pattern rather than simply cranking down harder.
After a week of driving, check the fasteners again. Heat cycles and vibration can loosen hardware slightly, and a retainer that was snug on install day may need a quarter turn. This is also a good time to check the boot fabric for any rub marks where it contacts the retainer, which tells you the edge is being pinched rather than held.
- Cycle every gear and watch for a gap at the retainer
- Re-check fastener tension after the first week
- Look for rub marks that indicate pinching instead of holding
Boot Retainer Install: Step-by-Step
- Verify fitment dry: Test the boot in the retainer with no hardware. The boot should sit with slight compression, not slide in freely or need force. Checkpoint: if it slides in with no resistance, the retainer is too large and will not hold.
- Clean and untwist the boot edge: Remove old adhesive and grease from the console opening and the boot's lower edge, then lay the boot flat and make sure the hem is not twisted. Mistake to avoid: installing over old adhesive, which creates high spots that stop the retainer seating flat.
- Seat the boot in the retainer channel: Work around the circumference in small increments, engaging clips in opposite pairs so tension stays even. Checkpoint: run a finger around the full inside edge; one unseated section at the back is the usual failure point.
- Fit the trim ring and start fasteners by hand: Set the trim ring over the boot edge and thread every fastener by hand before tightening any of them. Mistake to avoid: tightening one fastener fully first, which cocks the ring and leaves a gap on the opposite side.
- Tighten in a cross pattern: Tighten a little at a time in a cross or star pattern until the ring is snug against the boot and console. Stop at snug; over-tightening crushes fabric and can crack plastic trim.
- Cycle gears and re-check after a week: Run the shifter through every gear, watch for a gap at the retainer, then re-check fastener tension after the first week of driving. Next step: if a gap reappears, reseat that section and retighten in the cross pattern instead of adding more force.
Parts That Support a Clean Boot Retainer Install
- Black Überkaro Plaid Shift Boot by Stitch Boots: Crafted from reproduction vehicle interior fabric, this shift boot offers classic styling with exceptional longevity, and it is made to order and custom fitted to your specs. A custom-fitted boot has a defined lower edge, which makes retainer seating more predictable than a universal boot that has to be trimmed.
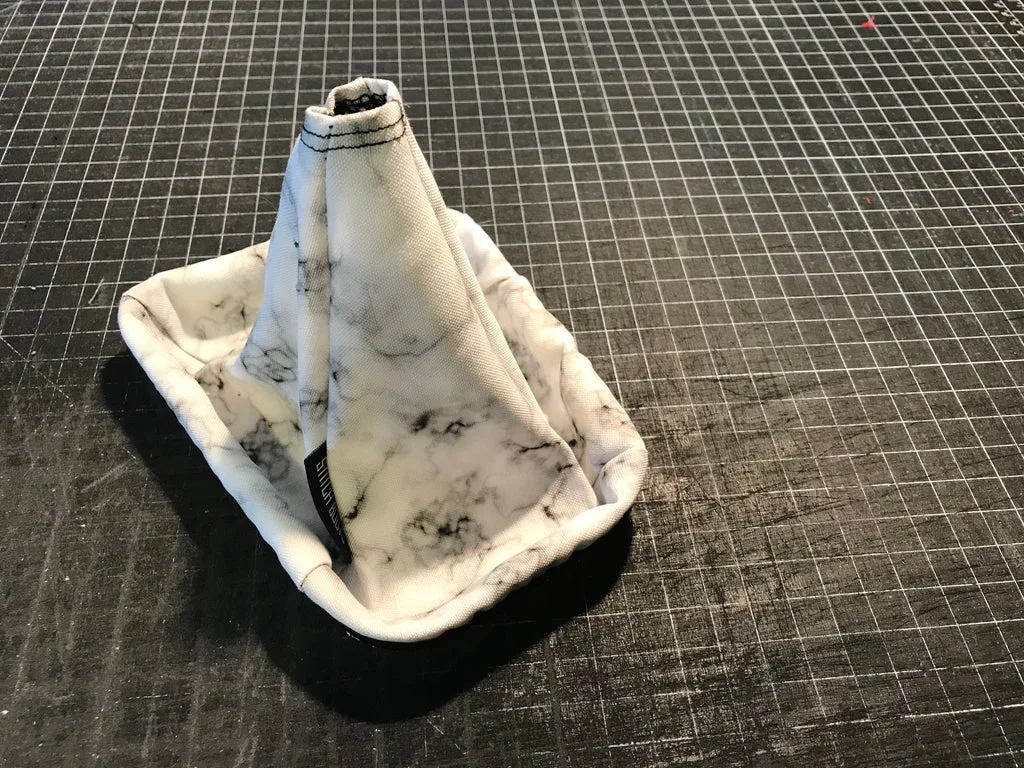
- White Marble Shift Boot by Stitch Boots: Crafted from woven canvas fabric, this shift boot offers classic styling with exceptional longevity, and it is made to order and custom fitted to your specs. Woven canvas holds its shape in a retainer channel, so it is less likely to bunch or slip than a thin, stretchy fabric.
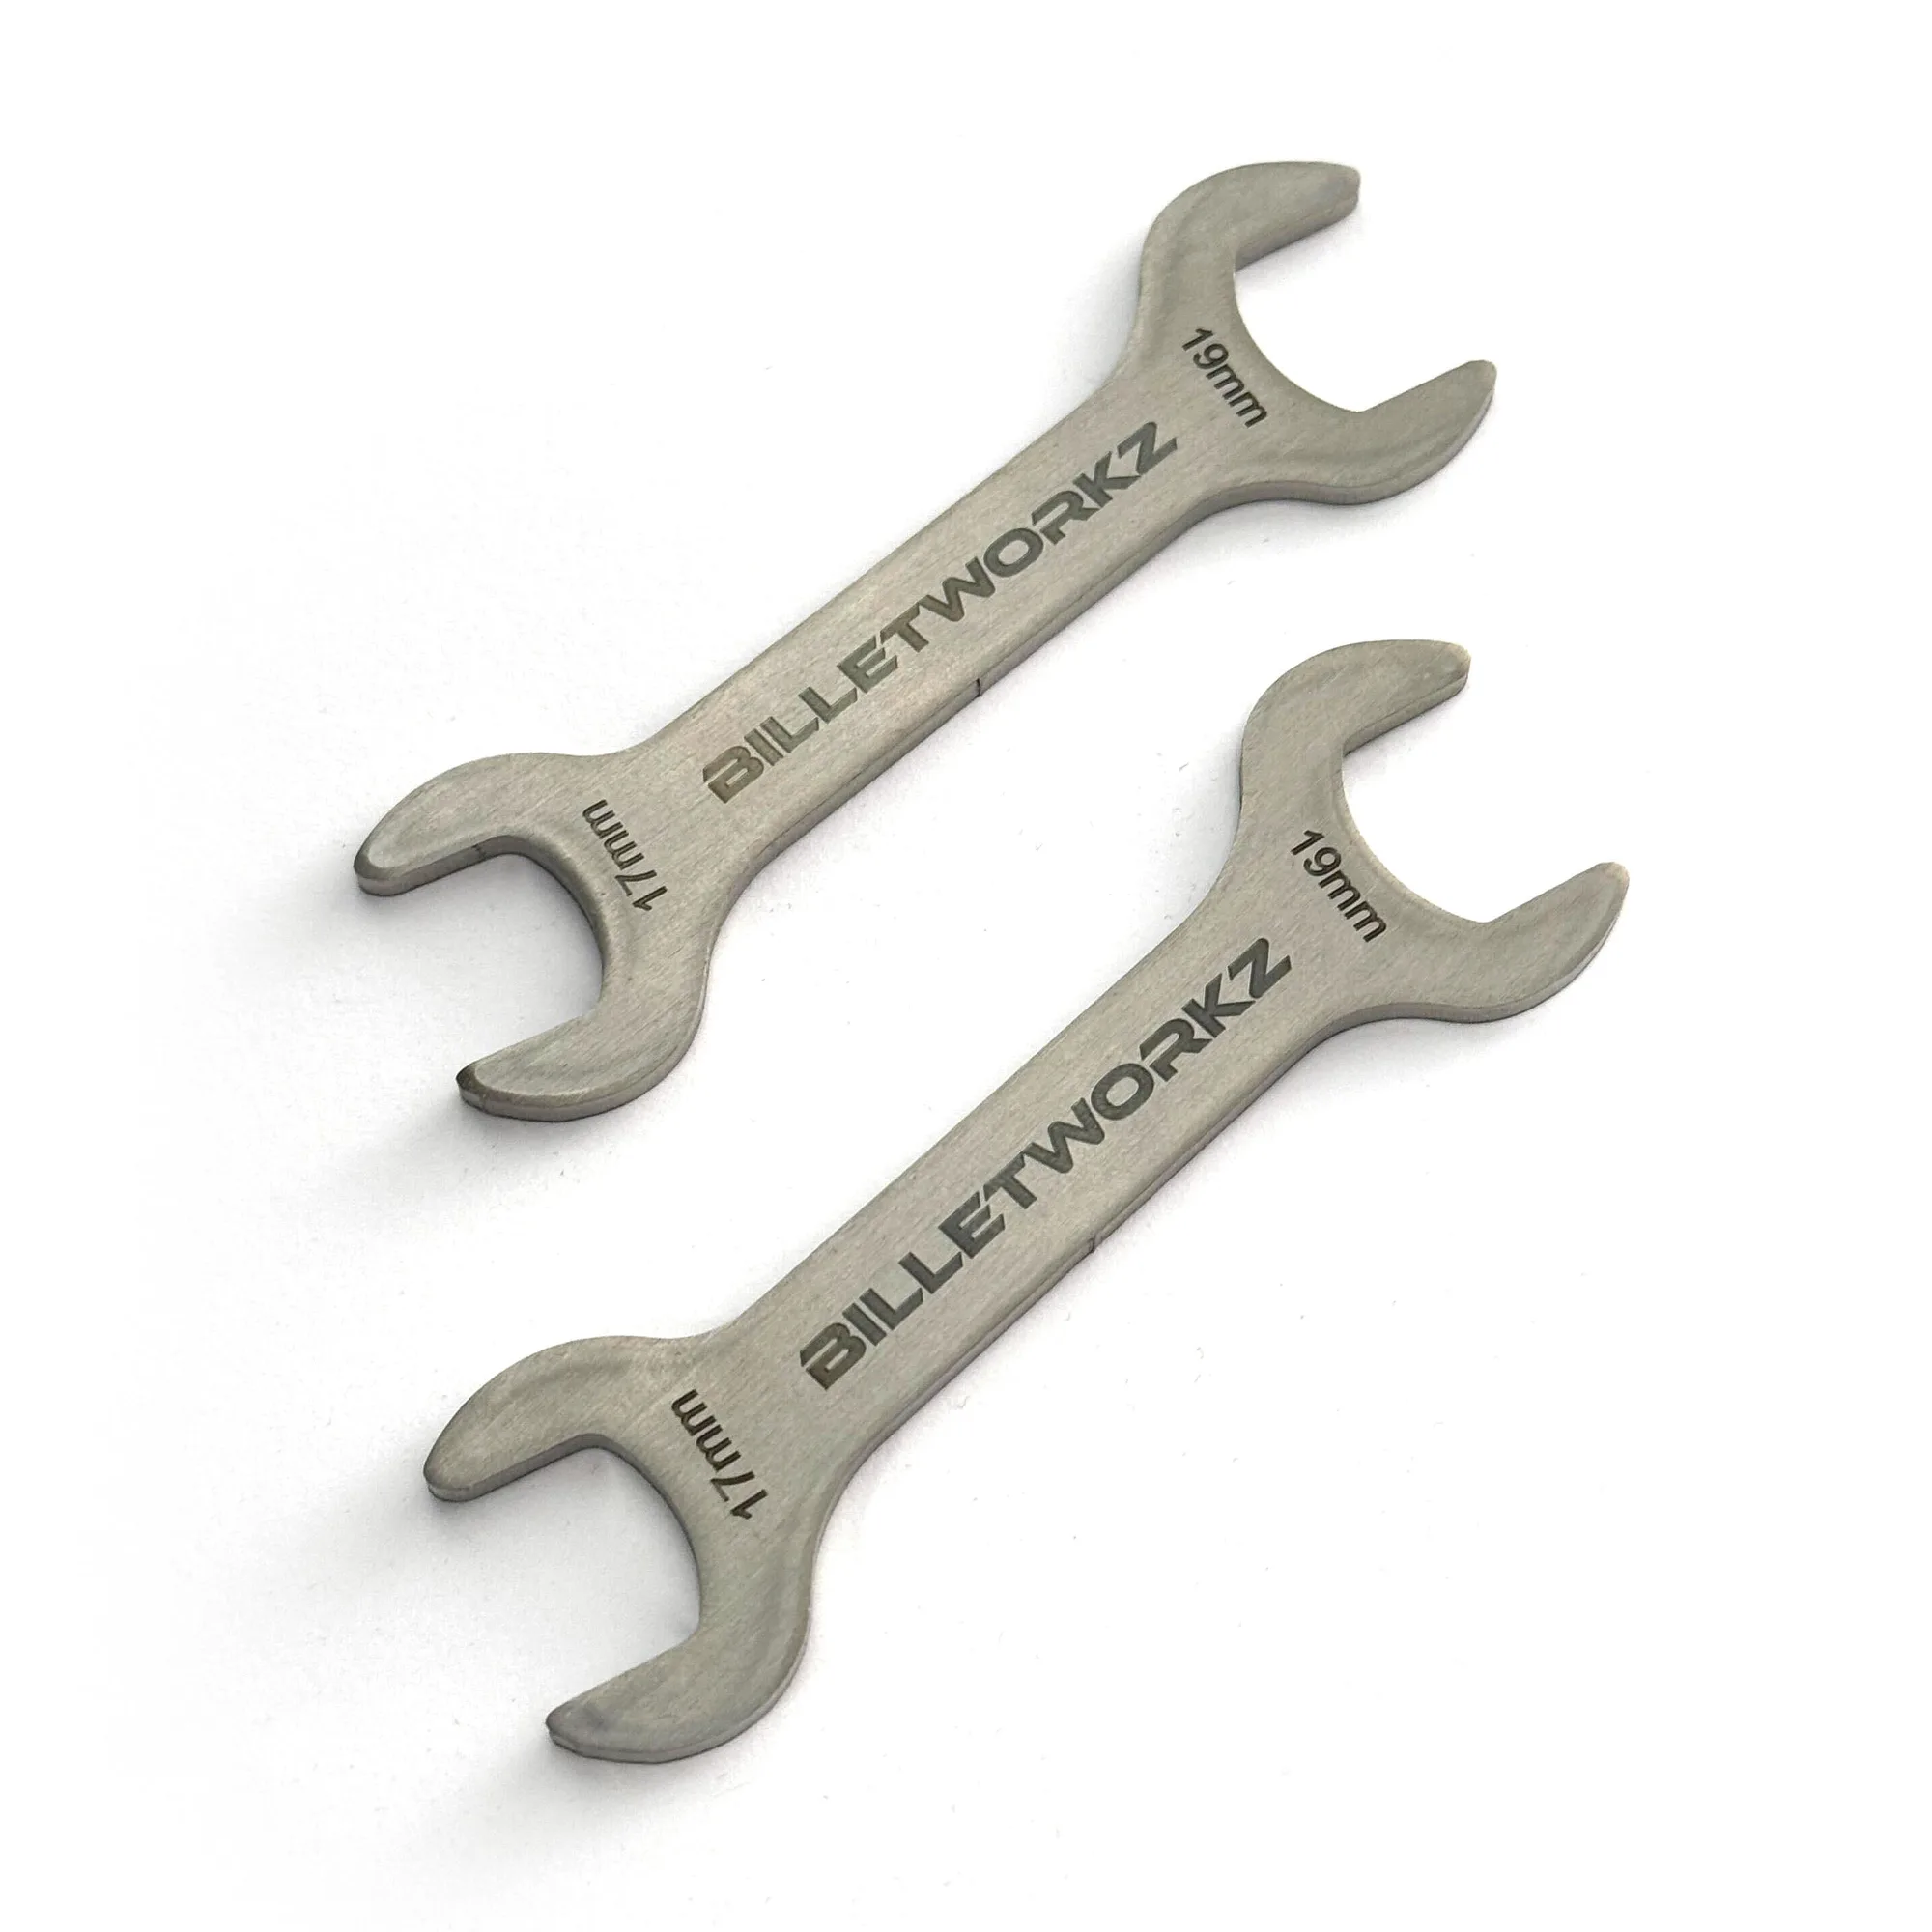
- Install Wrenches: Includes 2 precision-fit wrenches and provides the right leverage; they work with a range of Billetworkz shift knob applications including STI 6-speed, WRX 5-speed and 6-speed, and BRZ/86 6-speed. Having the correct wrench size on hand keeps you from over-tightening trim ring fasteners with the wrong tool, which is a common cause of cracked console trim.
A boot retainer and trim ring are simple parts, but the install order is what keeps the boot seated. Fit dry, seat the edge fully, and tighten evenly. Do that, and the boot stays where you put it instead of working loose every time you shift.