Quick answer
Use the eitech Bracket 1x2-hole where one strip meets another and you need a flat, two-hole corner or edge joint. Reach for it first on light frames, panel edges and small reinforcements, not on long spans that need a wider bracket.
Where a two-hole bracket earns its place
A 1x2-hole bracket is a short, flat connector. It is most useful at a corner where a beam and a post already overlap, because the two holes let you lock both parts with one small plate instead of forcing a screw through the end of a strip.
It also works well along the edge of a panel or a floor plate, where you only need to stop the sheet from sliding or lifting. In those spots a longer bracket would overhang the material and add nothing.
When a 1x2-hole bracket is the wrong choice
Skip it on a joint that carries the full weight of a tall tower or a long crane arm. Two holes give you a small contact area, so the load sits on a narrow strip of metal and the frame can flex. Use a wider bracket or a second plate on the opposite face instead.
Also skip it when the two parts do not already touch. A short bracket cannot bridge a gap, and bending it to reach will leave the joint out of square.
What the catalog does and does not tell you
The Manufaktur listing identifies this as a small bracket piece for construction and assembly, sold as a single Standard part under SKU 01211. It does not list hole spacing, plate thickness, or a maximum load, so do not treat it as a rated structural fitting. Test the joint by hand before you build on top of it.
How to place a 1x2-hole bracket, step by step
- Dry-fit the two parts first: Hold the strip and the post together at the angle you want, without screws. Check that the faces sit flat against each other along the full length of the bracket. If you can see daylight between the parts, fix the alignment before adding the bracket.
- Mark the bracket position: Lay the bracket over the joint so both holes land on solid metal, not on a slot or an open hole in the strip. A pencil mark at each end saves you from re-drilling.
- Start both screws by hand: Thread each screw in a turn or two before tightening either one. This lets the bracket shift slightly so both holes line up. Tightening one screw fully first is the most common cause of a bracket that sits at an angle.
- Tighten in a cross pattern: Snug the first screw, then the second, then return to the first for a final quarter turn. Stop when the bracket no longer moves under light finger pressure. Over-tightening crushes the metal around the hole and makes later removal harder.
- Check the joint under load: Press down on the finished assembly as if it were carrying weight. If the bracket or the parts around it flex, add a matching bracket on the opposite face. A single bracket on one face is a locator, not a load-bearing joint.
Product facts
-
Bracket 1x2-hole: eitech Bracket 1x2-hole is a single Standard part from the eitech Manufaktur line, SKU 01211, sold as one small bracket piece. Buying it as a single part lets you add one joint at a time instead of stocking a full assortment, so plan how many corners you actually need.
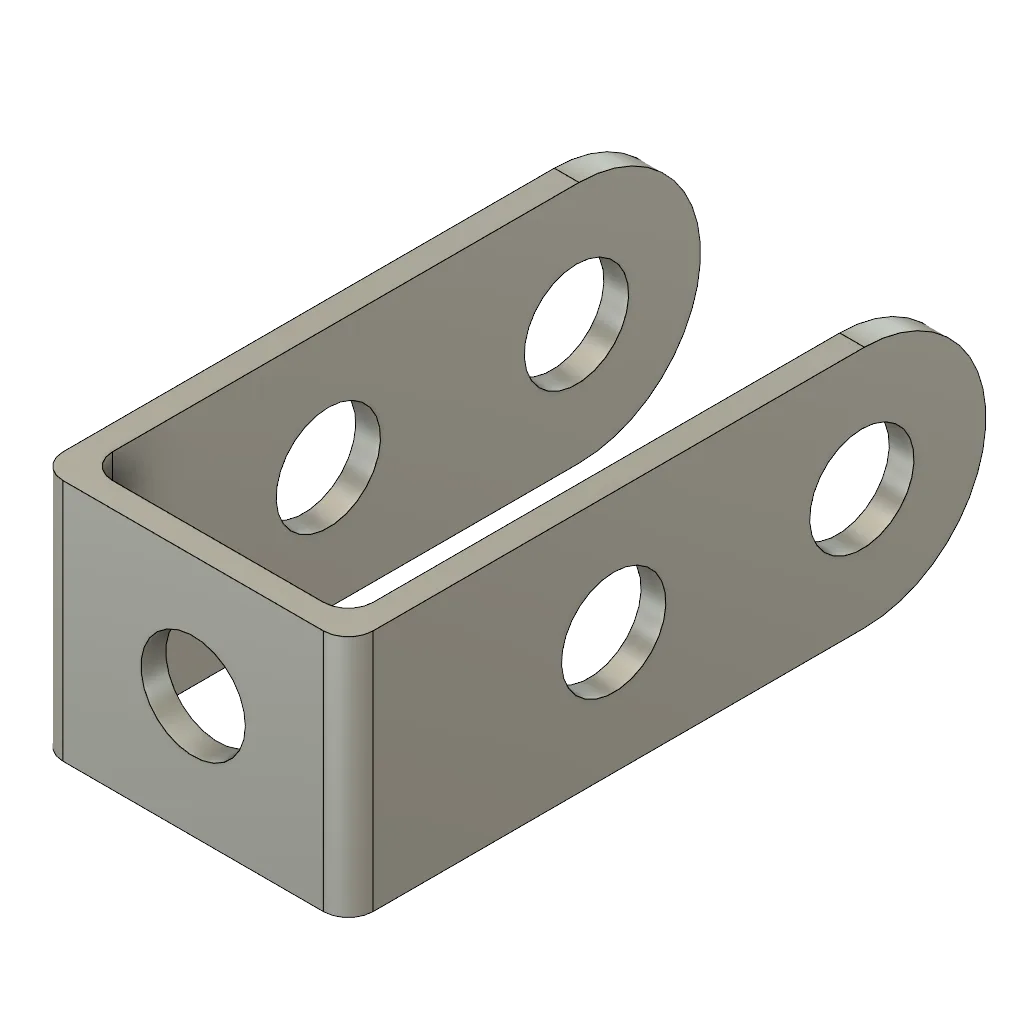
Bracket 1x2-hole