Quick answer
Replace your breast pump valves every 4 to 8 weeks if you pump daily, or sooner if you notice weaker suction, slower let-down, or milk flowing back into the tubing. Swap them one at a time, matching the valve to your pump model, and test suction before your next full session.
Why valves wear out and what that means for suction
Valves are small silicone parts that open and close with each pump cycle. Over time, heat from washing, repeated flexing, and mineral buildup can make them stiff, warped, or slightly torn. A worn valve lets air escape, so the pump has to work harder to create vacuum. You may see suction drop, need a higher setting than usual, or notice milk backing up into the flange. Replacing the valve restores the seal and is usually the cheapest fix before you consider a new pump.
Signs it is time for a new valve
Watch for changes in how pumping feels rather than relying on a calendar alone. If output drops without a change in flange size or pump settings, or if the valve looks cloudy, sticky, or misshapen, replace it. A valve that no longer sits flat against the flange body or that has a small nick on the edge will not seal properly. Keep a spare set on hand so you are not caught mid-session.
How to change breast pump valves step by step
Work over a clean towel so small parts do not roll away. Remove the old valve from the flange body by gently pinching the base and pulling it straight off. Do not use sharp tools, which can scratch the plastic. Rinse the new valve with warm water, then press it firmly onto the flange body until it sits flush. If your pump uses a diaphragm, check that it is seated correctly before you reassemble. Run the pump for a few seconds with an empty flange to confirm suction feels normal.
Pump valve maintenance between replacements
Rinse valves in cool water right after pumping to keep milk from drying on the silicone. Wash them with warm soapy water and a soft brush, then air-dry on a clean rack. Avoid boiling or steam-sterilizing silicone valves more often than the manufacturer recommends, because repeated high heat can shorten their life. If you pump away from home, pack a small wet bag for used parts and a dry bag for clean ones so you always have a spare valve ready.
Choosing the right replacement valve for your pump
Valves are not universal. A valve made for one pump family may not seal on another, even if it looks similar. Check your pump model name before ordering, and note whether your setup uses a valve alone or a valve plus diaphragm. If you are unsure, buy a kit that matches your pump series so you get the correct shape and material. Keep at least one spare valve and diaphragm on hand, because the diaphragm can wear at the same rate as the valve.
Your valve replacement checklist
- Gather a replacement valve that matches your pump model: Check the pump name and whether it uses a valve alone or a valve plus diaphragm. Have a clean towel and a spare valve ready before you start. Common mistake: buying a universal valve that does not seal. If the model is unclear, order a kit made for your pump series.
- Remove the old valve gently: Pinch the base of the valve and pull it straight off the flange body. Do not pry with a knife, scissors, or fingernail, which can scratch the plastic and create a leak. Checkpoint: the flange body should be smooth and free of cracks before you attach the new valve.
- Rinse and seat the new valve: Rinse the new valve in warm water, then press it onto the flange body until it sits flush. If your pump has a diaphragm, confirm it is properly seated too. Common mistake: a valve that is slightly crooked will leak air. Run a finger around the base to feel for a snug fit.
- Test suction with an empty flange: Turn the pump on for a few seconds without a bottle attached. You should feel steady suction and hear a consistent rhythm, not a hiss or flutter. If suction still feels weak, check the diaphragm and tubing before assuming the valve is faulty.
- Log the replacement date and set a reminder: Write the date on a piece of tape on your pump bag or set a phone reminder for 4 to 8 weeks. Daily pumpers often need valves sooner than occasional pumpers. Next step: keep one spare valve and one spare diaphragm in your pump bag so a mid-session failure never derails your day.
Parts that fit Lansinoh pumps
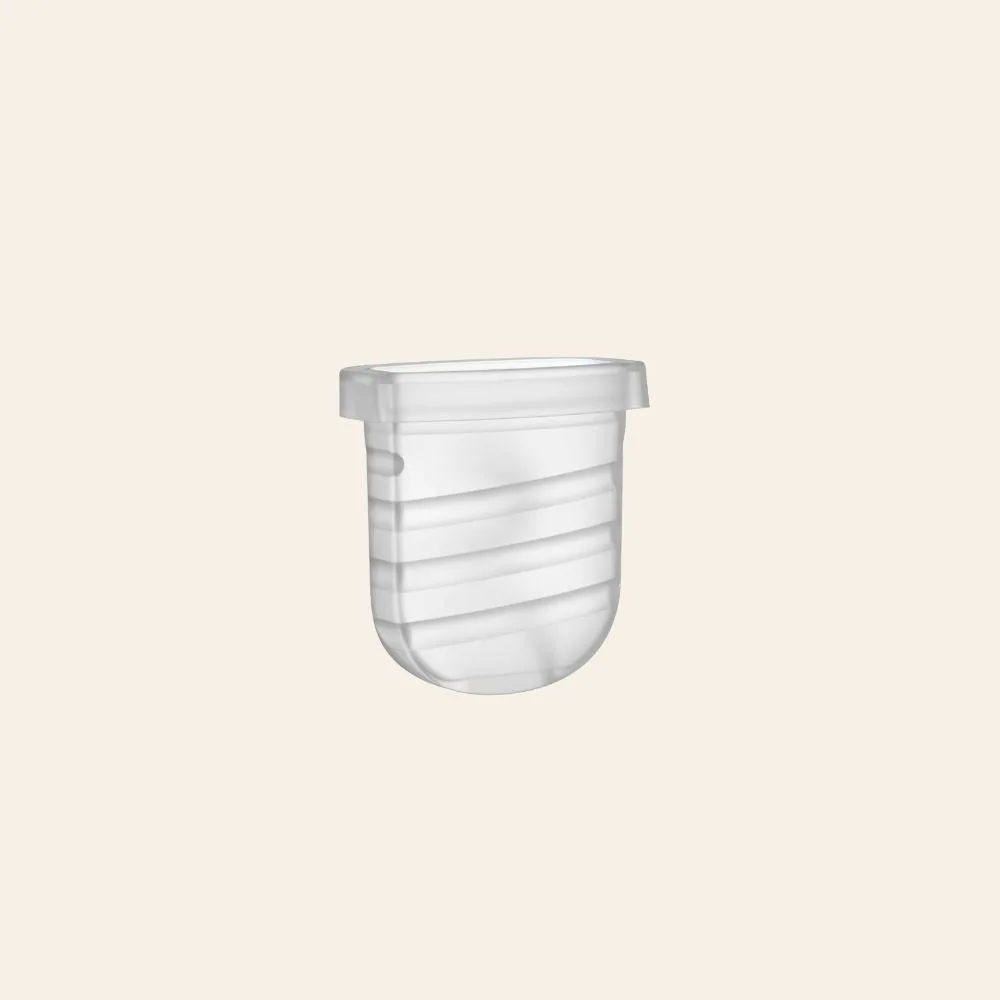
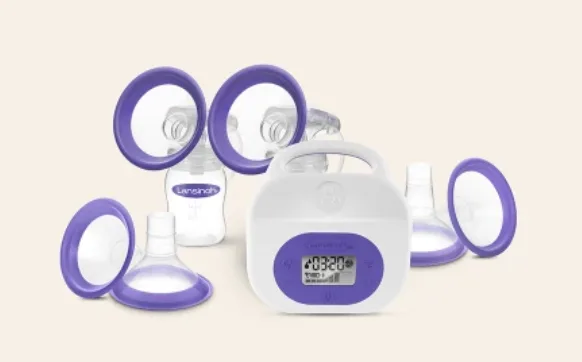
- Pump Valves - 4 Pack for Signature Pro and Smartpump: These breast pump valves attach to the flange body for both Lansinoh double electric breast pumps and the manual breast pump, and work with the diaphragm to ensure proper suction. If you own a Smartpump, Signature Pro, or Lansinoh manual pump, this 4-pack gives you multiple replacements so you can swap a worn valve immediately.
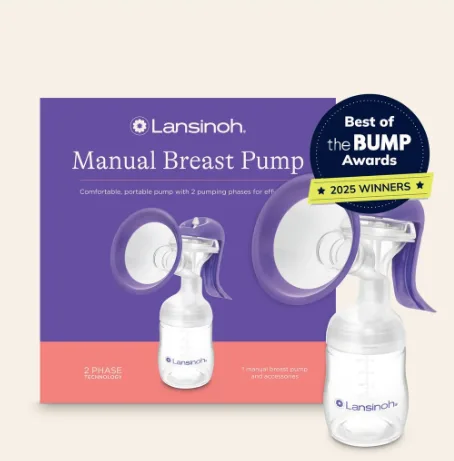
manual breast pump
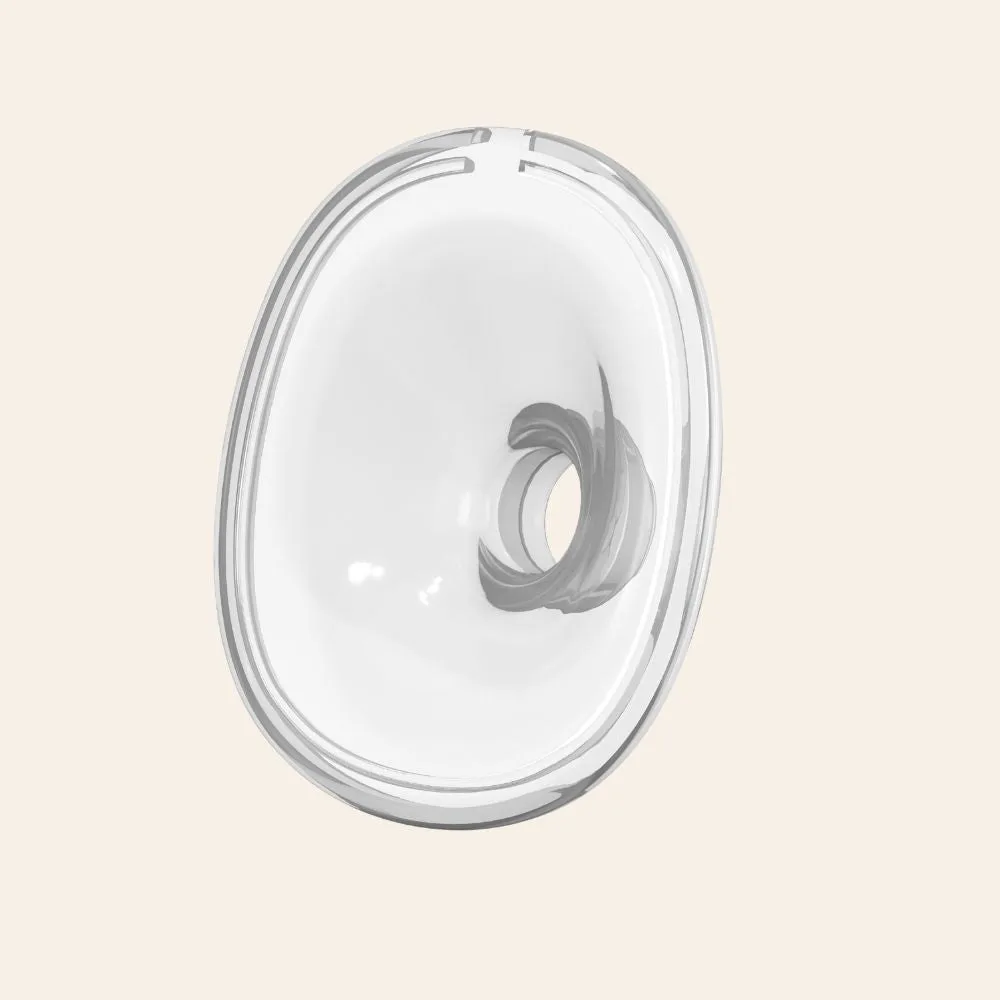
- Thrive 2-in-1 Breast Pump Diaphragm for PowerPump & Wearable Kit: A spare set of parts for the Thrive 2-in-1 Breast Pump Diaphragm, available in multiple sizes, meant to have on hand when pumping away from home or to replace parts that wear over time. A spare diaphragm keeps your PowerPump or Wearable Kit working if the original stretches or tears, and having one packed means you are not stuck without a clean part.
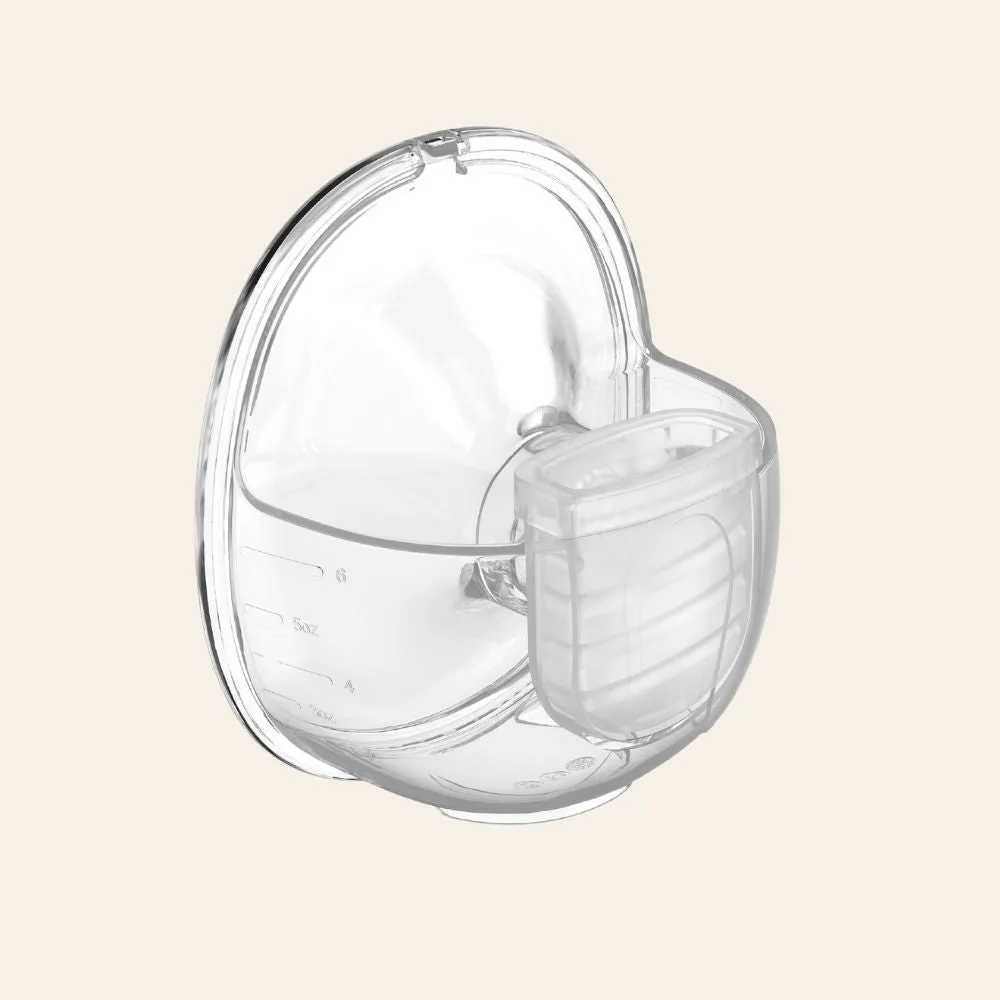
- Thrive 2-in-1 Breast Pump Valve for PowerPump & Wearable Pump: A spare Thrive 2-in-1 Breast Pump Valve for the PowerPump and Wearable Pump, available in multiple sizes, designed as an extra set for travel or to replace worn parts. Because valve sizes differ, checking your pump model and size before ordering helps you get a valve that seals correctly and restores suction.